
Although the database already exists, users usually only need a small part of this huge database to view, modify and other operations. To this end, code is needed to properly retrieve and display the data. This part of the code is called a view .
The concept of a view in Django is **"a collection of web pages with the same function and template"**.
Hello World!
First write the simplest view function to print a string in the browser Hello World!.
Open book/views.py, write out the view function:
# book/views.py
from django.shortcuts import render
from django.http import HttpResponse

# 视图函数
def book_list(request):
    return HttpResponse("图书管理员你好!")
**Web pages are derived from views. **Each view is represented as a simple Python function that has to do only two things: return an HttpResponseobject containing the content of the requested page, or throw an exception, eg Http404.
The view function requestis related to the request sent by the web page, which contains the content of get or post , user browser, system and other information. When Django calls book_lista function, it returns an object containing a string HttpResponse.
With the view function, you also need to configure URLconfs to associate the URL links requested by users. In other words, what URLconfs do is map URLs into views.
In the previous article, the URL has been distributed to bookthe application, so here you only need to modify the one added before book/urls.py. Add the following code:
# book/urls.py
from django.urls import path
from . import views

# 正在部署的应用的名称
app_name = 'book'

# 存放映射关系的列表
urlpatterns = [
    # path函数将url映射到视图
    path('', views.book_list, name='book_list'),
]
**Django will choose which view to use based on the URL the user requests. **In this example, when the user requests booka link, the function views.pyin will be called book_listand the rendered object will be returned. The parameter nameis used to check urlthe address back, which is equivalent to giving urla name, which will be used in the future.
Test to see if the code you just typed works properly.
Enter in the terminal python manage.py runserverto run the debug server:
(venv) PS E:\djangopj\library> python manage.py runserver
Watching for file changes with StatReloader
Performing system checks...

System check identified no issues (0 silenced).
July 06, 2023 - 13:33:02
Django version 4.2.3, using settings 'library.settings'
Starting development server at http://127.0.0.1:8000/
Quit the server with CTRL-BREAK.
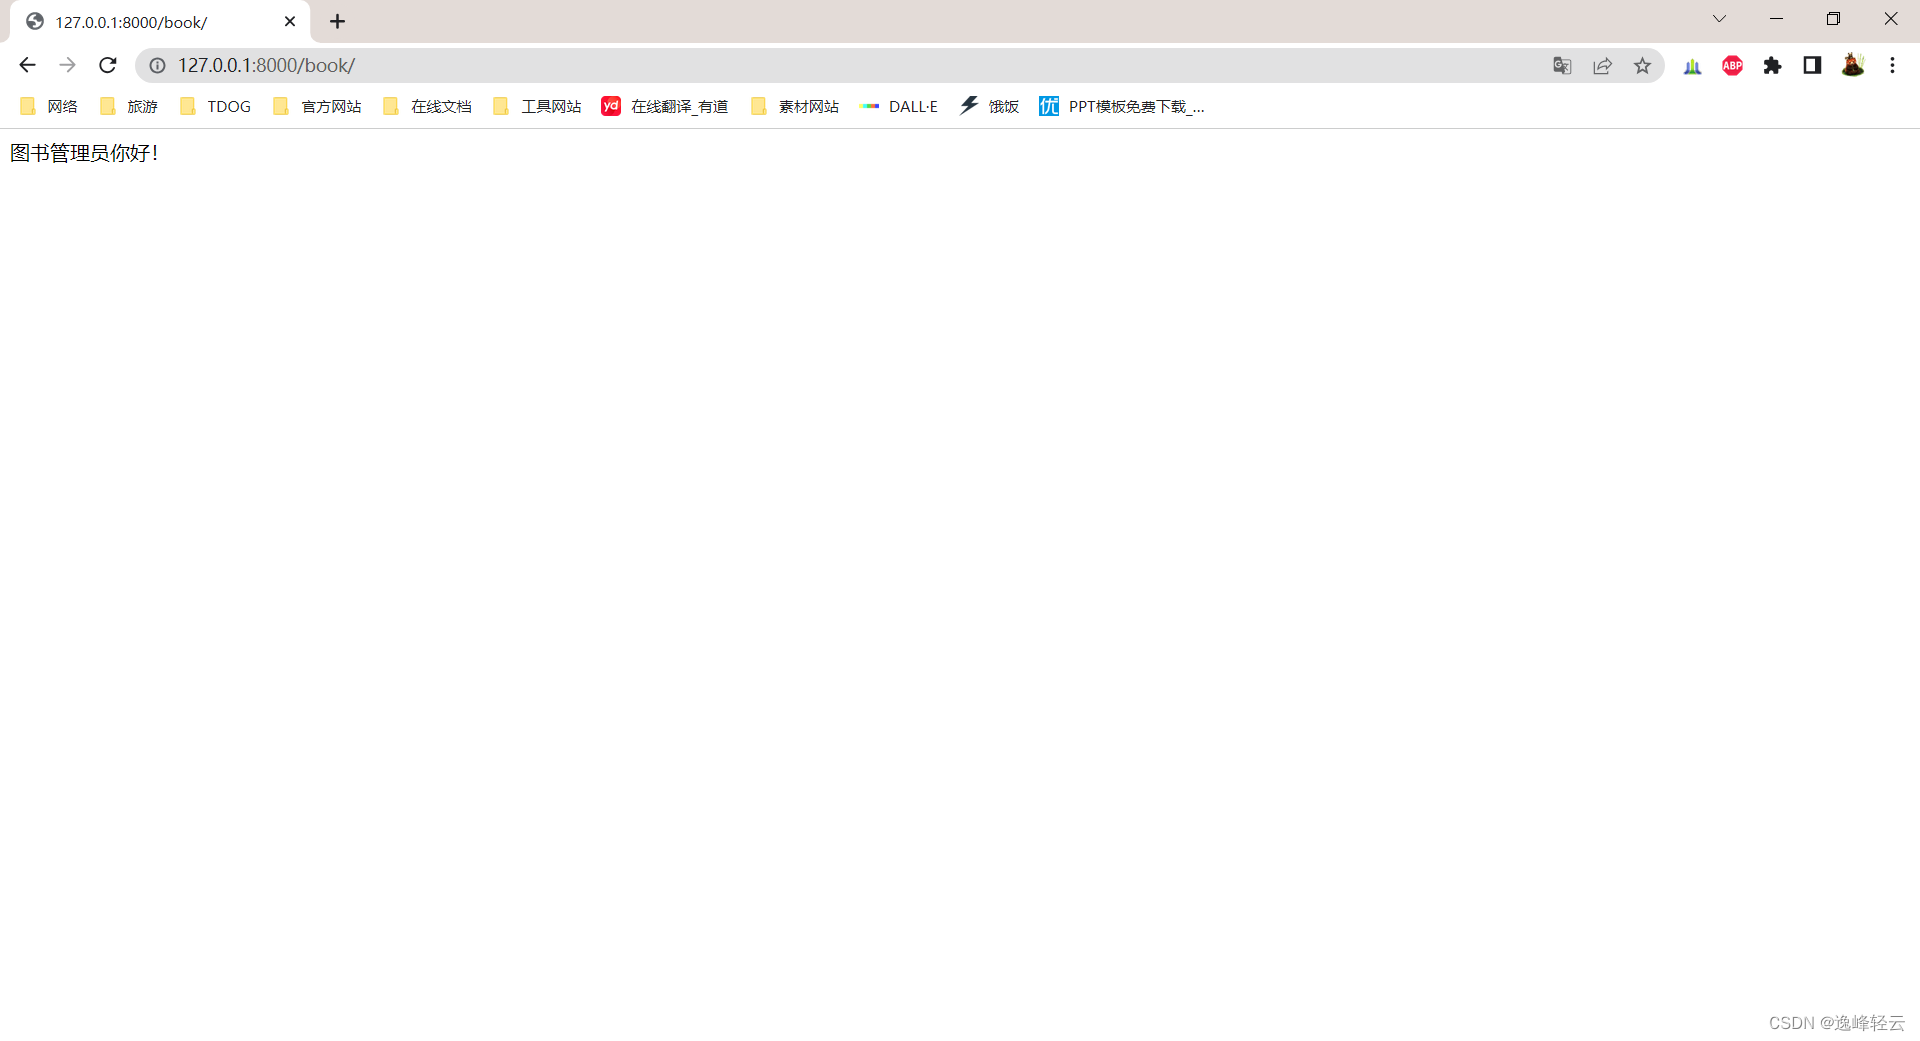
After running successfully, open the browser and enter urlthe address http://127.0.0.1:8000/book, which 127.0.0.1:8000is the local address of the debugging server and the address of bookthe project routing distributionlibrary\urls.py
With any luck, the string will be printed in the browser 图书管理员你好!:
Preparation
Although the database table is defined in the chapter of writing the Model model, this table is empty, which is inconvenient to show the effect of View calling data. So before writing View, you need to record some data in the data table. Do the work next.
Website background concept
The website background , sometimes called the website management background , refers to a series of operations used to manage the website, such as: data addition, update, deletion, etc. In the early stage of project development, because there is no real user data and a complete test environment, the background is frequently used to modify the test data.
DjangoA very good background management tool is built in, and powerful functions can be realized with only a small amount of code.
Create an administrator account (Superuser)
The administrator account (Superuser) is an account that can enter the background of the website and maintain data, and has very high authority. Here we need to create an administrator account in order to add subsequent test data.
Enter python manage.py createsuperuserthe command in the terminal to create an administrator account:
(env) E:\django_project\my_blog>python manage.py createsuperuser
Username: dusai
Email address: [email protected]
Password:
Password (again):
Superuser created successfully.
The command will prompt you to enter the account name, email address and password, just fill in according to your preferences.
Register bookPost in the background
Next, we need to "tell" Django that this data table needs to be added in the background bookPostfor management.
Open it book/admin.pyand write the following code:
book/admin.py

from django.contrib import admin

# 别忘了导入bookrPost
from .models import bookPost

# 注册bookPost到admin中
admin.site.register(bookPost)
This makes it easy to register.
roaming in the background
Careful students may have discovered that the background settings and url are automatically configured when the Django project is generated, so we don't need to worry about it anymore.
Start the server, enter in the browser http://127.0.0.1:8000/admin/, if everything is normal, you will see the following login interface:
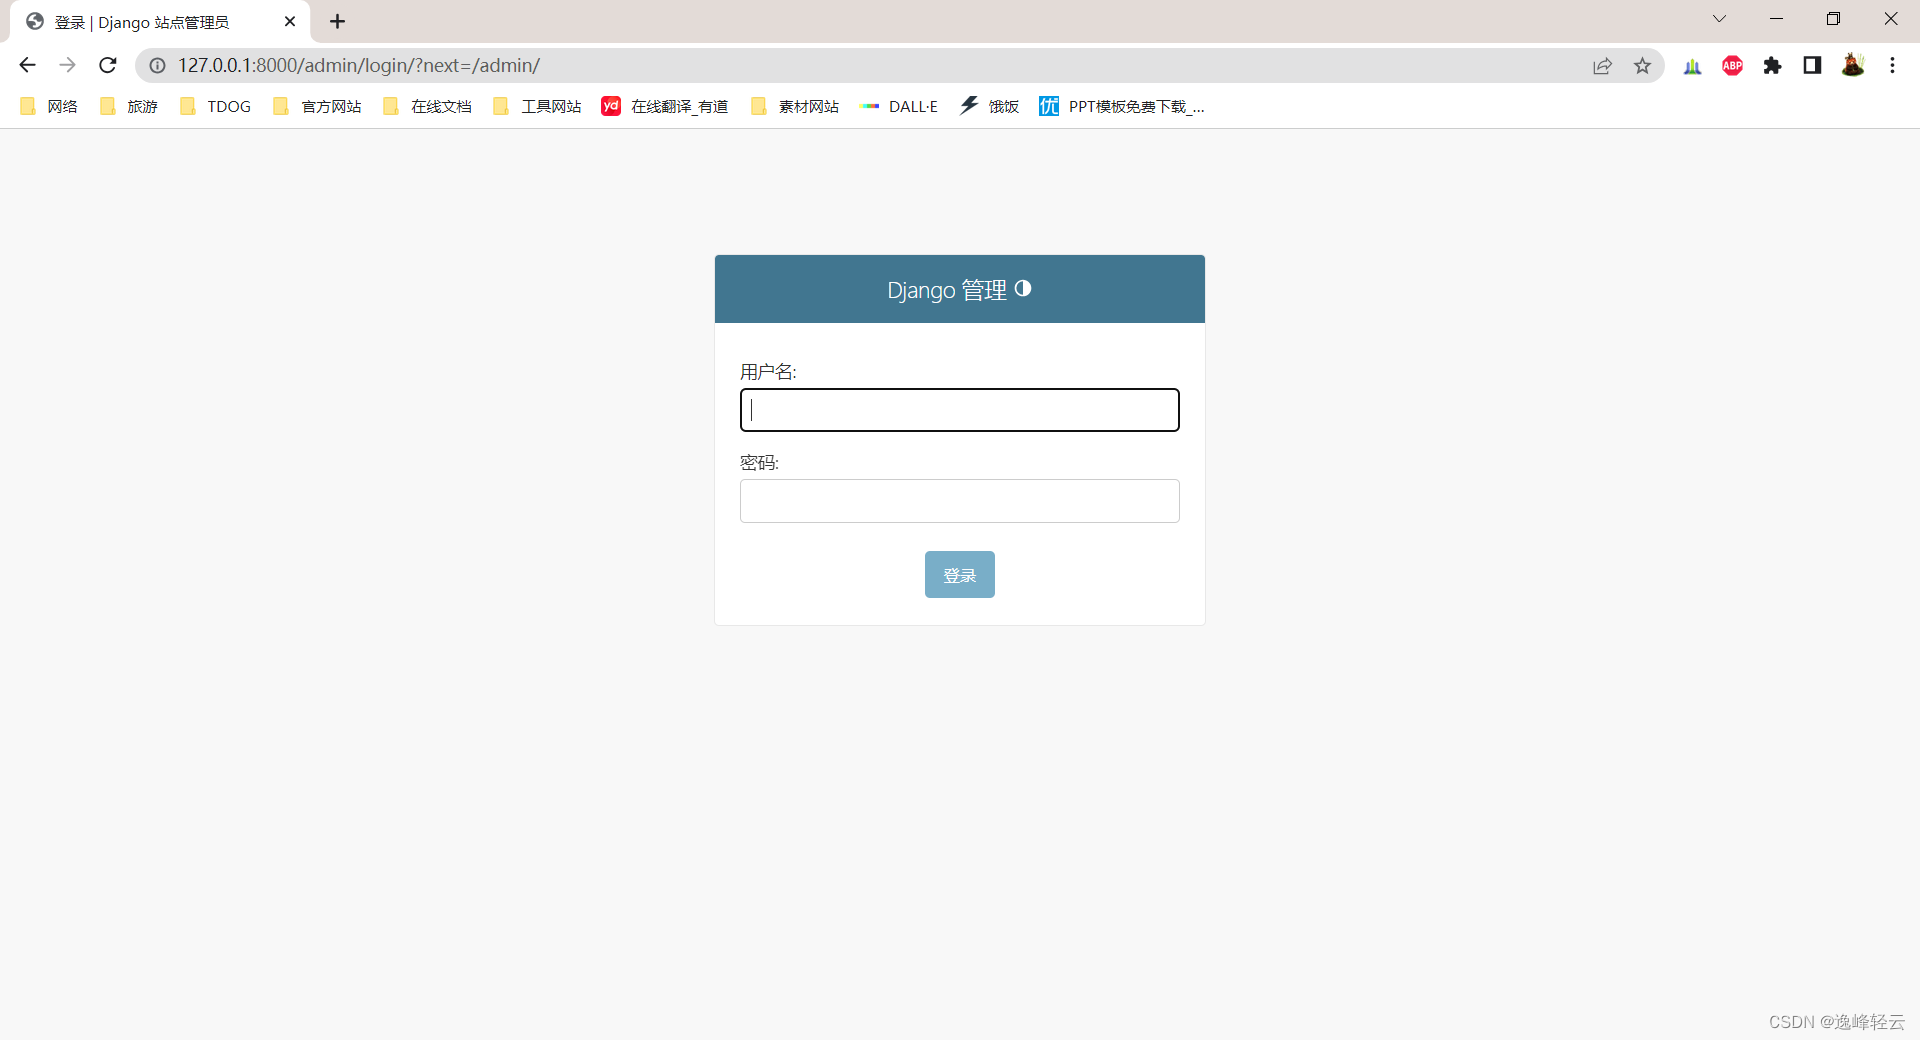
Enter the administrator account you just created and log in:
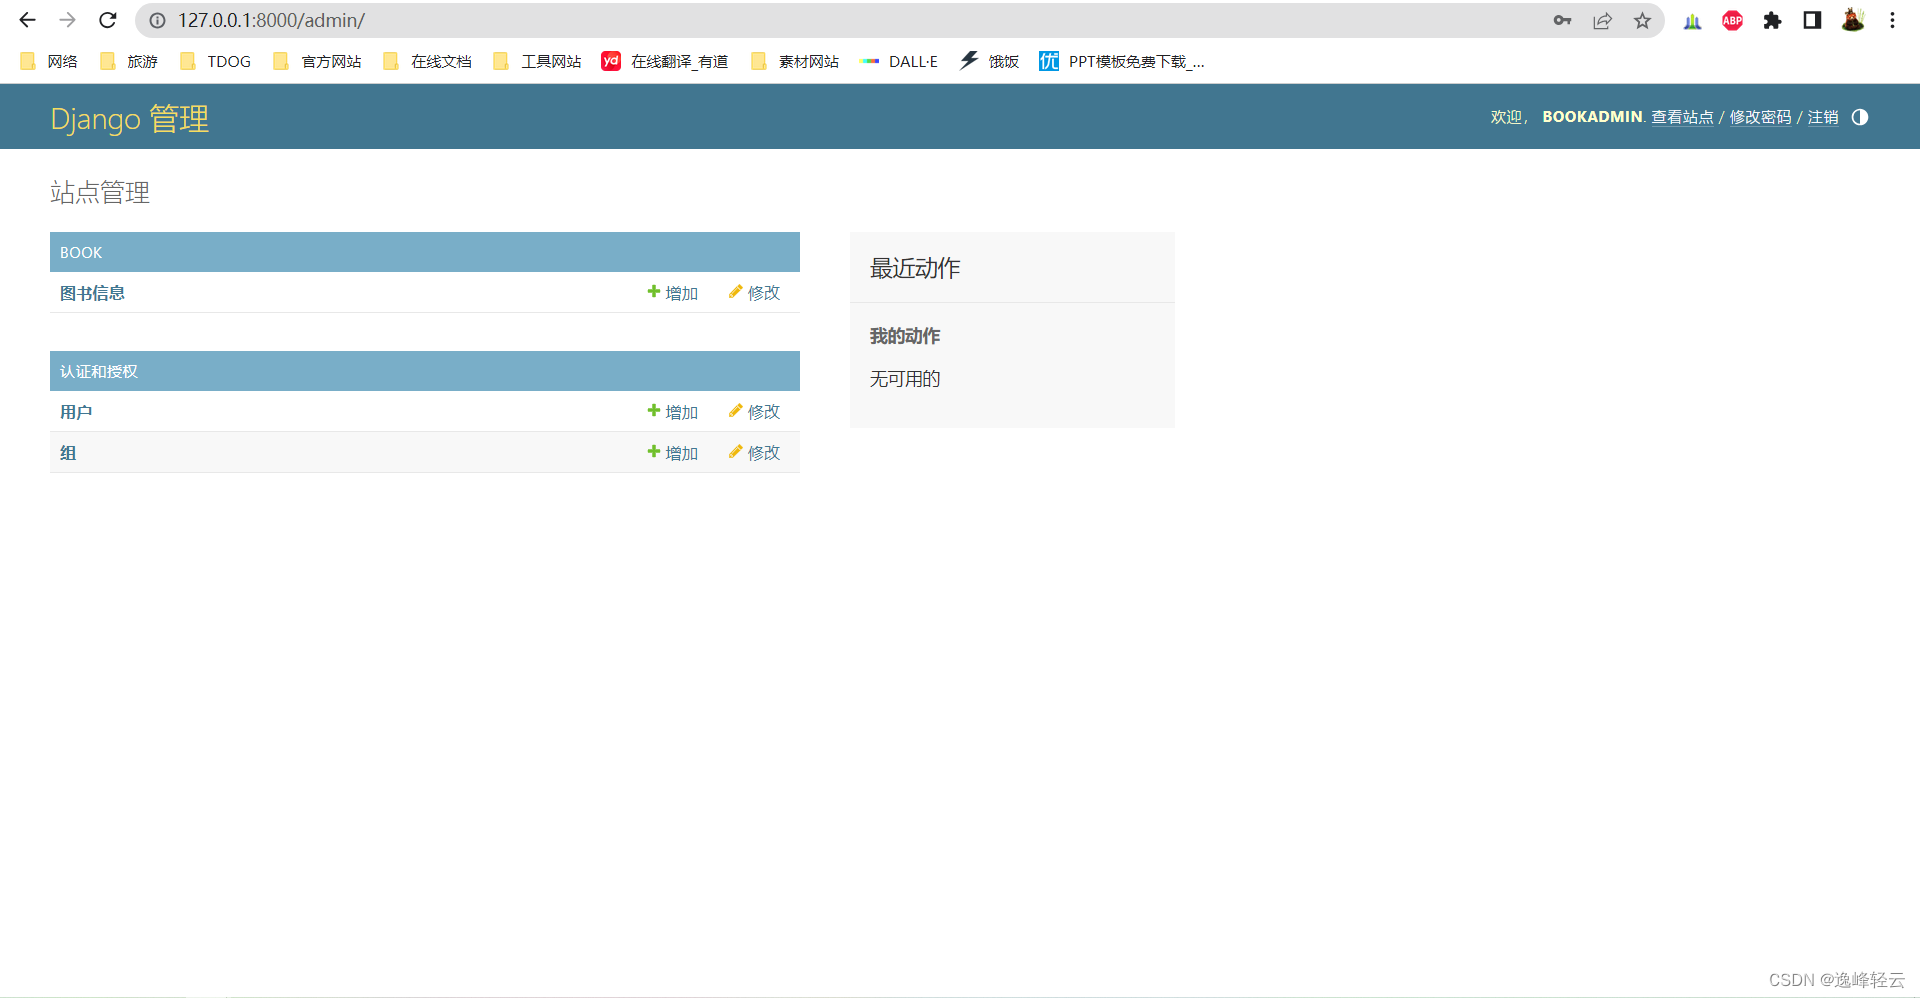
The red box is the data table just added bookPost, click to enter, and then click ADD book the button in the upper right corner to reach the following page:
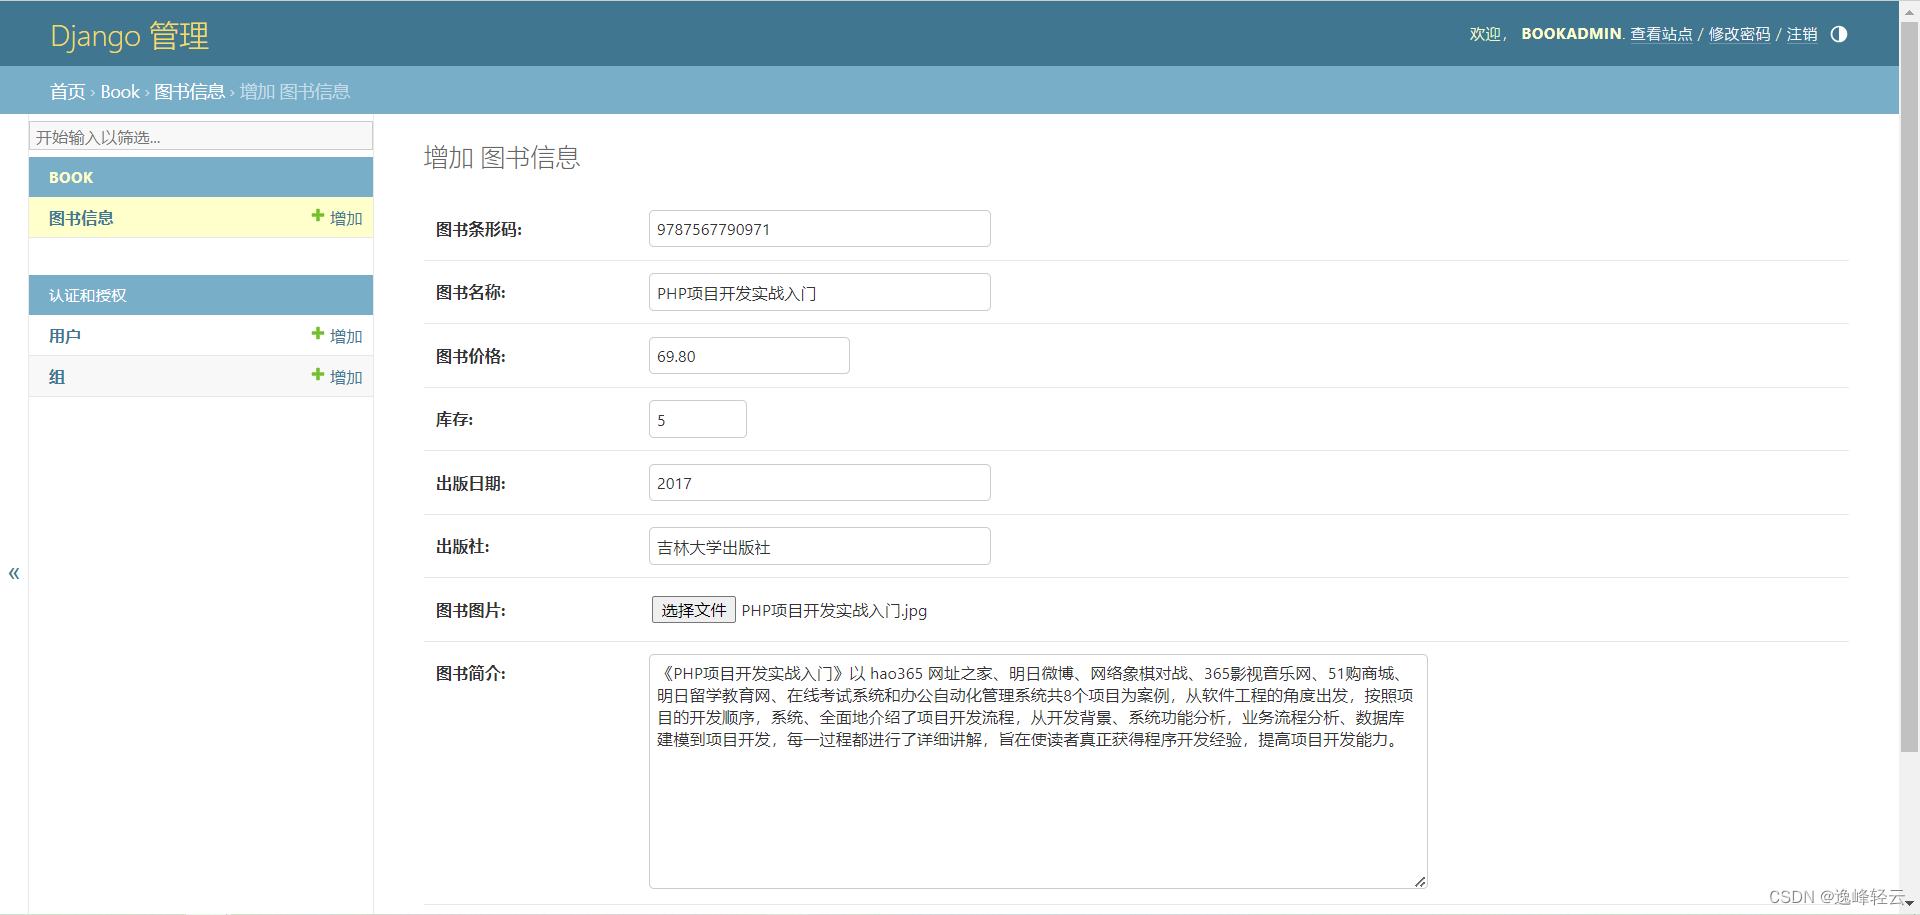
Take a closer look at each item in the form, and find that it bookis completely consistent with the fields in the form; because updatedthe field specifies automatic addition, it is not displayed here.
After filling out the form, click Save:

You can see that there is an extra piece of data entered just now in the book. In the same way, write a few more pieces of data:
So far the preparations have been completed.
view database
2018-10-29 New content
Through the above operations, we already have 1 user data and 3 article data in our database.
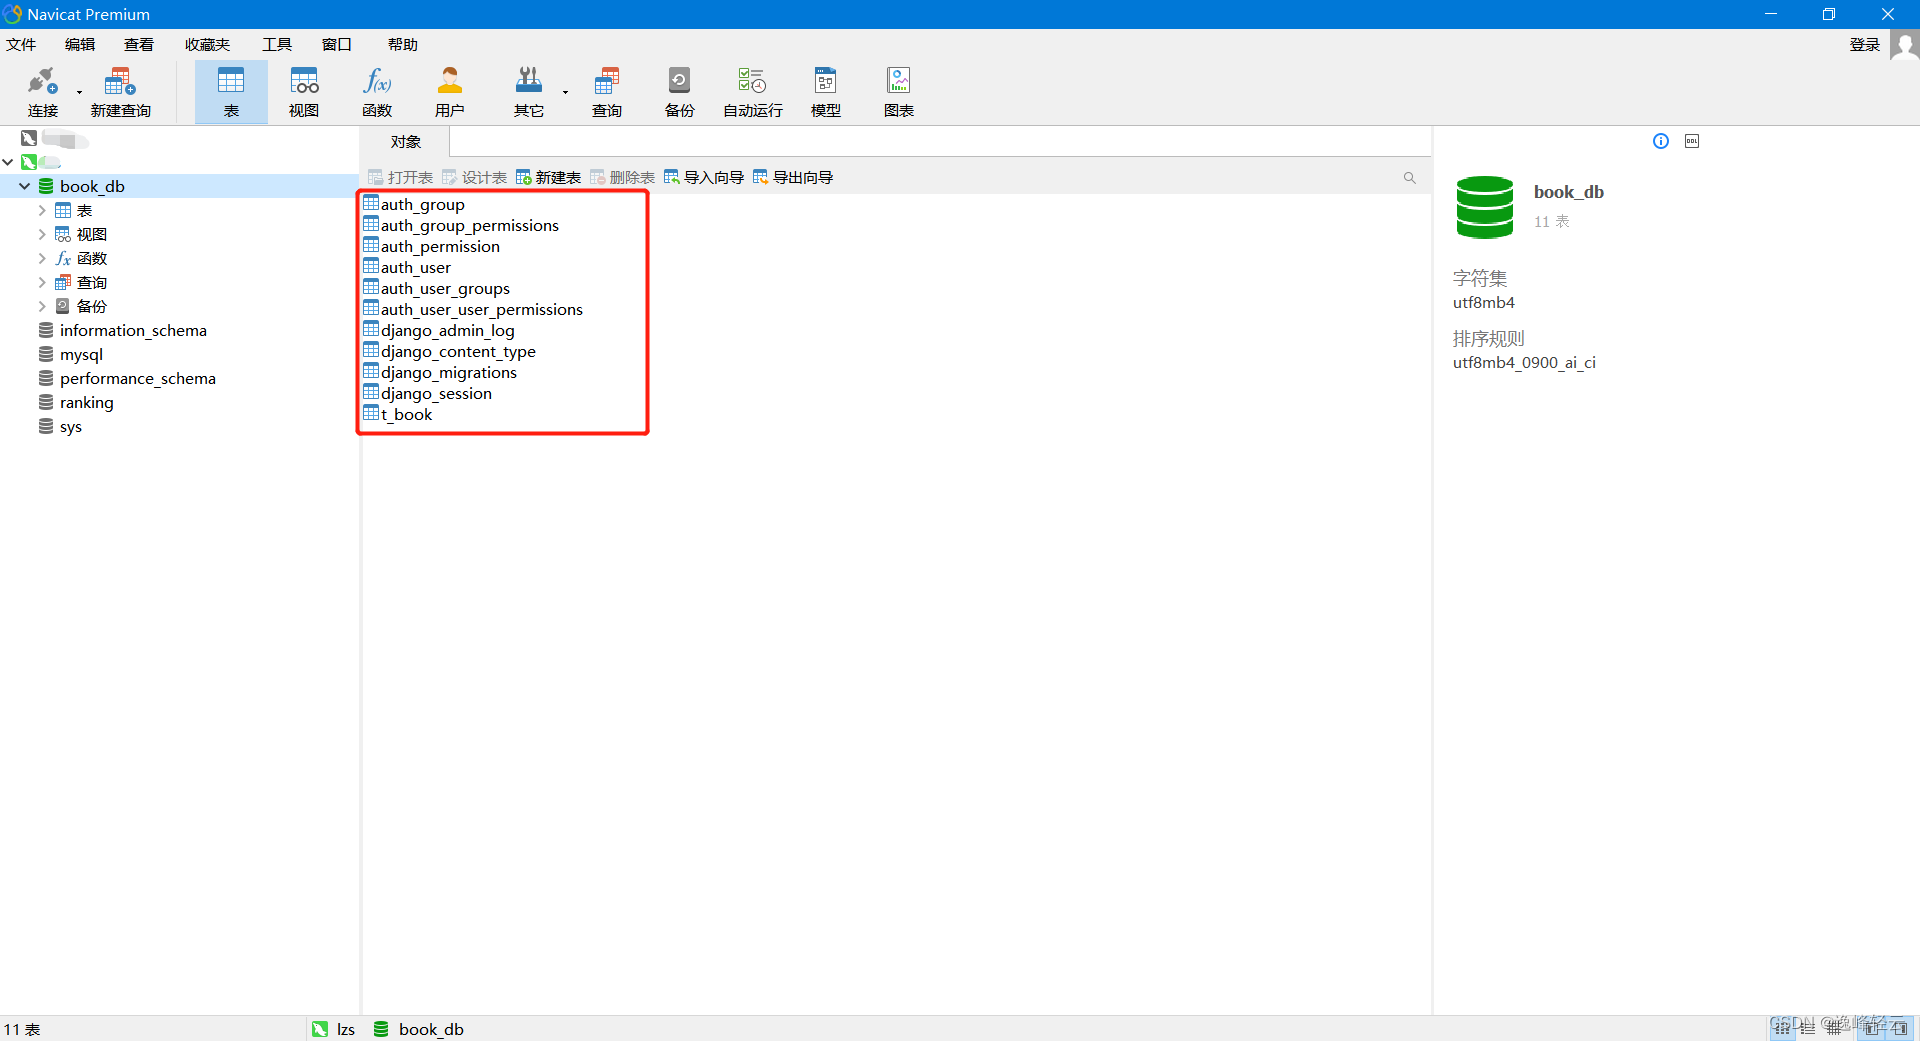
At this time, you need to use database software: Navicat Premium is a set of database development tools that can create multiple connections, allowing you to simultaneously connect to MySQL, Redis, MariaDB, MongoDB, SQL Server, Oracle, PostgreSQL and SQLite from a single application. It is compatible with OceanBase database and cloud databases such as Amazon RDS, Amazon Aurora, Amazon Redshift, Amazon ElastiCache, Microsoft Azure, Oracle Cloud, MongoDB Atlas, Redis Enterprise Cloud, Alibaba Cloud, Tencent Cloud, and Huawei Cloud. You can create, manage and maintain databases quickly and easily.
Download and install it, use it to connect to MySQL, and view the project database tables. For example, auth_user is the user data table:
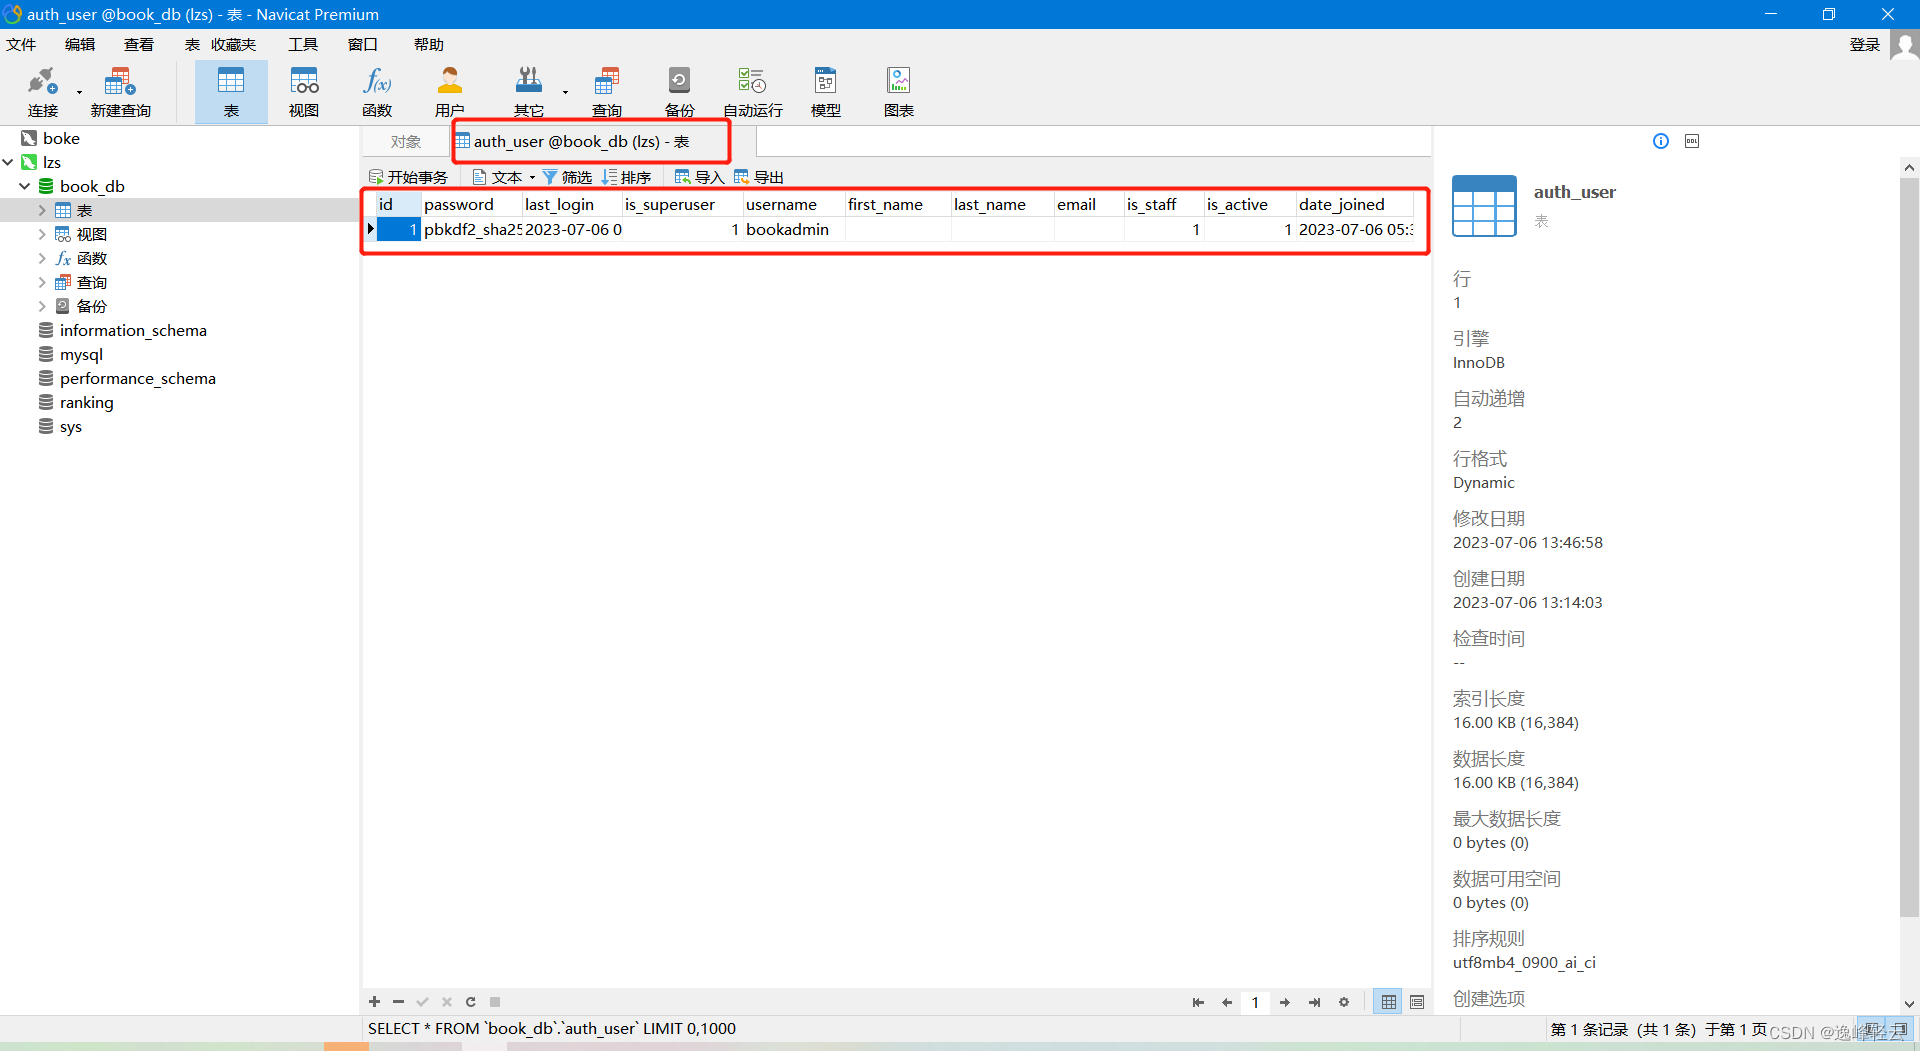
You can use it to check whether the operation of the database in the project code is normal, which is very practical during the development stage.
Summarize
This chapter has a preliminary experience of the working mode of View, and created a Superuser to enter several test data in the background.
The next chapter will write a more meaningful View, and the old driver will drive when ready.