Build the Gradle environment on Mac:

Step 1: Download and install the Java Development Kit (JDK)
Gradle requires the Java Development Kit (JDK) to run. You can download the JDK suitable for your operating system from the Oracle official website. Follow the steps below:
- Open the browser and visit the JDK download page of Oracle official website: https://www.oracle.com/java/technologies/javase-jdk11-downloads.html
- According to your operating system version, select and download the JDK version that suits you. Make sure to select the version that corresponds to your OS version and bitness.
- After the download is complete, double-click the downloaded installer and follow the prompts to complete the JDK installation.
Step 2: Download and setup Gradle
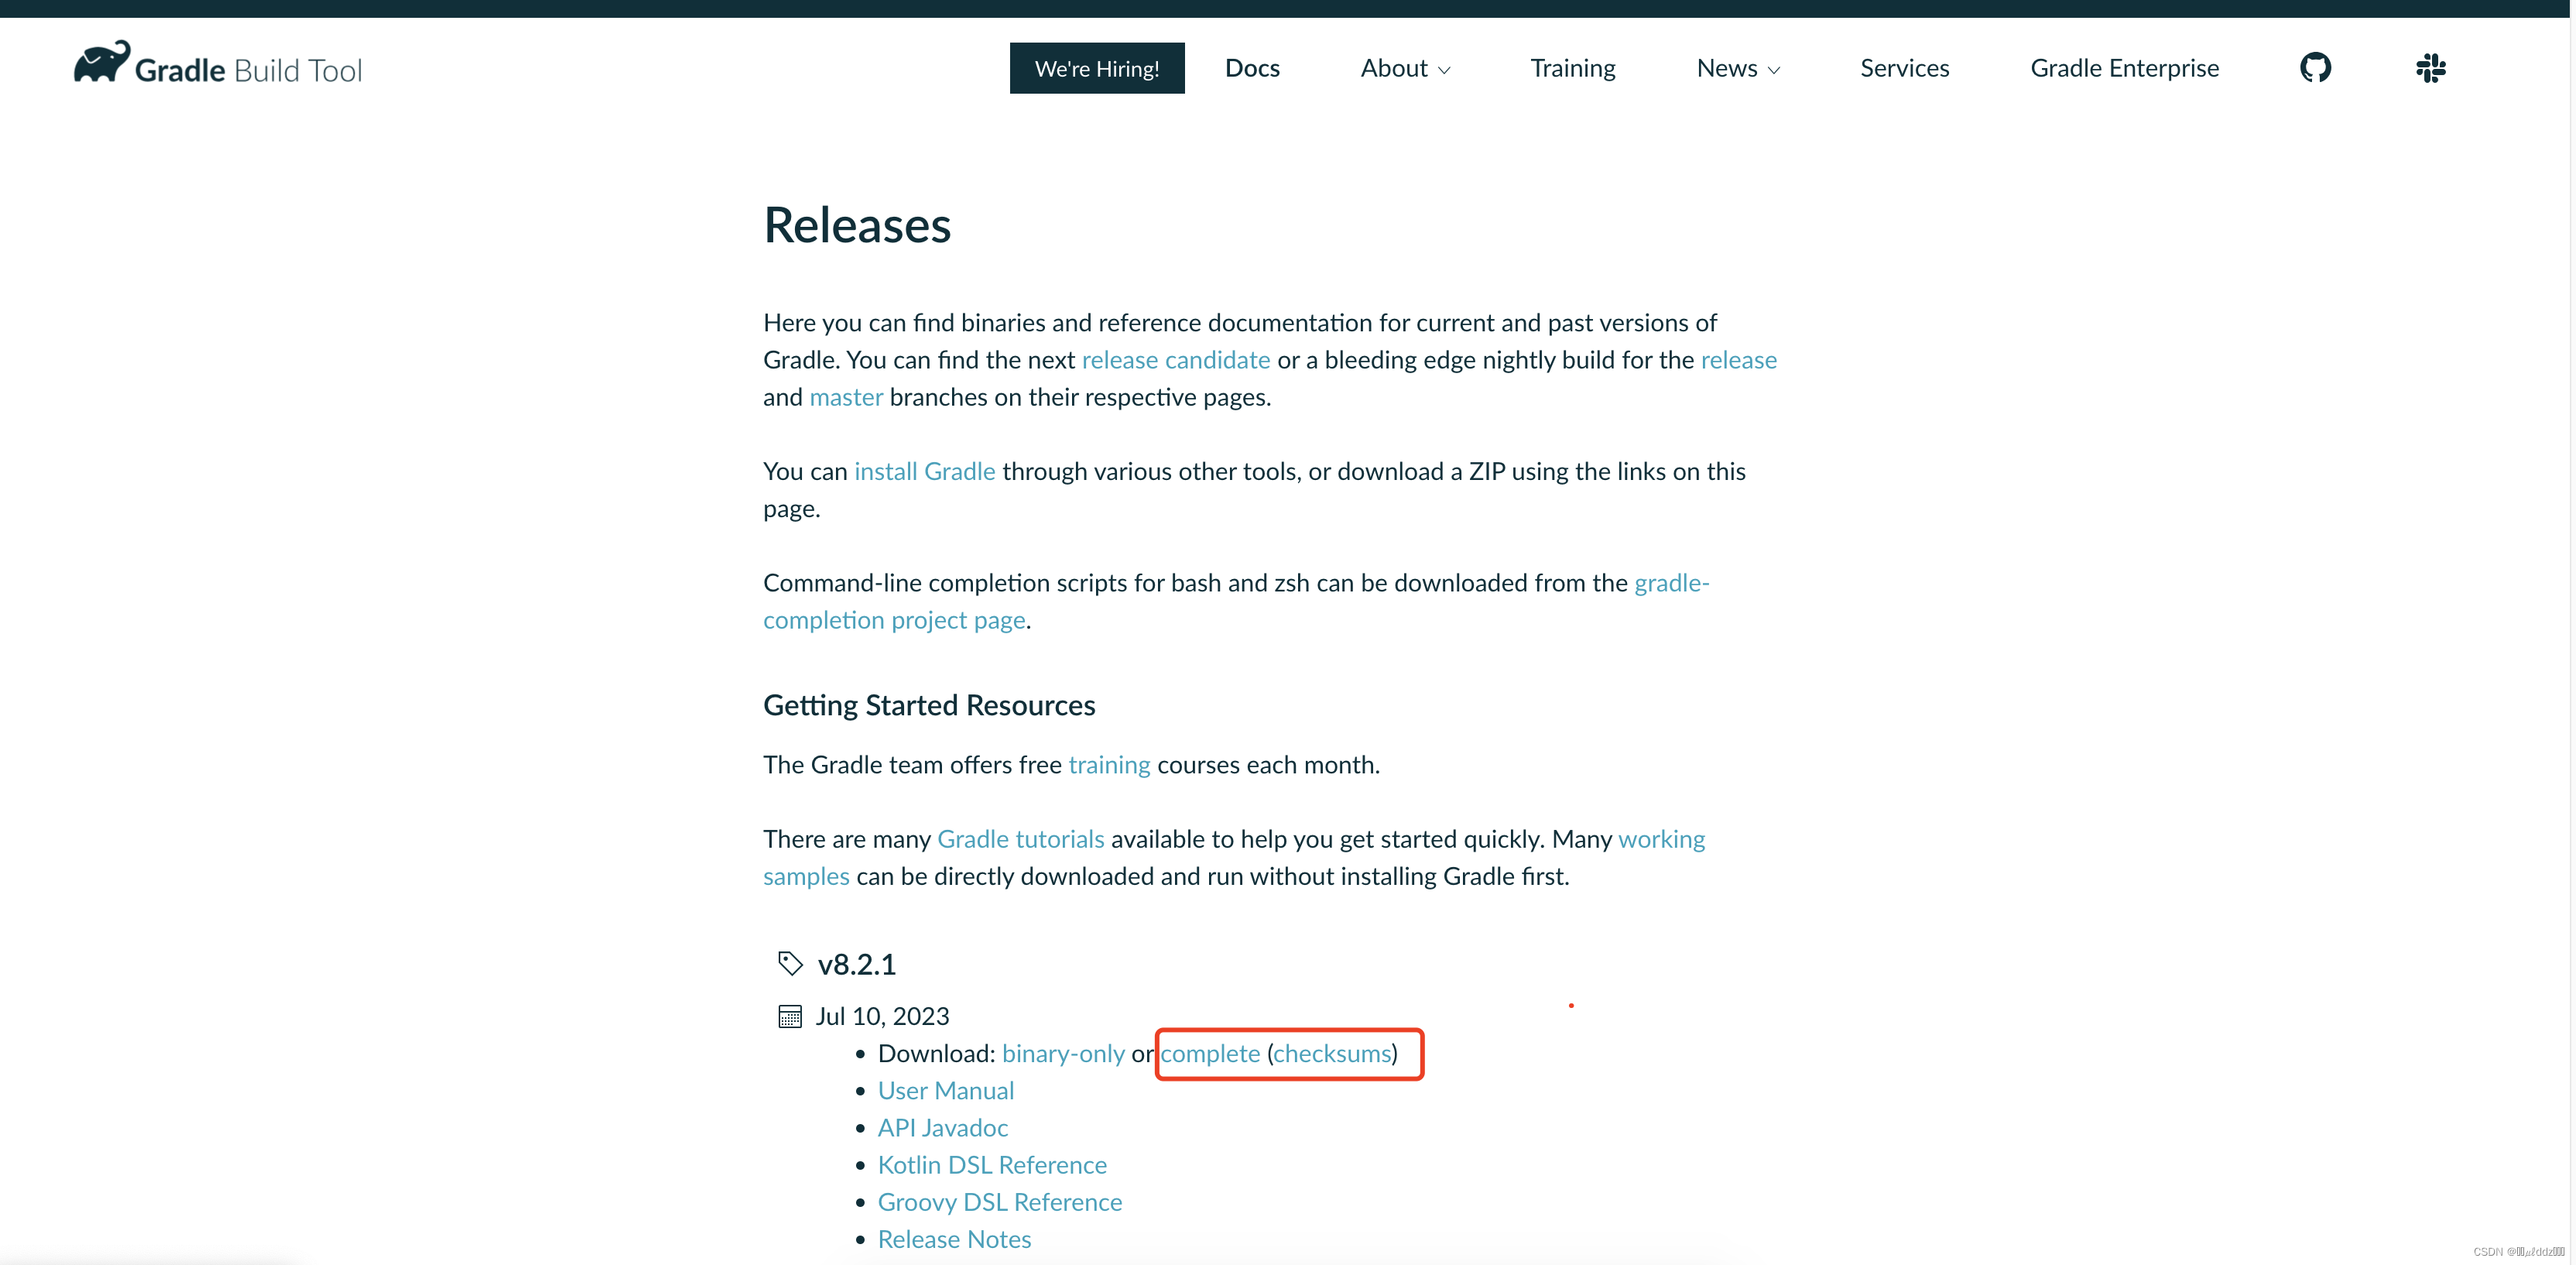
Next, you need to download the version of Gradle that is right for you. Follow the steps below:
- Open the browser and visit the release page of Gradle official website: https://gradle.org/releases/
Step 3: Unzip and configure Gradle
Unzip the downloaded zip file.
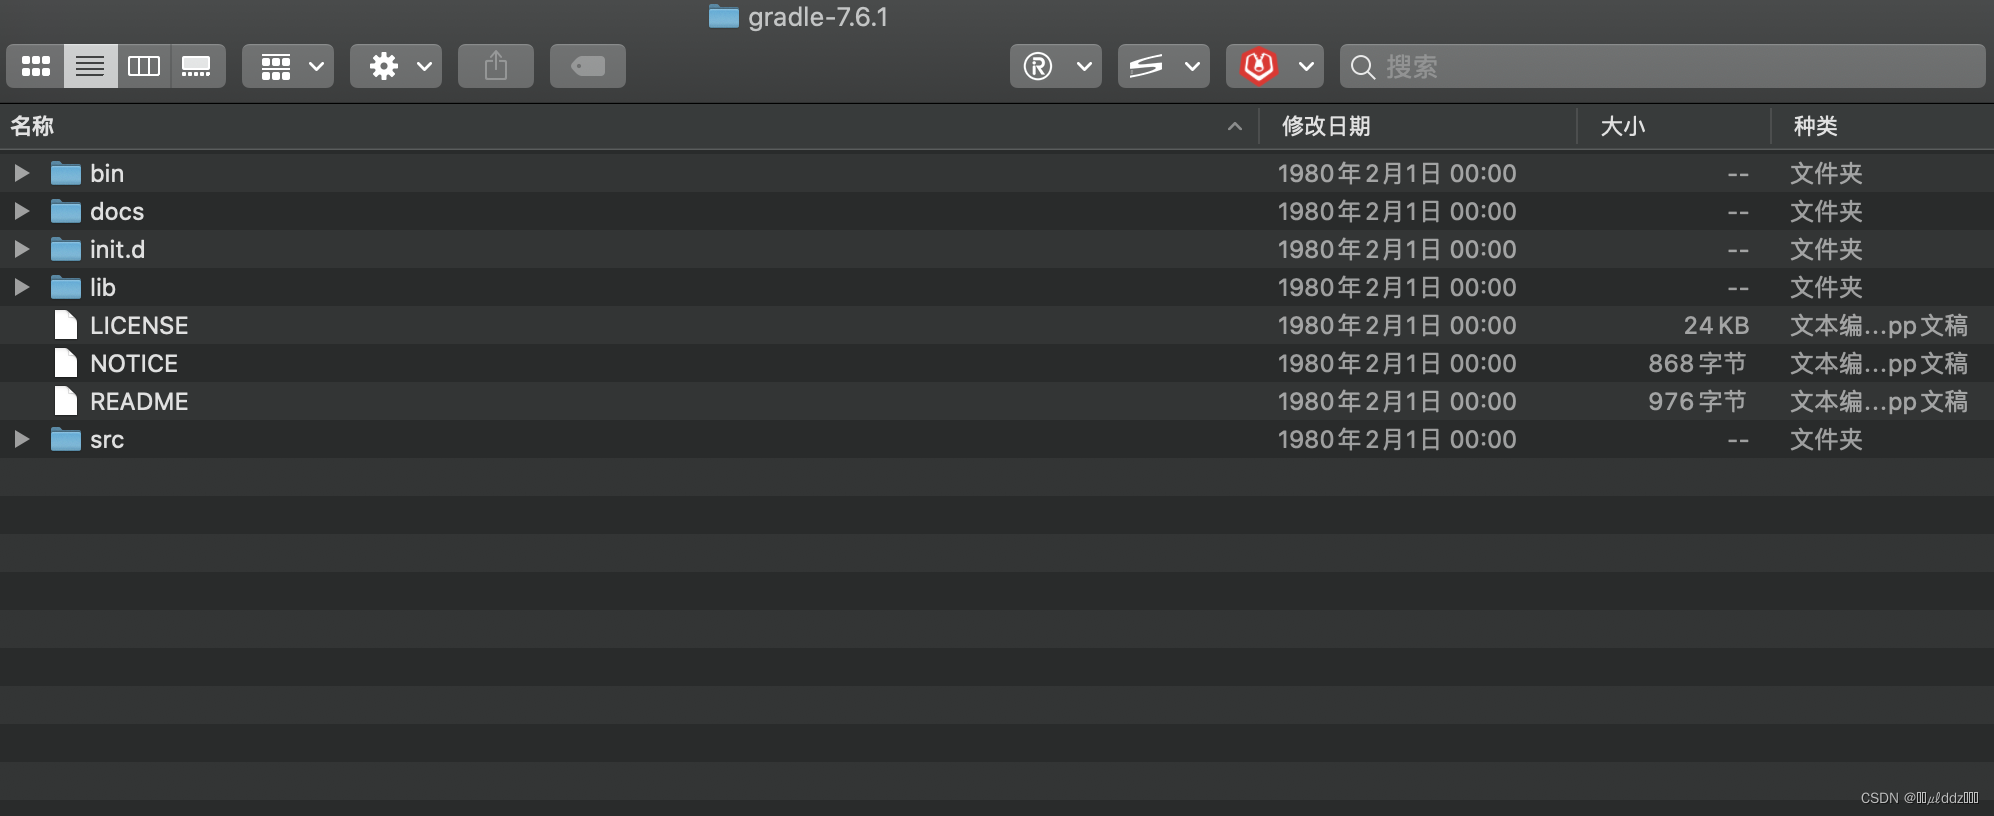
After unzipping, you can move the Gradle installation directory to your desired location. For example, you can move it /usr/local/under a directory.
sudo mv ~/gradle /usr/local/
Add the directory where Gradle is installed to your environment variables. Open a terminal and edit ~/.bash_profilethe file.
open ~/.bash_profile
Add the following content at the end of the file, replacing the path of Gradle with the path of the Gradle directory after you decompress it.
#gradle相关配置
export GRADLE_HOME="/Users/guo/gradle-7.6.1"
export PATH="$PATH:$GRADLE_HOME/bin"
export PATH="$PATH:/usr/local/gradle/gradle-7.6.1/bin"
Press Command + XSave and close the file.
Step 4: Make the environment variable take effect
Execute the following command in the terminal to make the modification of the environment variable just now take effect.
source ~/.bash_profile
Step 5: Verify Installation
Execute the following command in the terminal to verify that Gradle is installed successfully.
gradle -v
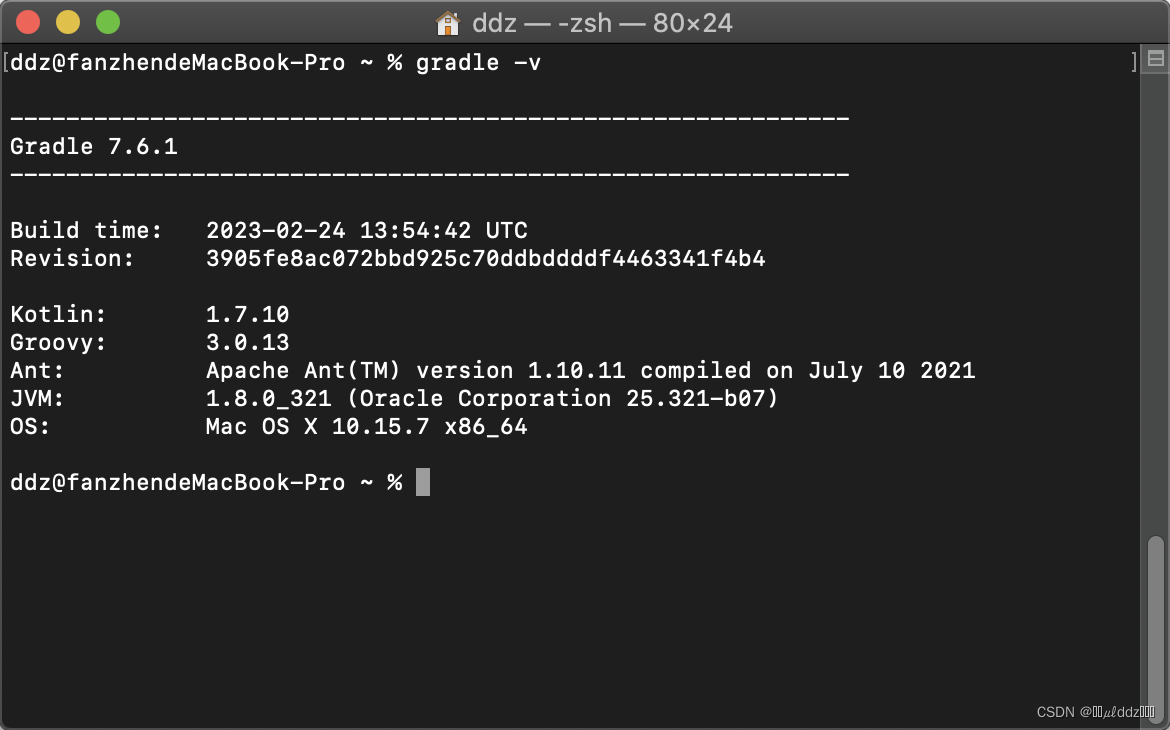
If the version information of Gradle is successfully displayed, it means that the installation is successful.
Now, you have successfully set up the Gradle environment on Mac. You are ready to use Gradle to build and manage your projects.