Introduction
The anaconda package manager and environment manager, it is highly recommended to use
1. Download
If the download from the official website is too slow, you can use the mirror to download. Download from the official website: Anaconda | Individual Edition www.anaconda.com/products/individual


2. Install
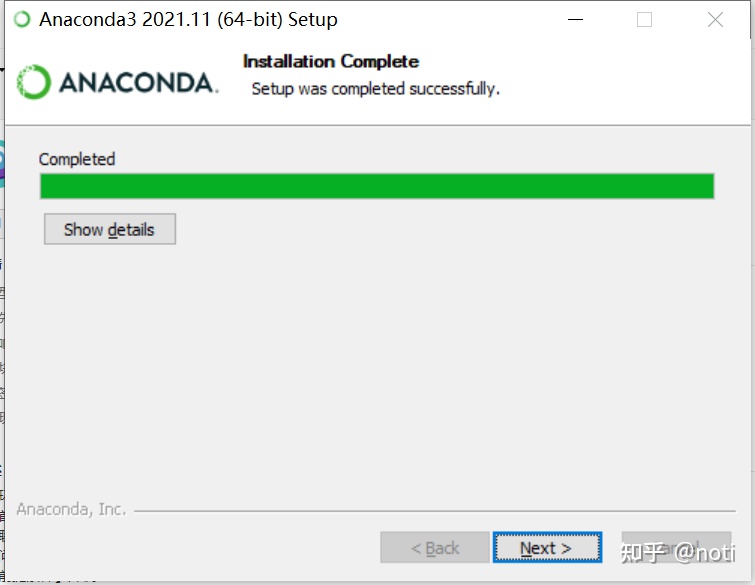
Fool-style installation, the installation can be completed in the next step


You can choose All users

Customizable path

Do not choose to add environment variables


3. Configure environment variables
D:\Anaconda
D:\Anaconda\Scripts
Add the above path to the system path, if not, refer to the following steps, right click on the computer and select properties, select advanced system settings

Click on Environment Variables

Select the system variable path and click Edit

Click New

Remind the following, environment variables really can not be forgotten
4. Inspection
Check if the installation is successful
conda --version
conda info

5. Increase domestic download sources

Anaconda image usage help is available for understanding. There is no .condarc file in the user directory. First execute conda config --set show_channel_urls yes to generate the file and then modify it. You can choose method 2 without this operation.
Method 1. Modify the .condarc file in the user directory
The path of the .condarc file is like: C:\Users\10264.condarc, and the path of your own is checked, and the content of the .condarc file is replaced with the following content
channels:
  - http://mirrors.tuna.tsinghua.edu.cn/anaconda/cloud/conda-forge/
  - http://mirrors.tuna.tsinghua.edu.cn/anaconda/pkgs/main/
  - http://mirrors.tuna.tsinghua.edu.cn/anaconda/pkgs/free/
show_channel_urls: true

Method 2. Command modification
# Add domestic sources, https will probably not be used
conda config --add channels http://mirrors.tuna.tsinghua.edu.cn/anaconda/pkgs/free/
conda config --add channels http://mirrors.tuna.tsinghua.edu.cn/anaconda/pkgs/main/
conda config --add channels http://mirrors.tuna.tsinghua.edu.cn/anaconda/cloud/conda-forge/
# Display the channel address when setting the search
conda config --set show_channel_urls yes
# delete the default source
conda config --remove channels defaults
# View channel address
conda config --show channels

It is recommended to refer to the above figure to execute
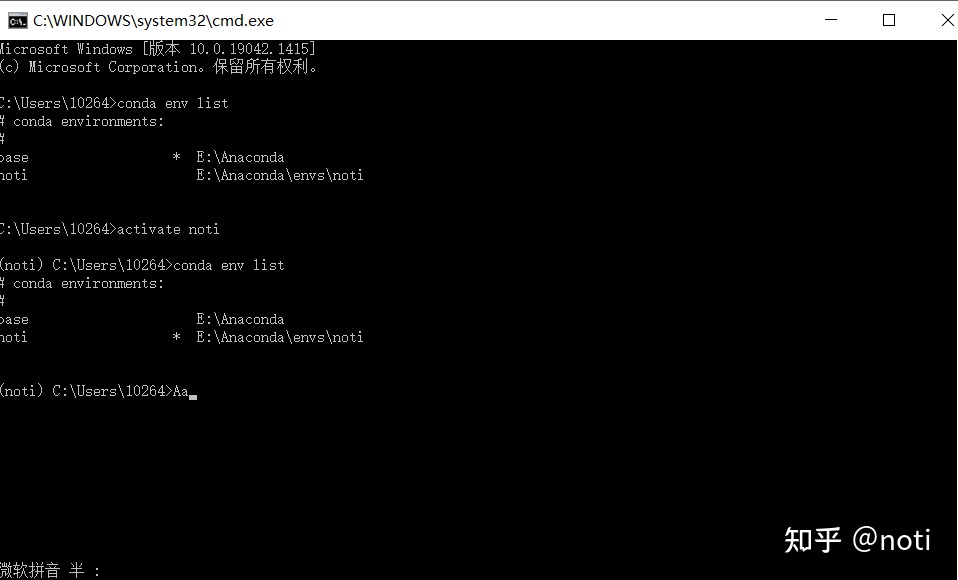
6. View all virtual environments
conda env list

7. Create a virtual environment
jupyter notebook is an easy-to-use interactive editor, and cudnn is a GPU-accelerated library for deep neural networks, which are installed directly in the noti virtual environment
conda create -n noti jupyter notebook
noti is the name of the virtual environment, jupyter notebook is a third-party library
8. Switch virtual environment
activate noti
Switch to the virtual environment named noti
9. Other commands
Request the following command on demand
- conda list: View all packages in the environment
- conda install XXX: install XXX package
- conda remove XXX: remove XXX package
- conda env list: list all environments
- conda create -n XXX: Create an environment named XXX
- conda create -n env_name jupyter notebook : Create a virtual environment
- activate noti (or source activate noti): enable/activate the environment
- conda env remove -n noti: delete the specified environment
- deactivate (or source deactivate): exit the environment
- jupyter notebook : open Jupyter Notebook
- conda config --remove-key channels : switch back to the default source