RocketMQ installation steps
Environment required for installation:

With the above environment, we can carry out our steps
first:
Let's download the 4.9.0 compressed package from the URL of RocketMQ


After downloading, we put it in our virtual machine for decompression. Specifically, it can be placed in the opt directory
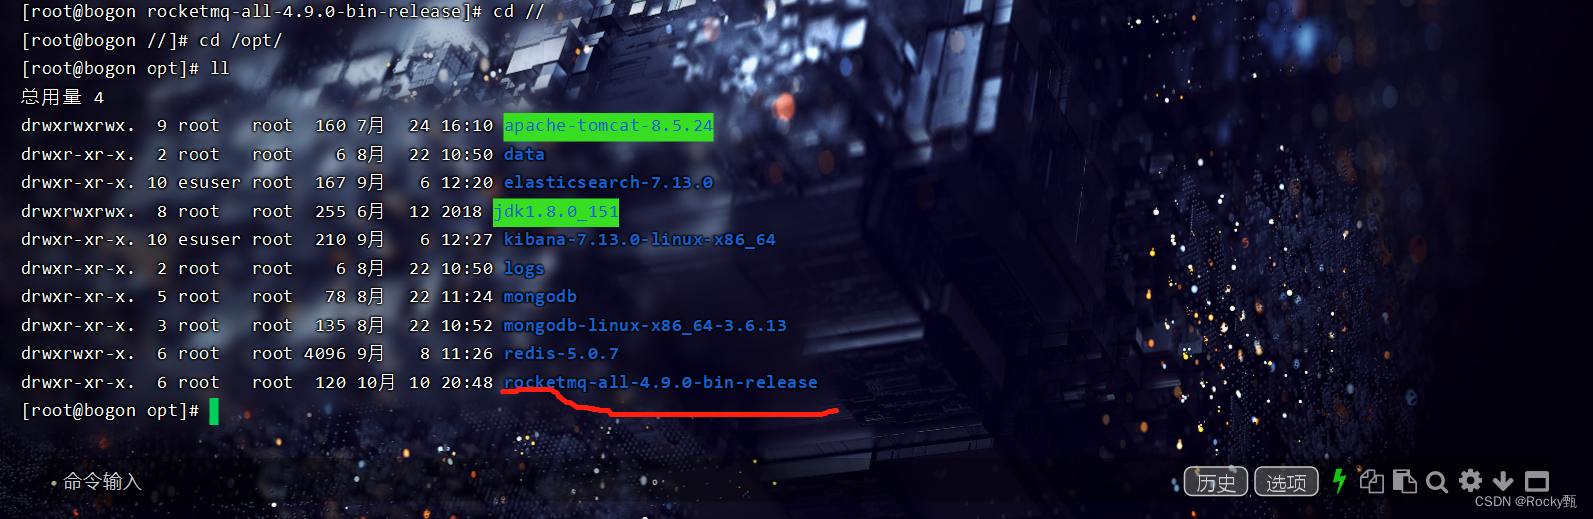
If it is a compressed package, we need to decompress the compressed package
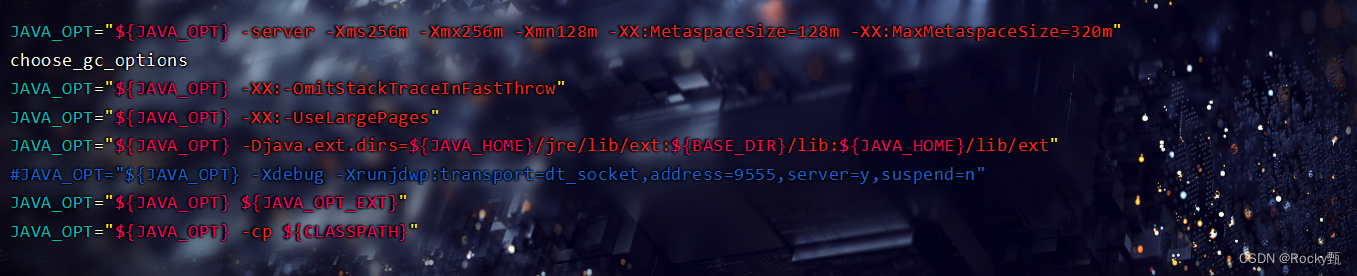
After downloading and decompressing, if we want to run it no problem, we need to change two configuration files:
vim bin/runserver.sh executes this command to modify the memory because the original memory is too large and is 4g, we modify it to 256mb
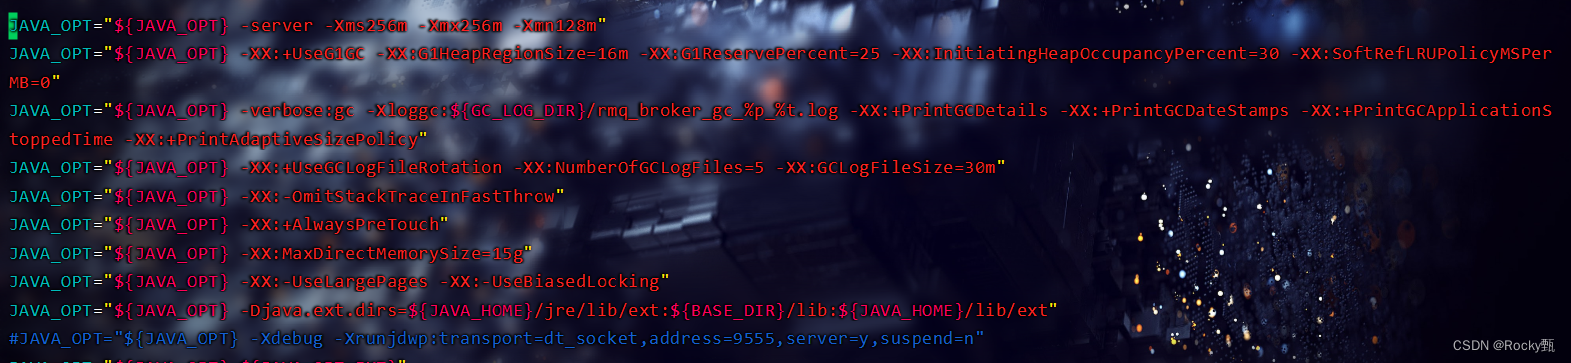
vim bin/runbroker.sh executes this command to modify the memory
After changing these two configurations, we can start it:
Start MQnamesrv
nohup sh bin/mqnamesrv &

After that start MQbroker:
nohup sh bin/mqbroker -n localhost:9876 &

After the startup is complete, we can check the startup status by viewing the log:
tail -f ~/logs/rocketmqlogs/broker.log
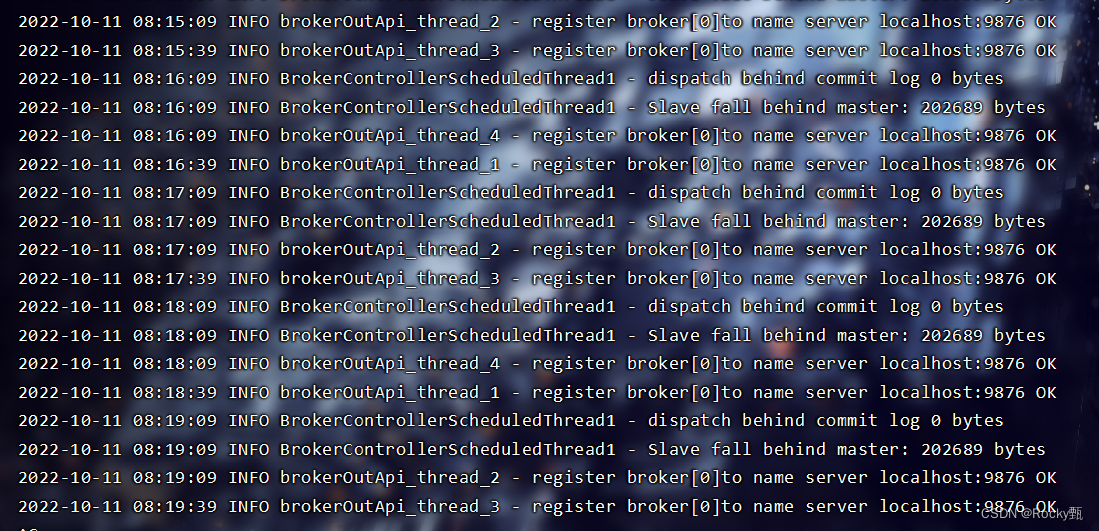
When ok appears, the startup is successful.
After the startup is successful, we can view the running process through the JPS command:
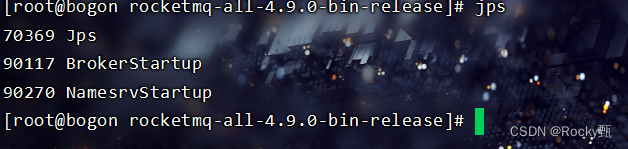
If the above appears, the startup is successful.
Next we can send a message for testing:
export NAMESRV_ADDR=localhost:9876
sh bin/tools.sh org.apache.rocketmq.example.quickstart.Producer
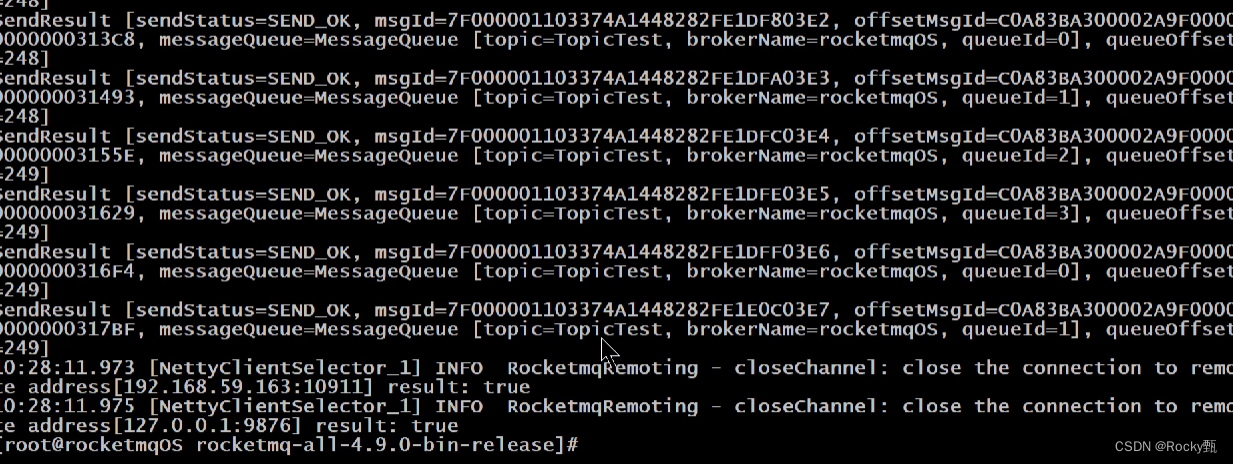
This is success
Next test the Consumer consumer
sh bin/tools.sh org.apache.rocketmq.example.quickstart.Consumer

This is success
Next, let me tell you how to close Servers
close namesrv
sh bin/mqshutdown namesrv

close broker
sh bin/mqshutdown broker

So far, our above installation is all over, and then we need to install and start the console:
download link:
Tags · apache/rocketmq-externals · GitHub

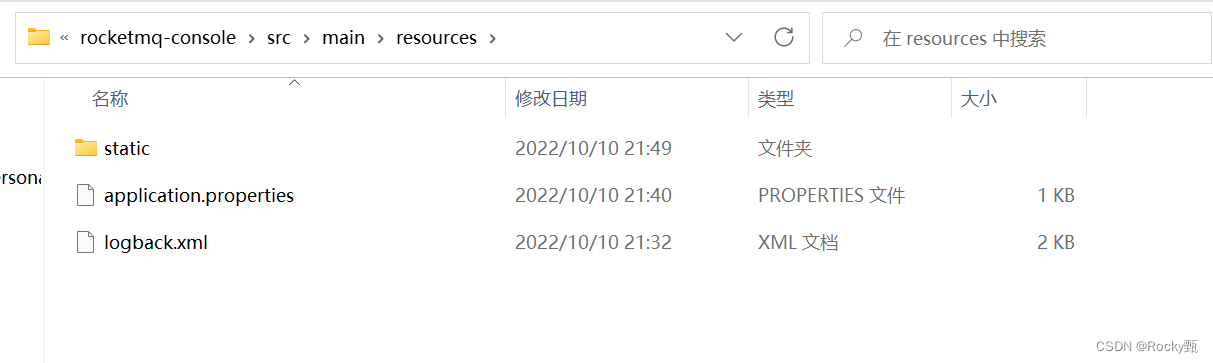
Here we install version 1.0.0. After downloading, we need to decompress, and then we need to change the port number in the following location
Change to the following

The following IP address is changed to the ip of our own virtual machine. Next, we need to add a few pom dependencies because it may report an error if there is no one at startup. Configure it in the following location:
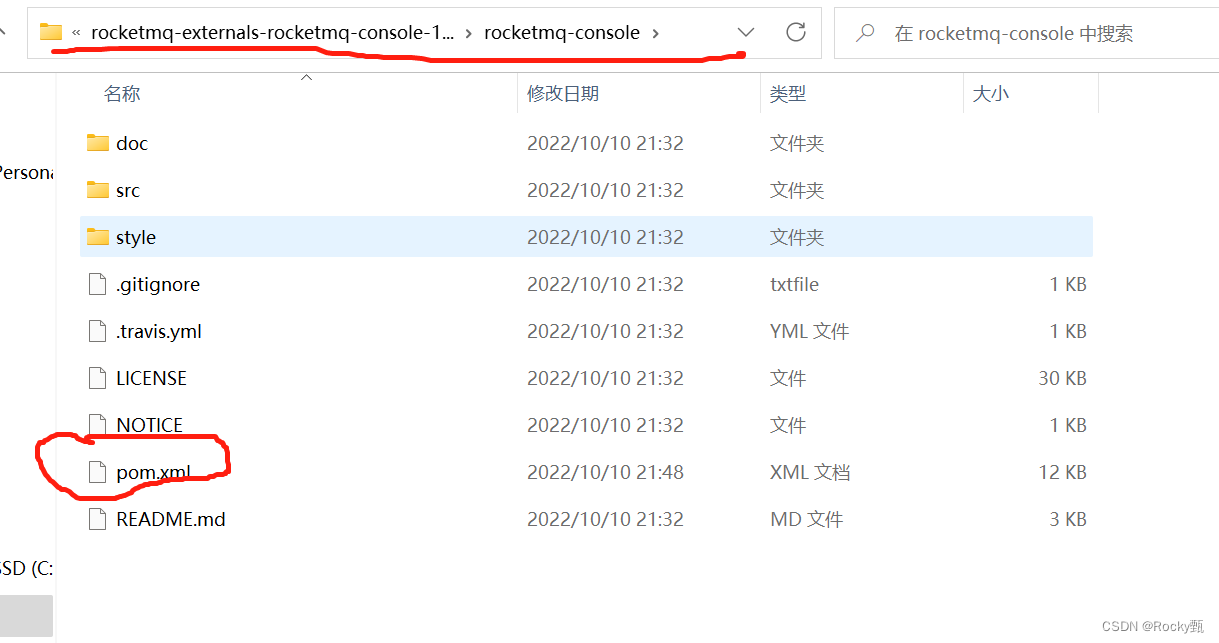
The following dependencies need to be added to it:
<dependency>
<groupId>javax.xml.bind</groupId>
<artifactId>jaxb-api</artifactId>
<version>2.3.0</version>
</dependency>
<dependency>
<groupId>com.sun.xml.bind</groupId>
<artifactId>jaxb-impl</artifactId>
<version>2.3.0</version>
</dependency>
<dependency>
<groupId>com.sun.xml.bind</groupId>
<artifactId>jaxb-core</artifactId>
<version>2.3.0</version>
</dependency>
<dependency>
<groupId>javax.activation</groupId>
<artifactId>activation</artifactId>
<version>1.1.1</version>
</dependency>
After adding these dependencies, we can start the test:
 Entering the small black window we want to skip the test step because the test may not pass:
Mvn clean package -Dmaven.test.skip=true
If it is displayed that mvn cannot be found, it is because there is no maven environment variable configured in your system and you need to add variables


Then execute it! !
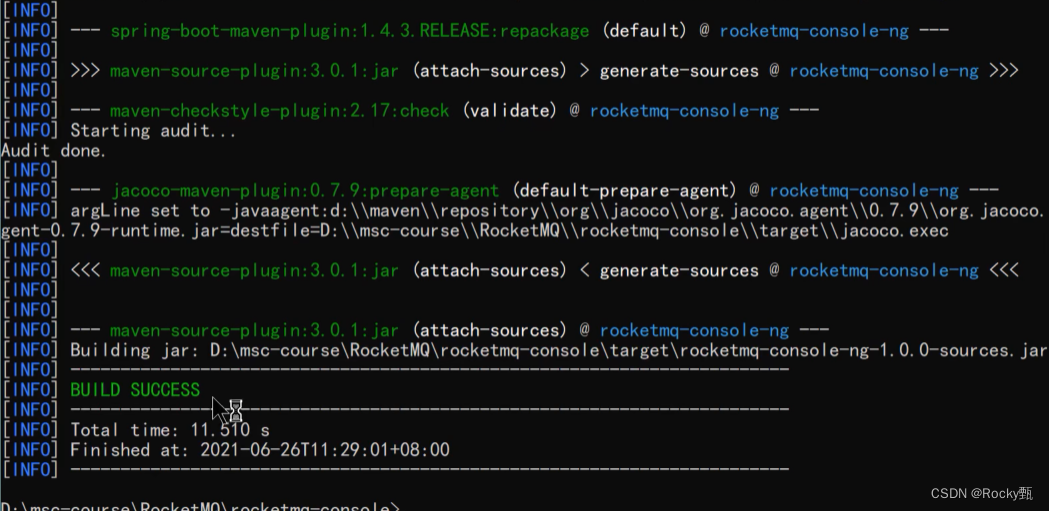
This is success!
Add it down and we will find some jar packages
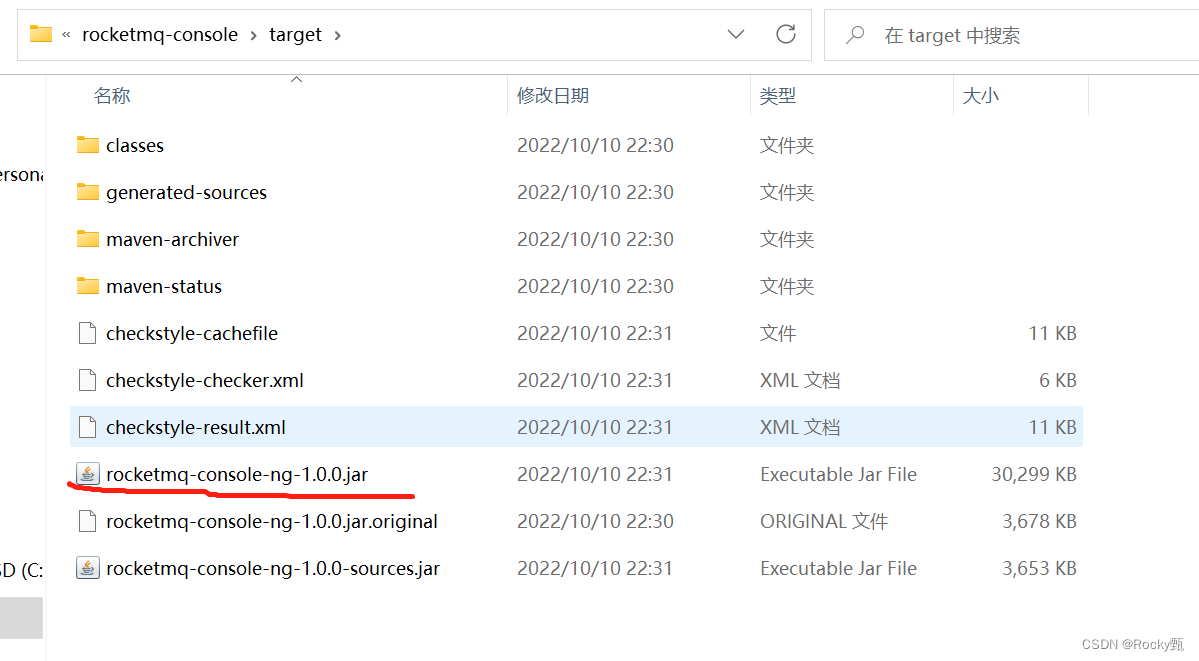
We can pull out this jar package or here I am used to pull it out, and then execute this jar package
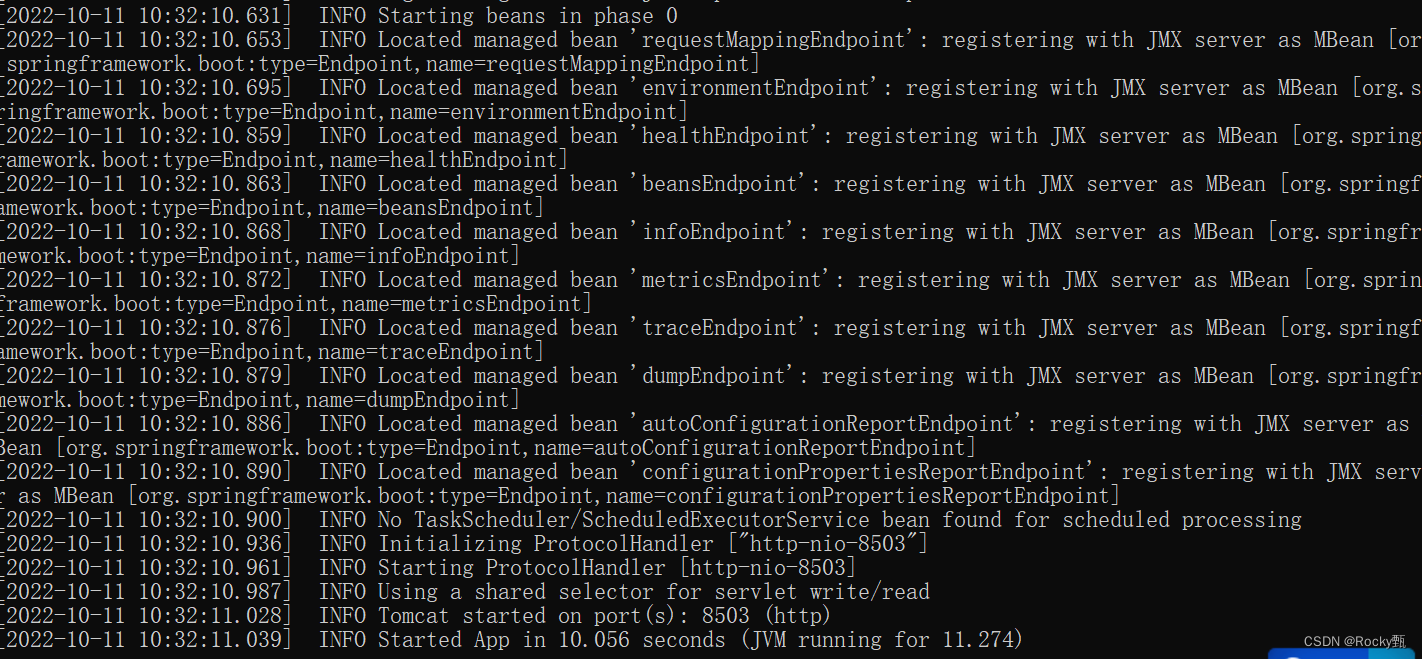
This is a success, and then we can enter the URL to visit

When this page appears, everyone can thank me, hahahahahahaha, I wish you all the best, update here first, if you encounter problems, you can comment, you can private message me, love life and code! !