Article directory
1. Background
In some cases, we need to process the content of XML format files, which can be opened and processed directly, but for some cases that need to be automated or inconvenient for manual processing, our code implementation is more critical. Here I am modifying ant build.xml file to achieve.
2. Realize the effect
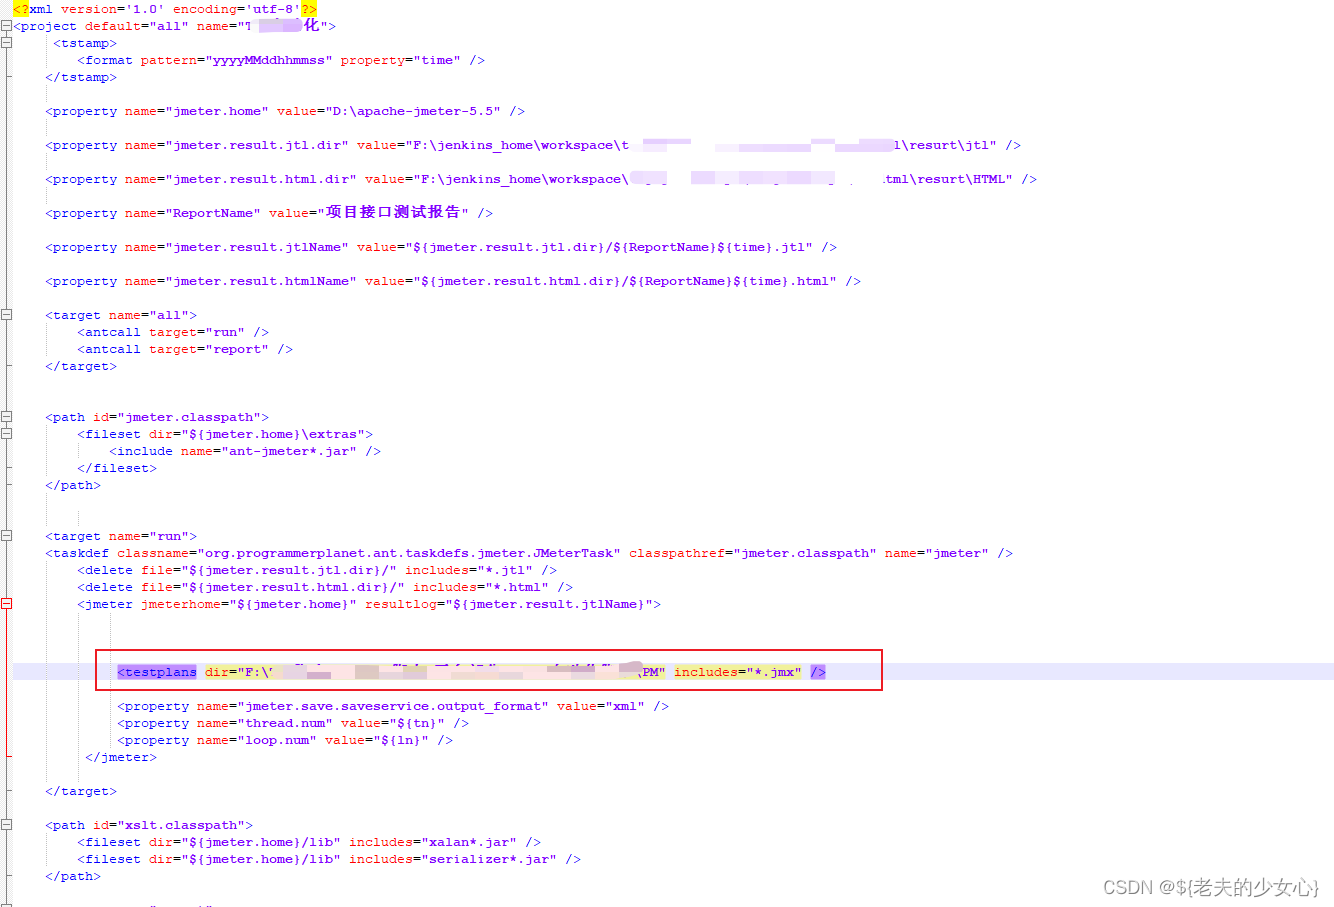
The final effect is: change the content we specify to be modified. Here I change the order of executing jmx scripts when needed, that is, modify the circled place in the figure, and use the flexibility of python code to continuously modify the build. The xml file controls ant to execute different .jmx scripts to generate different reports
3. Use of built-in libraries
In the process of modifying the xml file, we need to use python's built-in library: xml.etree.ElementTree
. The ElementTree library provides a variety of xml node operations and element operation methods: you can refer to this great god's explanation: https:/ /blog.csdn.net/weixin_43956958/article/details/121986040
The way to import the library: import xml.etree.ElementTree as ET [We give an alias for convenience]
Fourth, code implementation analysis
1. After importing the ElementTree library
import xml.etree.ElementTree as ET
2. Open the local xml file
doc = ET.parse(xml_path)
root = doc.getroot()【getroot()代表读取节点内容】
3. Get the nodes in the root directory
root.find('这里是需要查找的节点路径jsonpath')
root.find('.//testplans')
root.find('.//property[@name = "ReportName"]')
sub1 = root.find('.//testplans')
4. Change the content of nodes
4.1 Add and associate nodes
方法一:单独创建节点进行关联
# 创建一个标签tagName1
tagName1 = ET.Element("节点名称", {

    "属性名":"属性值"})
# 将标签tagName1作为root的子标签
root.append(tagName1 )
# 将标签tagName1作为sub1 的子标签
sub1.append(tagName1 )

方法二:直接在节点下创建节点关联
root.makeelement("节点名称", {

    "属性名":"属性值"})
sub1.makeelement("节点名称", {

    "属性名":"属性值"})
4.2 Edit node properties
4.2.1 Add new properties
sub1 = root.find('.//testplans')
sub1.set('新增的属性名称', '新增属性value值')
sub1.set('name','new')
sub1.text="新增的text值"
4.2.2 Modify properties
sub1 = root.find('.//testplans')
sub1.set('需要修改的的属性名称', '修改后的属性value值')
sub1.set('includes','1111.jmx')
sub1.text="修改的text值"
4.2.3 Delete property
subl..attrib.pop('属性名')
subl..attrib.pop('includes')
4.3 Delete node
root.remove('节点定位')
root.remove(sub1)
4.4 Save changes to file
保存内容
tree = ET.ElementTree(root)
写入文件
doc.write(文件路径, encoding='utf-8', xml_declaration=True)
Five, complete code
# 修改本地xml文件
def change_xml(xml_path, change_list):
    '''
    修改本地xml文件
    xml_path:xml路径
    change_list:需要修改内容,[{'xml_json_path': 'json_path路径', 'data':{'元素属性名称':'元素属性值'}}]例子:[{'xml_json_path': './/property[@name = "ReportName"]', 'data':{'value':'666955555'}}]
    '''
    print(xml_path)
    # 打开xml文件
    doc = ET.parse(xml_path)
    root = doc.getroot()
    for change in change_list:
        # 查找修改路径
        sub1 = root.find(change['xml_json_path'])
        # 修改标签内容
        for key, value in change['data'].items():
            # 修改内容
            sub1.set(key, value)
    # 保存修改
    doc.write(xml_path)
    doc.write(xml_path, encoding='utf-8', xml_declaration=True)