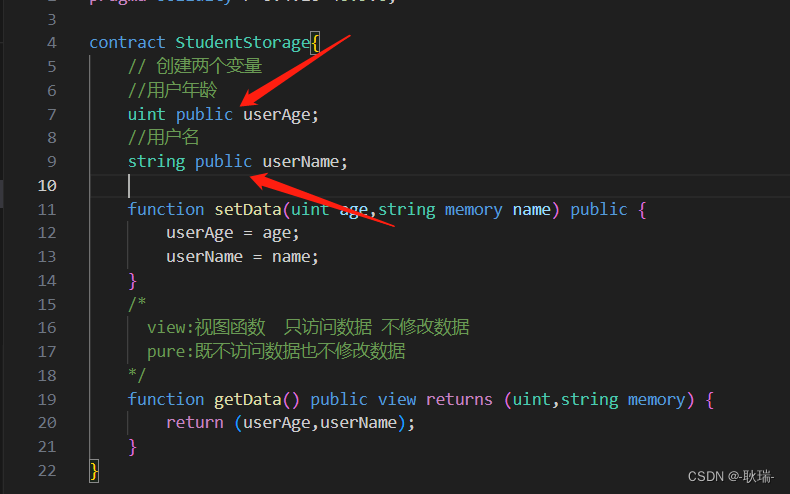
Above, Web3 wrote its first solidity smart contract in the Truffle project. We demonstrated the function of writing a smart contract and compiling it in the Truffle environment.
The JSON in the compiled folder is very important, and we can use it This ABI is linked to the required smart contract program

, but this is only compiled and our smart contract has not been deployed to our blockchain.
Then we create a 1_contract.js in the migrations directory under the root directory. Note that the file here must start with a number.
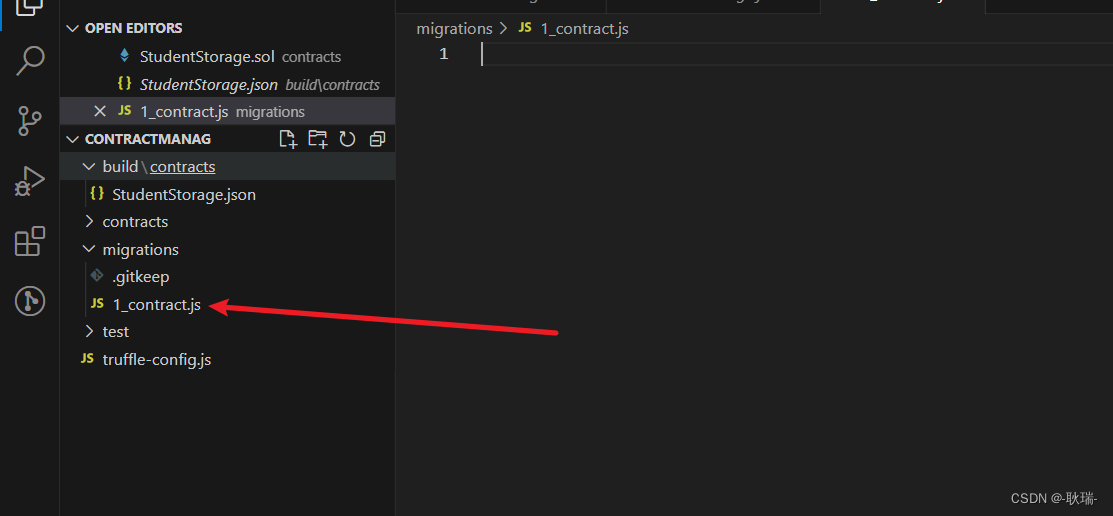
When we create a file in this directory, it will be 1, what, 2, what, 3, and so on. Otherwise, we will deploy it It will report an error
because if you don't follow its specification, it can't find it. It only recognizes those that start with numbers.
We write 1_contract.js code as follows
const Contacts = artifacts.require("StudentStorage.sol")
module.exports = function(deployer) {


    deployer.deploy(Contacts)
}
For the path in our artifacts.require, you only need to write the name of the contract file because it will automatically find it in the contracts directory for you.
If you have multiple contracts here,
then
const 合约1名称 = artifacts.require("文件路径")
const 合约2名称 = artifacts.require("文件路径")
const 合约3名称 = artifacts.require("文件路径")
module.exports = function(deployer) {


    deployer.deploy(合约1名称)
    deployer.deploy(合约2名称)
    deployer.deploy(合约3名称)
}
that's it
Then we execute in the terminal
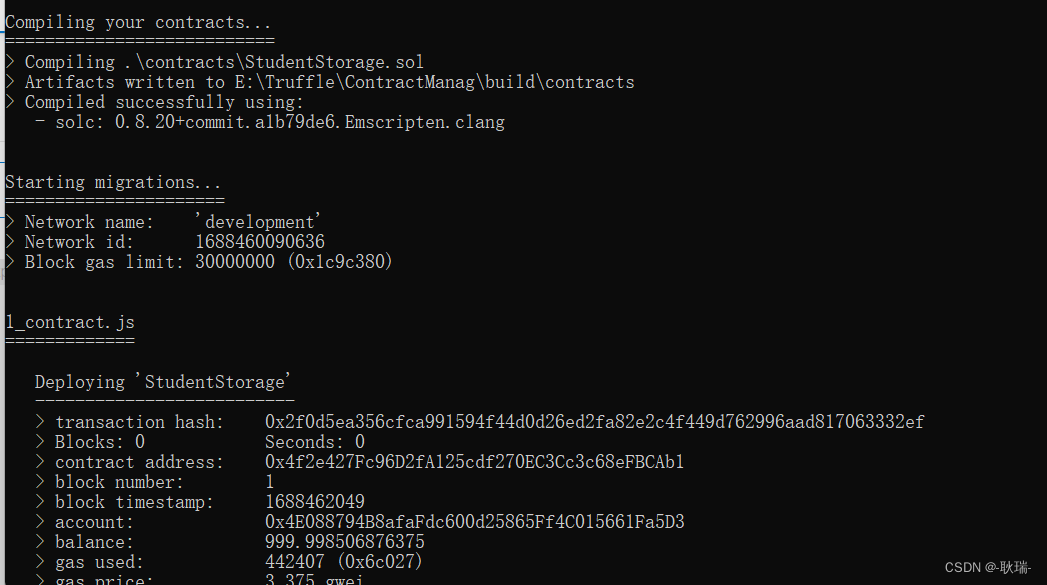
truffle migrate
This command is compiled first and then executed, so in fact, it also includes the function of truffle compile that we used before.
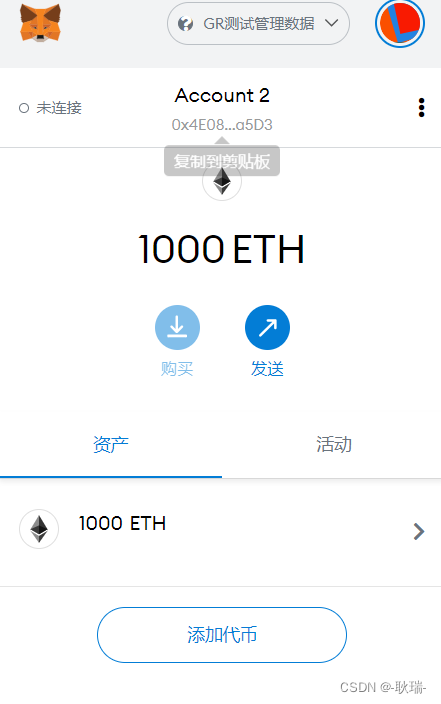
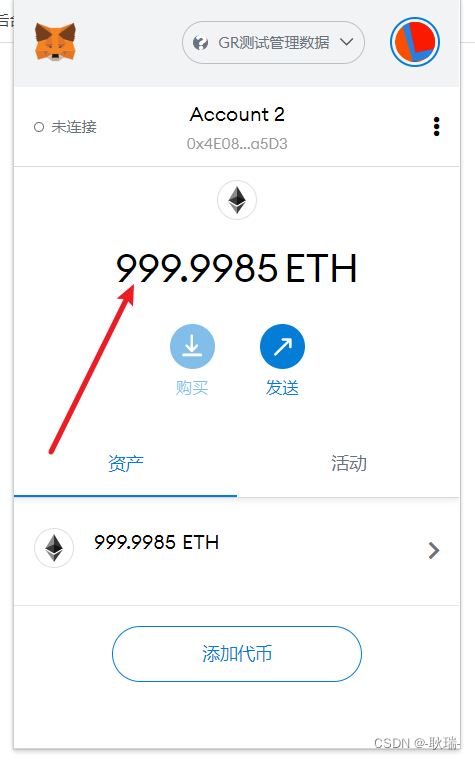
Before execution, we first check the ETH of the first user in the ganache environment through MetaMask,
and then we execute the command
Through the console, we can see that this is indeed compiled first, then deployed, and
then come back to see MetaMask. The data of our first user has indeed changed,
so our web3 call must not be done now, but if we, as a back-end developer, we develop a The program itself must be tested.
We first execute in the terminal
truffle console
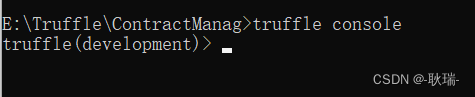
Enter the truffle console
Then we type
const obj = await StudentStorage.deployed()
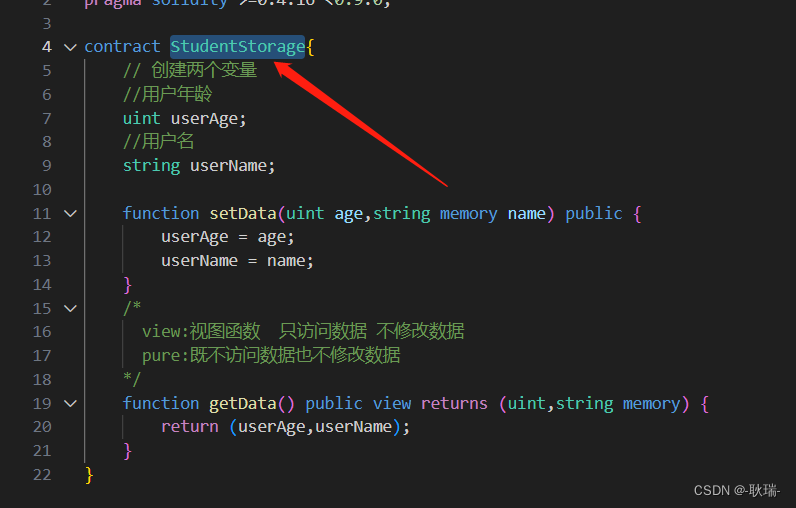
Note that StudentStorage is the name of the smart contract. If your name is different from mine, you need to change it according to the name of your contract.
After this command is executed, we can get an object of the smart contract.
After execution, we enter in the terminal
obj
For object access,
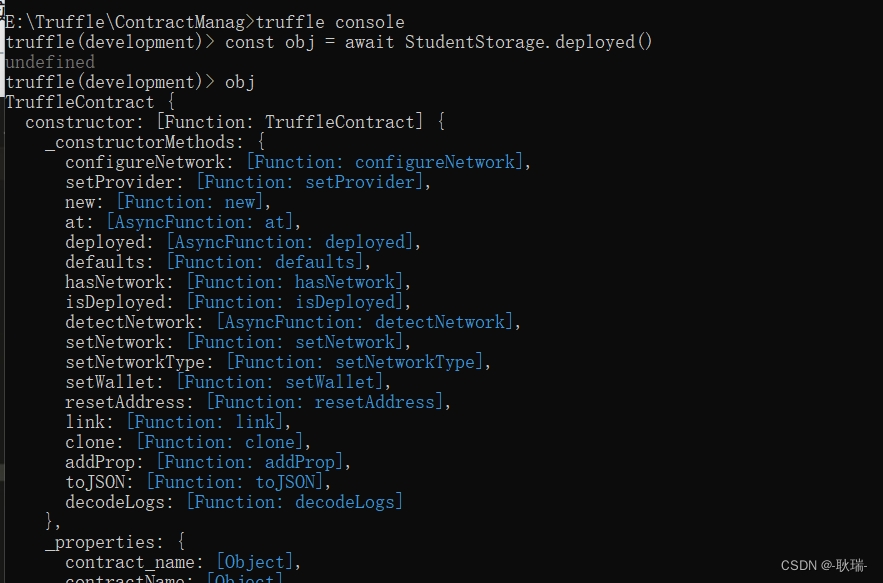
you can see that it is a very large object
In the future, an object obtained by connecting the smart contract to Web3 is like this.
We can pass the contract object.address on the terminal.
For example, here I am
obj.address
Seeing his address on the chain

, let's try to call our method
terminal input
obj.setData(33,"小猫猫")
The corresponding content is output here.
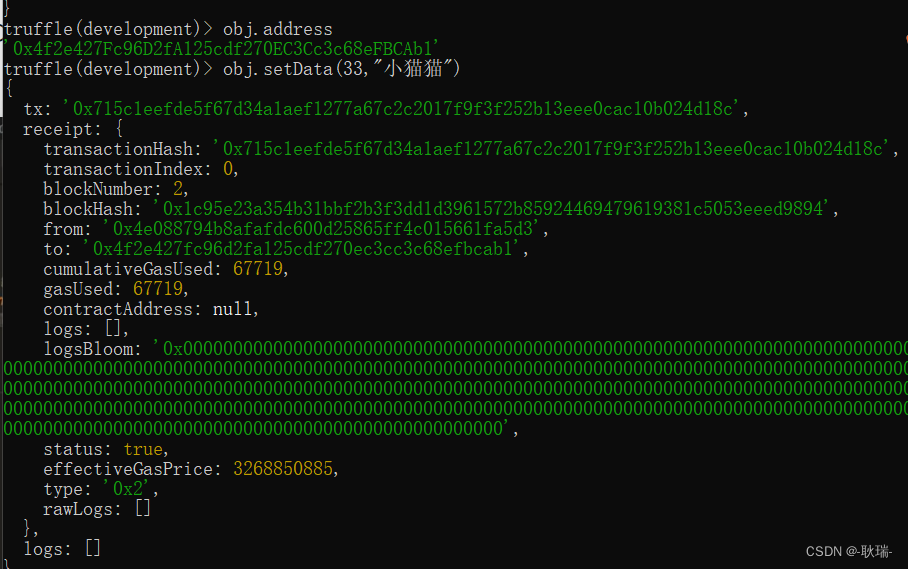
In fact, it outputs the fuel and other information consumed by your data uplink. It
is stored
, so let’s get it.
obj.getData()
Our data is back.
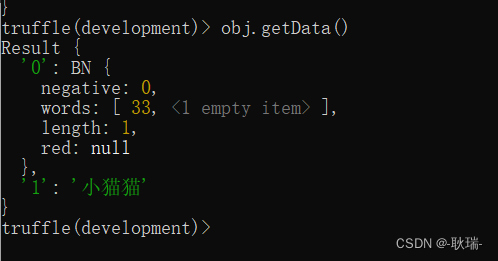
Through the return of age, we can see that the processing of uint is relatively special, but don’t worry about it. We can still process it into a normal numerical type with web3.
Then there is a name and age in our contract, can we get it directly through the contract object?
Obviously you can’t get it.
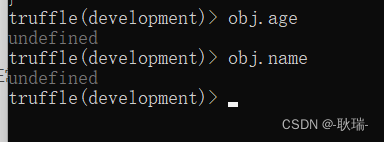
If you want him to have direct access, then set it public.