This article is synchronously updated on Mouse House
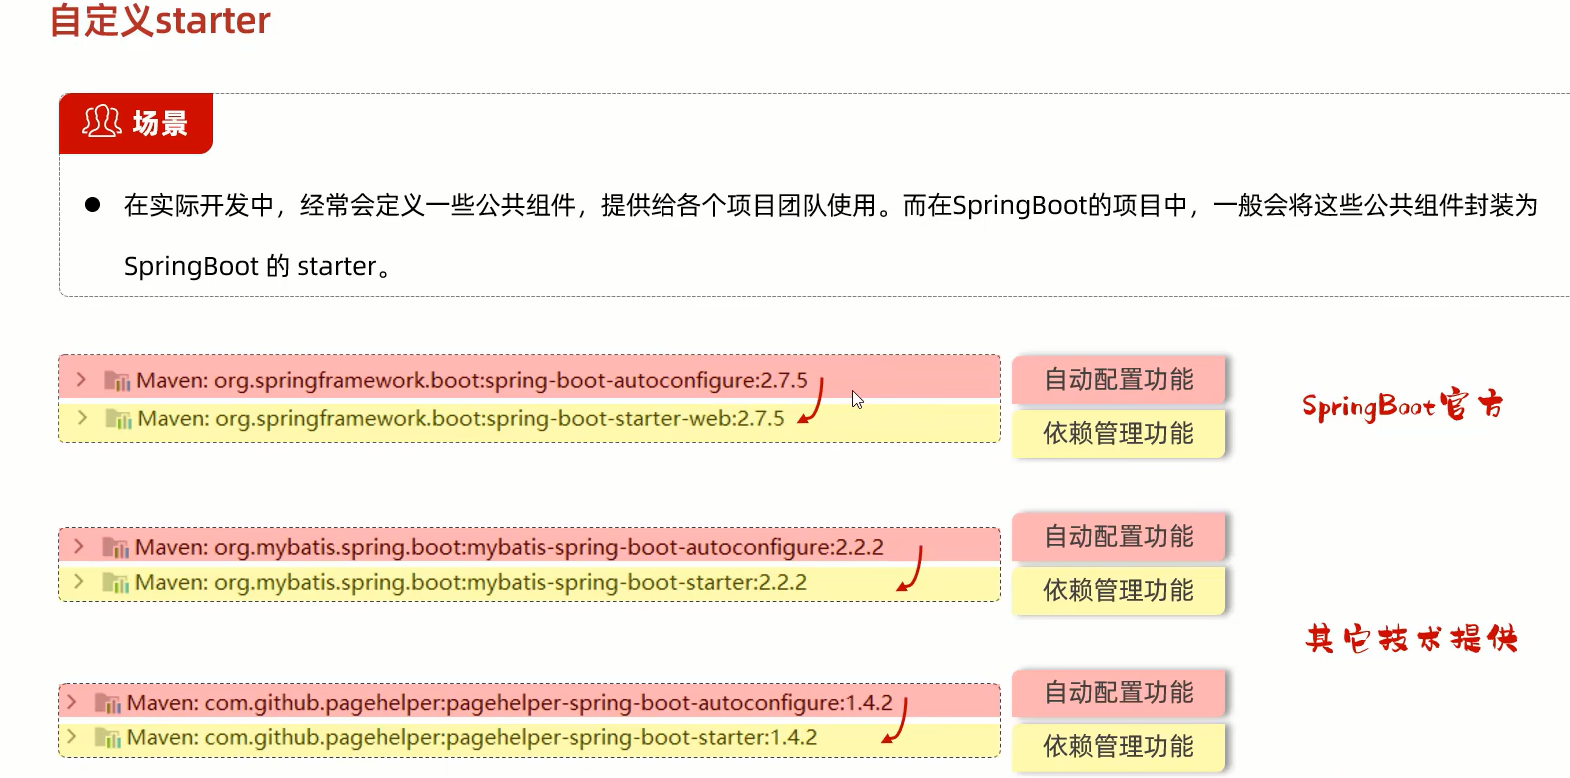
starter definition
The starter is the starting dependency in springboot. Although springboot has provided a lot of starting dependencies, it may use third-party technologies in actual project development. Not all third parties are included in springboot.
For example, the Alibaba Cloud OSS that was used in the previous article, Alibaba Cloud does not provide the starting dependencies, so you have to write some classes yourself every time you use it.

Since the official start of springboot is spring-boot first, other providers usually have technical names first.
There is no java code in the starting dependencies of mybatis below, but the coordinates of the dependencies required for mybatis development are integrated, 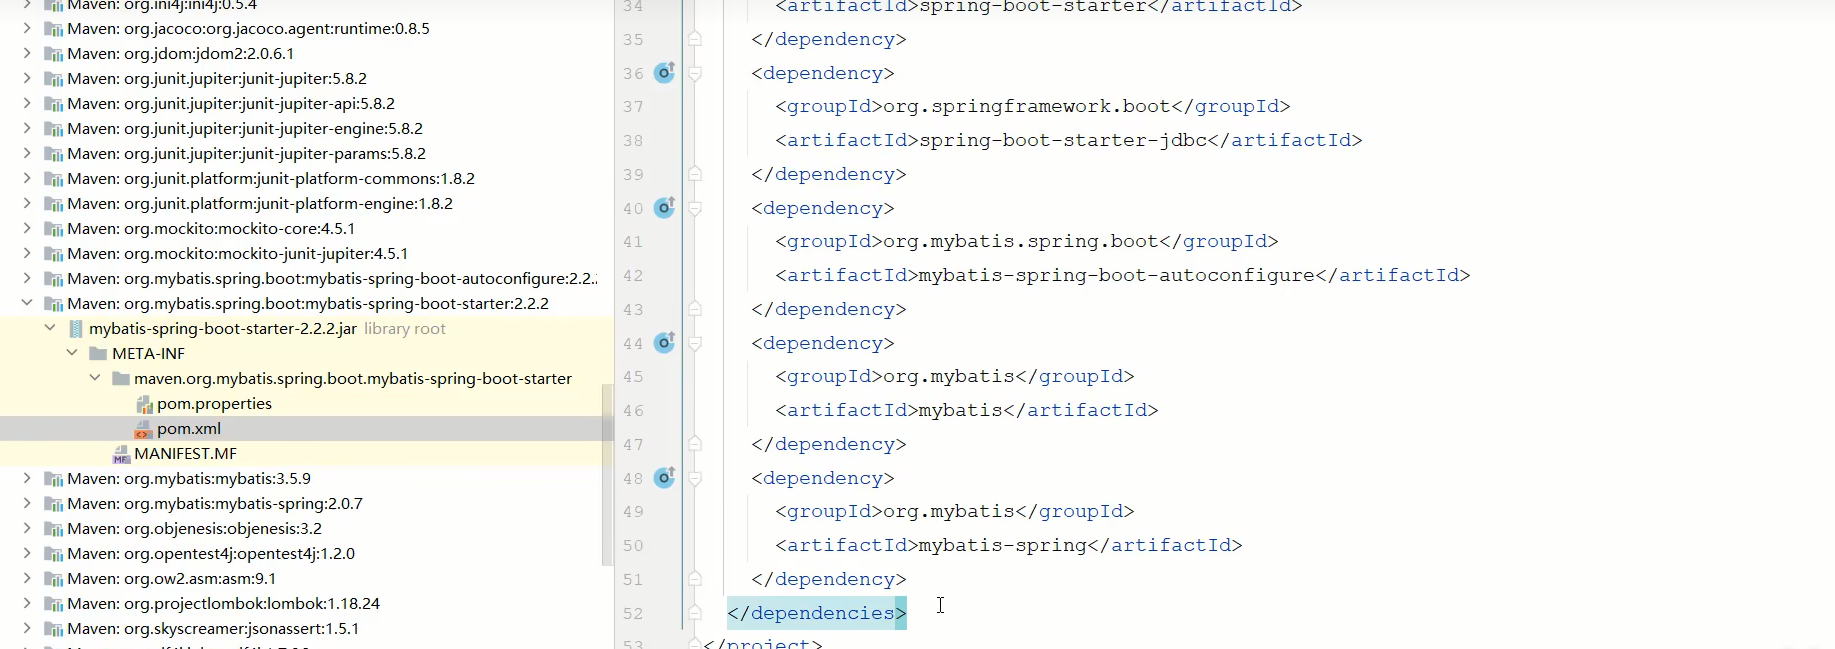 which includes a dependency mybatis-spring-boot-autoconfigure, which declares a bunch of Bean objects in this automatic configuration class.

Inside you can see some commonly used classes such as SqlSessionFactory 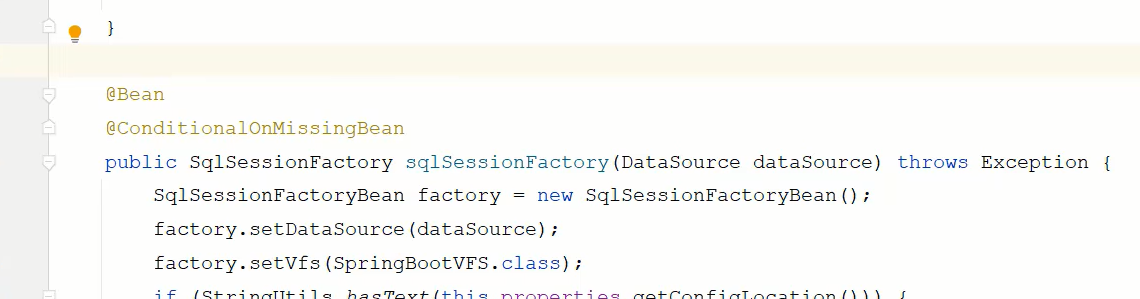
So how are these configuration classes loaded into the IOC container by the SpringBoot project and automatically configured after they are configured?
As mentioned earlier, SpringBoot will load the two files in the dependencies when it starts. If it is an old version, it will load spring.factories. If it is a new version, it will load the autoconfigure.import file.
Therefore, after the automatic configuration class is configured, the automatic configuration class can be configured in the spring.factories or autoconfigure.import file.
Finally, it will be loaded into the spring IOC container.
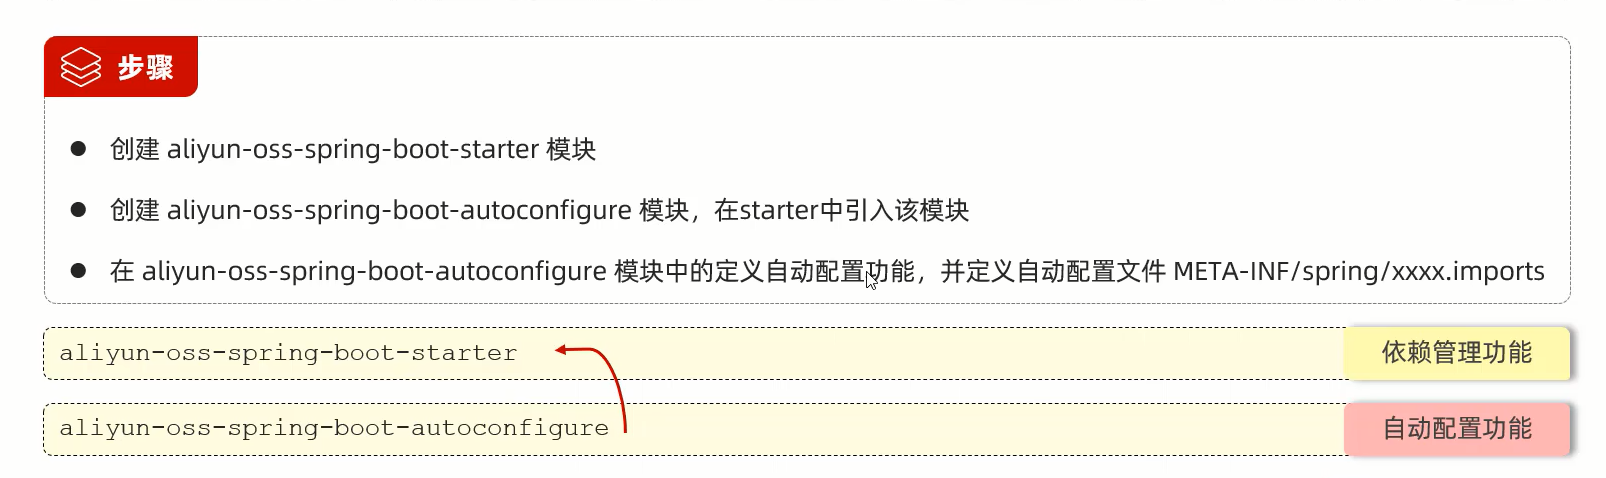
Therefore, when customizing a start-up dependency starter, two modules need to be defined according to the specification, one is the starter module, and its only function is to perform dependency management.
Another autoconifure package is to complete the automatic configuration operation.
In the end, only the starter module will be imported in the project, because the starter has already imported the autoconfigure module.
The above is a brief introduction to the scene of custom starter, each module involved in custom starter and the functions involved in each module.
Custom starter case
Statement of needs

When not encapsulated, you have to manually write some OSS tool classes and add them to the IOC container every time you use them.
According to the sample SDK file officially provided by Alibaba Cloud, it is transformed into the following tool class, and the required parameters are configured in the yml configuration file, and then an entity class is required to load the configuration items in the configuration file.
Finally, the required parameters can be obtained in the tool class, and then handed over to the springIOC container for management, and then injected directly when the project is used.
This process is very cumbersome


For specific packaging, see here two articles
Cloud Service - Getting Started with Alibaba Cloud OSS
The above process is a very tedious and repetitive process, so it can be encapsulated into a dependency, which can be directly used after importing through coordinates.
step analysis
Implementation
Create the two required modules
Choose to create a new module
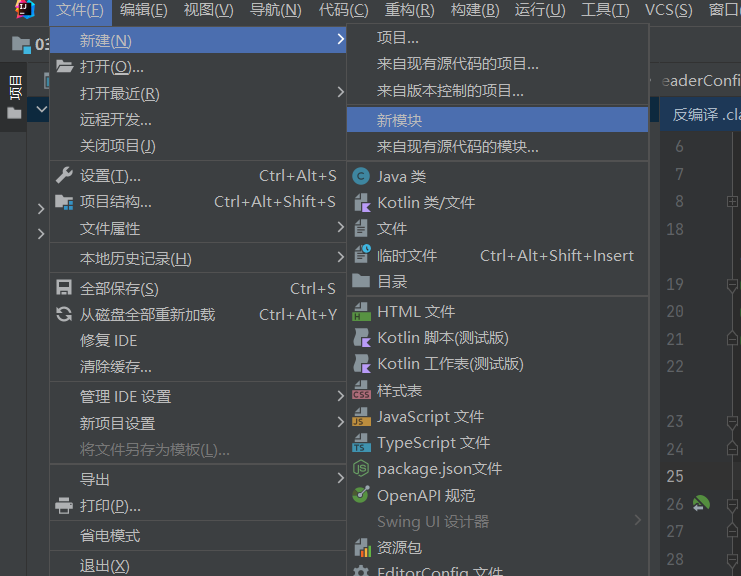
First create a new starter module
 The pom.xml file of the regular starter module is as follows
First change the version to 2.7.5, and then delete the redundant dependencies.
<?xml version="1.0" encoding="UTF-8"?>
<project xmlns="http://maven.apache.org/POM/4.0.0" xmlns:xsi="http://www.w3.org/2001/XMLSchema-instance"
         xsi:schemaLocation="http://maven.apache.org/POM/4.0.0 https://maven.apache.org/xsd/maven-4.0.0.xsd">
    <modelVersion>4.0.0</modelVersion>
    <parent>
        <groupId>org.springframework.boot</groupId>
        <artifactId>spring-boot-starter-parent</artifactId>
        <version>2.7.5</version>
        <relativePath/> <!-- lookup parent from repository -->
    </parent>
    <groupId>com.aliyun.oss</groupId>
    <artifactId>aliyun-oss-spring-boot-starter</artifactId>
    <version>0.0.1-SNAPSHOT</version>

    <properties>
        <java.version>11</java.version>
    </properties>
    <dependencies>
        <dependency>
            <groupId>org.springframework.boot</groupId>
            <artifactId>spring-boot-starter</artifactId>
        </dependency>
    </dependencies>
</project>
Then the project file of the starter module is deleted, leaving only a pom.xml and an iml file.

Then create a new autoconfigure module and follow the above process again
Then modify the pom.xml of the autoconfigure module as follows, delete the project file into the following structure, only one more src than above

<?xml version="1.0" encoding="UTF-8"?>
<project xmlns="http://maven.apache.org/POM/4.0.0" xmlns:xsi="http://www.w3.org/2001/XMLSchema-instance"
         xsi:schemaLocation="http://maven.apache.org/POM/4.0.0 https://maven.apache.org/xsd/maven-4.0.0.xsd">
    <modelVersion>4.0.0</modelVersion>
    <parent>
        <groupId>org.springframework.boot</groupId>
        <artifactId>spring-boot-starter-parent</artifactId>
        <version>2.7.5</version>
        <relativePath/> <!-- lookup parent from repository -->
    </parent>
    <groupId>com.aliyun.oss</groupId>
    <artifactId>aliyun-oss-spring-boot-autoconfigure</artifactId>
    <version>0.0.1-SNAPSHOT</version>

    <properties>
        <java.version>11</java.version>
    </properties>
    <dependencies>
        <dependency>
            <groupId>org.springframework.boot</groupId>
            <artifactId>spring-boot-starter</artifactId>
        </dependency>

    </dependencies>

</project>
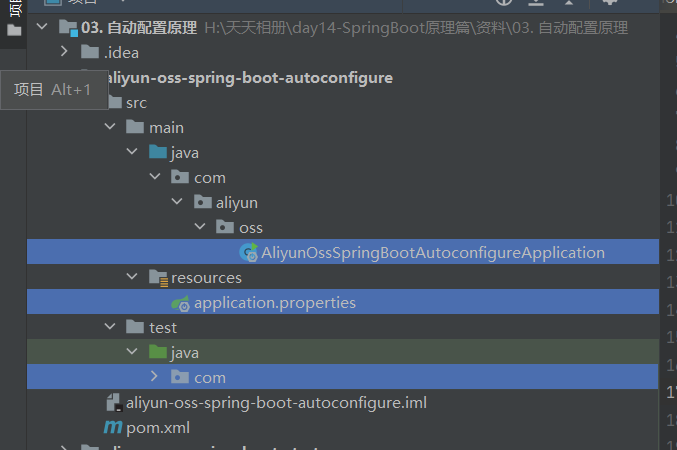
In the future, autoconfigure will be used as a dependency of other project files, so the application startup class is not needed, nor is the configuration file, nor is the test unit. Delete the three files shown in the figure below
The module creation work is over (the two basic modules required by a dependency are prepared above)
Then you need to introduce the autoconfigure module in the starter module, which is the specification mentioned earlier.
Import the coordinates of autoconfigure directly.
        <dependency>
            <groupId>com.aliyun.oss</groupId>
            <artifactId>aliyun-oss-spring-boot-autoconfigure</artifactId>
            <version>0.0.1-SNAPSHOT</version>
        </dependency>
Complete the automatic configuration operation in autoconfigure

According to the target requirements, an AliyunOSSUtils tool class needs to be prepared in autoconfigure.
1. Introduce dependencies
To use Alibaba Cloud OSS in the project, you need to introduce the dependencies of Alibaba Cloud OSS, and introduce the following dependencies in autoconfigure
        <!--阿里云OSS的依赖-->
        <dependency>
            <groupId>com.aliyun.oss</groupId>
            <artifactId>aliyun-sdk-oss</artifactId>
            <version>3.15.1</version>
        </dependency>
        <dependency>
            <groupId>javax.xml.bind</groupId>
            <artifactId>jaxb-api</artifactId>
            <version>2.3.1</version>
        </dependency>
        <dependency>
            <groupId>javax.activation</groupId>
            <artifactId>activation</artifactId>
            <version>1.1.1</version>
        </dependency>
        <!-- no more than 2.3.3-->
        <dependency>
            <groupId>org.glassfish.jaxb</groupId>
            <artifactId>jaxb-runtime</artifactId>
            <version>2.3.3</version>
        </dependency>
2. Prepare tool classes and entity classes
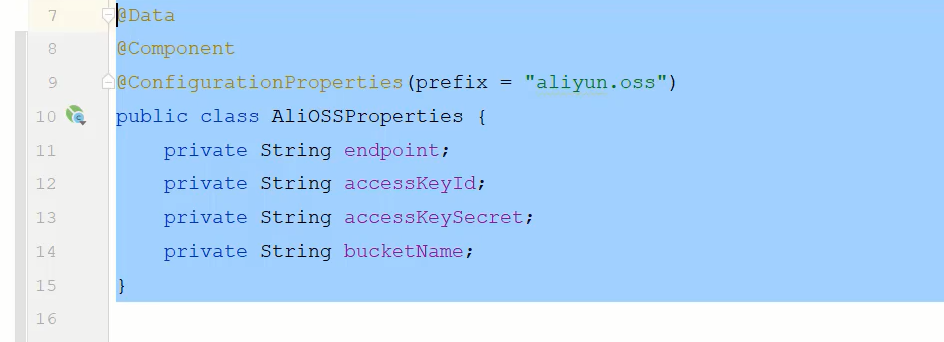
The classes that need to be used when using Alibaba Cloud OSS in the previous project development include a tool class and an entity class
The entity class encapsulates the key and id of Alibaba Cloud and the name of the resource bucket
package com.example.utils;

import lombok.Data;
import org.springframework.boot.context.properties.ConfigurationProperties;
import org.springframework.stereotype.Component;

@Data
@Component
@ConfigurationProperties(prefix = "aliyun.oss")
public class AliOSSProperties {
    private String endpoint;
    private String accessKeyId;
    private String accessKeySecret;
    private String bucketName;
}
There is also a tool class
package com.example.utils;

import com.aliyun.oss.OSS;
import com.aliyun.oss.OSSClientBuilder;
import org.springframework.beans.factory.annotation.Autowired;
import org.springframework.stereotype.Component;
import org.springframework.web.multipart.MultipartFile;
import java.io.*;
import java.util.UUID;

/**
 * 阿里云 OSS 工具类
 */

@Component
public class AliOSSUtils {

    //    @Value("${aliyun.oss.endpoint}")
//    private String endpoint ;
//    @Value("${aliyun.oss.accessKeyId}")
//    private String accessKeyId ;
//    @Value("${aliyun.oss.accessKeySecret}")
//    private String accessKeySecret ;
//    @Value("${aliyun.oss.bucketName}")
//    private String bucketName ;

/*    @Value("${aliyun.oss.endpoint}")
    private String endpoint;
    @Value("${aliyun.oss.accessKeyId}")
    private String accessKeyId;

    @Value("${aliyun.oss.accessKeySecret}")
    private String accessKeySecret;

    @Value("${aliyun.oss.bucketName}")
    private String bucketName;*/


    @Autowired
    private AliOSSProperties aliOSSProperties;

    /**
     * 实现上传图片到OSS
     */
    public String upload(MultipartFile file) throws IOException {
        String endpoint=aliOSSProperties.getEndpoint();
        String bucketName=aliOSSProperties.getBucketName();
        String accessKeyId=aliOSSProperties.getAccessKeyId();
        String accessKeySecret=aliOSSProperties.getAccessKeySecret();

        // 获取上传的文件的输入流

        InputStream inputStream = file.getInputStream();

        // 避免文件覆盖
        String originalFilename = file.getOriginalFilename();
        String fileName = UUID.randomUUID().toString() + originalFilename.substring(originalFilename.lastIndexOf("."));

        //上传文件到 OSS
        OSS ossClient = new OSSClientBuilder().build(endpoint, accessKeyId, accessKeySecret);
        ossClient.putObject(bucketName, fileName, inputStream);

        //文件访问路径
        String url = endpoint.split("//")[0] + "//" + bucketName + "." + endpoint.split("//")[1] + "/" + fileName;
        // 关闭ossClient
        ossClient.shutdown();
        return url;// 把上传到oss的路径返回
    }

}
When the above two files are put into the autoconfigure project, an error will be reported, and two new dependencies need to be introduced
One is from the web development, the other is the dependency of the @Data annotation, or you can not introduce lombok, and then manually provide the get and set methods. Just remove the @Data annotation directly, and then alt+insert
        <dependency>
            <groupId>org.springframework.boot</groupId>
            <artifactId>spring-boot-starter-web</artifactId>
        </dependency>
        <dependency>
            <groupId>org.projectlombok</groupId>
            <artifactId>lombok</artifactId>
            <optional>true</optional>
        </dependency>
Then the two classes did not report an error, but now the component annotations on the two classes are useless, because the package scan will not scan the package of the dependent module when this dependency is introduced into the project in the future, so the @component on the two classes Comments can be deleted.
Note: Deleting it here will cause a red error to appear in the aliOSSProperties entity class, but you can ignore it here, and it will be resolved below.
Then, @Autowired in the tool class can also be deleted, because it is no longer a bean in the IOC container, and autowired injection cannot be performed.
However, according to the direct injection tool class mentioned in the requirements, it is used directly, so it still needs to be handed over to the spring container for management.
Therefore, it is now necessary to prepare an automatic configuration class to declare the bean of this tool class of Alibaba Cloud OSS, and then hand over the configuration class to the spring container for management.
3. Create a new automatic configuration class
This configuration class can get the AliOSSUtils tool class, and then directly use the upload method to upload files, but before that, a member variable of aliOSSProperties is needed in the upload method, so its get and set method.
Then, when you get AliOSSUtils, you need to assign a value to the aliOSSProperties inside.
Then the attribute values required in aliOSSProperties are all obtained from the configuration file, and then encapsulated into an aliOSSProperties entity class.
@ConfigurationProperties(prefix = "aliyun.oss")
Here we need to solve the above error reporting problem. You can directly add the following annotations to the automatic configuration class, and turn AliOSSProperties into a Bean object in an IOC container, and no error will be reported.
@EnableConfigurationProperties(AliOSSProperties.class)
Then in the configuration class, when declaring a third-party bean, an object needs to be injected, which can be specified directly in the method parameter, and it will be automatically assembled in the end.
@Configuration
@EnableConfigurationProperties(AliOSSProperties.class)
public class AliOSSAutoConfiguration {
    @Bean
    public AliOSSUtils aliOSSUtils(AliOSSProperties aliOSSProperties){
        AliOSSUtils aliOSSUtils= new AliOSSUtils();
        aliOSSUtils.setAliOSSProperties(aliOSSProperties);
        return aliOSSUtils;
    }
}
At this point, the automatic configuration class has been configured, and the other two categories forget to delete the @Component and @Autowried annotations and add the get and set methods of aliOSSProperties.
4. The last step
For automatic configuration classes to be loaded into the project, they need to be configured in a fixed configuration file.
It is in META-INF/spring/xxx.imports, so now create a corresponding folder and a file with a long name under the resources directory of the autoconfigure module.
Be careful not to misspell the name.
In this file are all the full class names of the automatic configuration class, so put an automatic configuration class written above into it.

com.aliyun.oss.AliOSSAutoConfigurationAt this point, the starter has been defined, dependency management is performed in the starter, and automatic configuration is performed in configure.
Test the packaged starter in the test project
There is a test project in the provided resources.
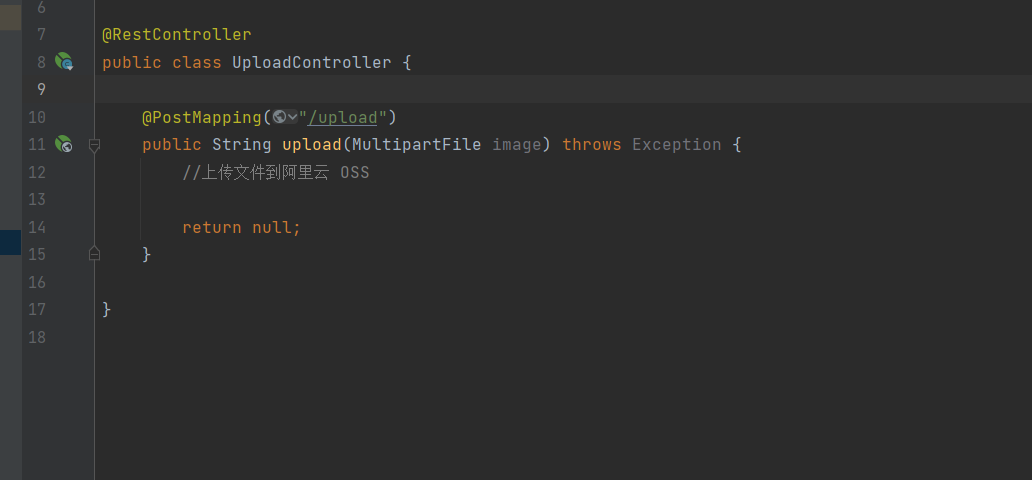
In the Controller layer of this test project, there is an uploadController as follows, which needs to upload the received files to Alibaba Cloud OSS.
Then you can directly import the above starting dependencies here, and then you can directly upload files to OSS.
In the pom file of the test project, introduce the following dependencies.
        <dependency>
            <groupId>com.aliyun.oss</groupId>
            <artifactId>aliyun-oss-spring-boot-starter</artifactId>
            <version>0.0.1-SNAPSHOT</version>
        </dependency>
Then you need some Alibaba Cloud account parameters in the configuration file. The required configuration information includes the following four items, which need to be prepared in the configuration file of the test project.
Here it is configured according to the actual account information of the individual.


Finally, implement the following in the controller, and hand over the uploaded files to Alibaba Cloud OSS for storage
@RestController
public class UploadController {
@Autowired
private AliOSSUtils aliOSSUtils;
@PostMapping("/upload")
public String upload(MultipartFile image) throws Exception {
//上传文件到阿里云 OSS
String url=aliOSSUtils.upload(image);
return url;
}
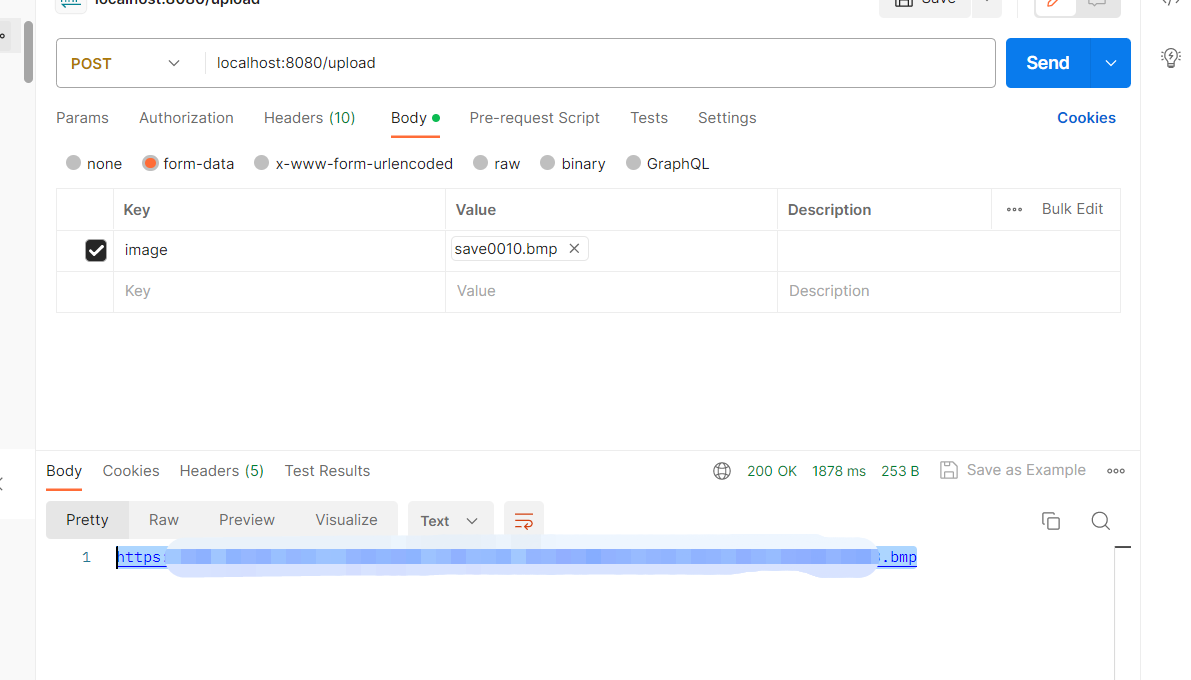
}Project running test (use postman test)
There may be a silly dog reporting a Cannot reconnect error when importing dependencies into other projects above. At this time, you only need to restart IDEA.
Successfully upload the file to Alibaba Cloud and get the file url.
After completing this dependency encapsulation, I can create a webpage by myself, upload my own stuff, and then download my own stuff. really not bad.
summary
