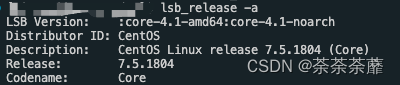
Check system version
lsb_release -a
Git installation
Yum way
yum install git
Simple and convenient, but the version 1.8.x installed
wget method
# 执行以下命令下载源文件
wget https://github.com/git/git/archive/v2.24.1.tar.gz

# 解压安装包
tar -zxvf v2.24.1.tar.gz

# 安装编译源码所需依赖
yum install curl-devel expat-devel gettext-devel openssl-devel zlib-devel gcc perl-ExtUtils-MakeMaker

# 卸载旧版本Git
yum remove git

# 编译
cd git-2.24.1/
make prefix=/usr/local/src/git all

# 安装
make prefix=/usr/local/src/git install

# 配置环境变量
vim /etc/profile

# 在底部的path变量结尾加上相关配置信息即可
PATH=$PATH:/usr/local/src/git/bin

# 保存并更新环境配置
source /etc/profile

# 验证
export | grep git
git --version

MySql installation
- Check if mysql has been installed
rpm -qa | grep mysql
# 如果安装过别版本执行删除
rpm -e --nodeps mysql-xxxxxxxxx
- To query legacy mysql settings or commands, execute two commands
whereis mysql

find / -name mysql

# 如果有预留都删除干净
rm -rf  xxx xxx
- Check whether the mysql user group and user exist. If not, create it. If there is, you don’t need to add it. If you have forgotten the password, delete it and recreate it during the insurance period.
 cat /etc/group | grep mysql
 cat /etc/passwd |grep mysql
 groupadd mysql
 useradd -r -g mysql mysql
- Download from the official website is the Mysql installation package for Linux
# 如果你的linux 系统有外网,则直接通过命令下载到linux系统上:
wget   https://dev.mysql.com/get/Downloads/MySQL-8.0.20/mysql-8.0.20-linux-glibc2.12-x86_64.tar.xz

# 也可以直接到官网 https://downloads.mysql.com/archives/community/ 直接下载
- Start to unzip and install
tar -xvf  mysql-8.0.20-linux-glibc2.12-x86_64.tar.xz

mv  mysql-8.0.20-linux-glibc2.12-x86_64   /usr/local/mysql
- Change the user groups, users, and permissions of all directories and folders under the mysql directory
# mysql文件夹要配置为755的权限,如果不是则执行命令:
chmod -R 755 /usr/local/mysql
- Find a directory to store mysql data. If you have a large amount of data, remember to find a larger disk and directory
mkdir -p /data/mysql
If you encounter problems such as mysql.sock cannot be found and other permissions cannot be written, set the directory permission to: chmod 777 /data/mysql
- Set the configuration file, vi /etc/my.cnf, the content is as follows
[mysqld]
#datadir=/var/lib/mysql
#socket=/var/lib/mysql/mysql.sock
# Disabling symbolic-links is recommended to prevent assorted security risks
#symbolic-links=0
# Settings user and group are ignored when systemd is used.
# If you need to run mysqld under a different user or group,
# customize your systemd unit file for mariadb according to the
# instructions in http://fedoraproject.org/wiki/Systemd
bind-address=127.0.0.1
port=3306
user=mysql
basedir=/usr/local/mysql
datadir=/data/mysql
socket=/tmp/mysql.sock
#socket=/data/mysql/mysql.sock
log-error=/data/mysql/mysql.err
pid-file=/data/mysql/mysql.pid
##character config
character_set_server=utf8mb4
symbolic-links=0
explicit_defaults_for_timestamp=true

[mysqld_safe]
#log-error=/var/log/mariadb/mariadb.log
log-error=/data/mysql/mariadb.log
#pid-file=/var/run/mariadb/mariadb.pid
pid-file=/data/mysql/mariadb.pid

#
# include all files from the config directory
#
!includedir /etc/my.cnf.d
- Initialize mysql, be sure to remember the password at the end of the initialization output log (database administrator temporary password)
./mysqld --initialize --user=mysql --datadir=/data/mysql --basedir=/usr/local/mysql
# 查看初始密码
cat /data/mysql/mysql.err

- Test start mysql server
# 先将mysql.server放置到/etc/init.d/mysql中
cp /usr/local/mysql/support-files/mysql.server /etc/init.d/mysql

service mysql start
ps -ef | grep mysql

- Modify the initial password
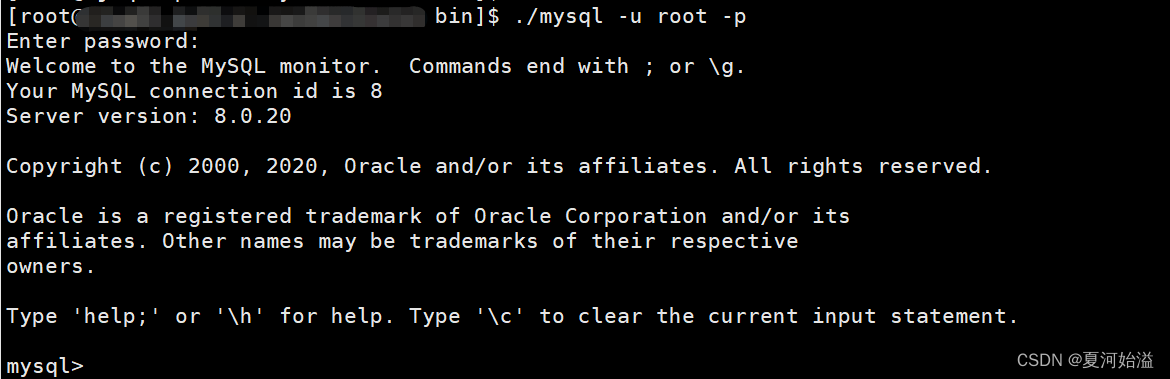
# 首先登录mysql,密码是上述初始化时,日志最后一行生成的那个临时密码
./mysql -u root -p #bin目录下
./mysql -uroot -h 127.0.0.1 -p
- Modify the initialization password and set your own password
# 注意:对于8.0.20版本的mysql,使用以前的修改密码的命令不可用,无法使用set password命令
# 需要使用alert命令去修改,执行命令
ALTER USER 'root'@'localhost' IDENTIFIED BY 'xxxxxxx';
FLUSH PRIVILEGES;
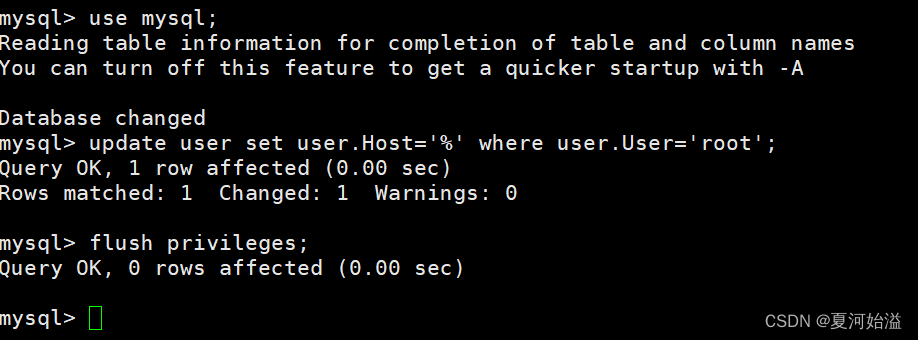
- Open the remote connection (after opening, your mysql can be accessed by other remote clients), execute the command:
use mysql;

update user set user.Host='%' where user.User='root';

flush privileges;
Reference: https://www.cnblogs.com/qinshizhishi/p/13821432.html
Redis installation
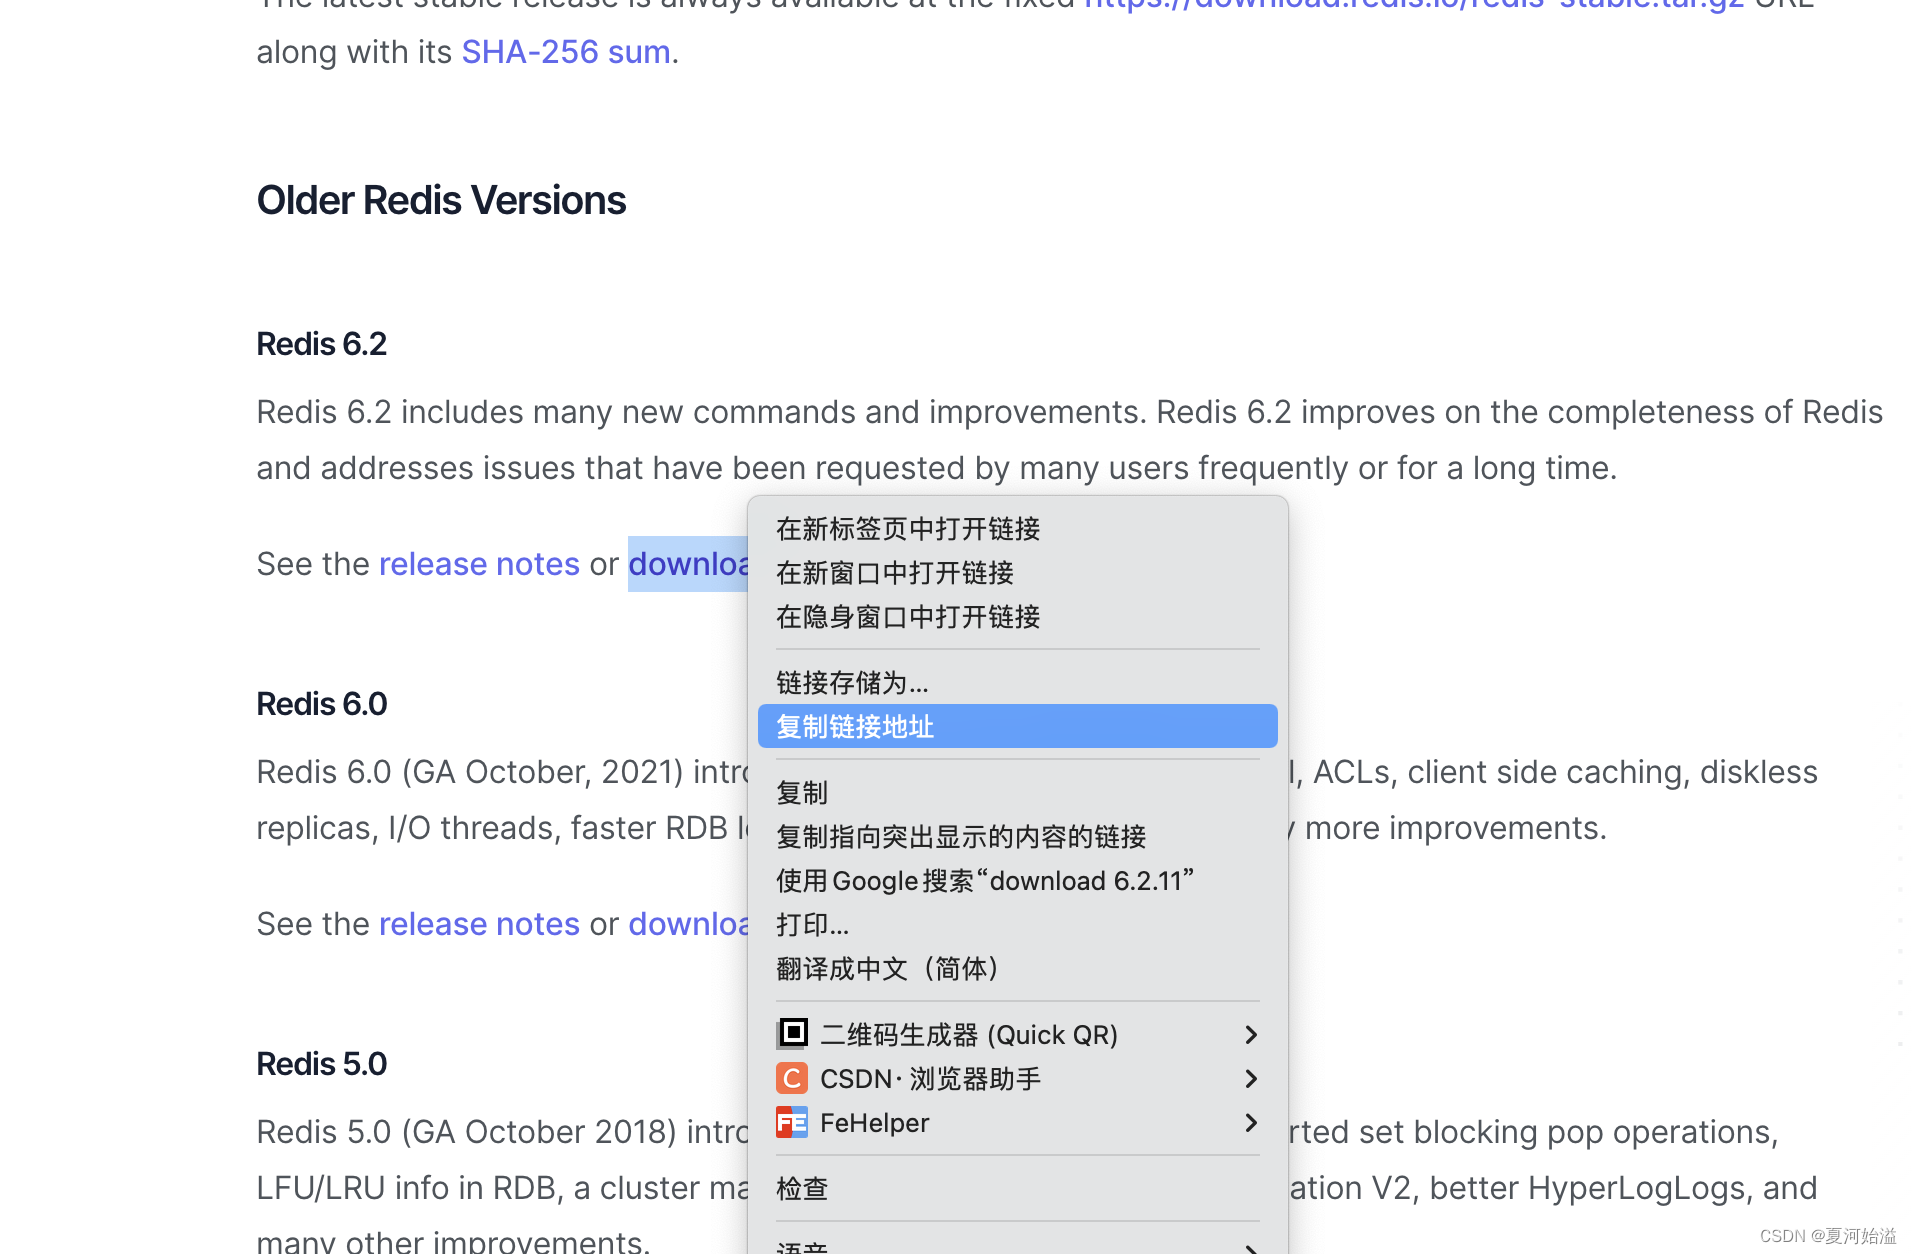
- Get the Redis download link
Official website Download button, select copy link
- download redis
wget https://download.redis.io/releases/redis-6.2.11.tar.gz
- After the download is complete, you need to decompress the compressed file
tar -zvxf redis-5.0.7.tar.gz

mv /root/redis-5.0.7 /usr/local/redis

cd /usr/local/redis
- compile
make
make PREFIX=/usr/local/redis install
# PREFIX= 这个关键字的作用是编译的时候用于指定程序存放的路径。比如我们现在就是指定了redis必须存放在/usr/local/redis目录。假设不添加该关键字Linux会将可执行文件存放在/usr/local/bin目录
- start redis
#采取后台进程方式
./bin/redis-server & ./redis.conf
#采取显示启动方式
./bin/redis-server ./redis.conf
- Check if Redis is running
ps -aux | grep redis

# 采取端口监听查看方式
netstat -lanp | grep 6379
- redis-cli close redis
Enter redis-cli to enter the console and enter the command shutdown to shut down the running Redis service

Nginx installation
- Install the gcc-c++ compiler
yum install gcc-c++
yum install -y openssl openssl-devel
- Install the pcre package
yum install -y pcre pcre-devel
- Install the zlib package
yum install -y zlib zlib-devel
```shell
4. 创建nginx文件夹
```shell
mkdir /usr/local/nginx
- Enter the folder to download nginx
wget https://nginx.org/download/nginx-1.19.9.tar.gz
It can also be downloaded locally and then uploaded to the server
- Unzip and enter the nginx directory
tar -zxvf nginx-1.19.9.tar.gz
cd nginx-1.19.9
- Use nginx default configuration
./configure
- Compile and install
make && make install
- Find the installation path to determine whether the installation is successful
whereis nginx
- Enter the sbin directory under the installation directory, you can see that there is an executable file nginx, start the service
./nginx
- Check whether the startup is successful
ps -ef | grep nginx
- Then visit your own IP on the web page, the default port is 80, and the following page will appear to indicate that the installation is successful
- nginx environment configuration
If you think it is troublesome to use ./nginx to execute every time you go to the sbin in the installation directory, you can configure the nginx command
vim /etc/profile

# 在后面加入
PATH=$PATH:/usr/local/nginx/sbin #你的安装路径
export PATH

# :wq保存退出 重载profile
source /etc/profile
Then you can use nginx xxx to name it as you like
Node installation
- Download node
Select the node version you want to download
wget https://nodejs.org/dist/v16.15.0/node-v16.15.0-linux-x64.tar.xz
- unzip and view
tar -xvf node-v13.11.0-linux-x64.tar.xz

cd node-v13.11.0-linux-x64/bin

./node -v
If there is v16.15.0 output, it proves that the installation is successful
- Add soft chain Add node, npm soft chain
ln -s /www/node-v13.11.0-linux-x64/bin/node /usr/local/bin/node
ln -s /www/node-v13.11.0-linux-x64/bin/npm /usr/local/bin/npm
- test
 ~# node -v
v16.15.0
 ~# npm -v
6.14.16
Then you can use npm to download pnpm, yarn, etc.
docker installation
Official documentation tutorial: https://docs.docker.com/engine/install/centos/
-
Uninstall the old version
sudo yum remove docker \ docker-client \ docker-client-latest \ docker-common \ docker-latest \ docker-latest-logrotate \ docker-logrotate \ docker-engine -
Install
yum-utilssudo yum install -y yum-utils -
Add Alibaba Cloud image
yum-config-manager --add-repo http://mirrors.aliyun.com/docker-ce/linux/centos/docker-ce.repo -
Install
sudo yum install docker-ce docker-ce-cli containerd.io -
start and join boot start
sudo systemctl start docker

sudo systemctl enable docker