Put iOS apps on the appstore under windows
background
Now due to the rise of cross-platform technology, Android and iOS applications can be developed without using native technology. It is beyond the scope of this article to put Android apps on the shelves relatively easily, and the standard tutorials for iOS apps to be put on the appstore are generally operated under the mac, but in reality, most cross-platform developers may use windows, so this article introduces how to put them on the shelves under the windows platform iOS app (.ipa file) to appstore.
step
- Apply for an Apple developer account
- Create unique identifier App IDs
- Apply for a Certificate of Publishing
- Request to publish a description file
- Create an App and fill in the information
- Select the certificate to compile and package
- Upload IPA to App Store
- Submit review
Apply for an Apple developer account
1. Open the Apple ID registration address , enter the relevant information to register
2. If the registration is successful, or if you have an Apple account, log in to the Apple Developer Center
3. Use your iPhone to search for the Apple Developer app in the app store and install it, and the installation prompts to fill in relevant information and Pay the fees.
4. Follow the prompts to complete all the operations and wait for the successful email.
Create unique identifier App IDs
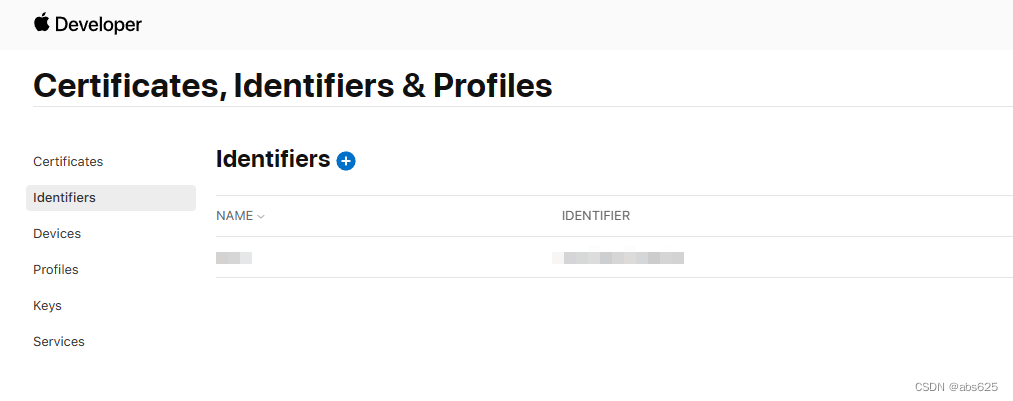
1. Enter the Apple Developer Center , select Identifiers, and then click the blue plus sign on the right
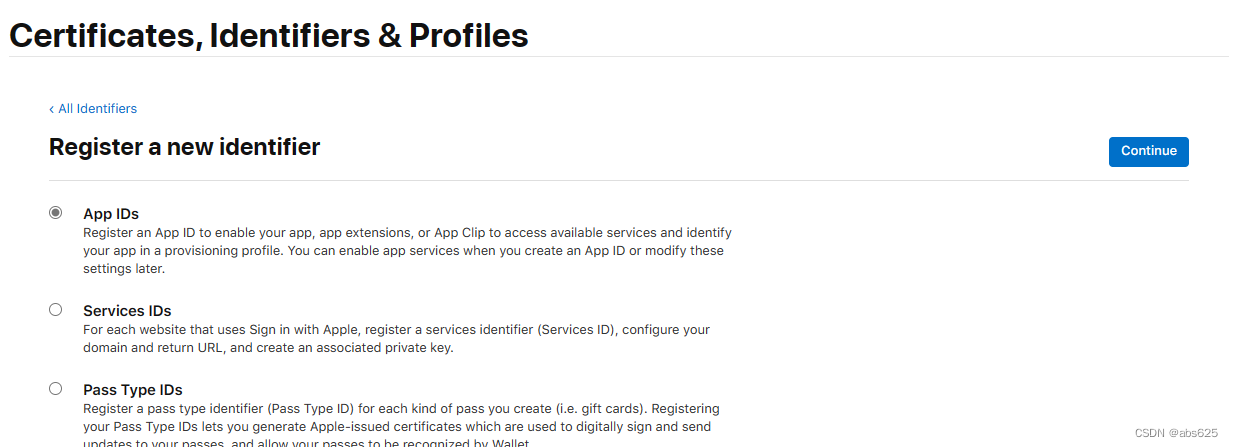
Select App IDs
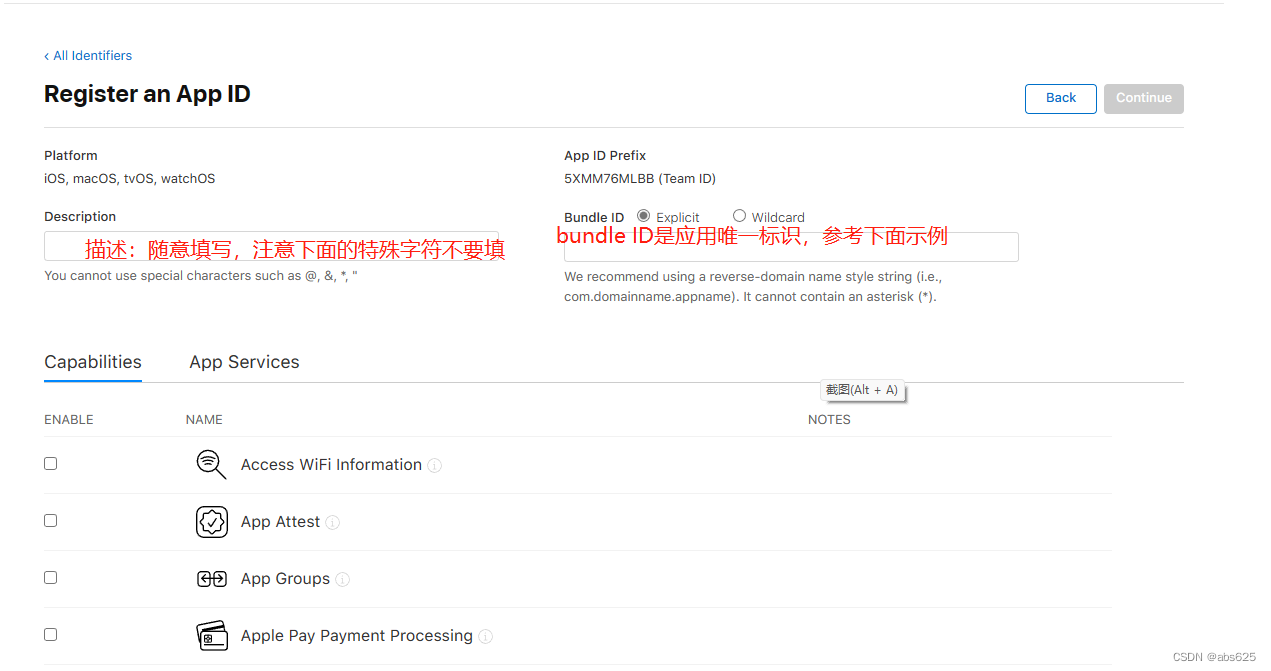
in addition to Description and Bundle ID, there are some services such as push, you can check as needed.
Follow the prompts and finally create App IDs, and they will be displayed in the Identifiers list in step 1 of this section.
Apply for a Certificate of Publishing
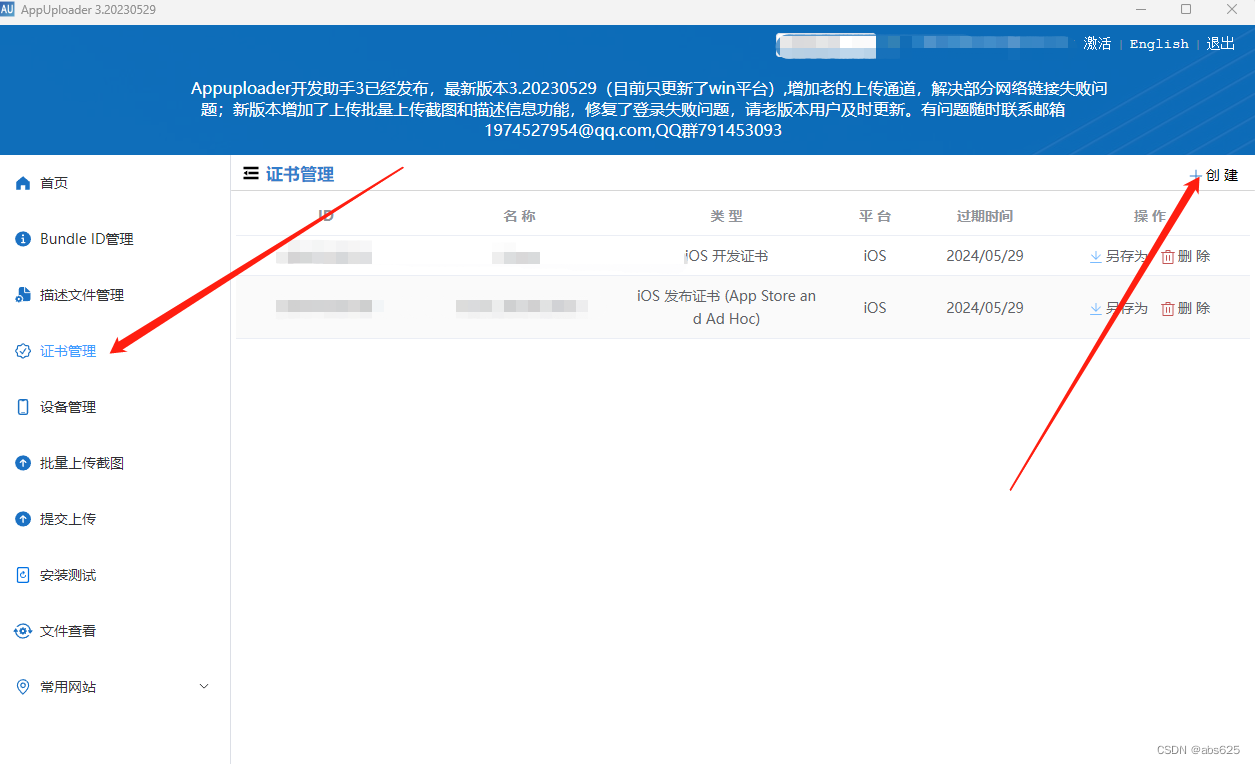
Here we need to use Appuploader, a tool that directly creates certificates on Windows without a keychain.
1. Go to the App Uploader official website to download the windows version of the tool.
2. Download the tool and open it, and log in with the previous developer account.
3. Click Certificate Management on the left, and then click Create in the upper right corner.
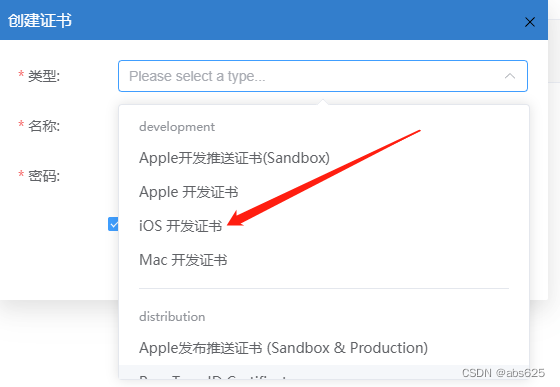
4. Click Create to enter the process of creating a certificate. Depending on whether you want to test or publish, select a different iOS certificate
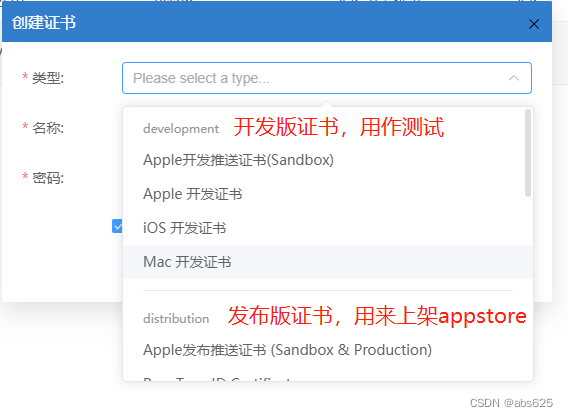
4.1. If it is a test, select the following
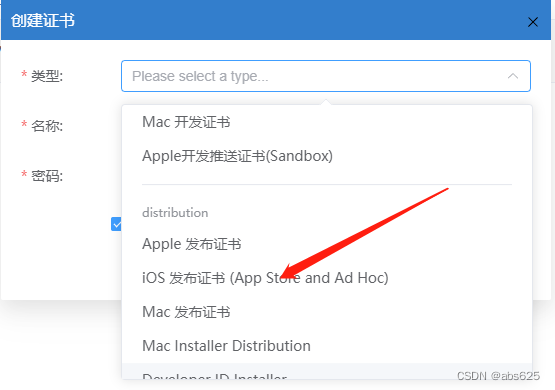
4.2. If you want to The options for putting on the appstore are as follows:
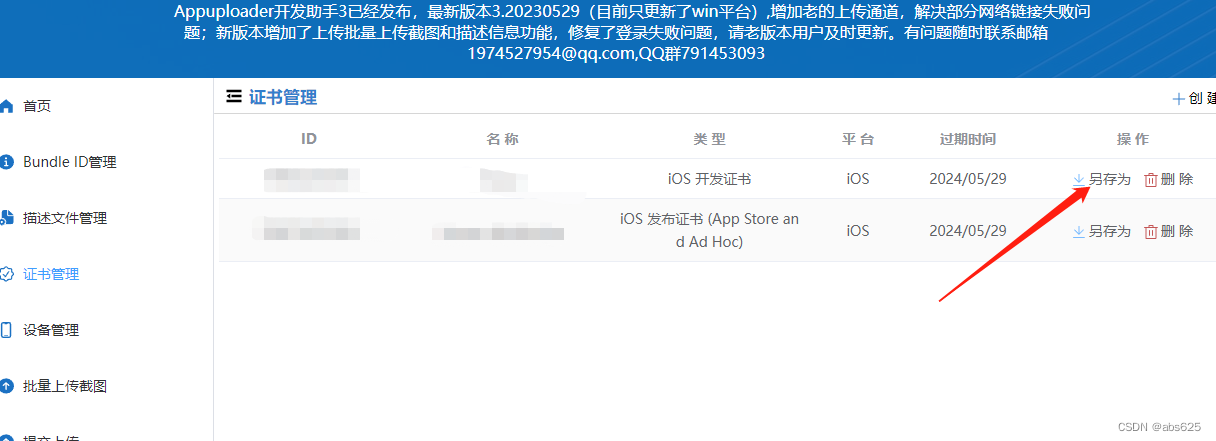
5. After selecting the type, fill in the certificate name and password according to the requirements. Remember to save the password, which will be used later for packaging. Then click Save As corresponding to the certificate to save it to the computer, which will be used for subsequent packaging.
Request to publish a description file
1. Click on the description file management on the left, and then click Create in the upper right corner.
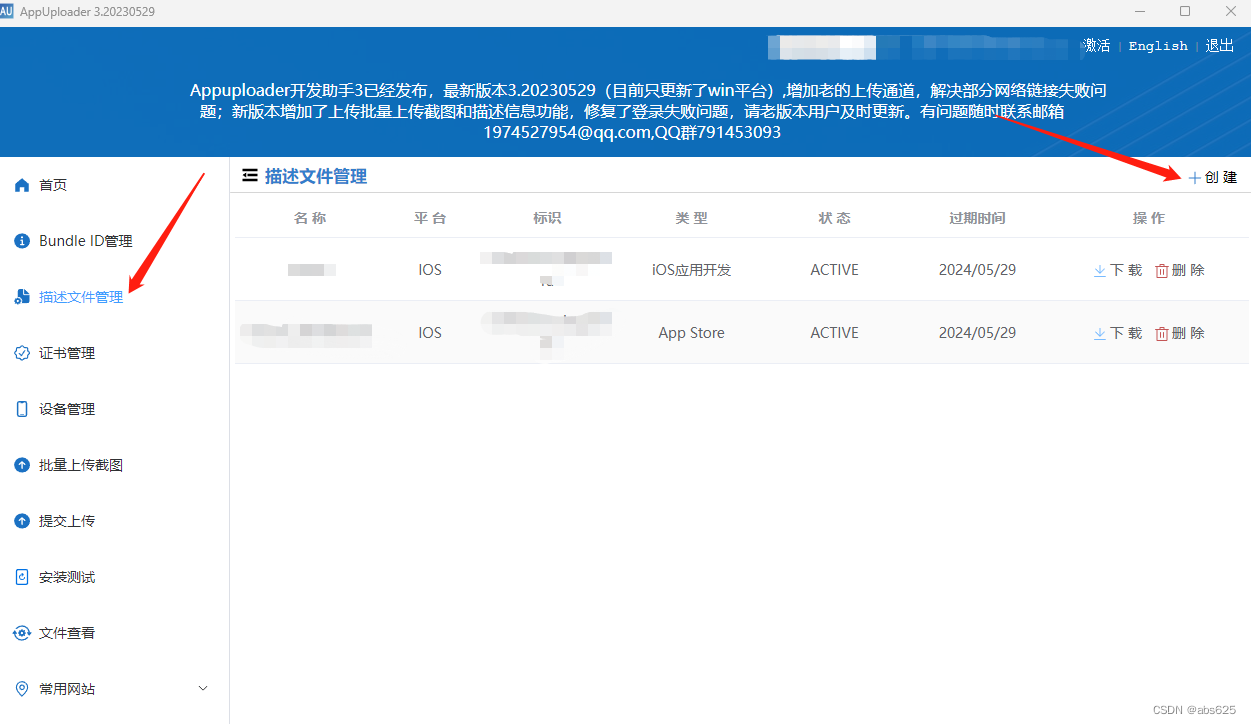
2. Fill in the name of the description file at will, and choose the type according to your needs.
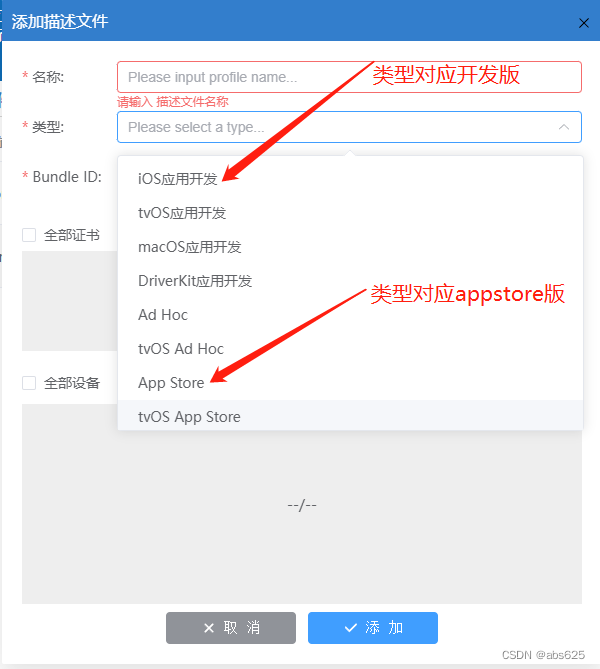
3. If there is no problem with the previous steps, click the Bundle ID to drop down and the options will appear, and the certificate will also appear correspondingly Type of certificate, for example, if you choose the type of iOS application development, the corresponding development version certificate you created will appear, check the certificate.
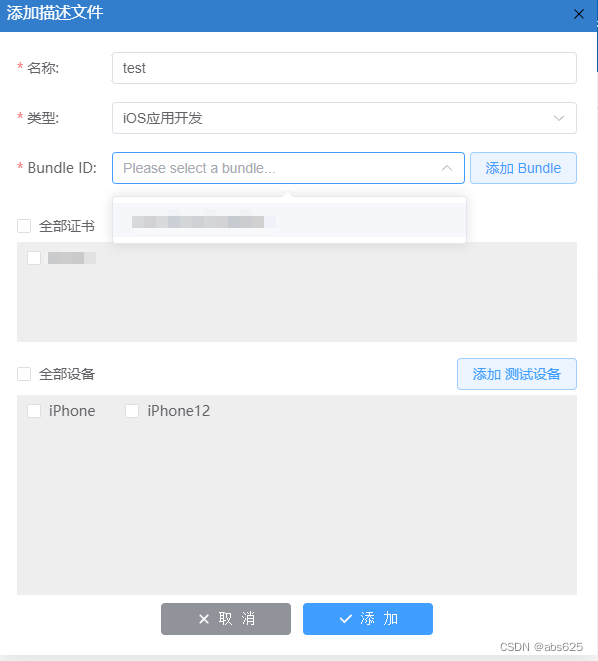
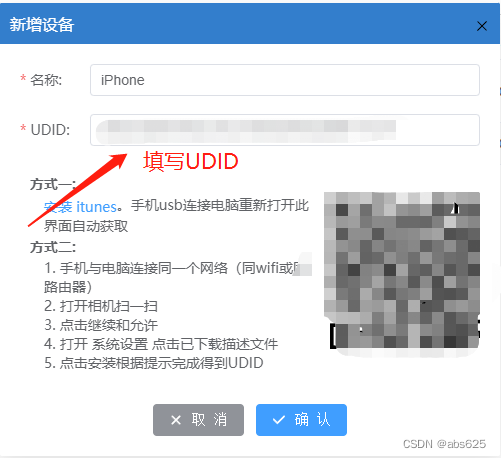
4. Add a test device, use the iphone to connect to the computer and trust it, it will be automatically recognized, or add a test device through the uuid button on the right
5. After the final confirmation, you can generate the corresponding development version or appstore version description file, then click the description file to download, save it to the computer, and use it later for packaging.

Create an App and fill in the information
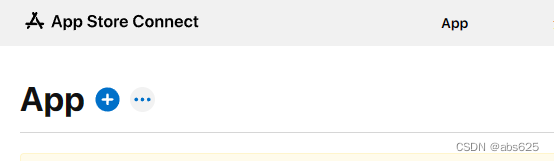
1. Enter appstoreconnect , click the blue plus sign on the right, and create a new App
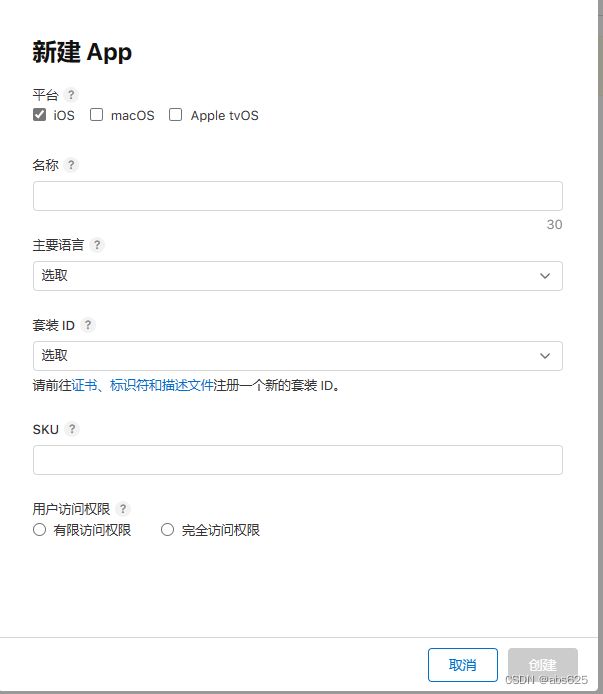
2. Select the iOS platform, fill in the corresponding information, and the package ID will be automatically associated with the previously created ID
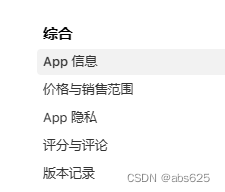
3. After creating the APP, enter the application details page, and upload the relevant information , sales price, App privacy, etc. are configured well. Because it is not a general configuration here, it can be done according to your own needs.
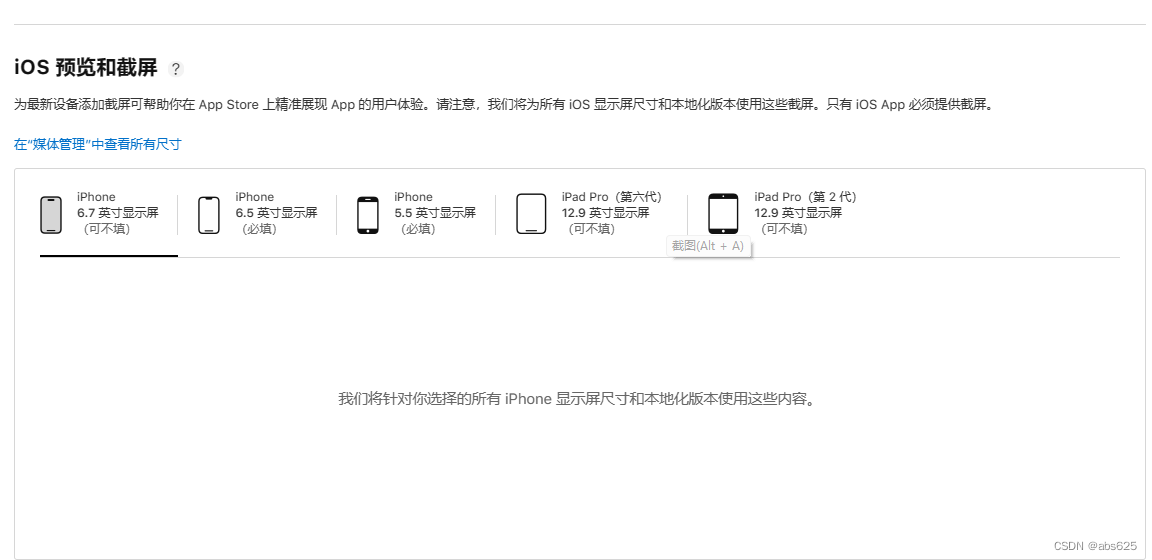
4. Upload application screenshots, description information, technical support URLs, copyright information, etc. according to the screen size.
5. After all the information is filled in, click Save in the upper right corner to save the relevant information.
Select the certificate to compile and package
1. Here is an example of uniapp using Hbuilderx to create an appstore package.
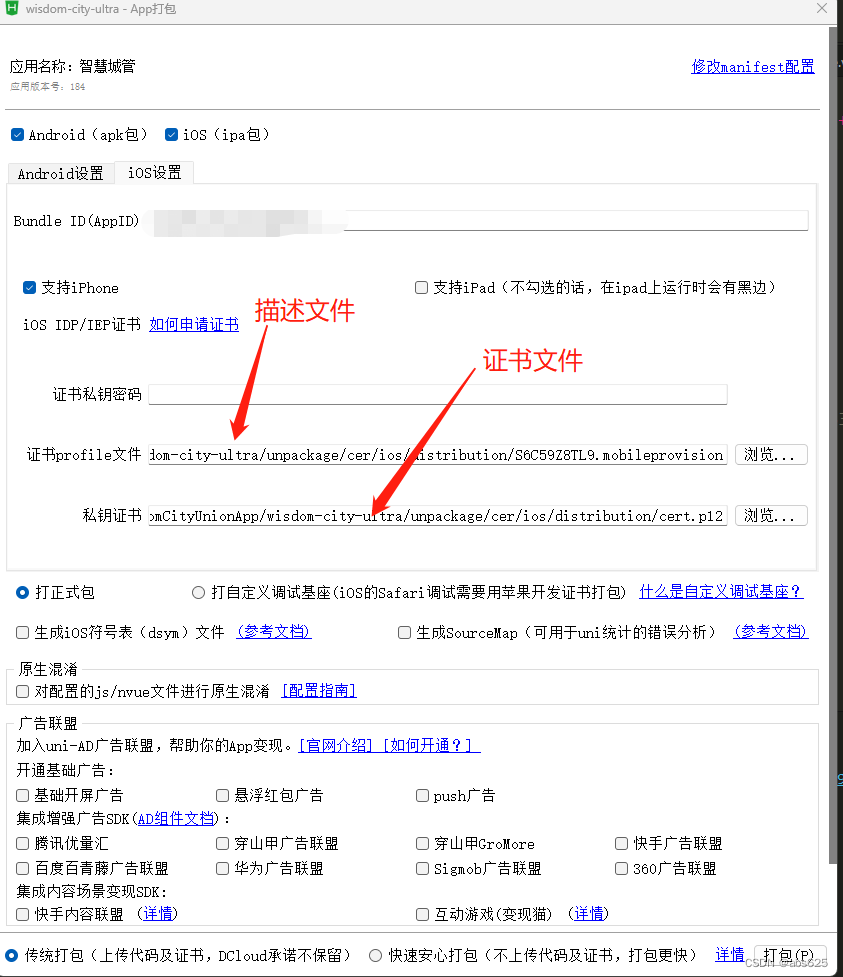
2. The Bundle ID, password, certificate and description file are all generated by us before. Wait for the cloud packaging to complete, and then download the ipa installation package.
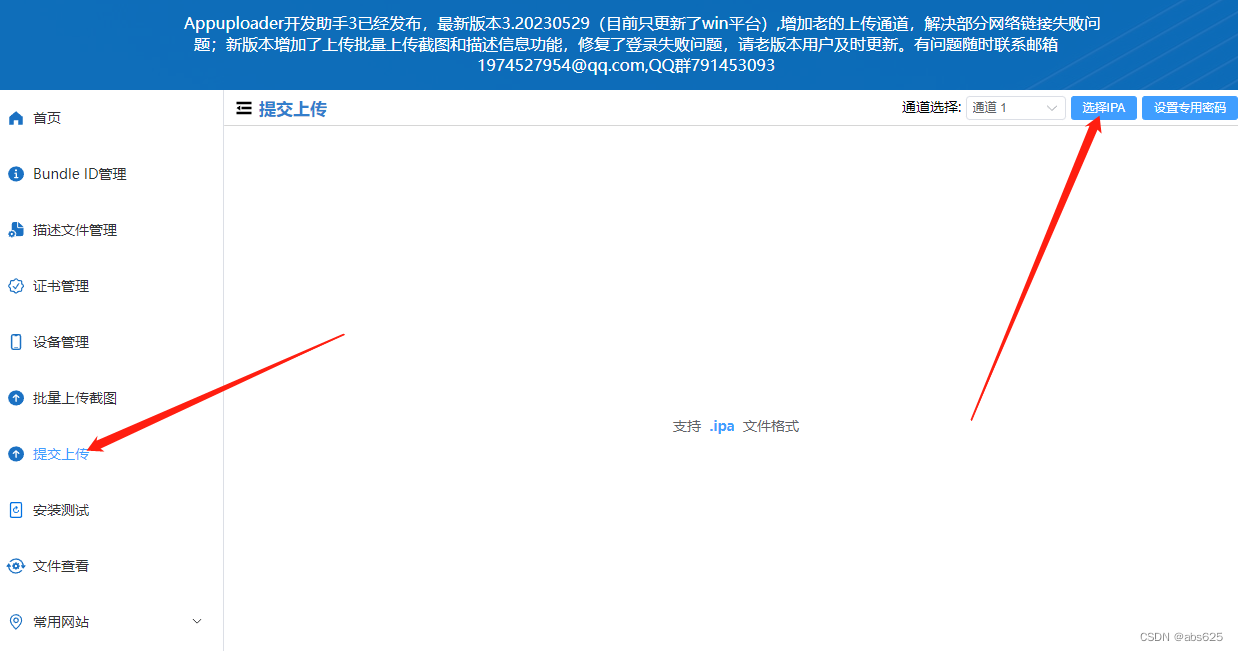
Upload IPA to App Store
1. Open the App Uploader software, click submit on the right to upload, select IPA in the upper right corner, select the ipa file we packaged in the previous section, and wait for the upload to complete.
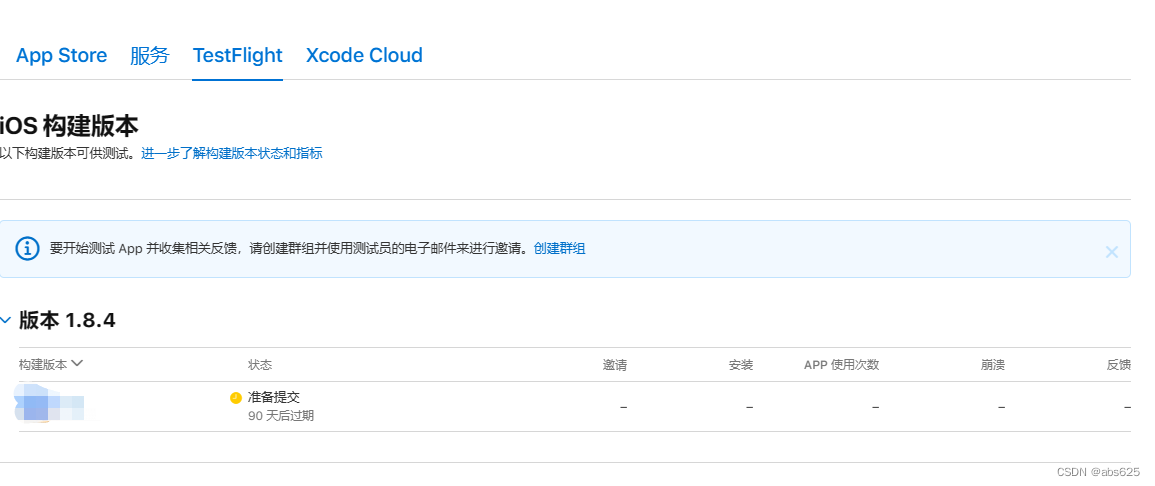
2. Note that uploading here may report an upload error. It may be that your network has restricted certain ip access. At this time, you can use your mobile phone to open a hotspot and re-upload, and the upload can basically be successful. After the upload is successful, wait for a few minutes, then log in to App Store Connect , find the TestFlight option, check that the version you uploaded is being processed, wait for the processing to complete, and it will display ready to submit.
Submit review
1. Select the build version. After the version in the previous section shows that it is ready to submit, a blue plus sign will appear here to select the version.
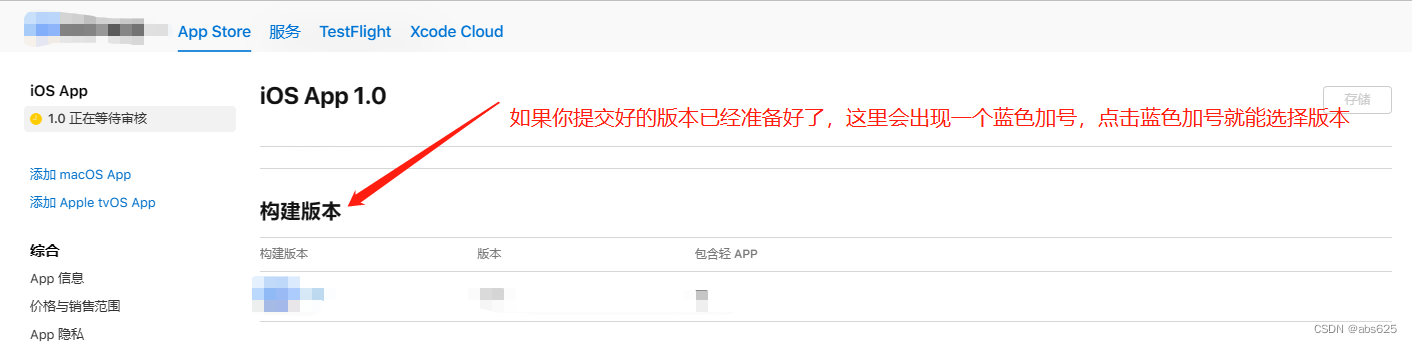
2. Select the version, and then click Save in the upper right corner. After saving, click Submit in the upper right corner for review. So far, our APP has been successfully submitted to the appstore, just wait patiently for the review result.
Tail
It is more cumbersome to upload iOS apps on non-mac platforms, and some problems may be encountered during the upload process, which will be solved in specific scenarios. The above is summed up through my own experience, I hope it can be helpful to everyone.
The old rules, if you like my article, please give me likes, comments, and attention, thank you everyone!