learn better from others,
be the better one.
—— "Weika Zhixiang"

The length of this article is 2683 words , and it is expected to read for 6 minutes
foreword
Part of the previous article " C++ OpenCV Detecting and Extracting the Digital Huarong Road Chessboard " used perspective transformation, but because some pictures have too many interference items when adapting to edge detection, the desired things cannot be extracted, so this article Just did a small exercise of manually picking up the position to do perspective transformation.

achieve effect
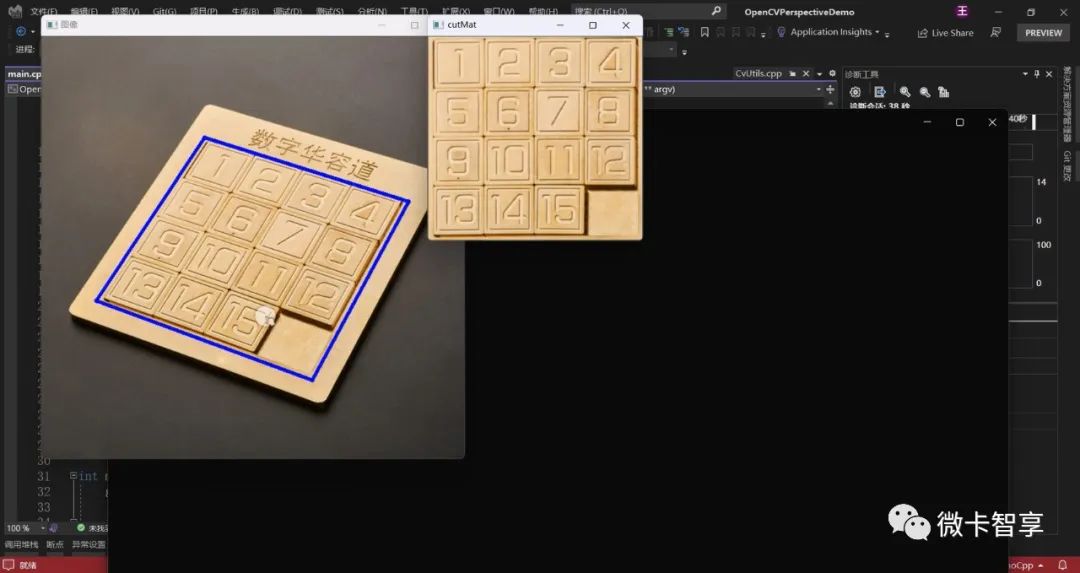
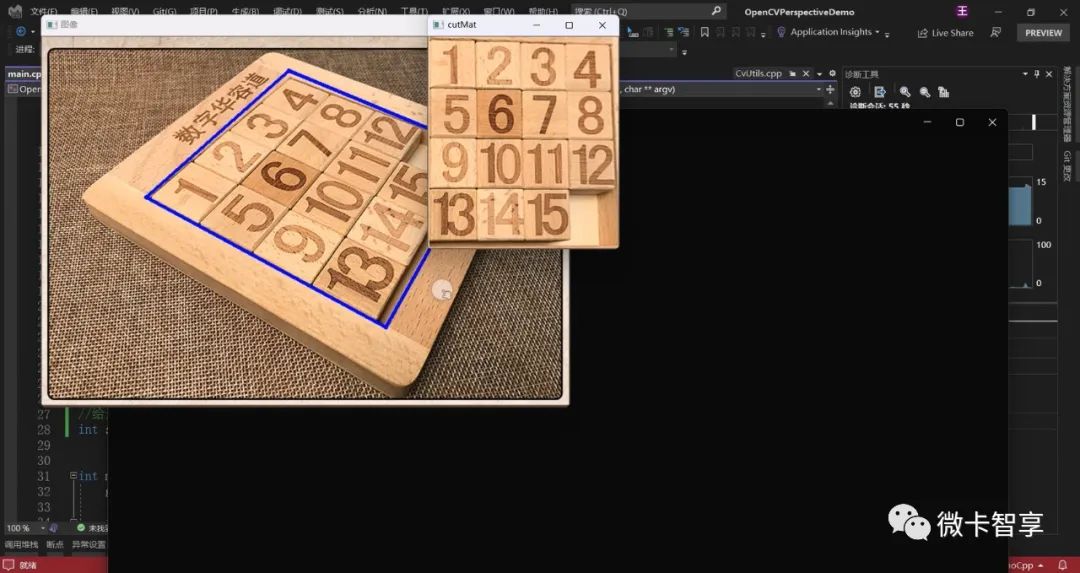
As can be seen from the figure above, after manually clicking the blue quadrangular frame stippled in 4 positions, the effect of perspective transformation is performed on this image, which is also the final desired result. Next, let’s see how to achieve it.
Micro card Zhixiang
Q&A on key issues
Realize the manual click to capture the image for perspective transformation. Points to note?
A
1. For mouse events, it is necessary to ensure that the defined Point2f pointer must be initialized and cleared every time the image is switched, so that you can judge which point to assign a value to when you click.
2. When all 4 points are completed, the width and height of the rectangle need to be calculated using the Euclidean distance according to the position of the points.
3. You need to pay attention to the order of clicking. What you do now is to click clockwise from the upper left. If you don’t follow this plan, there will be problems with perspective transformation. At that time, there was a sorting function written in the CvUtils class in the source code, but Not used here.
Code

Micro card Zhixiang
main.cpp code
#pragma once
#include <iostream>
#include <opencv2/opencv.hpp>
#include "../../Utils/CvUtils.h"


using namespace std;
using namespace cv;


//设置图片所以路径
String FilePaths = "D:/Business/DemoTEST/CPP/OpenCVDemoCpp/OpenCVSplitImage/pic";
//获取目录下的所有文件
vector<String> files;


//鼠标回调函数
void onMouse(int event, int x, int y, int flags, void* ustc);


Mat src;
Mat srccopy; //用于拷贝出的源图像
string showsrc = "图像";
int imgindex = 0;
//设置透视变换的点
Point2f vertices[4];


//给透视变换点进行赋值,返回值为3时,说明4个点都已经赋值了,可以进行下一步操作
int setPerspectivePoint(Point2f* vts, int x, int y, bool isinit = false);


int main(int argc, char** argv) {
  glob(FilePaths, files);


  if (files.size() <= 0) {
    cout << "找不到图片文件" << endl;
    waitKey(0);
    return -1;
  }


  //初始化透视变换的点
  setPerspectivePoint(vertices, 0, 0, true);


  //关闭所有显示窗口
  destroyAllWindows();


  cout << "srcindex:" << imgindex << endl;
  String file = files[imgindex];
  src = imread(file);
  CvUtils::MatResize(src);
  CvUtils::SetShowWindow(src, showsrc, 50, 20);
  imshow(showsrc, src);
  //复制下源图
  src.copyTo(srccopy);


  //设置鼠标响影事件
  setMouseCallback(showsrc, onMouse);


  waitKey(0);


  return 0;
}


void onMouse(int event, int x, int y, int flags, void* ustc)
{
  //鼠标左键按下
  if (event == EVENT_LBUTTONUP)
  {
    //设置选择的点
    int ptindex = setPerspectivePoint(vertices, x, y);


    //在图像上画出点击位置
    circle(src, Point(x, y), 3, Scalar(255, 0, 0), -1);
    //选中的点进行画线
    if (ptindex > 0 && ptindex <= 3) {
      line(src, vertices[ptindex], vertices[ptindex - 1], Scalar(255, 0, 0), 3);
      //当是最后一个点时和起始点进行画线连接
      if (ptindex == 3) {
        line(src, vertices[ptindex], vertices[0], Scalar(255, 0, 0), 3);
      }
    }


    imshow(showsrc, src);


    if (ptindex == 3) {
      //根据最小矩形和多边形拟合的最大四个点计算透视变换矩阵
      Point2f rectPoint[4];
      //计算旋转矩形的宽和高
      float rWidth = CvUtils::CalcPointDistance(vertices[0], vertices[1]);
      float rHeight = CvUtils::CalcPointDistance(vertices[1], vertices[2]);
      //计算透视变换的四个顶点
      rectPoint[0] = Point2f(0, 0);
      rectPoint[1] = rectPoint[0] + Point2f(rWidth, 0);
      rectPoint[2] = rectPoint[1] + Point2f(0, rHeight);
      rectPoint[3] = rectPoint[0] + Point2f(0, rHeight);


      //计算透视变换矩阵
      Mat warpmatrix = getPerspectiveTransform(vertices, rectPoint);
      Mat resultimg;
      //透视变换
      warpPerspective(srccopy, resultimg, warpmatrix, resultimg.size(), INTER_LINEAR);


      //载取透视变换后的图像显示出来
      Rect cutrect = Rect(rectPoint[0], rectPoint[2]);
      Mat cutMat = resultimg(cutrect);


      CvUtils::SetShowWindow(cutMat, "cutMat", 600, 20);
      imshow("cutMat", cutMat);
    }


  }
  else if (event == EVENT_RBUTTONUP) {
    //初始化透视变换的点
    setPerspectivePoint(vertices, 0, 0, true);


    imgindex++;
    if (imgindex < files.size()) {
      //关闭所有显示窗口
      destroyAllWindows();


      cout << "srcindex:" << imgindex << endl;
      String file = files[imgindex];
      src = imread(file);
      CvUtils::MatResize(src);
      CvUtils::SetShowWindow(src, showsrc, 50, 20);
      imshow(showsrc, src);


      //复制下源图
      src.copyTo(srccopy);


      //设置鼠标响影事件
      setMouseCallback(showsrc, onMouse);
    }
    waitKey(0);
  }
}


//给透视变换点进行赋值,返回值为true时,说明4个点都已经赋值了,可以进行下一步操作
int setPerspectivePoint(Point2f* vts, int x, int y, bool isinit)
{
  int res = 0;
  if (isinit) {
    for (int i = 0; i < 4; ++i) {
      vts[i].x = -1.0f;
      vts[i].y = -1.0f;
    }
  }
  else {
    for (int i = 0; i < 4; ++i) {
      if (vts[i].x == -1.0f && vts[i].y == -1.0f) {
        res = i;
        vts[i].x = x;
        vts[i].y = y;
        break;
      }
    }
  }
  return res;
}
01
Initialize Point2f points and assign values

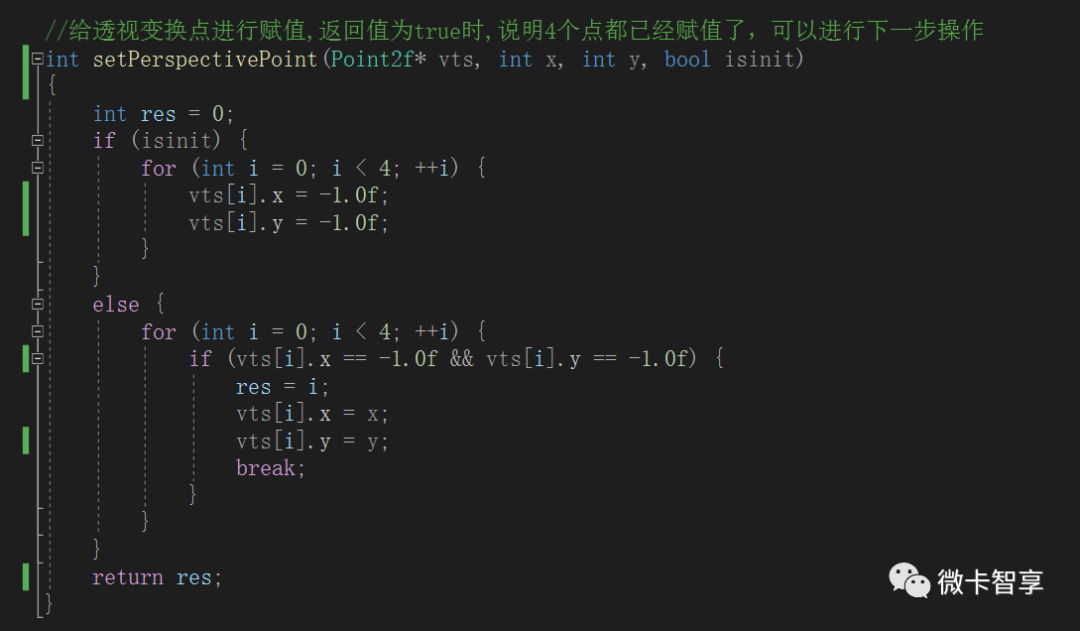
This is implemented with a function, adding a bool item of isinit. When it is true, directly assign all Point2f pointers to -1.0f. If it is a mouse click, it will automatically judge and assign a value to the first point and return the current position. number.
02
mouse click event
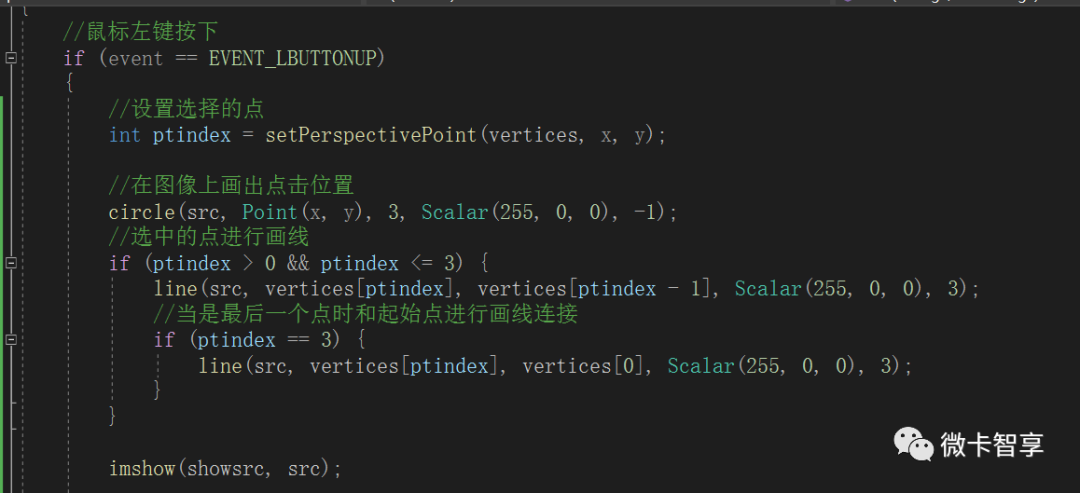
When the left button is clicked, call the above function to obtain the current assigned point, and then draw a line connecting the current point with the previous point. If it is the last point, in addition to connecting with the previous point, it must also be connected with the starting point. Make a connection.
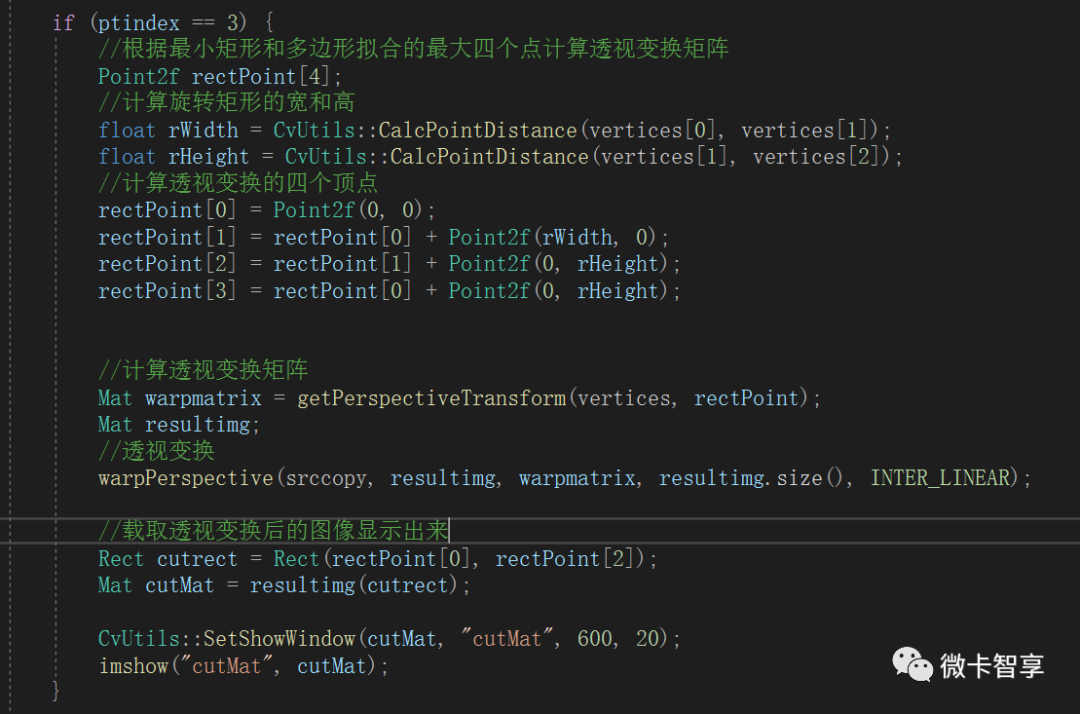
When the return value of ptindex is 3, it means that all 4 points have been assigned, and then enter the perspective transformation operation. Where CalcPointDistance is used to calculate the width and height of the rectangle.
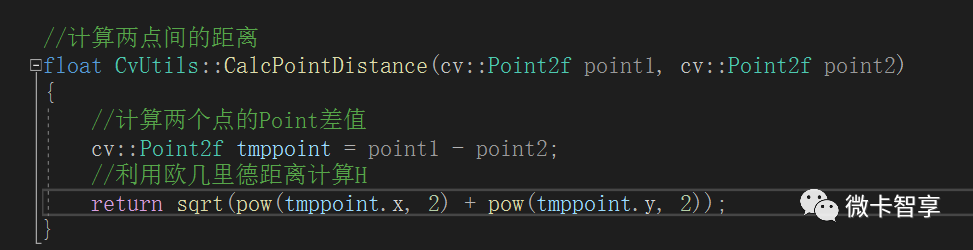
The length is calculated by the Euclidean distance. There are some other passing functions in CvUtils. The complete source code can be seen at the end of the article.
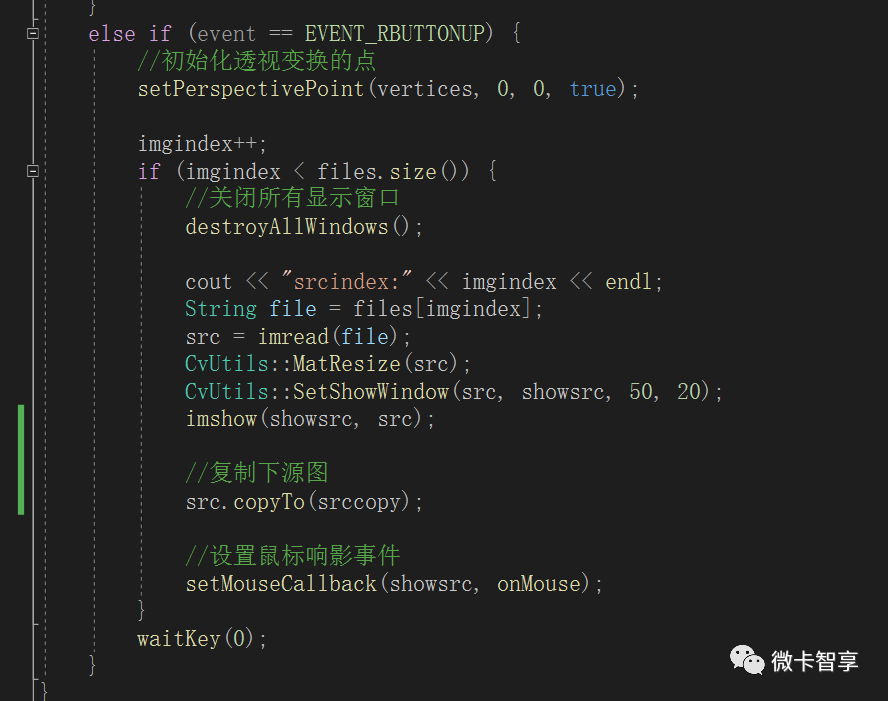
After clicking the right mouse button, it will jump to the next picture in the specified folder, and initialize the selection point that needs perspective transformation. Such a small demo of manually intercepting images for perspective transformation is completed.
source address
https://github.com/Vaccae/OpenCVDemoCpp.git
Click to read the original text to see the code address of "Code Cloud"
over


Wonderful review of the past
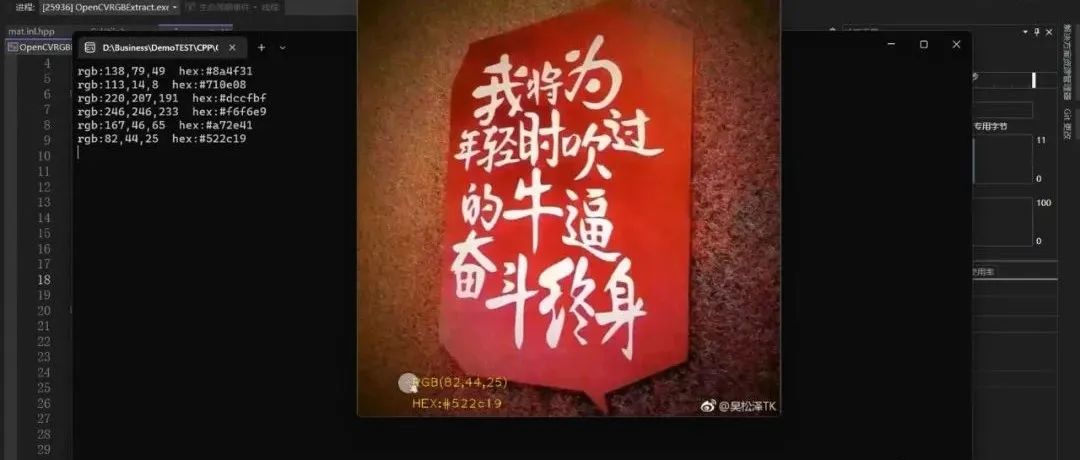
Use OpenCV to make a simple color extractor
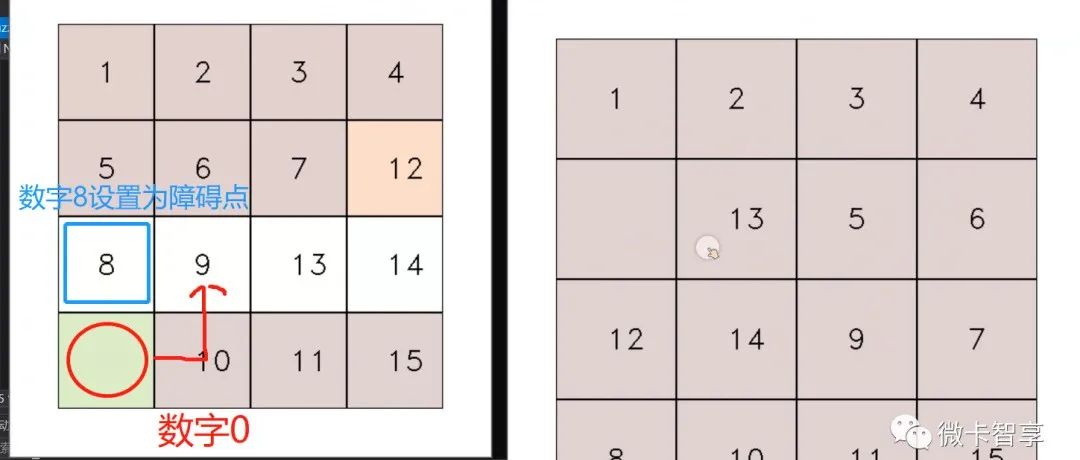
Fun Algorithm--OpenCV Huarongdao AI Automatic Problem Solving
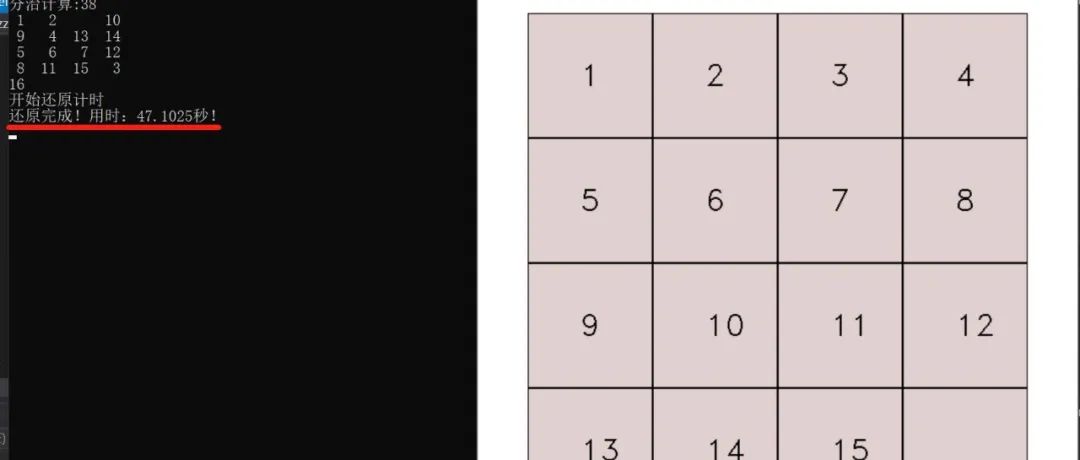
Live! How I made a digital Huarong Road game with OpenCV! (with source code)