learn better from others,
be the better one.
—— "Weika Zhixiang"

The length of this article is 1974 words , and it is expected to read for 5 minutes
foreword
I wanted to learn deep learning a long time ago, because I usually study by myself and have limited spare time. I have read a few introductory articles on pyTorch, but they are all fragmented things that cannot be connected together. Recently, I was just in time for the epidemic, and there were fewer business trips. When I watched the pyTorch video at station B, there was a comment that Mr. Liu Er’s "pyTorch Deep Learning Practice" was very good. After reading the whole tutorial, it was really easy to understand. Being in charge of the second branch by myself is considered an introduction.
The most important thing for getting started with pyTorch is to actually use it. The DNN module in OpenCV is used for reasoning, so this article is dedicated to the simplest example to verify the effect. The Github address of the source code is at the end of the article.

| # | Method to realize |
|---|---|
| 1 | pyTorch training data |
| 2 | Transfer the data model trained by pyTorch to an onnx file |
| 3 | Inference using C++ OpenCV DNN |
Configuration Environment
OS: Windows 11 Home
pyTorch related: Miniconda + pyTorch1.12.1(cpu) + python3.9.12, IDE uses Visual Studio Code
OpenCV related: OpenCV 4.5.1 + C++, IDE uses Visual Studio 2022
The original environment is installed in the Anaconda family bucket, which requires a large resource space, and Miniconda is the smallest conda installation environment, so it is recommended to use Miniconda here. There are quite a lot of specific environment configuration and installation methods on the Internet, including videos, so you can search for it yourself.
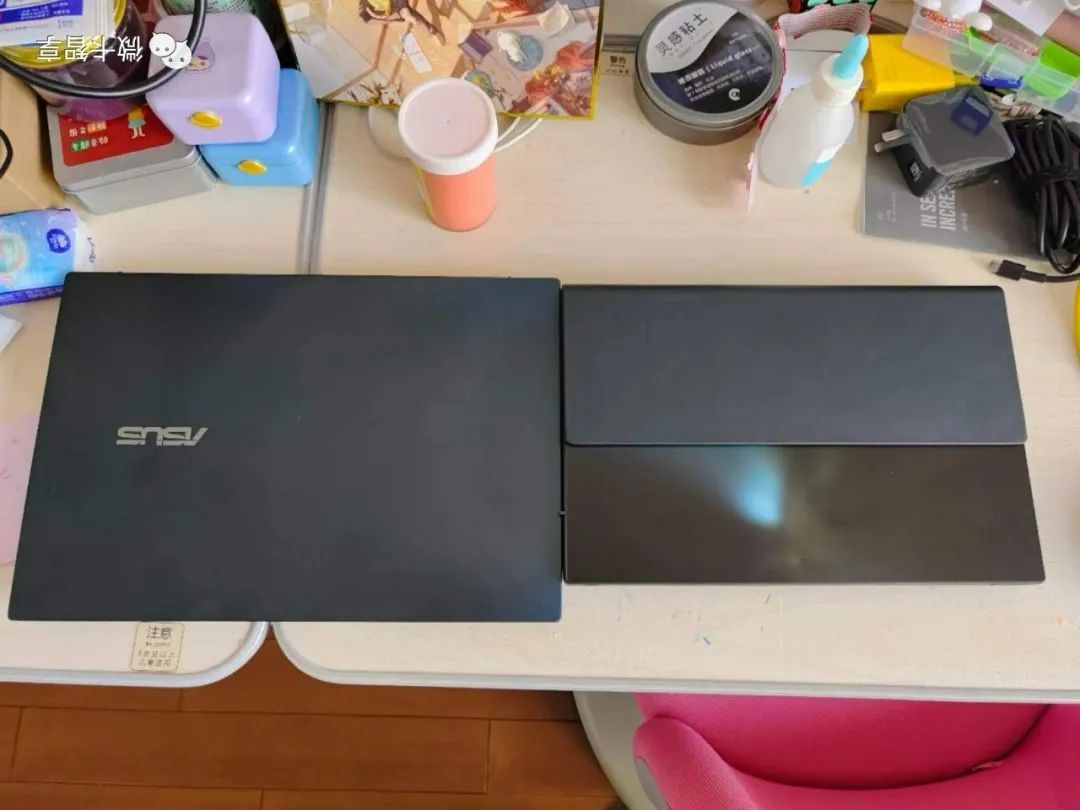
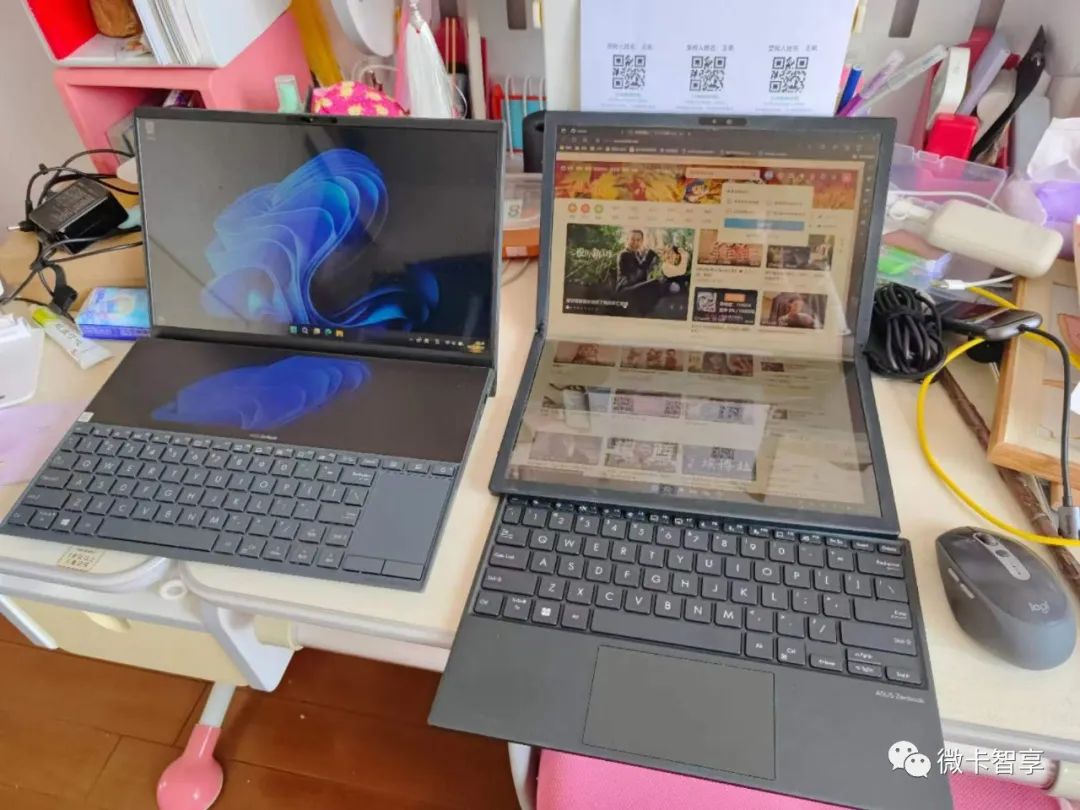
I usually connect a large-screen monitor to the office, but now due to work reasons, I now travel a lot. In order to meet the needs of using a large screen and make it easy to carry on business trips, I changed the notebook with a folding screen, from the original ASUS Lingyao X DUO to ASUS Lingyao X Fold, correspondingly, originally had a discrete graphics card, but now it can only be an integrated graphics card, and pyTorch is also installed with a CPU version. The last few comparison pictures of the two notebooks

Code

Micro card Zhixiang
To do the simplest training and reasoning, we don’t use images, it’s just a simple operation, as shown in the figure below:
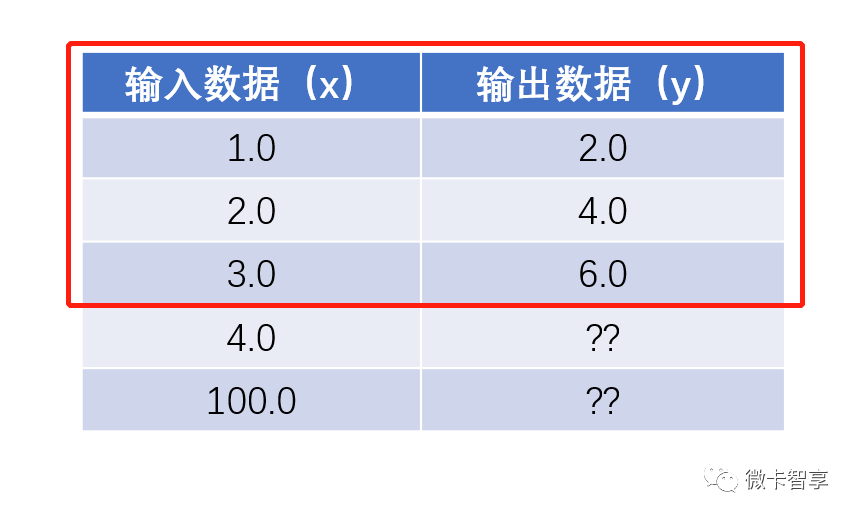
The red box in the picture above represents the training set I want. We can see at a glance that the achieved effect is to multiply the input value by 2 to get the output result. The following two 4.0 and 100.0 are used to infer the result, and the result should also be 8.0 and 200.0
pyTorch training
01
Define the training set
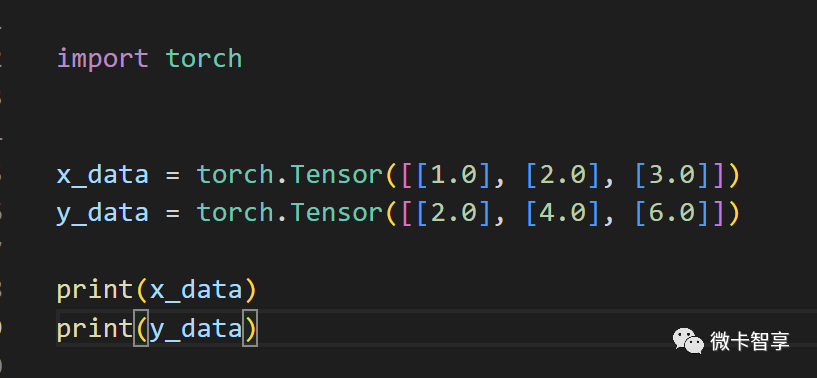
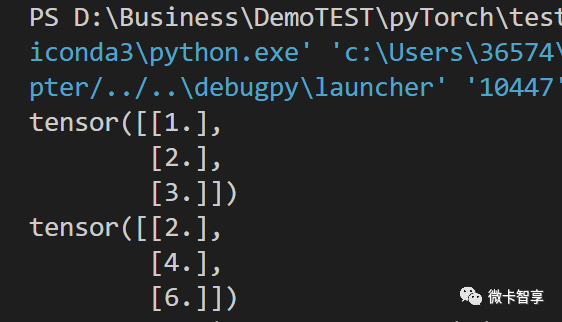
After importing the torch package, we directly define the input x_data as [1, 2, 3], and the output y_data as [2, 4, 6]. The input results are printed as follows:
02
Define the trained network model and loss function and optimizer
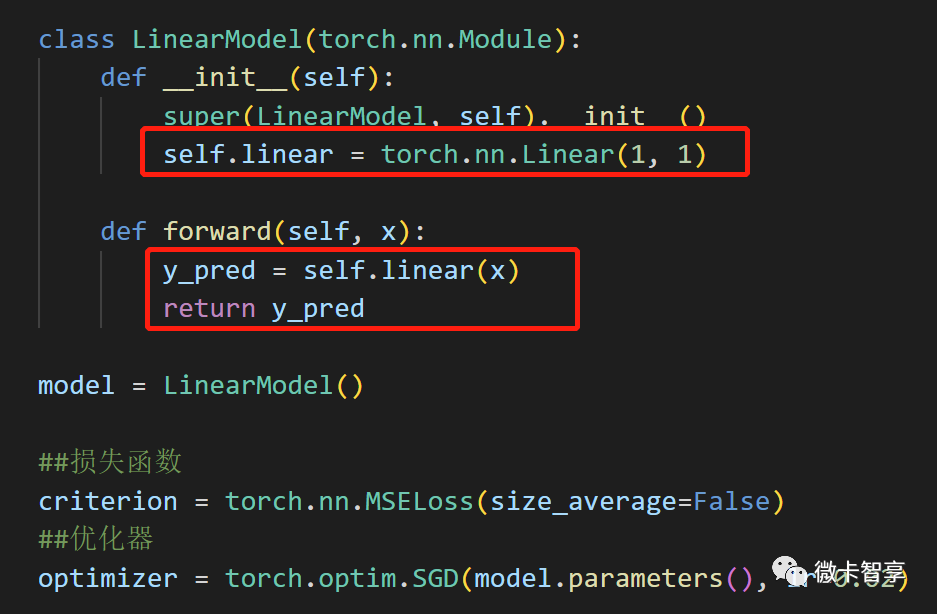
The training model is also very simple, there is only one layer of the Linear full connection layer, and the activation function is not used in the feedforward function, and it is directly output. MSE for loss function, optimizer SGD, where the learning rate parameter is set to 0.02 (lr=0.02)
03
training model
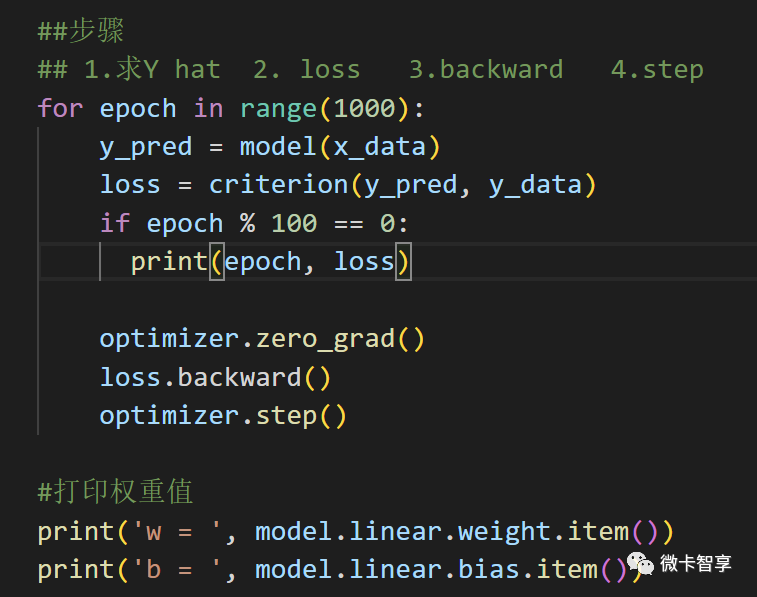
Regarding training, there are mainly four steps:
forward
loss (calculate loss function)
backward (backward propagation)
step (optimization iteration)
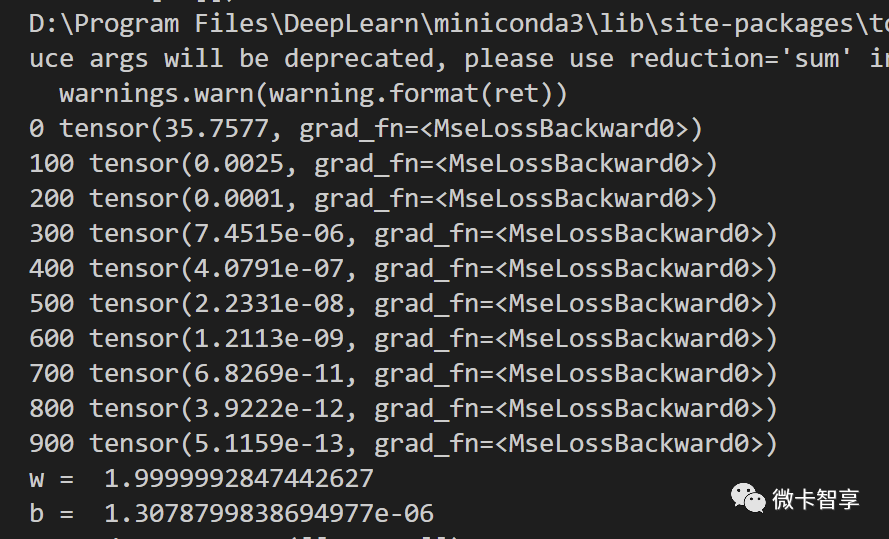
Above we set the number of training times to 1000 times, print the loss every 100 times, and finally output the weight value. The training results are as follows:
04
Verification test and output onnx model

After the training is complete, let's verify the test results. We input four values: 4, 8, 10, and 15. The printed results are as follows:
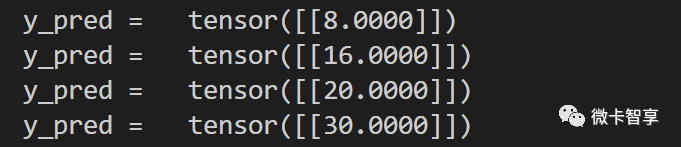
As can be seen in the figure above, the predicted results are completely accurate. Next, we will export the trained model to the onnx file for OpenCV reasoning.
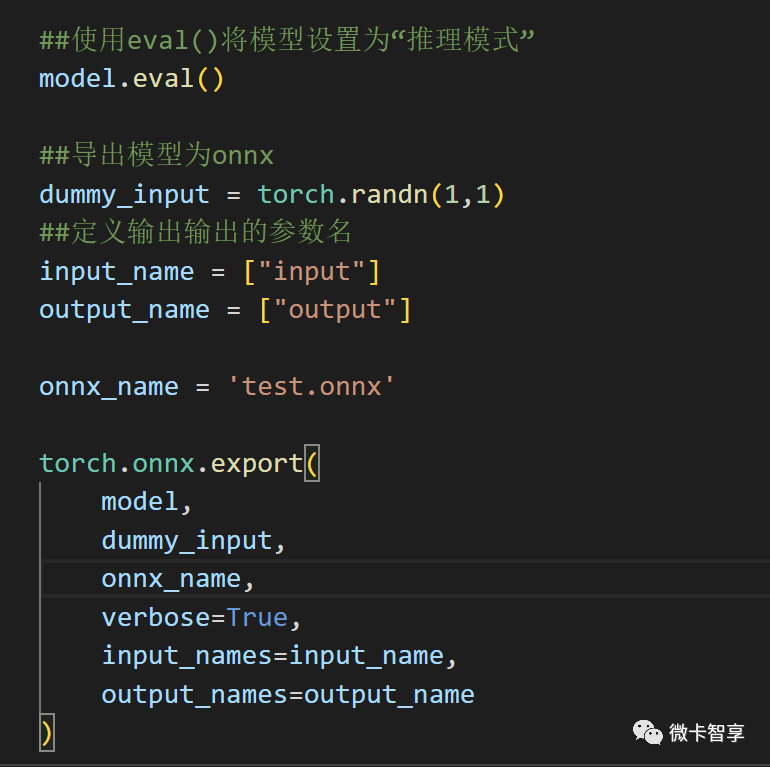
Changing the model model to eval() is set to inference mode.
Define an input parametric model dummy_input
Set the output, the output parameter name input and output, and the file name of onnx
Export with torch.onnx.export, where verbose=True is the debug description that will output the exported trajectory
After success, a test.onnx model file will be generated in the current directory, so that the model trained by pyTorch is completed. The next step is to see if OpenCV's DNN is used for inference.
C++ OpenCV inference
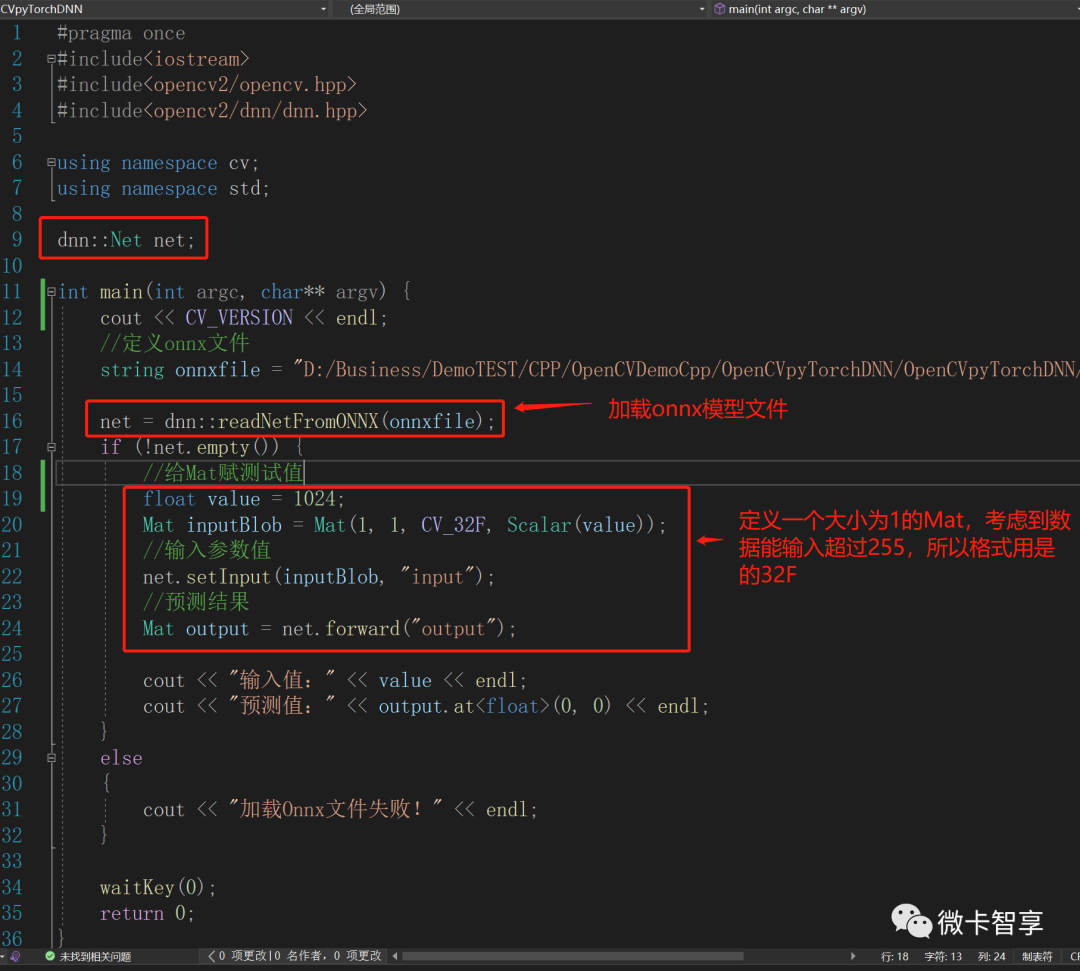
The code of C++ OpenCV DNN reasoning is also very simple. The main thing is to define dnn::Net, then specify the directory of the onnx model file, and use readNetfromOnnx to load the model file.
The input parameter still uses OpenCV's Mat, because only one parameter is input, so the definition here is 1X1, the data type input is the type of float, so the definition is also CV_32F, and Mat is passed into the input parameter, net.setInput(Mat Value, input parameter name), the second parameter is the same as the parameter name we exported, and then get the returned result through net.forward (output parameter name).
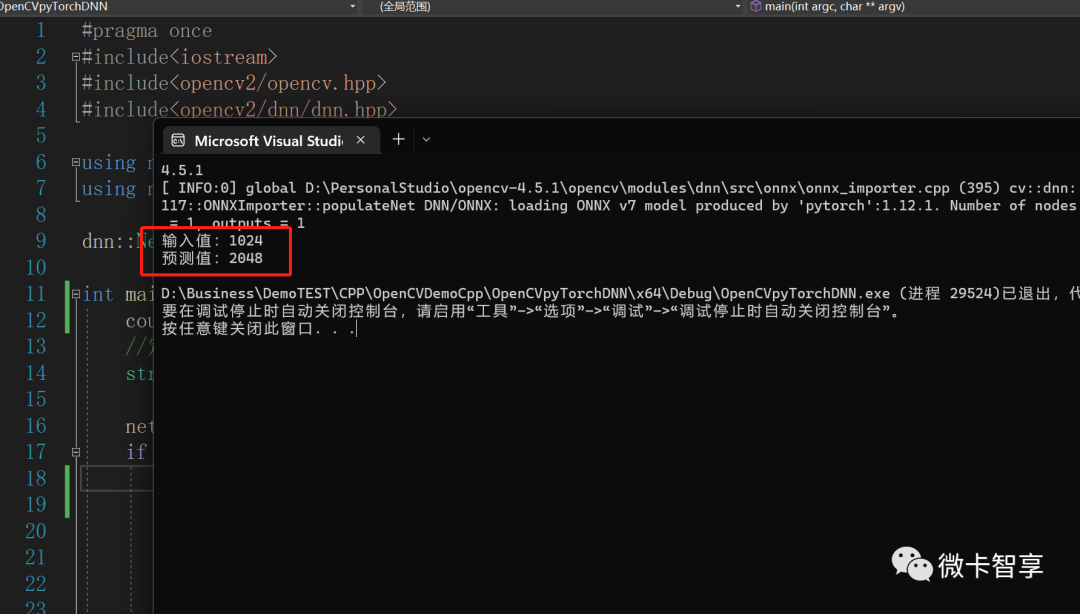
In the code, we input 1024, so the predicted result is 2048, which is completely correct. Such a simple pyTorch training model is transferred to onnx, and then the Demo of C++ OpenCV reasoning is completed.
over

Micro card Zhixiang
source address
https://github.com/Vaccae/OpenCVDemoCpp.git
Click to read the original text to see the code address of "Code Cloud"

Wonderful review of the past
Kotlin uses Select expression in coroutine to select fastest result
C++ OpenCV manually intercepts images for perspective transformation
Use OpenCV to make a simple color extractor