Download opencv from 0 and configure environment variables, then create a new c++ project in vs2019, and configure opencv. Finally, create a new code to test the complete tutorial of opencv.
1. Download and install opencv
1.1 opencv download
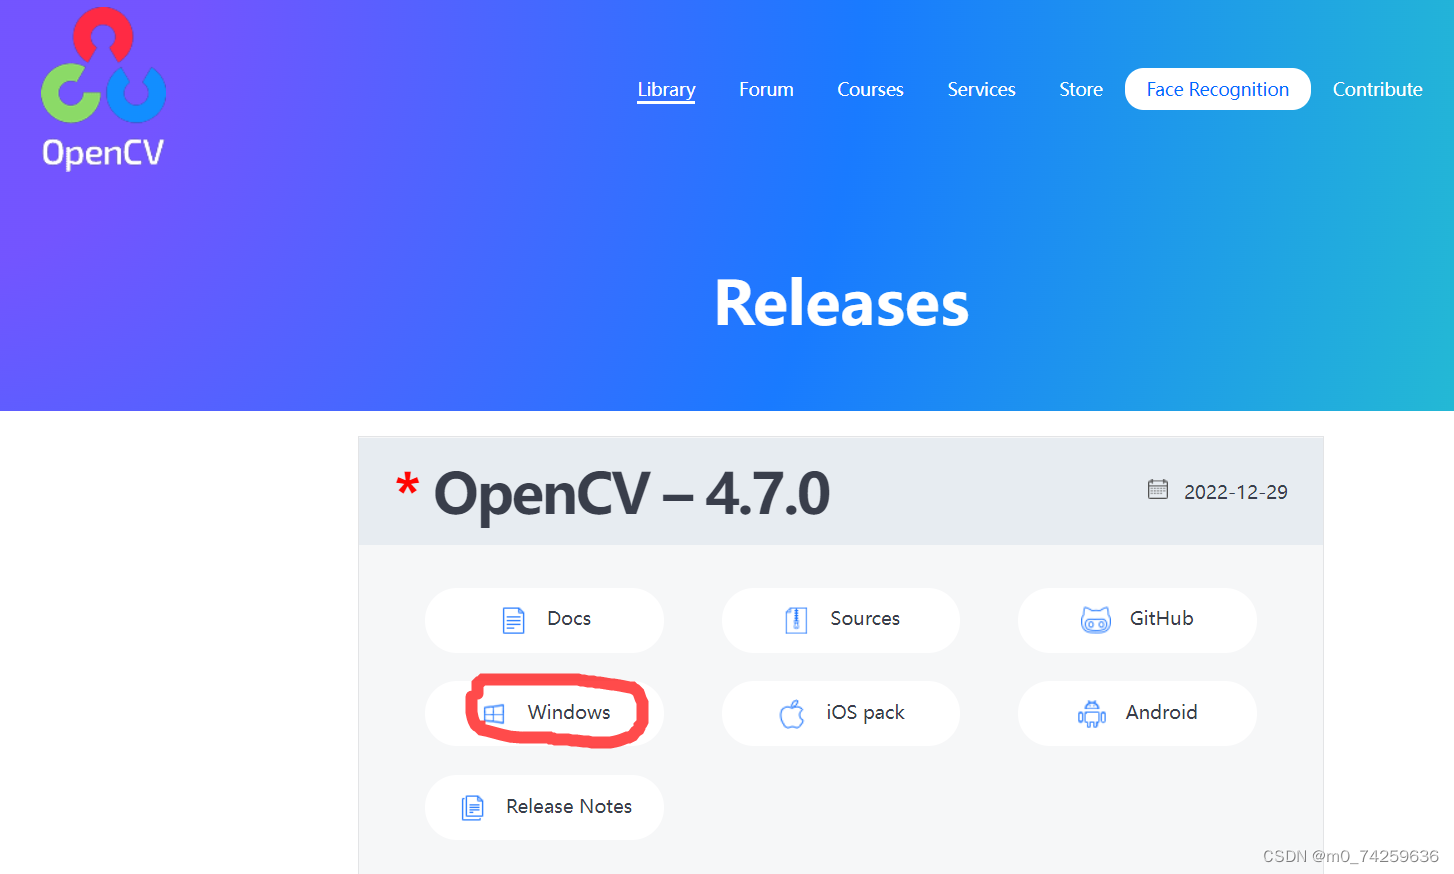
Method 1: Download and install from the official website, official website address: Releases - OpenCV
Method 2: download and install from github, project address: https://github.com/opencv/opencv/
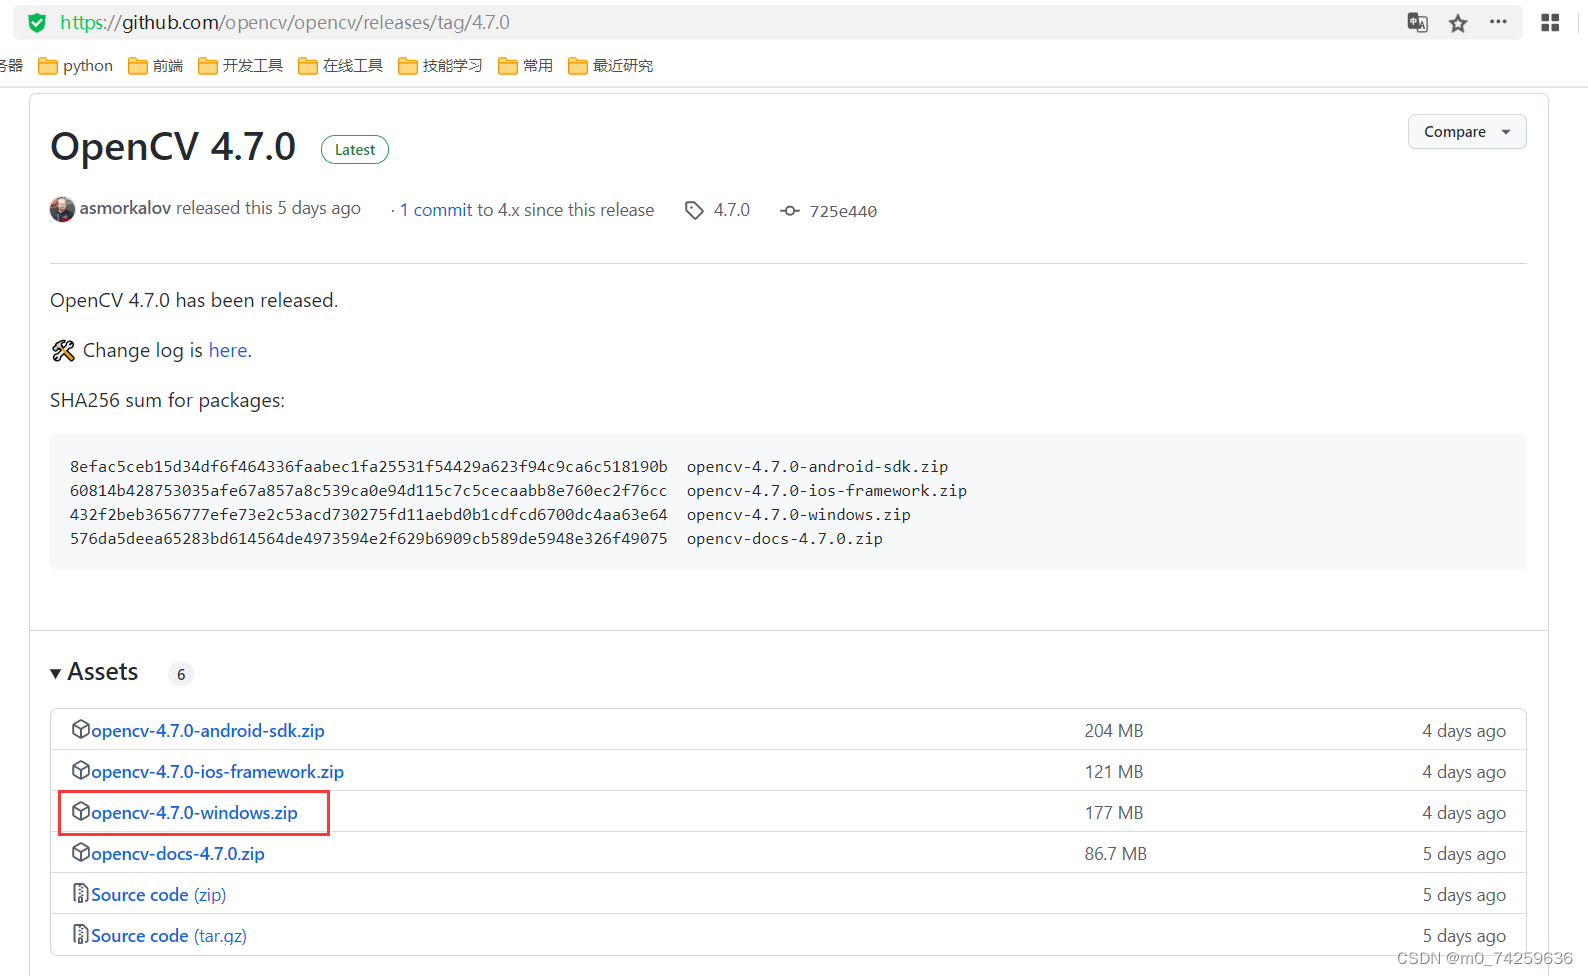
470 version download address https://github.com/opencv/opencv/releases/tag/4.7.0
Method 3: Use a search engine to find opencv packages forwarded by a third party.
1.2 opencv installation
opencv is not an executable file, you don't need to double-click to install it to a specific directory, just unzip the code to the specified directory. The opencv installation in the popular sense refers to adding the path of the dynamic link library (dll file) in opencv to the system environment variable path. After setting the path of the dynamic link library in opencv in the system environment variable path, the system can find the dll in the opencv library The path to the file. Otherwise, every time you write an opencv c++ program, you must copy the opencv dll file to the executable file directory.
Set the path of opencv in the system environment variable path

2. Create a project in vs2019
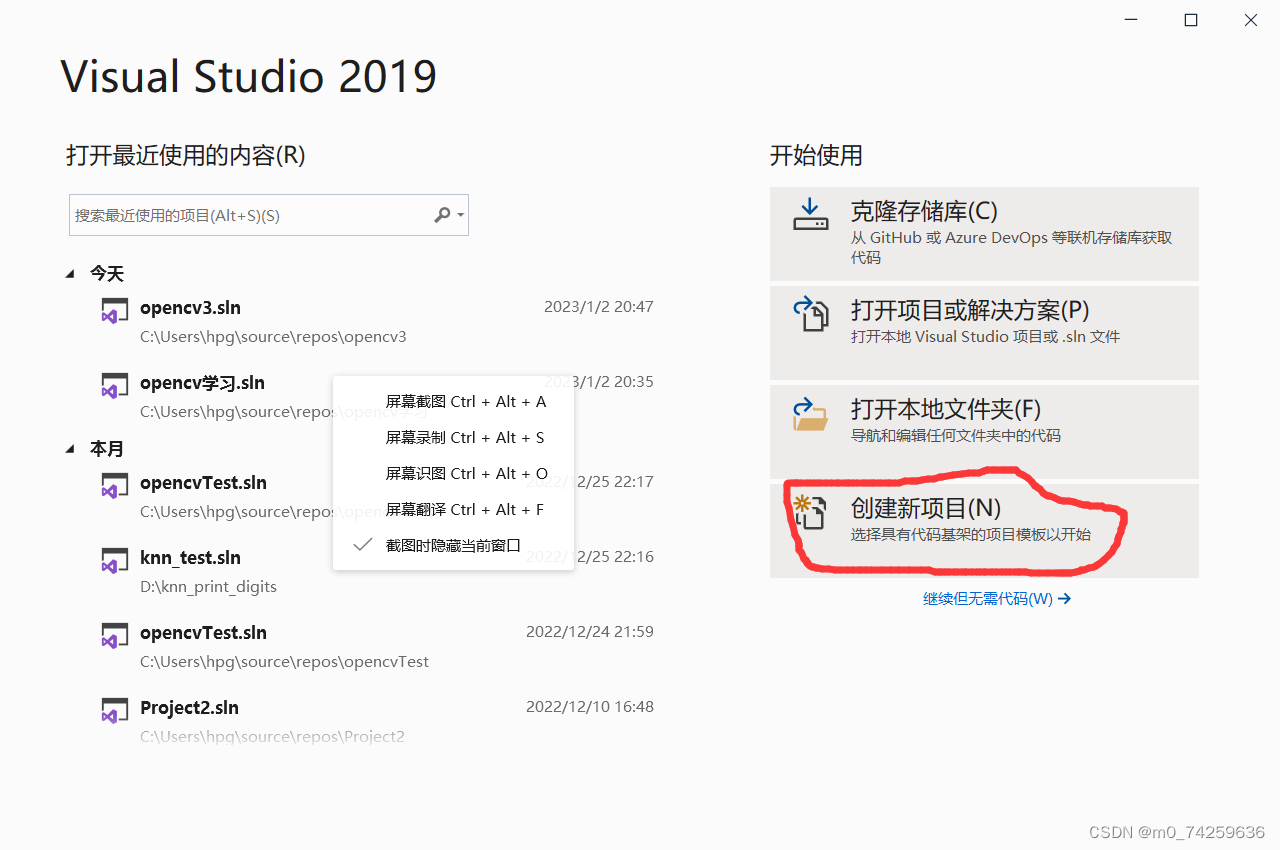
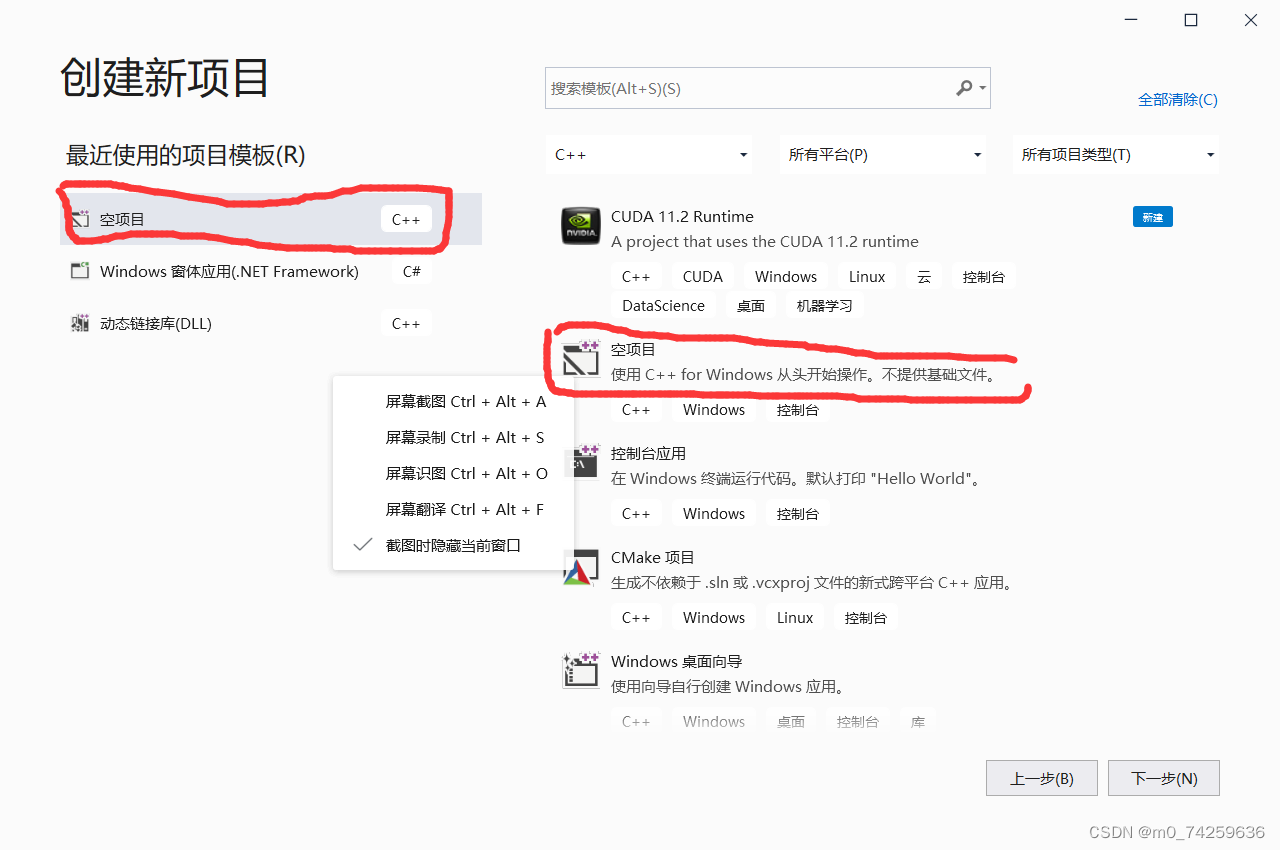
Step 1: Open Visual Studio, click Create New Project
Step 2: Create a new c++ empty project and click Next.
Step 3: Set the project name and click Create (the project name should be set according to the project content)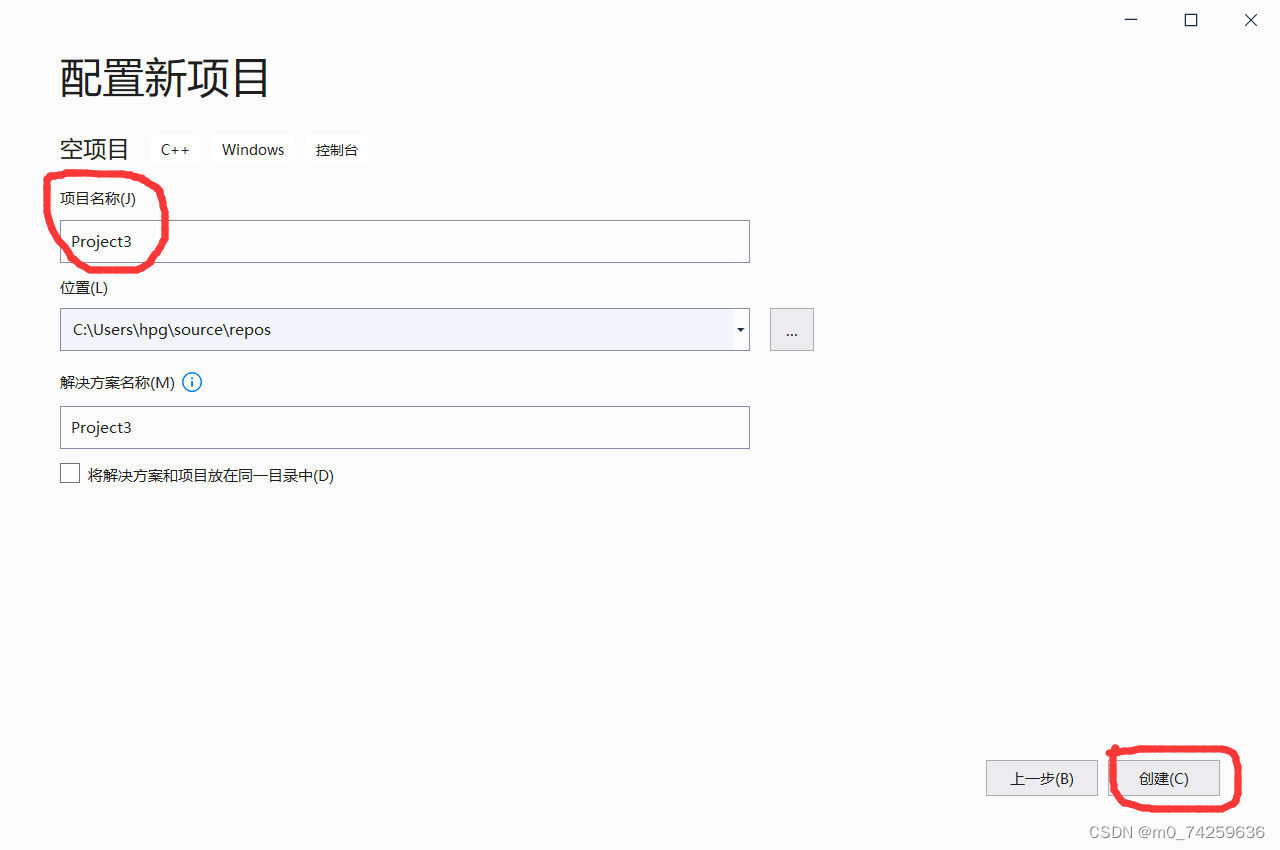
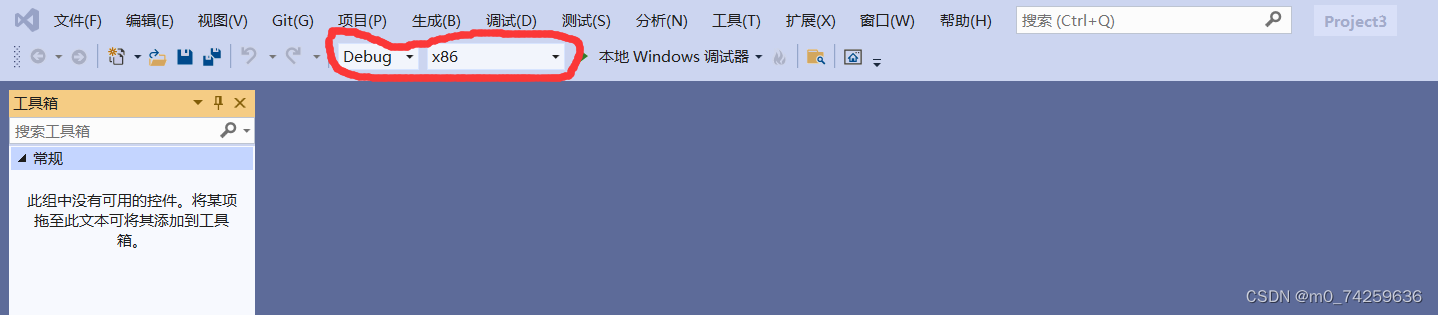
Step 4: Configure project properties. It is necessary to pay attention to the difference between Debug and Release modes. Debug mode is used for development and debugging, and Release mode is used for released software. At the same time, it is also necessary to pay attention to the difference between x86 and x64. windows 7. x64 is a 64-bit Windows system, and the current Windows systems are all 64-bit, such as Windows 10 and Windows 11.
3. Configure opencv
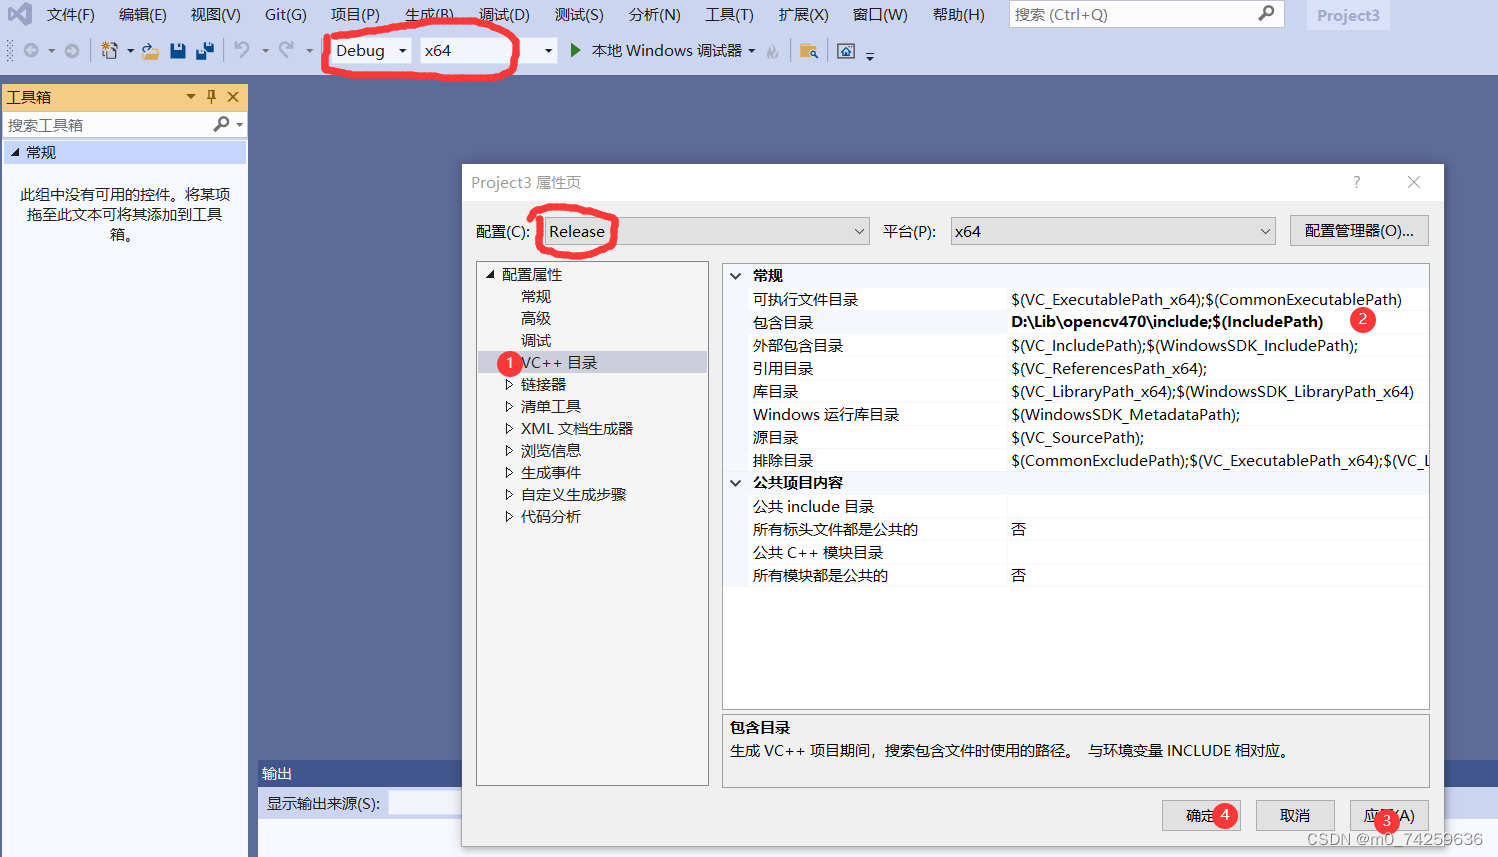
The opencv library consists of three parts, namely the header file (include), the library file (lib file), and the dynamic link library file (dll file). When configuring opencv in VS2019, you need to click the project properties , set the header file path, library file path and specific library file separately, and add the path of the dynamic link library to the system environment variable path.
Step 1: Set header file path. The library file path is the path where the .h and .hpp files in opencv are located. Project properties (Debug, Release, x64, x84) are required, and the set project properties must be consistent with the project properties on the code editing page. The header file path is used for #include in the code
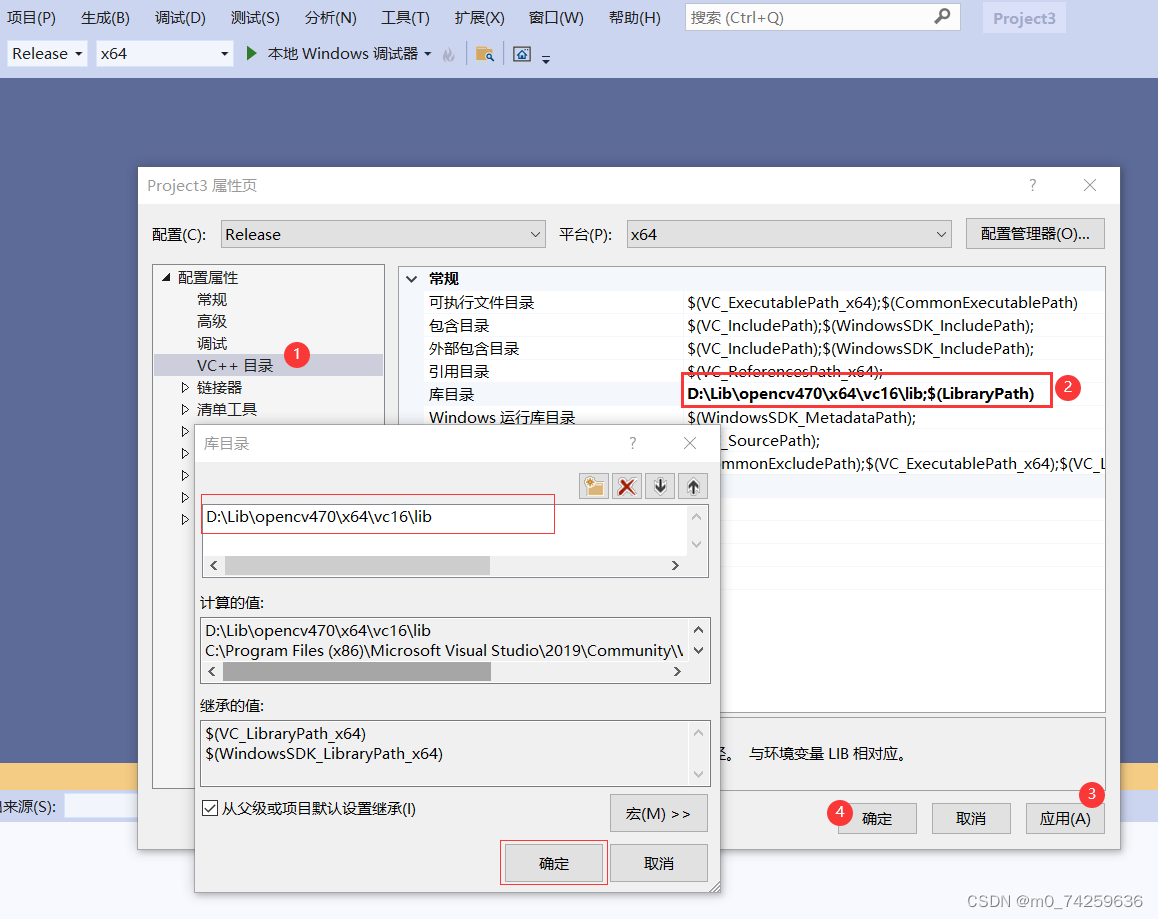
Step 2: Set the library file path. The library file path is the path where the lib file in opencv is located
Step 3: Set up additional dependencies. Click Linker-"Input-"Additional Dependencies in the project properties, and set opencv_world470.lib (470 is because the blogger's opencv version is 470). opencv_world470.lib is a collection of all lib files under the opencv library lib, and specific lib files can also be imported separately.

4. Basic test
4.1 Add code files
Click the project source file, right-click-"Add-"New Item, select the c++ file, enter the file name, and click Add.

4.2 Writing test code
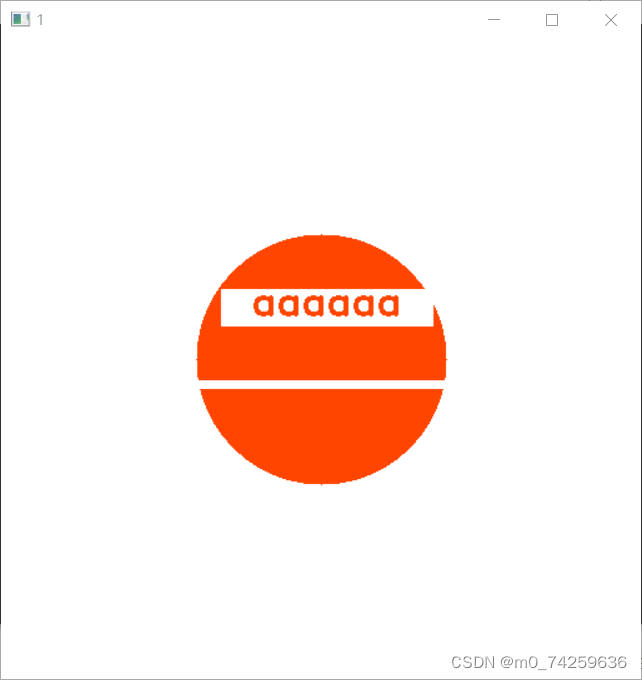
The following test code is to perform drawing operations by calling the opencv library. If the code can be executed normally, it means that the opencv environment has been installed and configured; if it cannot be executed normally, please check the release|debug, x86|x64 and code editing pages in the project properties. Is it consistent.
#include <iostream>
#include <opencv2/opencv.hpp>
#include <opencv2/highgui.hpp>
#include <opencv2/imgproc.hpp>

#include <iostream>
#include <stdlib.h>
#include <stdio.h>
using namespace std;
using namespace cv;
void main() {
	Mat img(512, 512, CV_8UC3, Scalar(255, 255, 255));
	circle(img, Point(256, 256), 100, Scalar(0, 69, 255), FILLED);
	Rect roi = Rect(176, 200, 170, 30);
	rectangle(img, roi, Scalar(255, 255, 255), FILLED);
	line(img, Point(120, 276), Point(372, 276), Scalar(255, 255, 255), 5);
	putText(img, "aaaaaa", Point(200, 220), FONT_HERSHEY_DUPLEX, 1, Scalar(0, 69, 255), 2);
	imshow("1", img);
	waitKey(0);
}
4.3 Code execution effect