1. Description
Today, the blogger's web front-end elective course is over, and the final homework has also been submitted. Today I will write a blog to share my big homework with you.
2. Topic
1. Big homework topic
Personal Resume Homepage Design
2. Content requirements
The following should be included as much as possible:
Ø Including personal basic information, educational background, personal style, contact me four pieces of content
Ø In terms of page organization, the above content can be linked to different pages through the homepage, or placed in different areas of a page
Ø On the homepage, there are navigation bars linked to other modules, as well as the introduction of personal basic information
Ø Education background Include your own educational experience (elementary school, junior high school, high school, university) and a table of subjects and grades taken in the university
Ø Profile section includes an autoplay photo viewer
Ø Set up a form on the contact me page, and submit it after filling to display the filled information
3. Analysis
1. Layout
The following is my analysis of the design ideas:
- First of all, you need to determine the visual style and layout of the entire resume home page. You can choose the corresponding color scheme according to your professional characteristics, and refer to some excellent resume homepage templates for design.
- According to the requirements, put the four pieces of personal basic information, educational background, personal style, and contact me on the page. These four pieces of content can be displayed through different areas or linked to different pages.
- Set up a navigation bar on the page for linking to various modules. The navigation bar can be suspended at the top of the page or placed on the sidebar of the page.
- The introduction of basic personal information can be placed directly on the page, or a separate page can be set up to display detailed information.
- In the educational background, you can arrange your academic experience in chronological order, and add a score table at the university level to better demonstrate your ability and level.
- In the column of personal style, you can use an auto-play picture viewer to display your personal photos or works, so that employers can better understand themselves.
- Finally, set up a form on the Contact Me page for employers to fill in relevant information and submit. After submitting, the filled information can be displayed, which is convenient for employers to get in touch with you.
2. Implementation of each part
Here are my suggestions on what implementation should be used for each part:
- Visual style and layout: You can set the style and layout of the page through CSS, you can use some ready-made CSS frameworks or write CSS codes yourself.
- Four pieces of content display: HTML can be used to create different page modules, and page jumps can be realized through hyperlinks or Javascript. In addition, you can also use tags and styles on a page to distinguish the display of four pieces of content.
- Navigation bar: You can use HTML and CSS to create a navigation bar, and use Javascript to realize page jumps. Among them, CSS can be used to set the style and layout of the navigation bar, and Javascript can be used to realize the response function of the navigation bar.
- Basic personal information: You can use HTML and CSS to set the style and layout of personal information, and display it directly on the page. In addition, you can also set up a separate page to display more detailed personal information.
- Education Background: You can use HTML and CSS to style and layout the education background, and use tables to display university-level subject and grade information.
- Personal style column: You can use Javascript and CSS to create an auto-play image viewer, and embed personal photos or works into the viewer.
- Contact Me Page: You can use HTML and CSS to create a form for employers to fill out. After the form is submitted, Javascript can be used to process and display the filled information.
Four.html code
<!DOCTYPE html>
<html lang="en">
<head>
<meta charset="UTF-8">
<title>web个人简历</title>
<link rel="stylesheet" type="text/css" href="css/back.css">
<link rel="stylesheet" href="https://cdn.plyr.io/3.6.8/plyr.css" />
<script src="js/dongtai.js"></script>
<script src="https://cdn.plyr.io/3.6.8/plyr.polyfilled.js"></script>
</head>
<body>
<div id="first">
<!-- 导航条 -->
<div class="nav-container">
<select onchange="location = this.value;">
<option value="">请选择页面</option>
<option value="#first">简历首页</option>
<option value="#second">基本信息</option>
<option value="#third">教育背景</option>
<option value="#forth">个人风采</option>
<option value="#">与我联系</option>
</select>
</div>
<!-- 右上角图片 -->
<div class="circle"></div>
<!-- 首页寄语 -->
<div class="vertical-text">
<div class="sentence">烟花虽美,只是一瞬。</div>
<div class="sentence">日子再苦,只是一时。</div>
<div class="sentence">相信自己,未来可期。</div>
<div class="signature">
-------- 未来的你</div>
</div>
<!-- 大标题 -->
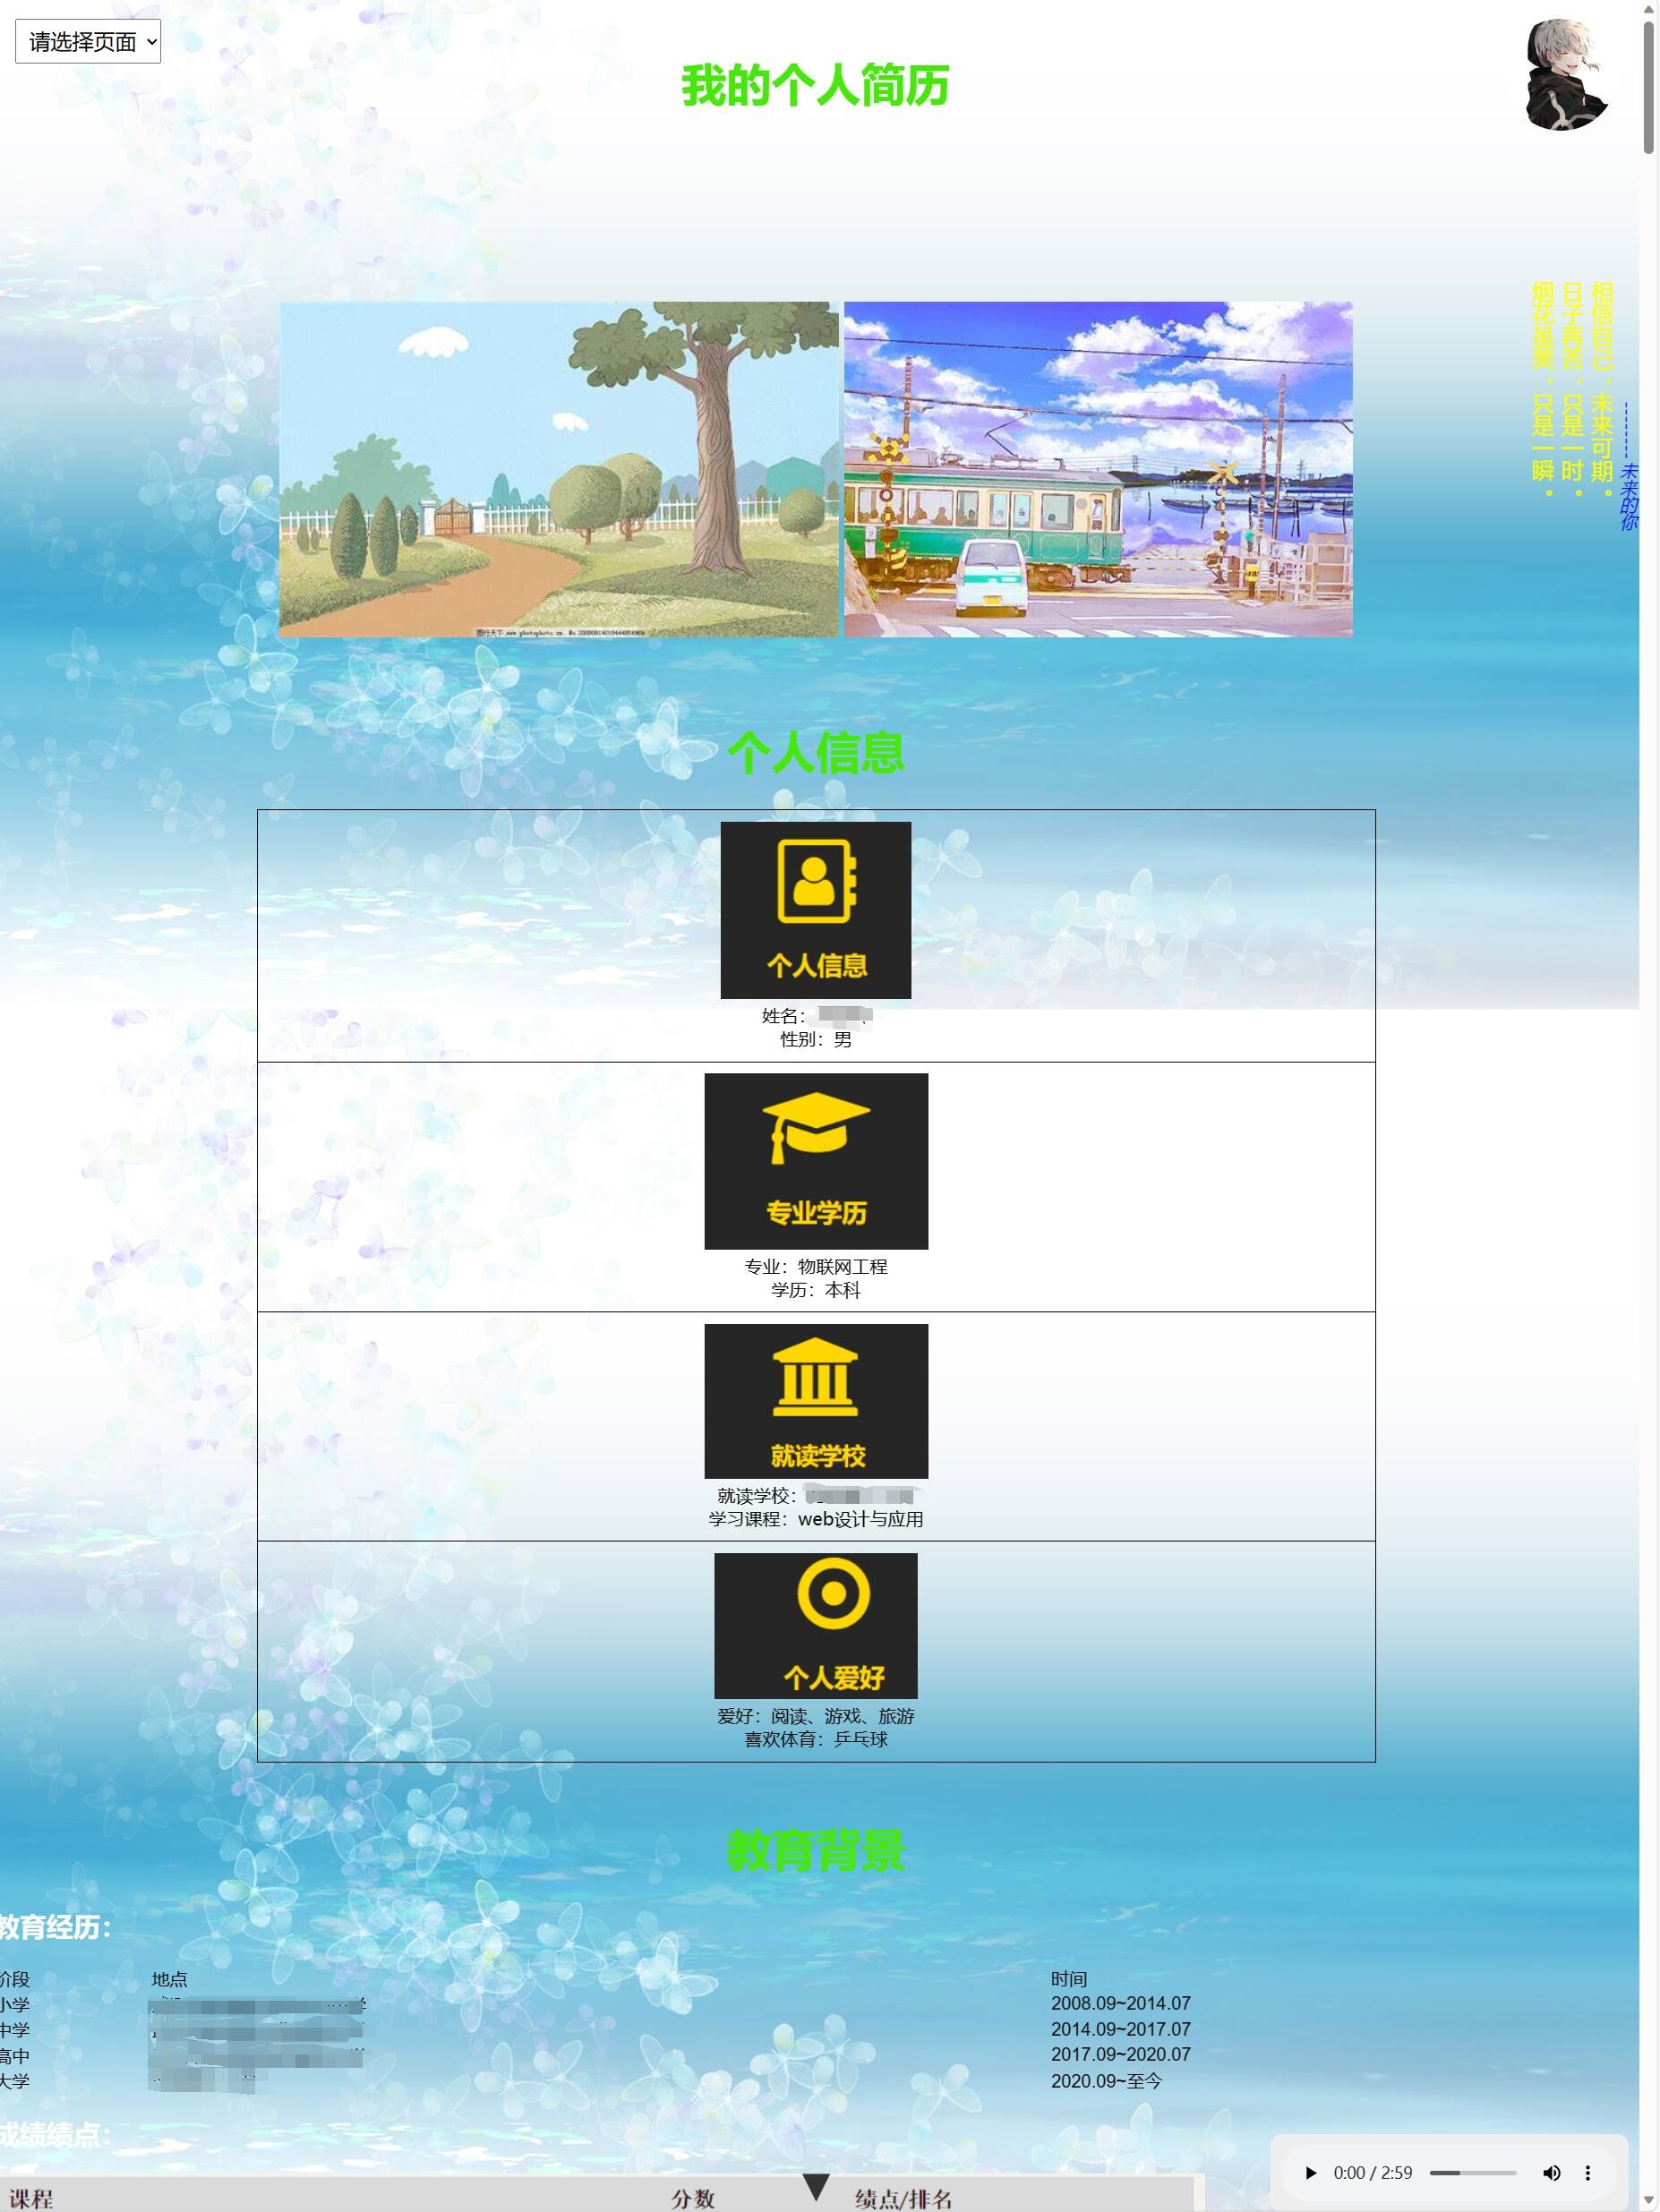
<h1>我的个人简历</h1>
<div class="image-container">
<img src="images/city2.jpg" alt="image1">
<img src="images/city1.jpg" alt="image2">
</div>
<div class="audio-container" style="display: flex; justify-content: flex-end; margin-top: 20px;" autoplay>
<audio controls style="width: 300px; height: 50px; outline: none; background-color: #eee; border-radius: 10px; padding: 10px; margin: 0 10px; text-align: right;">
<source src="music/music1.mp3" type="audio/mp3">
您的浏览器不支持音频元素。
</audio>
</div>
<a href="#" class="arrow">▼</a>
</div>
<div id="second">
<!-- 大标题 -->
<h1>个人信息</h1>
<!-- 表格 -->
<table class="biaoge">
<tr>
<td><img src="images/1.jpg" alt="个人信息"><br>姓名:xxx<br>性别:男</td>
</tr>
<tr>
<td><img src="images/2.jpg" alt="专业学历"><br>专业:物联网工程<br>学历:本科</td>
</tr>
<tr>
<td><img src="images/3.jpg" alt="就读学校"><br>就读学校:xx理工大学<br>学习课程:web设计与应用</td>
</tr>
<tr>
<td><img src="images/4.jpg" alt="个人爱好"><br>爱好:阅读、游戏、旅游<br>喜欢体育:乒乓球</td>
</tr>
</table>
</div>
<div id="third">
<!-- 大标题 -->
<h1>教育背景</h1>
<h2>教育经历:</h2>
<table class="teach">
<tr>
<td>阶段</td>
<td>地点</td>
<td>时间</td>
</tr>
<tr>
<td>小学</td>
<td>xxxxxxxxxxxxxxxxxxxx</td>
<td>2008.09~2014.07</td>
</tr>
<tr>
<td>中学</td>
<td>xxxxxxxxxxxxxxxxxxxxxxx</td>
<td>2014.09~2017.07</td>
</tr>
<tr>
<td>高中</td>
<td>xxxxxxxxxxx</td>
<td>2017.09~2020.07</td>
</tr>
<tr>
<td>大学</td>
<td>xx理工大学</td>
<td>2020.09~至今</td>
</tr>
</table>
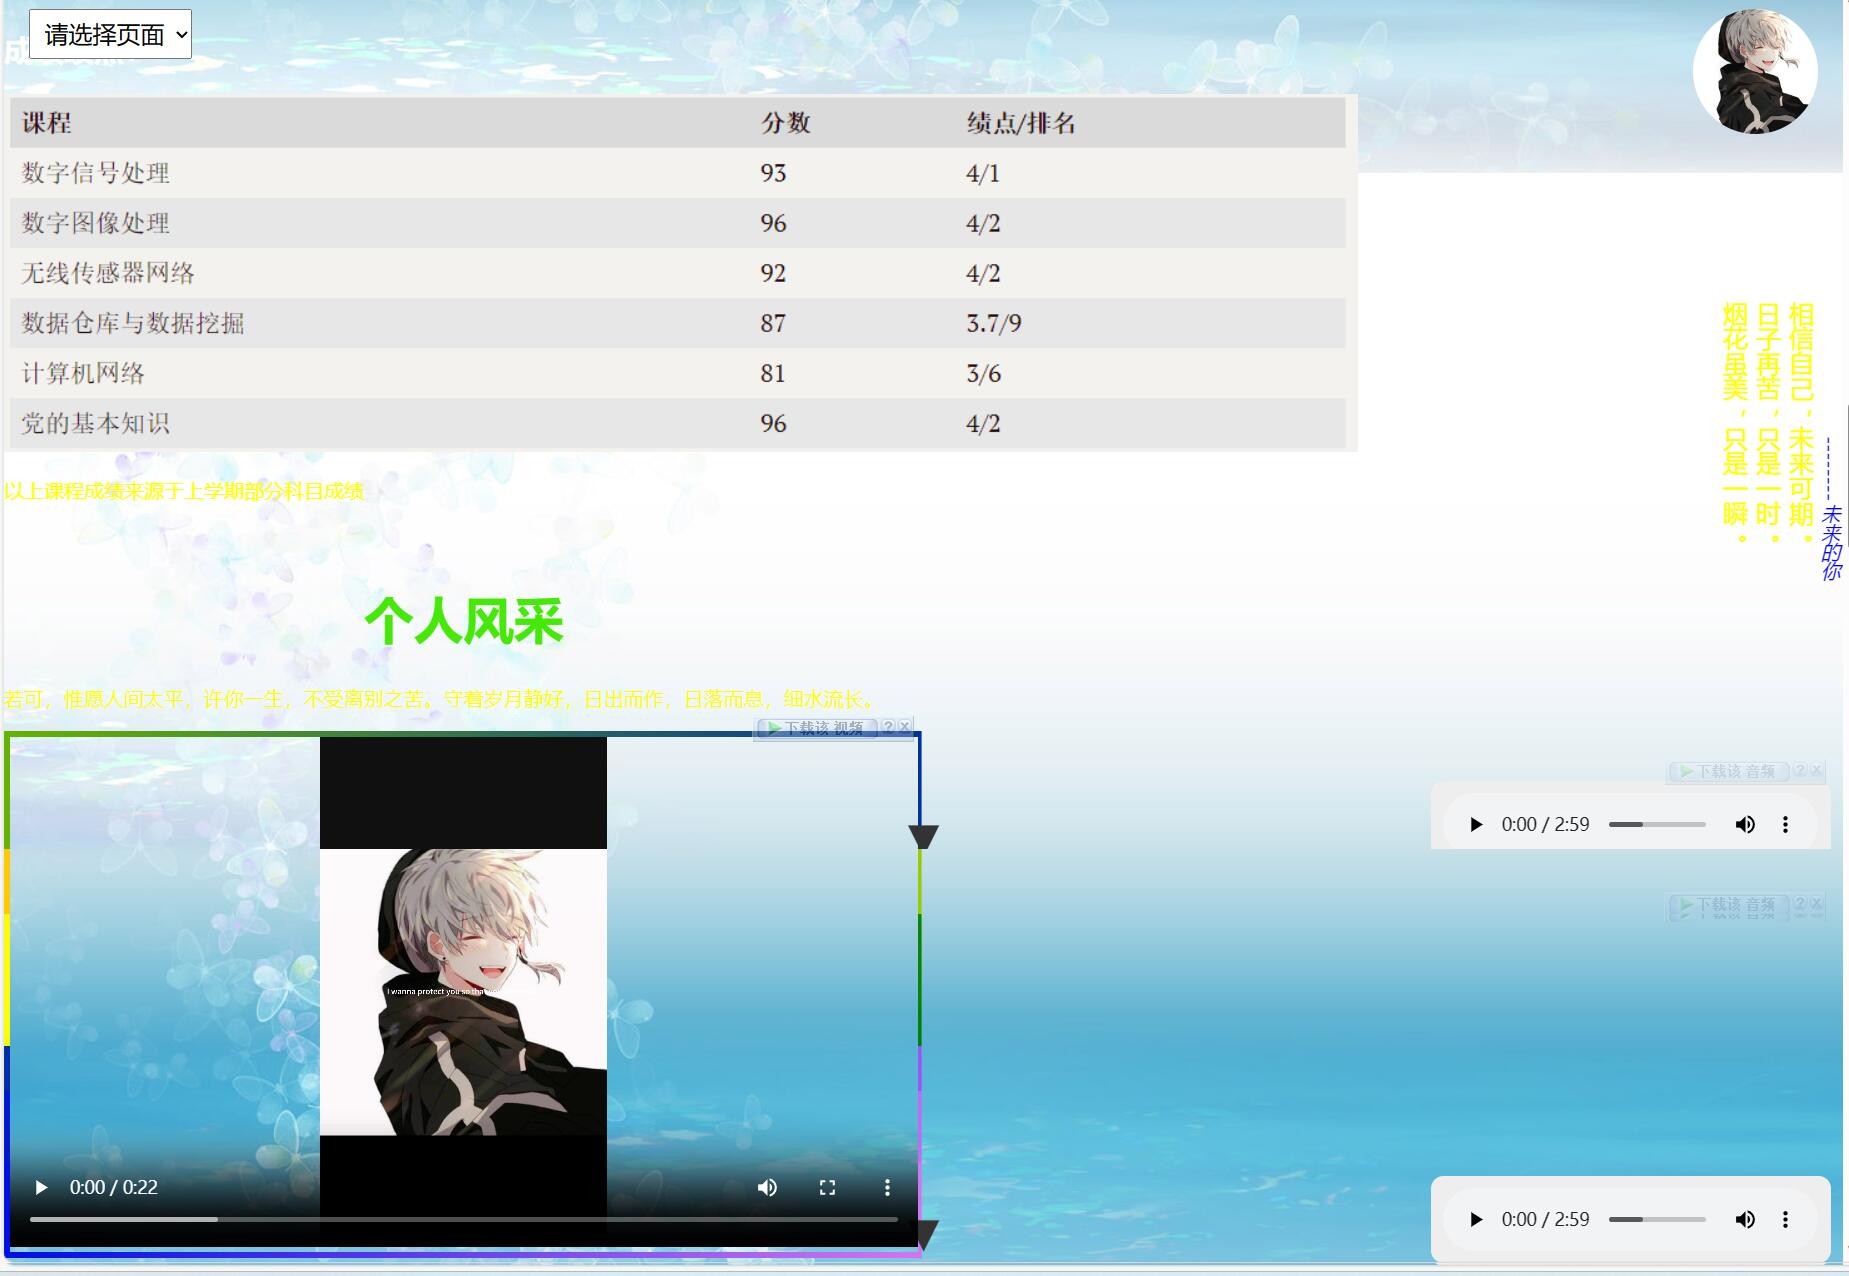
<h2>成绩绩点:</h2>
<!-- Add the image tag below this line -->
<img src="images/grade.jpg" alt="grade image">
<p style="font-family: Arial; font-size: 16px; color: yellow; text-align: left;">以上课程成绩来源于上学期部分科目成绩</p>
</div>
<div id="forth">
<!-- 大标题 -->
<h1>个人风采</h1>
<p style="color:yellow;margin-top: 10px">若可,惟愿人间太平,许你一生,不受离别之苦。守着岁月静好,日出而作,日落而息,细水流长。</p>
<div class="plyr__video-embed rainbow-border" >
<video controls crossorigin playsinline>
<source src="shipin/mylife.mp4" type="video/mp4" />
</video>
</div>
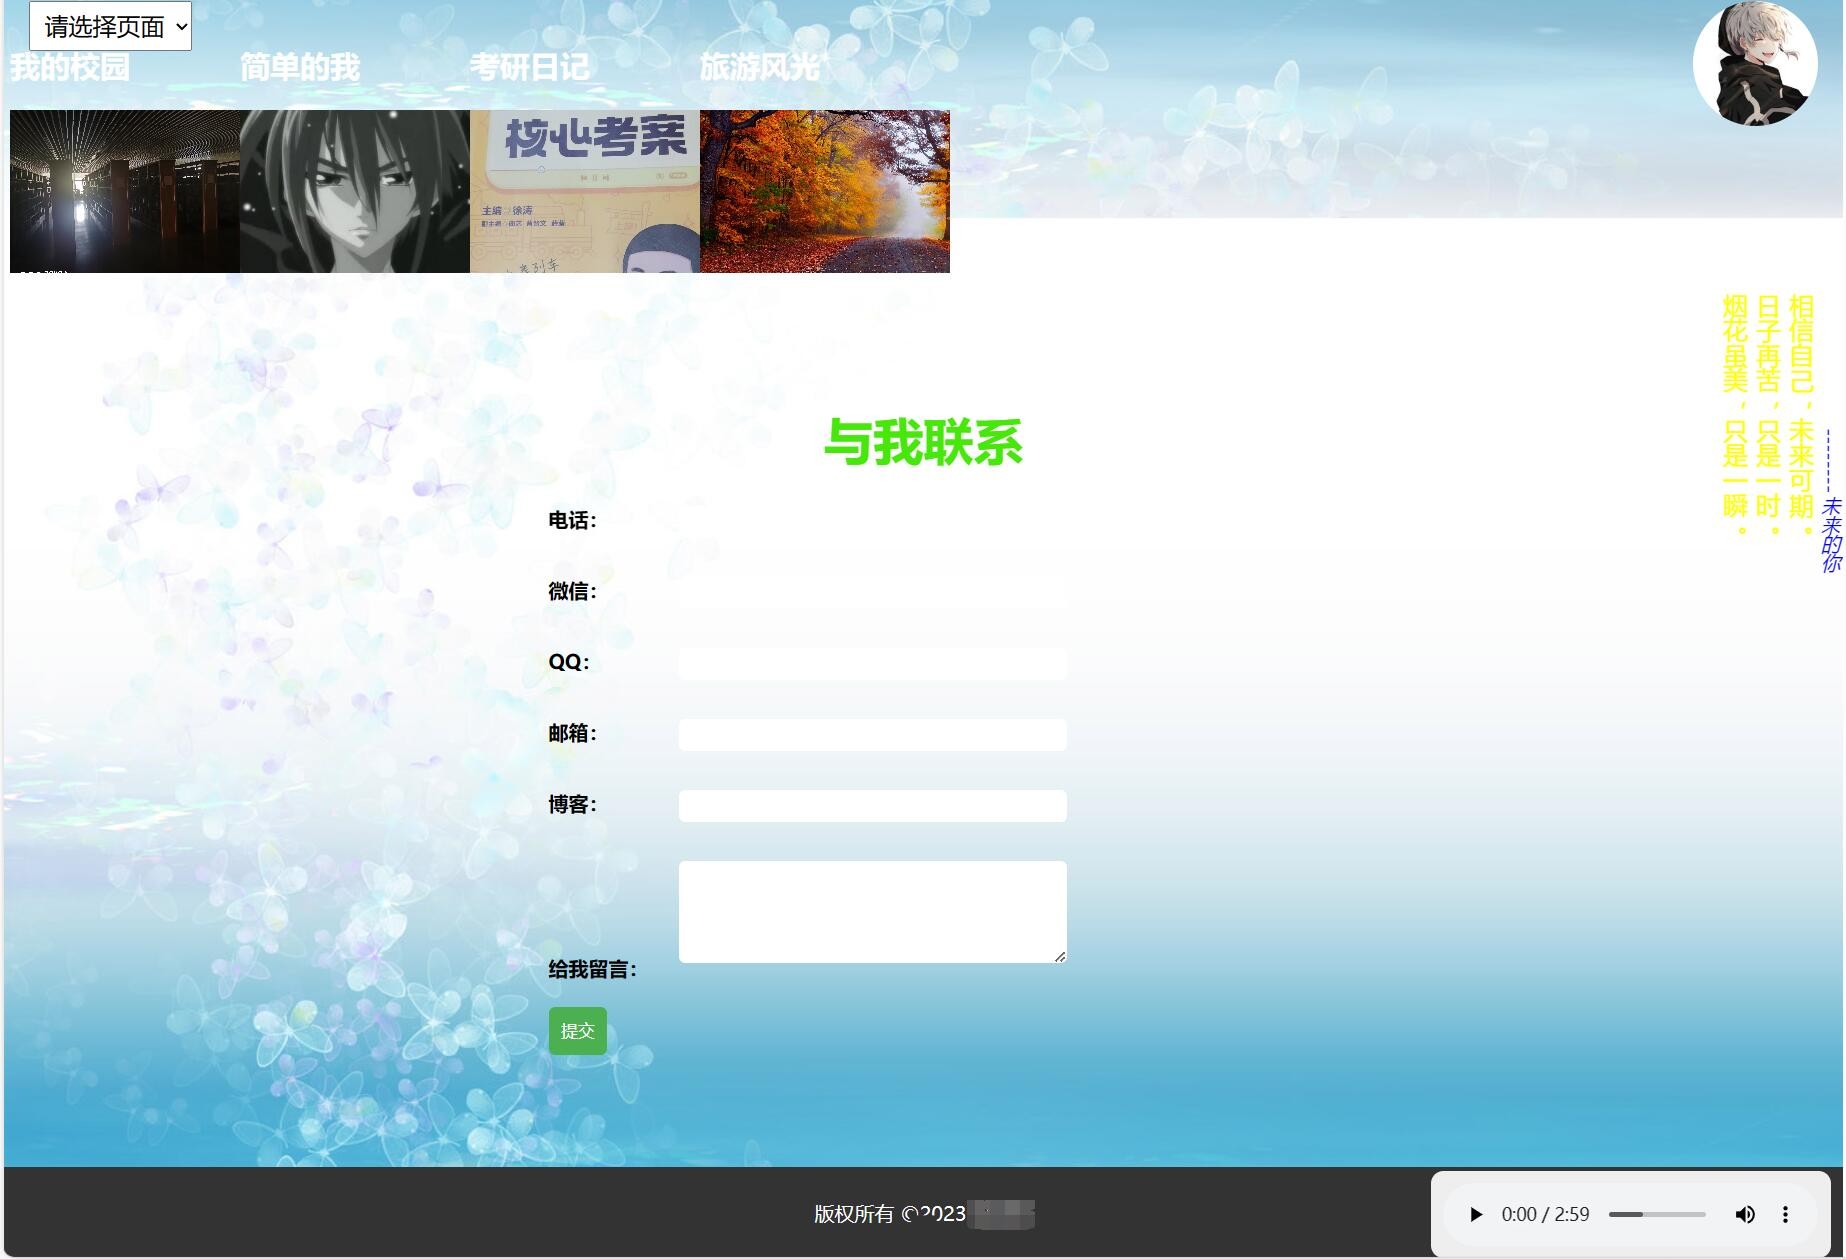
<h2>照片查看器</h2>
<div class="gallery-container">
<div id="gallery1">
<h2>我的校园</h2>
<div class="slideshow">
<img src="images/kust1.jpg" alt="Image 1">
<img src="images/kust2.jpg" alt="Image 2">
<img src="images/kust3.jpg" alt="Image 3">
<img src="images/kust4.jpg" alt="Image 4">
</div>
<script>
var currentImage1 = 0;
var images1 = document.querySelectorAll("#gallery1 .slideshow img");
function nextSlide1() {
images1[currentImage1].style.display = "none";
currentImage1 = (currentImage1 + 1) % images1.length;
images1[currentImage1].style.display = "block";
}
setInterval(nextSlide1, 3000);
</script>
</div>
<div id="gallery2">
<h2>简单的我</h2>
<div class="slideshow">
<img src="images/me.jpg" alt="Image 1">
<img src="images/me1.jpg" alt="Image 2">
<img src="images/me2.jpg" alt="Image 3">
<img src="images/me3.jpg" alt="Image 4">
</div>
<script>
var currentImage2 = 0;
var images2 = document.querySelectorAll("#gallery2 .slideshow img");
function nextSlide2() {
images2[currentImage2].style.display = "none";
currentImage2 = (currentImage2 + 1) % images2.length;
images2[currentImage2].style.display = "block";
}
setInterval(nextSlide2, 3000);
</script>
</div>
<div id="gallery3">
<h2>考研日记</h2>
<div class="slideshow">
<img src="images/kaoyan1.jpg" alt="Image 1">
<img src="images/kaoyan2.jpg" alt="Image 2">
<img src="images/kaoyan3.jpg" alt="Image 3">
<img src="images/kaoyan4.jpg" alt="Image 4">
</div>
<script>
var currentImage3 = 0;
var images3 = document.querySelectorAll("#gallery3 .slideshow img");
function nextSlide3() {
images3[currentImage3].style.display = "none";
currentImage3 = (currentImage3 + 1) % images3.length;
images3[currentImage3].style.display = "block";
}
setInterval(nextSlide3, 3000);
</script>
</div>
<div id="gallery4">
<h2>旅游风光</h2>
<div class="slideshow">
<img src="images/travel1.jpg" alt="Image 1">
<img src="images/travel2.jpg" alt="Image 2">
<img src="images/travel3.jpg" alt="Image 3">
<img src="images/travel4.jpg" alt="Image 4">
</div>
<script>
var currentImage4 = 0;
var images4 = document.querySelectorAll("#gallery4 .slideshow img");
function nextSlide4() {
images4[currentImage4].style.display = "none";
currentImage4 = (currentImage4 + 1) % images4.length;
images4[currentImage4].style.display = "block";
}
setInterval(nextSlide4, 3000);
</script>
</div>
</div>
</div>
<h1> </h1>
<div id="fifth">
<div class="container">
<form id="contact-form">
<label for="phone"> </label>
<label for="phone"> </label>
<label for="phone"> </label>
<label for="phone"> </label>
<label for="phone"> </label>
<label for="phone"> </label>
<label for="phone"> </label>
<label for="phone"> </label>
<label for="phone"> </label>
<label for="phone"> </label>
<label for="phone"> </label>
<label for="phone"> </label>
<br><br><br><br><br><br><br><br><br><br><br>
<br><br><br><br><br><br><br><br><br><br><br>
<br><br><br><br><br><br><br><br><br><br><br>
<h1>与我联系</h1>
<label for="phone">电话:</label>
<input type="text" id="phone" name="phone" required>
<br><br>
<label for="wechat">微信:</label>
<input type="text" id="wechat" name="wechat" required>
<br><br>
<label for="qq">QQ:</label>
<input type="text" id="qq" name="qq" required>
<br><br>
<label for="email">邮箱:</label>
<input type="email" id="email" name="email" required>
<br><br>
<label for="blog">博客:</label>
<input type="url" id="blog" name="blog" required>
<br><br>
<label for="message">给我留言:</label>
<textarea id="message" name="message" rows="5" required></textarea>
<br><br>
<button type="submit">提交</button>
</form>
<div id="output"></div>
</div>
</div>
<footer>
<p>版权所有 ©2023 CSAN@终究还是散了</p>
</footer>
</body>
</html>
This is just the selected html code, all the codes are in my resources, and the link is placed later for everyone to get.
5. Final result
operation result:
This is originally a page, but due to the length of the screenshot, it is displayed separately here.
6. Message
Welcome everyone to read! A folder of complete files I have uploaded in resources, the download link is here.