This article is the seventh of a hundred articles to learn PyQT6. This article describes how to use Pyinstaller to package UI interface and code, and package the program into EXE for more convenient deployment. You will encounter many problems in the process of blogging and learning , For example: Many blogs on PyQT6 on the Internet are PyQT5, or most of PyQT4 are different from PyQT6. Because PyQT6 is relatively new, there will be fewer related blog articles. Bloggers will encounter and step on in this article. Summary of pitfalls Come out, it can be used for your reference, I hope you can install it smoothly. Including installation, debugging, solutions to problems encountered, and how to uninstall all solutions.
完全解决:qt.qpa.plugin: Could not load the Qt platform plugin "windows" in "" even though it was found. This application failed to start because no Qt platform plugin could be initialized. Reinstalling the application may fix this problem. Available platform plugins are: minimal, offscreen, windows, direct2d. 问题
Use environment: QT6, PyQT6, PySide6 packaging tool Pyinstaller
The author of this article is original, and reprinting is prohibited without permission.
Pyinstaller package EXE (seven) hundreds of articles to learn PyQT directory
3.2 Using the staging environment
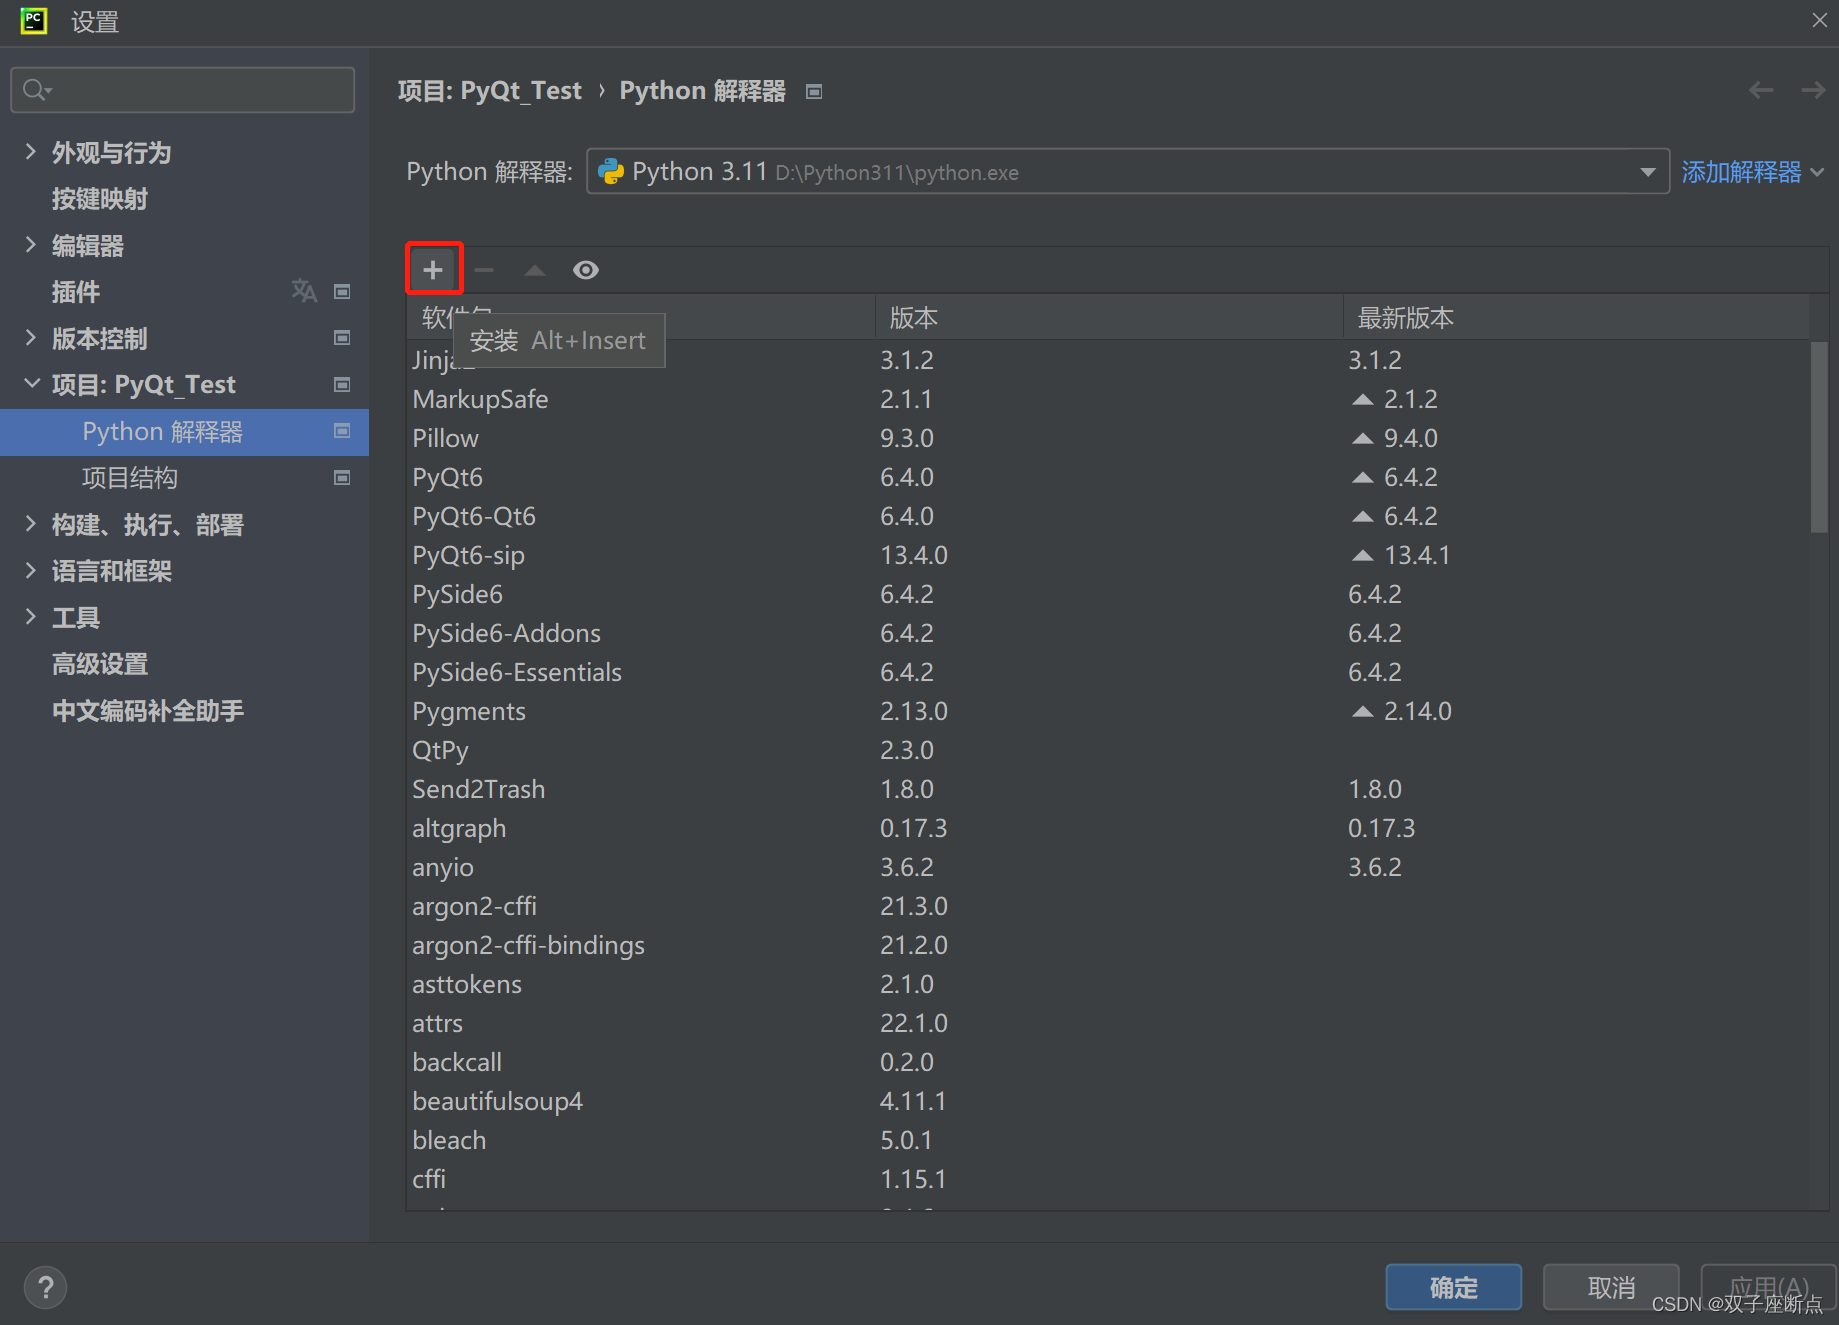
1 Install Pyinstaller
pip install PyinstallerYou can also search for Pyinstaller in the settings

1.1 Installation failed
The solution is to first install the pywin32 and wheel modules with the pip installation command, and then install the Pyinstaller module:
pip install pywin32
pip install wheel
After installing Pyinstaller, you can use it to package .py files.
2 packed
grammar:
pyinstaller --paths PyQt5模块路径 -F -w --icon=窗口图标文件 文件名.py
# 参数说明:
# --paths:指定第三方模块的安装路径。
# -w:表示窗口程序。
# --icon:可选项,如果设置了窗口图标,则指定相应文件路径;如果没有,则省略。
# 文件名.py:窗口程序的入口文件。
Ordinary Python programs refer to programs that are fully implemented using Python built-in modules or objects, and the program does not include any third-party modules. The packaging steps using Pyinstaller are as follows.
Open the terminal in the path directory where the .py file to be packaged is located, and enter the package command to package.
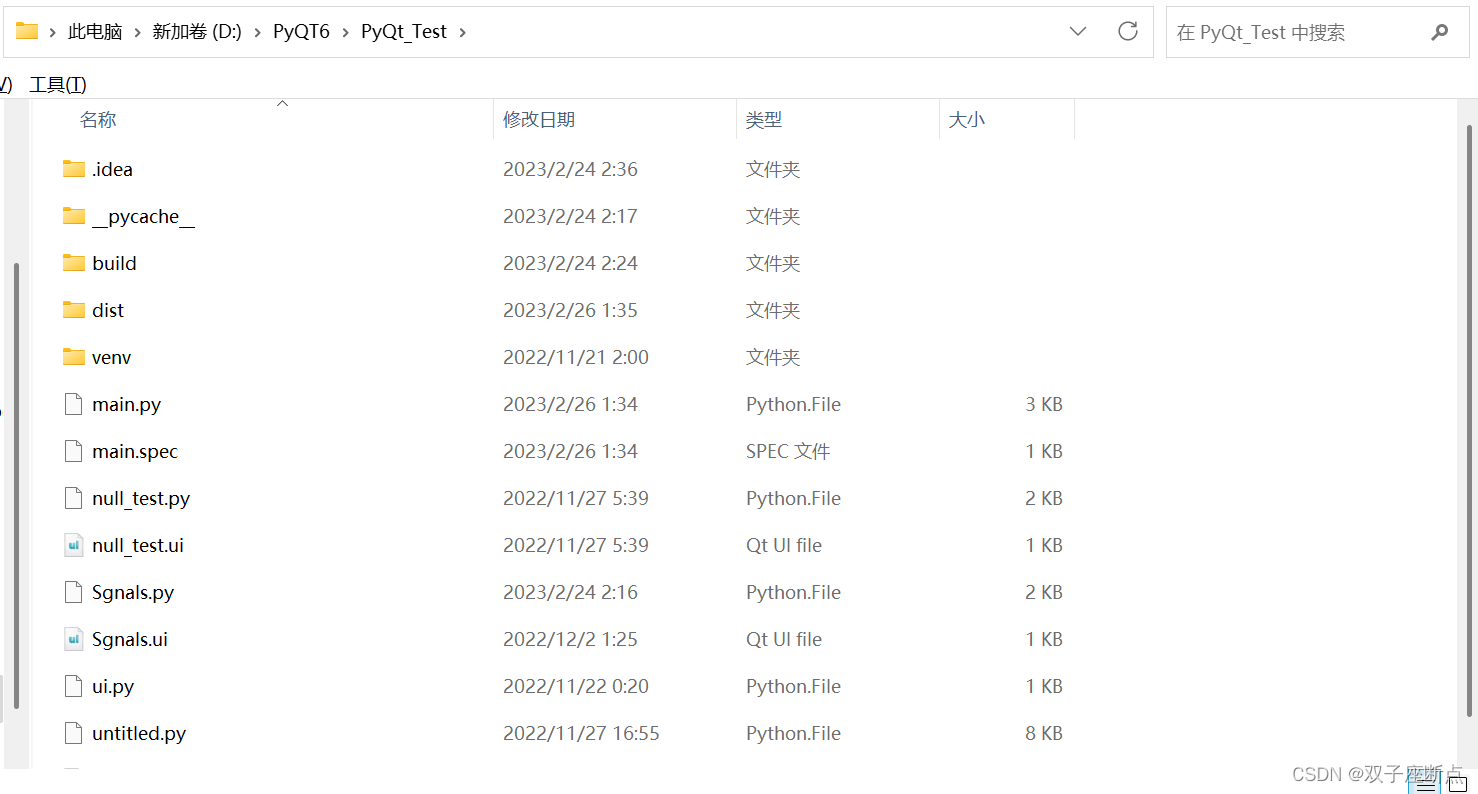
Software directory:
2.1 Direct packaging
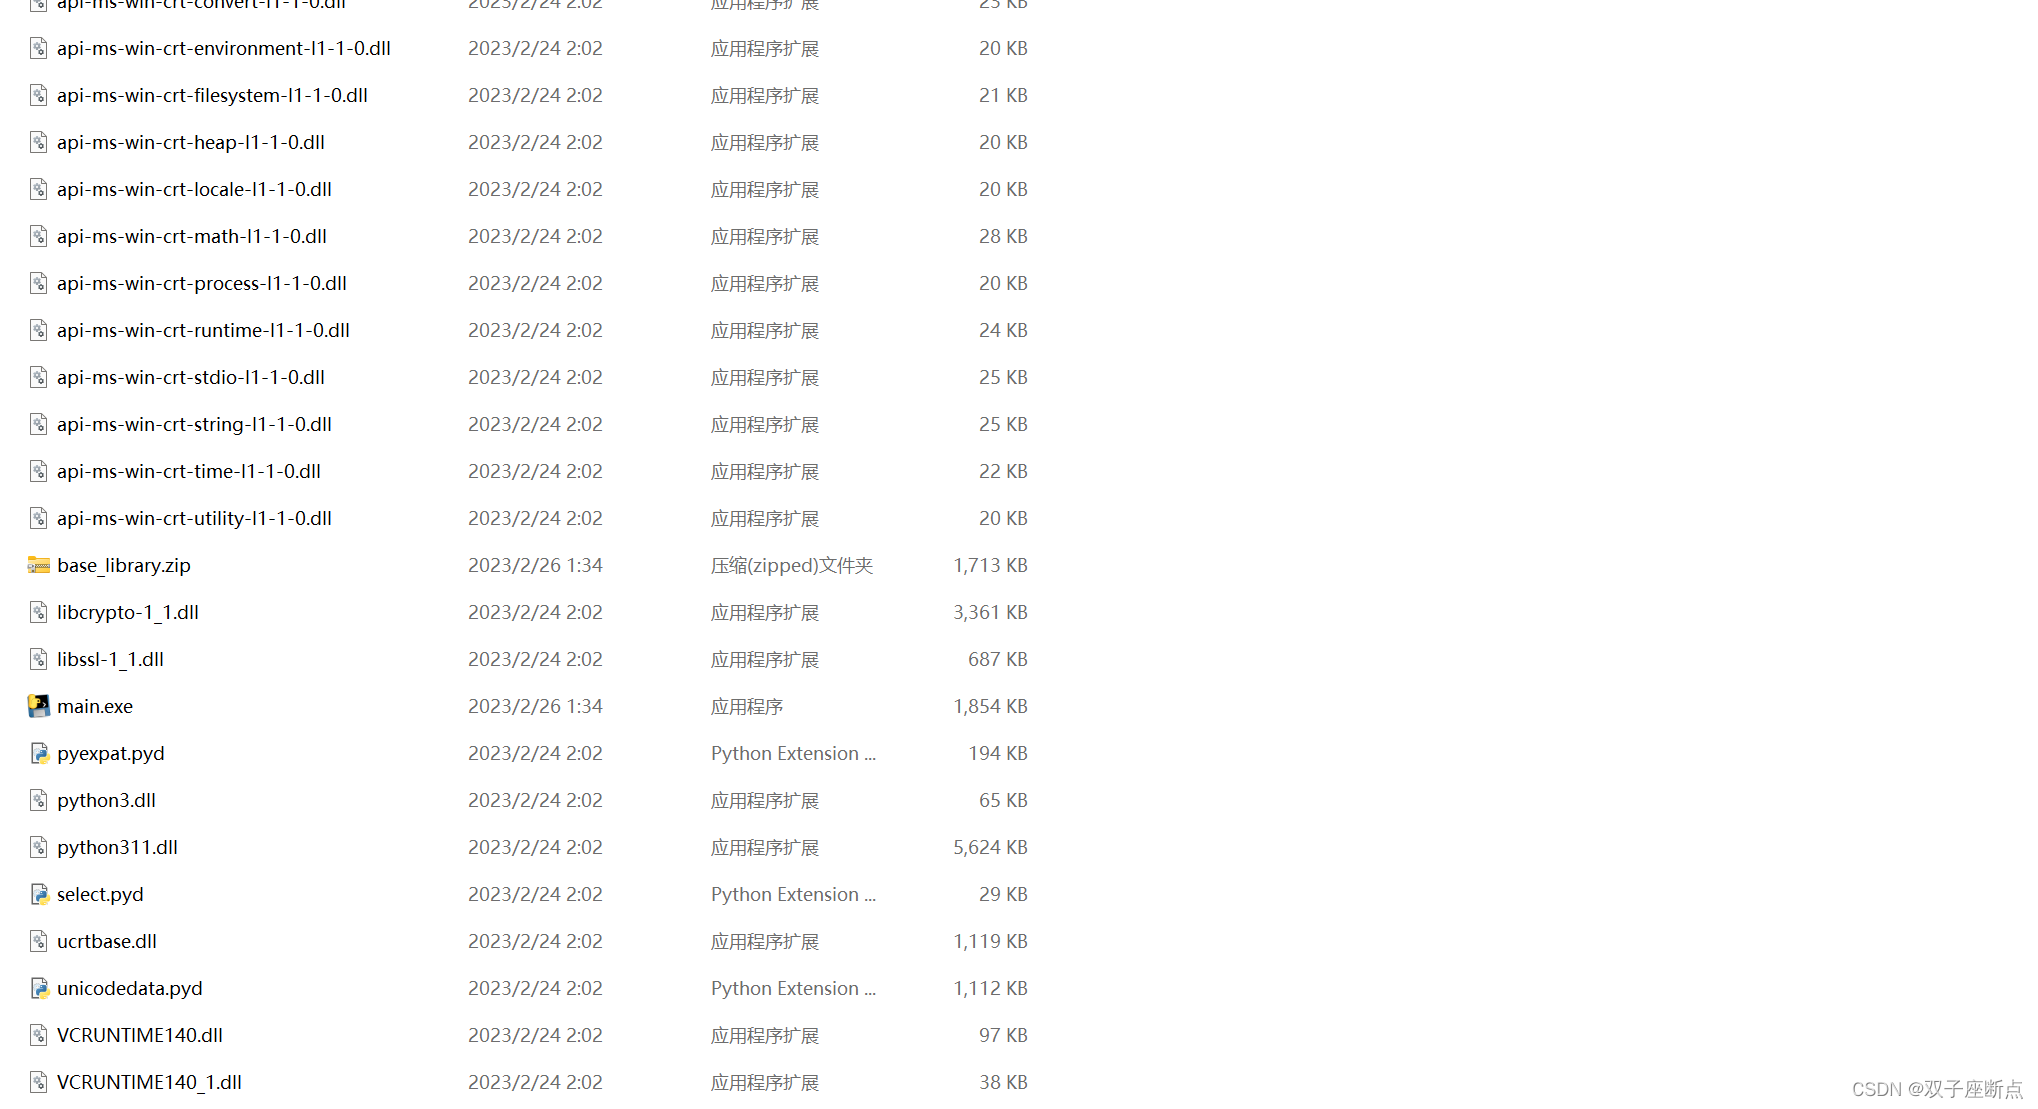
Package the program into EXE, and the dependent files will be in the directory.
pyinstaller 文件名.py
2.2 All files packaged
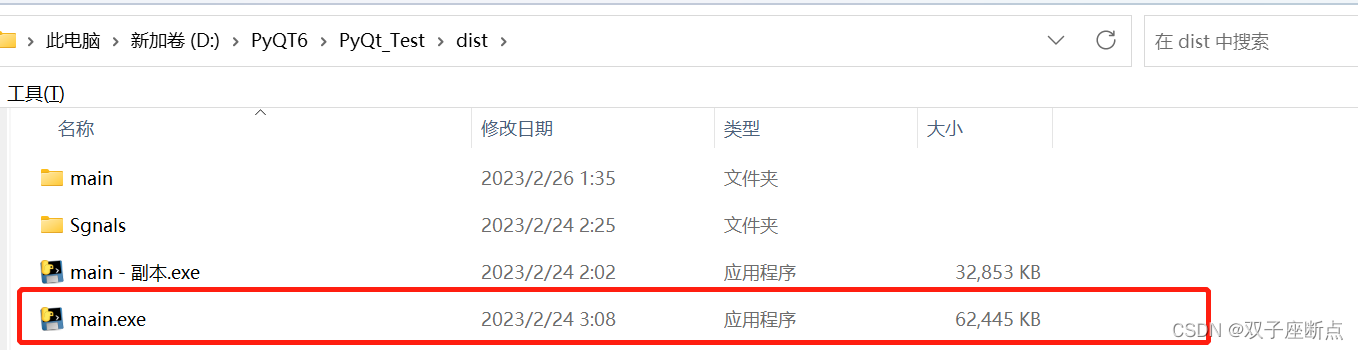
Only one exe is generated, and all related dependent files are packaged into the EXE.
pyinstaller -F 文件名.py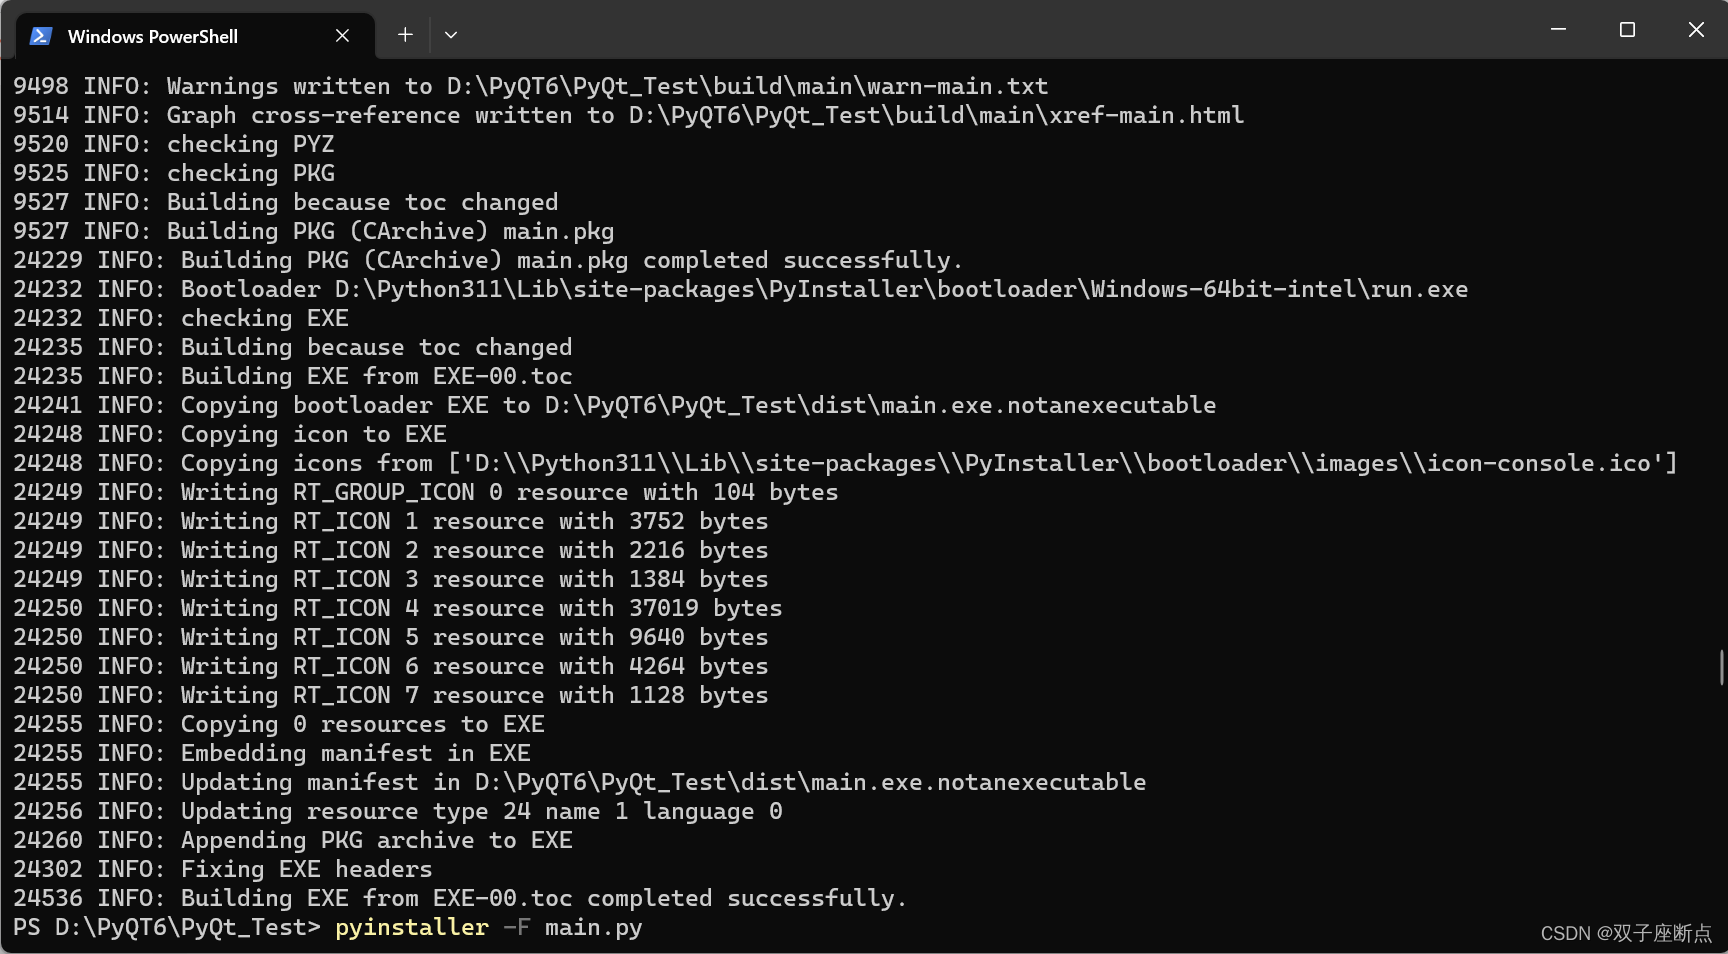
2.3 Dependency packaging
Command description:
pyinstaller -F -w 文件名.py
pyinstaller --paths PyQt5的bin目录路径 -F -w 文件名.py
Example:
pyinstaller --paths D:\Python311\Lib\site-packages\PySide6\plugins\platforms -F -w main.py2.4 spec file
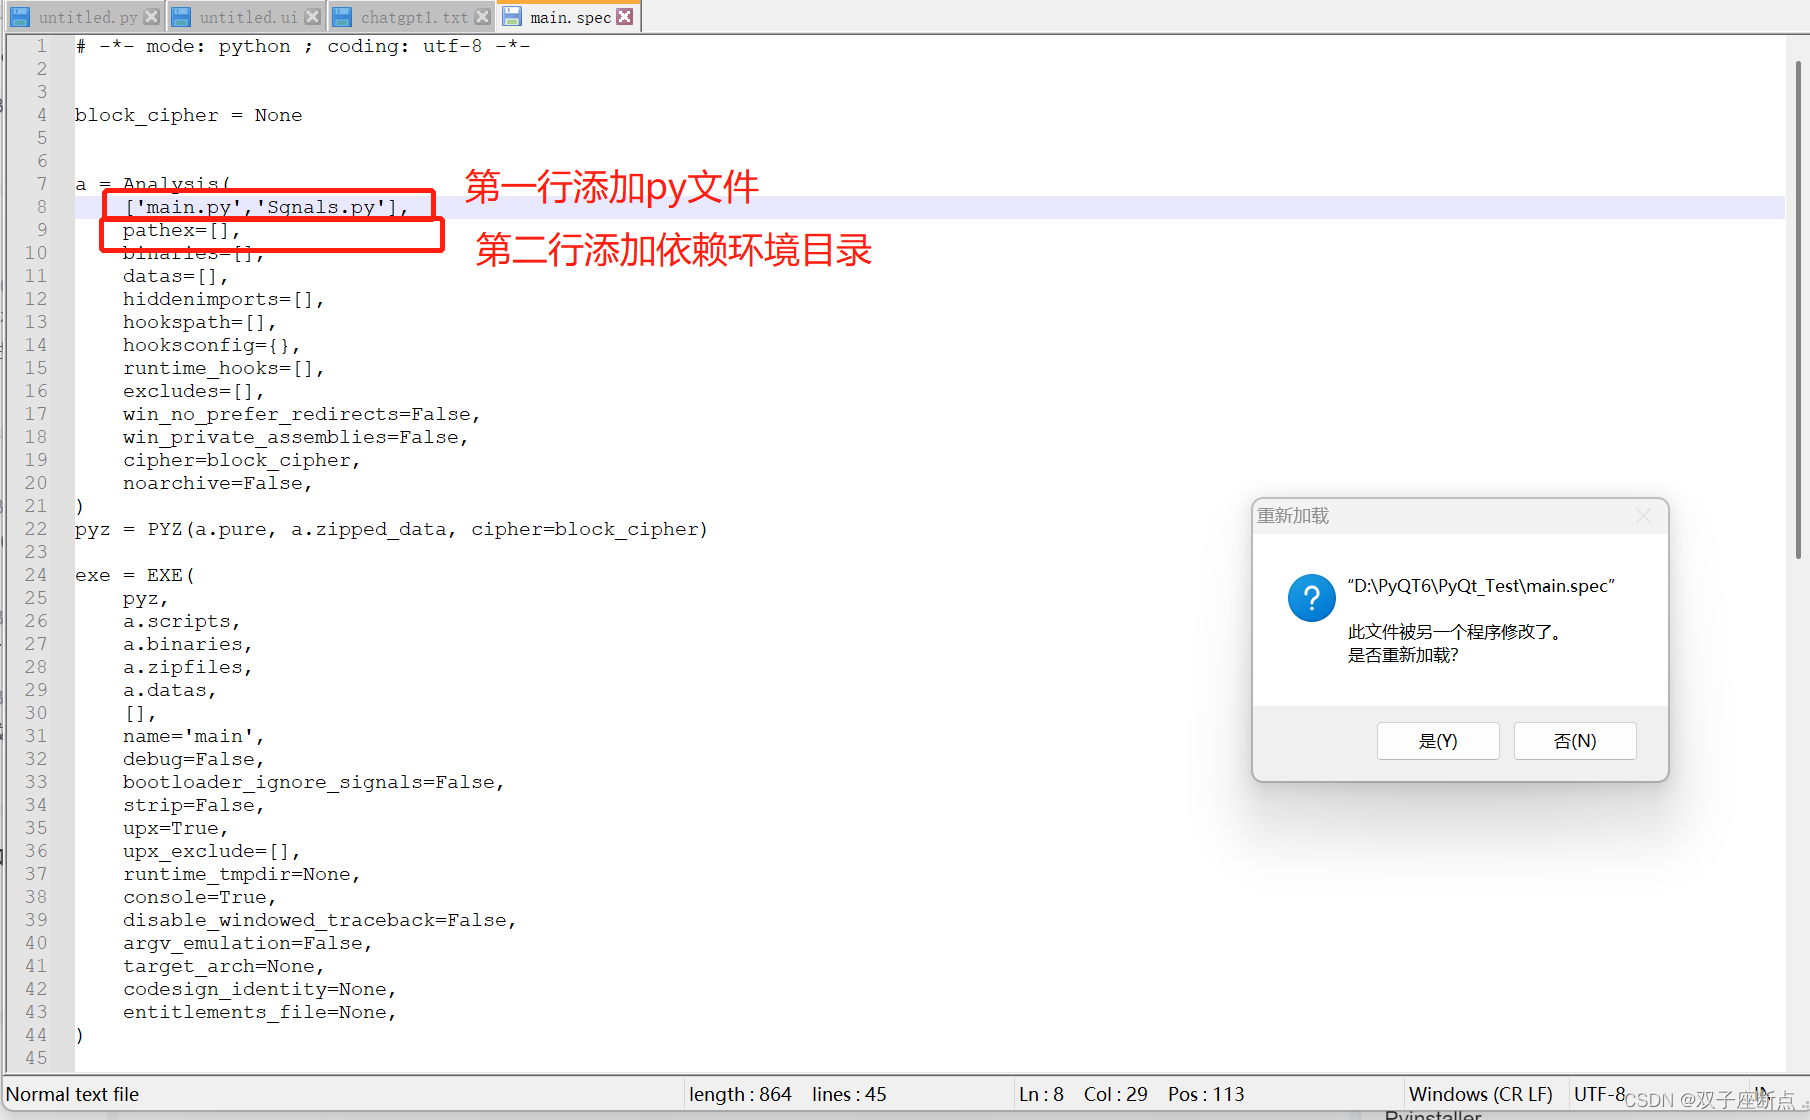
After executing the pyinstaller -F command, if you need to add dependent files, you don’t need to regenerate. You can directly modify the .spec file and then run the .spec to regenerate.
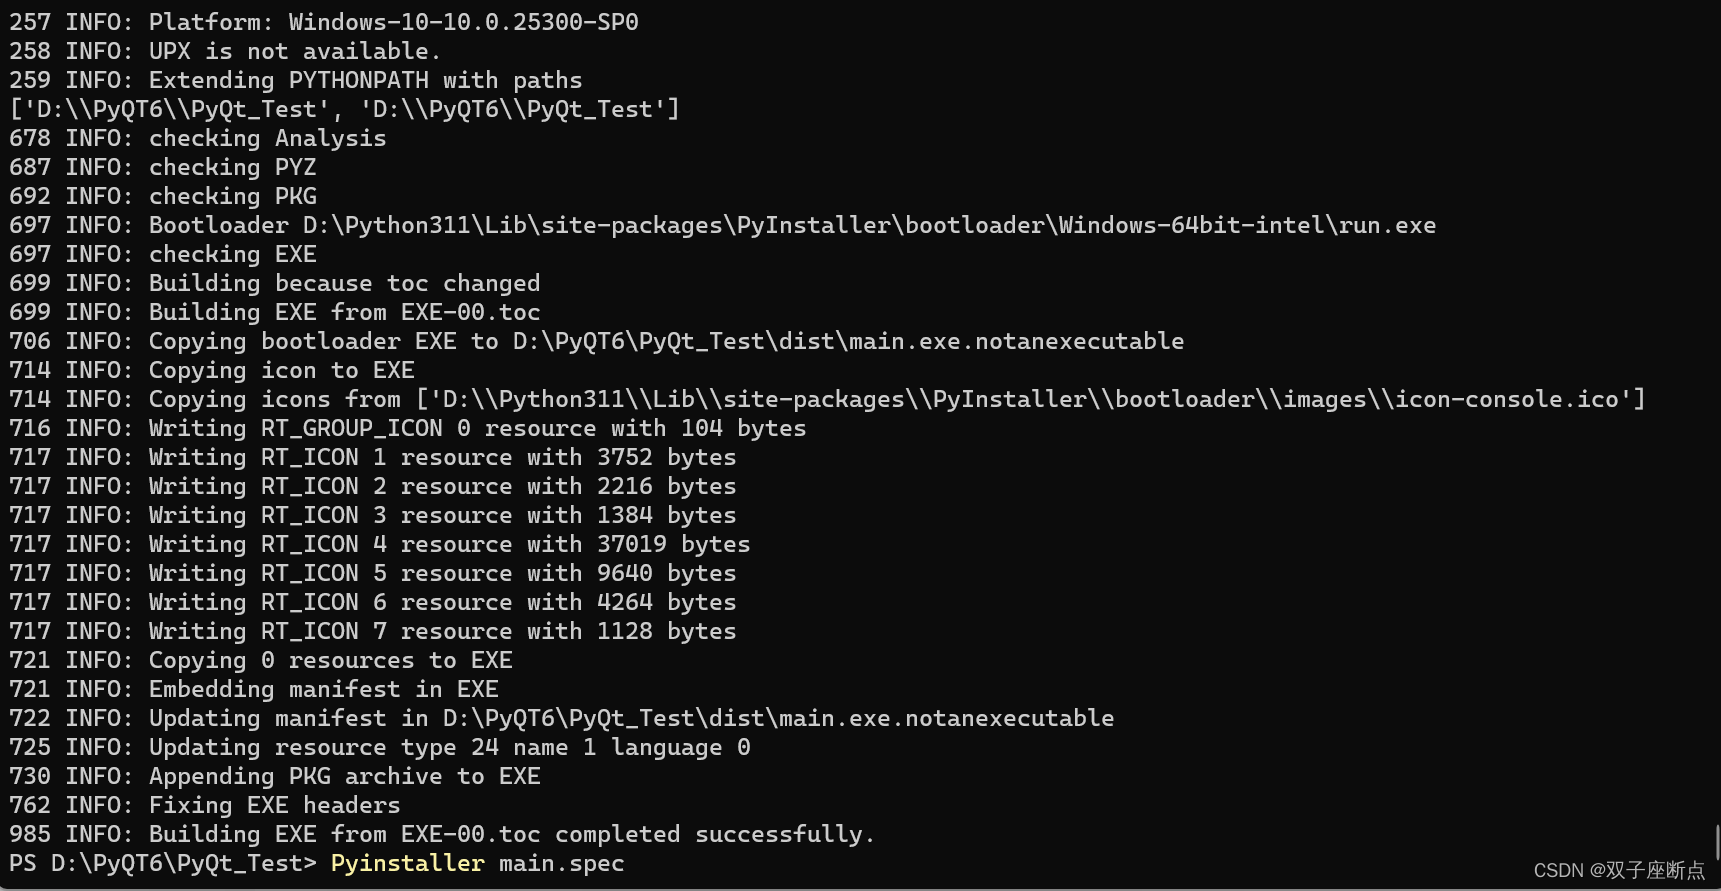
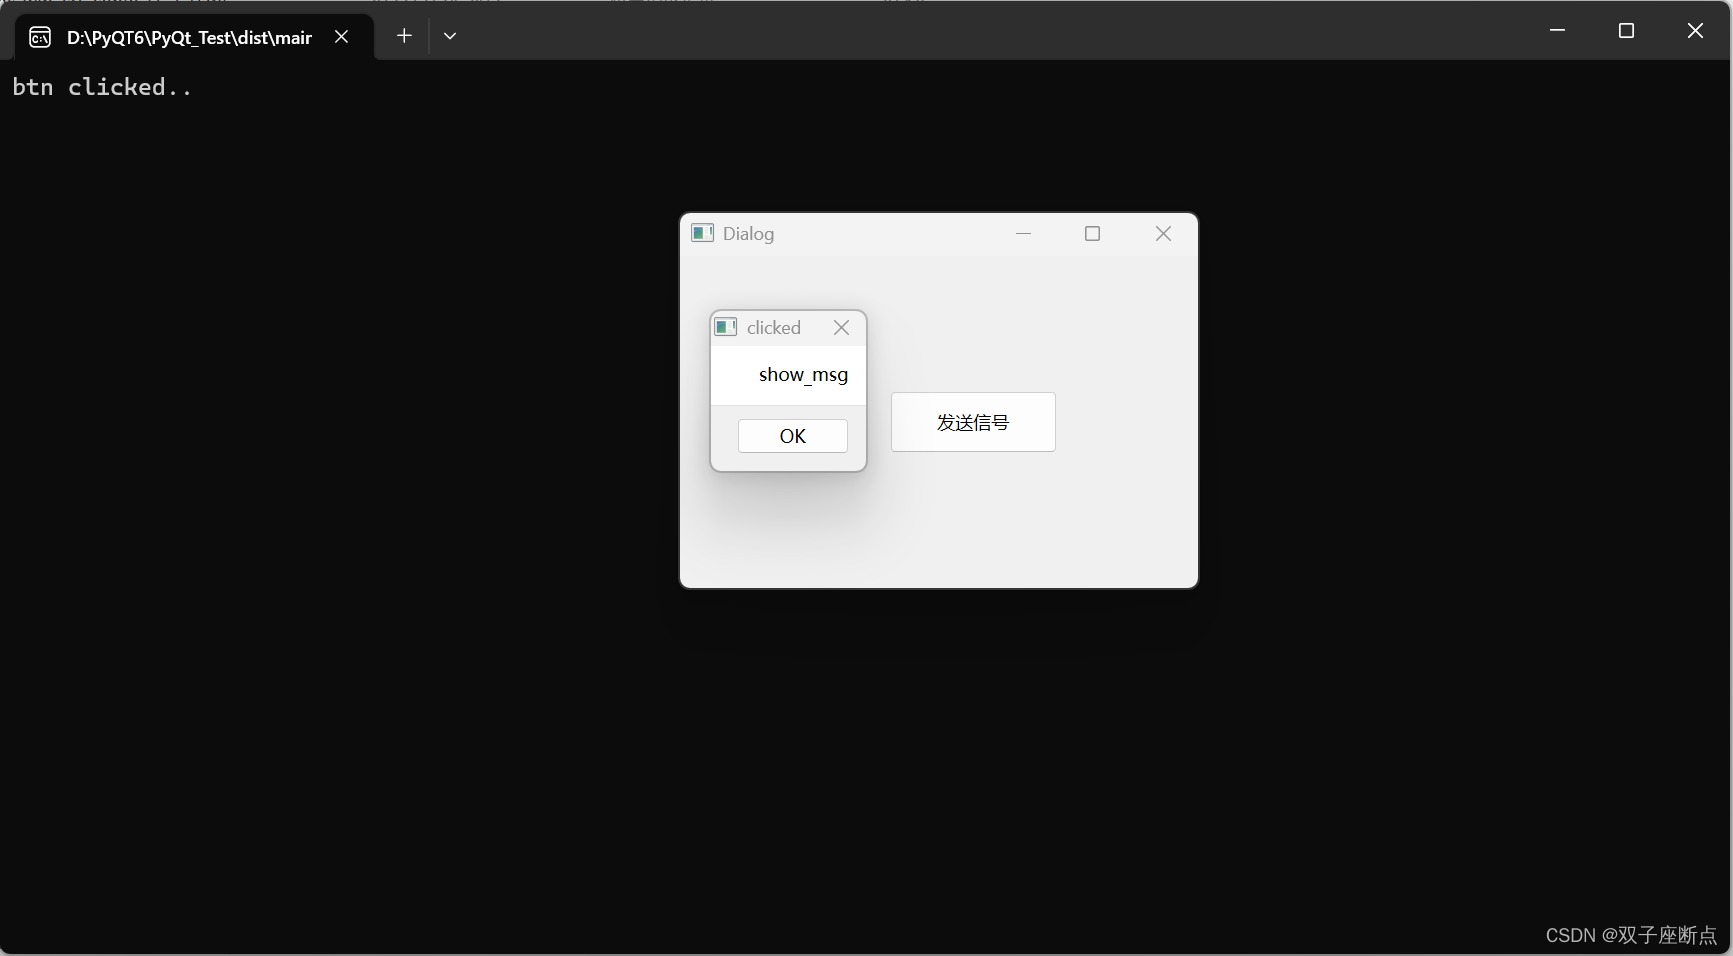
2.5 Running Example Diagram

3 program exception
qt.qpa.plugin: Could not load the Qt platform plugin "windows" in "D:\Python311\Lib\site-packages\PySide6\plugins\platforms" even though it was found. This application failed to start because no Qt platform plugin could be initialized. Reinstalling the application may fix this problem. Available platform plugins are: minimal, offscreen, windows, direct2d.
3.1 System variables
In the system variable, add QT_PLUGIN_PATH an item with a value of D:\Python311\Lib\site-packages\PySide6\plugins\platforms
The author uses system variables. After setting system variables, the computer needs to be restarted . Example:
import os
dirname = os.path.dirname(PySide6.__file__)
plugin_path = os.path.join(dirname, 'plugins', 'platforms')
os.environ['QT_QPA_PLATFORM_PLUGIN_PATH'] = plugin_path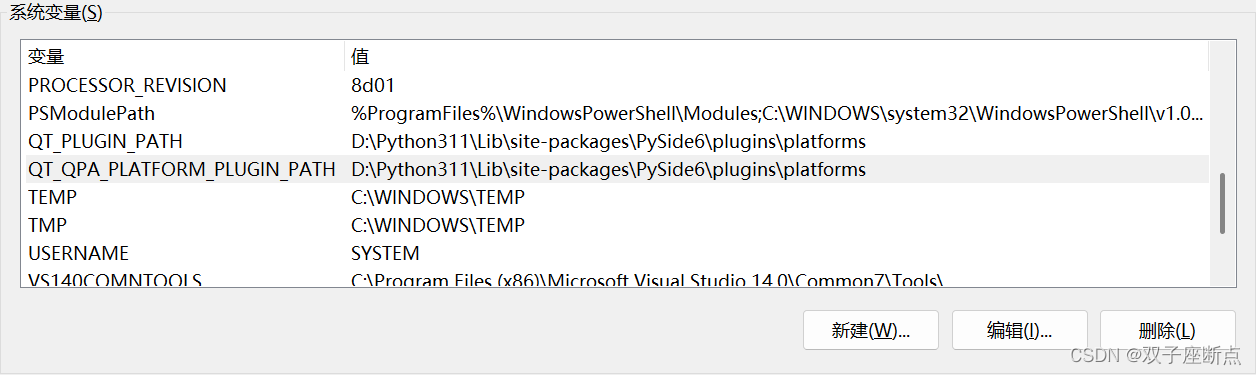
3.2 Using the staging environment
import os
os.environ['QT_QPA_PLATFORM_PLUGIN_PATH'] = 'D:\venvforqt\Lib\site-packages\PyQt5\Qt5\plugins\platforms'
4 complete code
import sys

import PySide6
from PyQt6.uic.uiparser import QtCore
from PySide6.QtWidgets import QApplication, QMainWindow, QMessageBox, QPushButton, QLabel, QWidget, QHBoxLayout
from PySide6.QtCore import QFile, SIGNAL
from Sgnals import Ui_Dialog

from PySide6.QtCore import (QCoreApplication, QDate, QDateTime, QLocale,
                            QMetaObject, QObject, QPoint, QRect,
                            QSize, QTime, QUrl, Qt)
from PySide6.QtGui import (QBrush, QColor, QConicalGradient, QCursor,
                           QFont, QFontDatabase, QGradient, QIcon,
                           QImage, QKeySequence, QLinearGradient, QPainter,
                           QPalette, QPixmap, QRadialGradient, QTransform)
from PySide6.QtWidgets import (QApplication, QDialog, QPushButton, QSizePolicy,
                               QWidget)

import os
dirname = os.path.dirname(PySide6.__file__)
plugin_path = os.path.join(dirname, 'plugins', 'platforms')
os.environ['QT_QPA_PLATFORM_PLUGIN_PATH'] = plugin_path

# envpath = r'D:\Qt6\6.4.0\msvc2019_64\plugins'
# os.environ["QT_PLUGIN_PATH"] = envpath

class Ui_Dialog(object):
    def setupUi(self, Dialog):
        if not Dialog.objectName():
            Dialog.setObjectName(u"Dialog")
        Dialog.resize(345, 221)
        self.pushButton = QPushButton(Dialog)
        self.pushButton.setObjectName(u"pushButton")
        self.pushButton.setGeometry(QRect(140, 90, 111, 41))

        self.retranslateUi(Dialog)

        QMetaObject.connectSlotsByName(Dialog)

    # setupUi

    def retranslateUi(self, Dialog):
        Dialog.setWindowTitle(QCoreApplication.translate("Dialog", u"Dialog", None))
        self.pushButton.setText(QCoreApplication.translate("Dialog", u"\u53d1\u9001\u4fe1\u53f7", None))
    # retranslateUi

class MainWindow(QMainWindow):
    def __init__(self):
        super(MainWindow, self).__init__()
        self.ui = Ui_Dialog()
        self.ui.setupUi(self)

        def show_msg():
            print("btn clicked..")
            dialog = QMessageBox(parent=self, text="show_msg")
            dialog.setWindowTitle("clicked")
            ret = dialog.exec()  # Stores the return value for the button pressed

        MainWindow.connect(self.ui.pushButton, SIGNAL('clicked()'), show_msg)


if __name__ == "__main__":
    app = QApplication(sys.argv)

    window = MainWindow()
    window.show()

    sys.exit(app.exec())
5 series of articles
PyCharm runs PyQT6 (4) Hundred articles learn PyQT_pycharm pyqt6_ Gemini Breakpoint Blog-CSDN Blog