1. Project Structure Introduction
1. Project directory
After the project is created, we open it with vscode, and we can see several lists.

node_modules: Folder used to store packages downloaded and installed with package management tools. (Do not upload this when checking out)
public: public resource src: source
file.browserslistrc: project configuration tool.gitignore
: git configuration
babel.config.js: transcoder
package.json: project dependency file
README.md: documentation
2. public public resource file
Initially, the project we created contained two things.
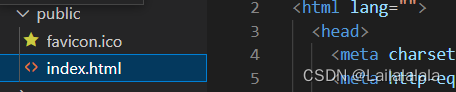
The first is the icon in front of the title of our web page, and the second is the html file of the home page, which is the same as the html we usually develop.
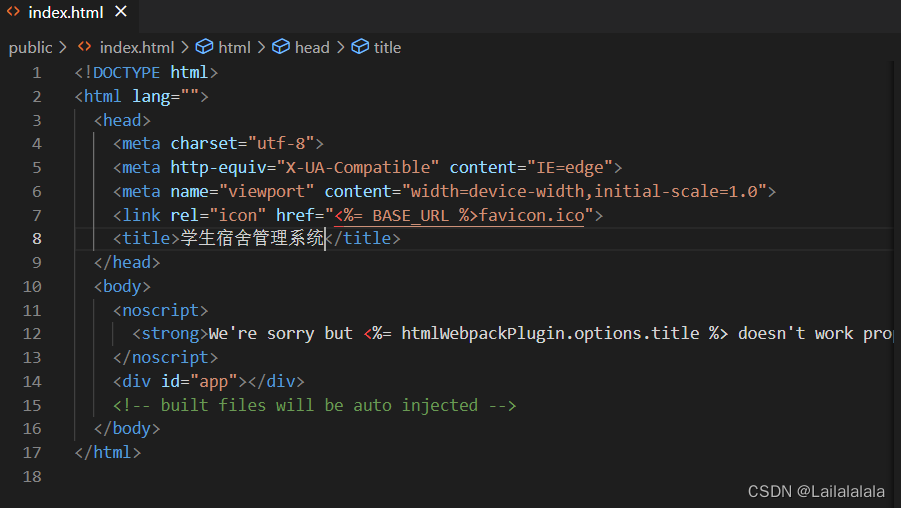
It can be seen here that we only have one <div> tag, and there is an app inside, but the actual display page has many things, which is also a feature of vue, and we will dynamically add all the content to the app later.
3. Src source file
Open the src directory, and you can see that there are several different folders in it:
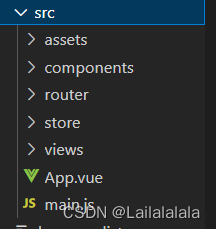
assets: static resources such as themes and fonts
components: global public components, place common module components
router: route, place route setting files, specify components corresponding to routes
store: global store management, place state association files required by vuex
views: develop all interfaces
App.vue: root component
main.js: entry file for the entire project
4. package.js file
When we open the package.js file, we can see the project information as shown in the following figure:
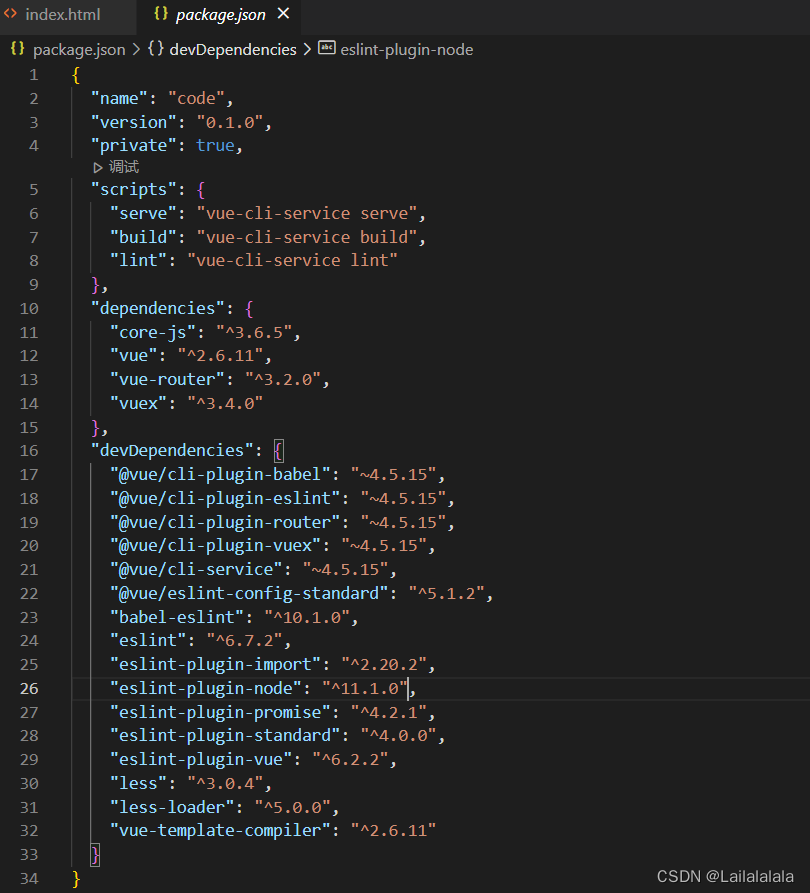
name: project name
vue: version: 3.6.10
veison: specific version of the project
serve: project startup command
build: packaging command
1.2.2: major version. minor version. minor version
"^2.6.10": not lower than 3.6. 5. The major version number
"~4.5.0" cannot be modified: it cannot be lower than 4.5.0, and the version number and minor version number cannot be modified
In the package.json file, the difference between devDependencies and dependencies:
dependencies: Dependencies, these installation packages are the packages that the program depends on, and need to be released to the actual production environment.
-dev/-D: Put it in the development mode. If it is not written, the installation dependencies will not appear in devdependencies (dependencies in the development environment).
–save/–S: Production mode (final packaging environment (html+css+js)), dependencies are installed to dependencies (published to the production environment). If it is not written, it will not appear in dev/-dependencies
5. Configuration file
If you need to add specific files for configuration information, then we manually add the vue.package.js file in the directory.
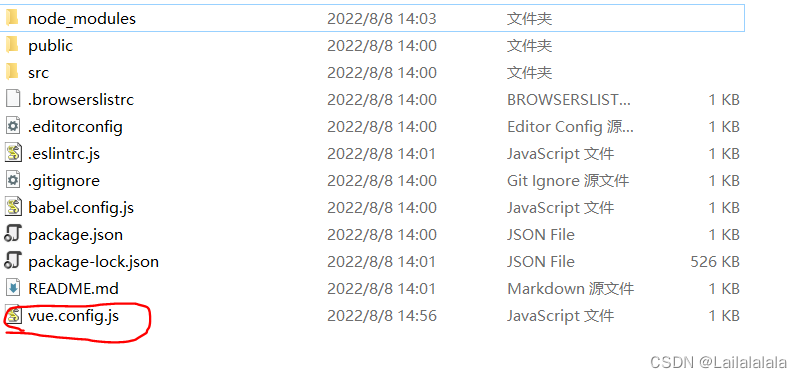
You can set the port address inside. (The port address cannot be repeated)
As shown in the figure:
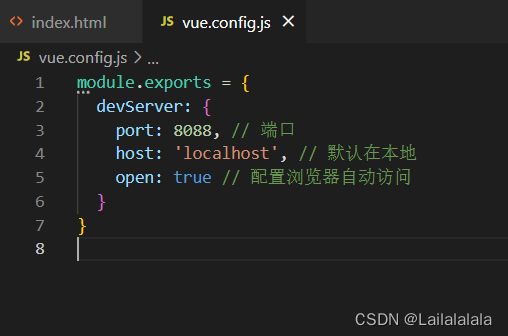
the specific code is as follows:
module.exports = {


  devServer: {


    port: 8088, // 端口
    host: 'localhost', // 默认在本地
    open: true // 配置浏览器自动访问
  }
}
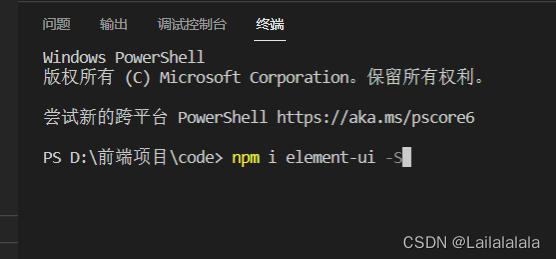
2. Introducing Element UI
1. Install through npm
2. Write the following content in the main.js file
import Vue from 'vue';
import ElementUI from 'element-ui';
import 'element-ui/lib/theme-chalk/index.css';
import App from './App.vue';

Vue.use(ElementUI);

new Vue({


  el: '#app',
  render: h => h(App)
});
PS: The style file needs to be imported separately
and finally becomes like this:
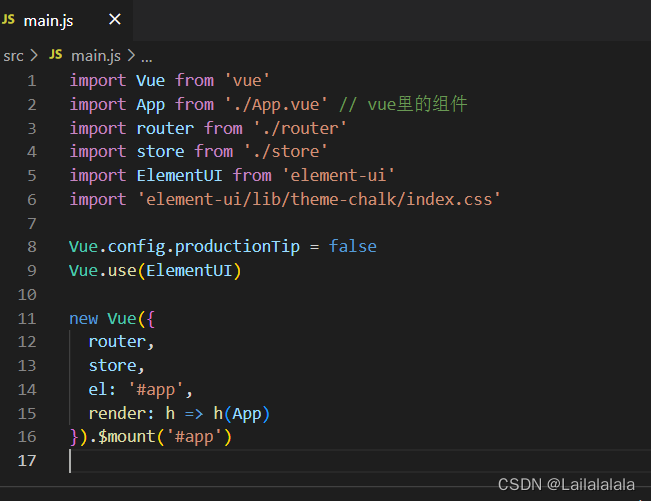
Among them, we can see import xx from './', there are three in total:
- .../:sibling
- ./:upper level
- @/: on the root directory
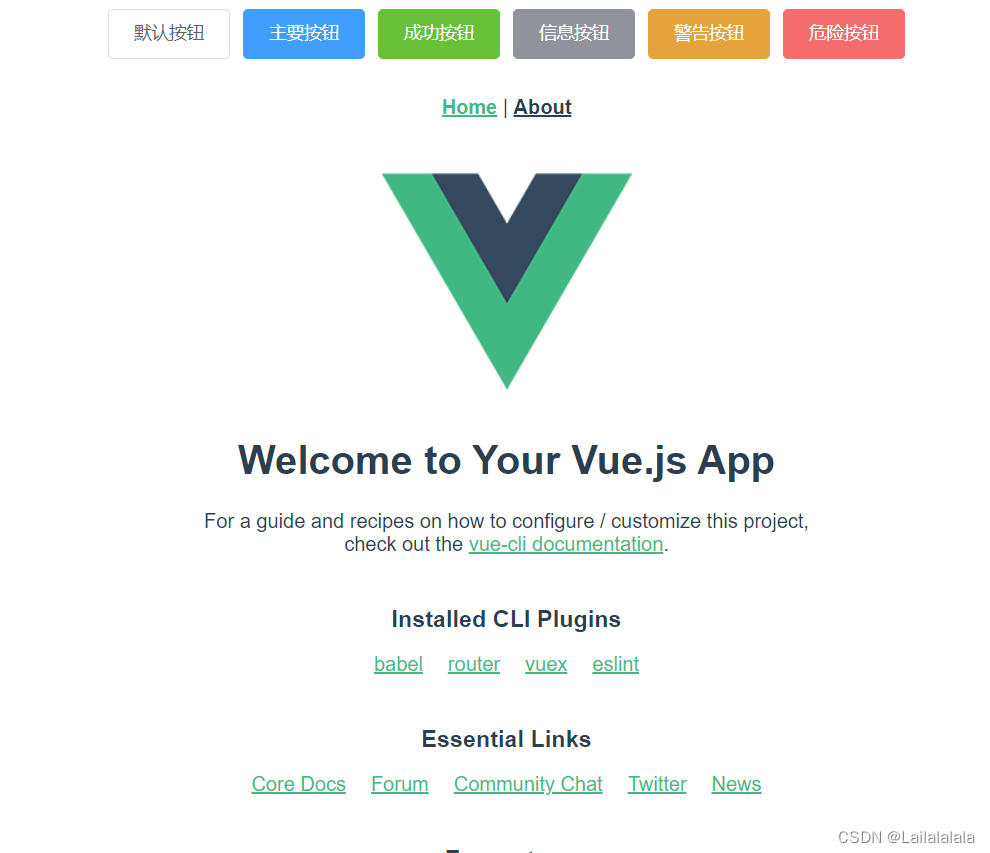
3. Import components
Let's try to import the button component.
<el-row>
  <el-button>默认按钮</el-button>
  <el-button type="primary">主要按钮</el-button>
  <el-button type="success">成功按钮</el-button>
  <el-button type="info">信息按钮</el-button>
  <el-button type="warning">警告按钮</el-button>
  <el-button type="danger">危险按钮</el-button>
</el-row>
The following effects appear, indicating that element-UI is introduced successfully!