1. node.js environment download
Node.js is equivalent to jdk in java, but it is JavaScript on the server side. You need to manage node.js packages through npm, and you can download extensions in node.js through npm
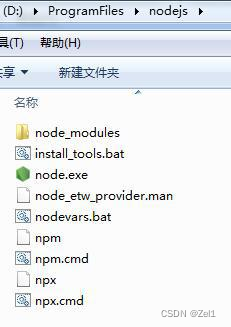
① First download the installation package of node.js
https://nodejs.org/zh-cn/download/releases/ ( previous versions)
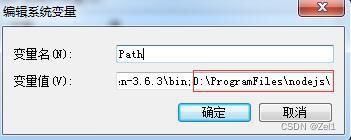
②Select the download path of node.js to configure environment variables (usually automatically configured)
Similar to jdk environment variable configuration, copy your node.js installation path
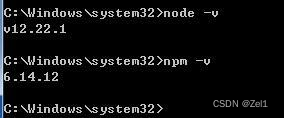
③ After configuring the environment variables, you can use the node -v and npm -v commands in cmd to check whether the download of node.js is successful
2. Create a Vue-cli project
For back-end programmers, using tools to quickly create projects is the lowest-cost way. Here, the auxiliary construction of HBuilderX software is used. Vue projects can also be built using commands in the node.js environment. Here, however Elaborate
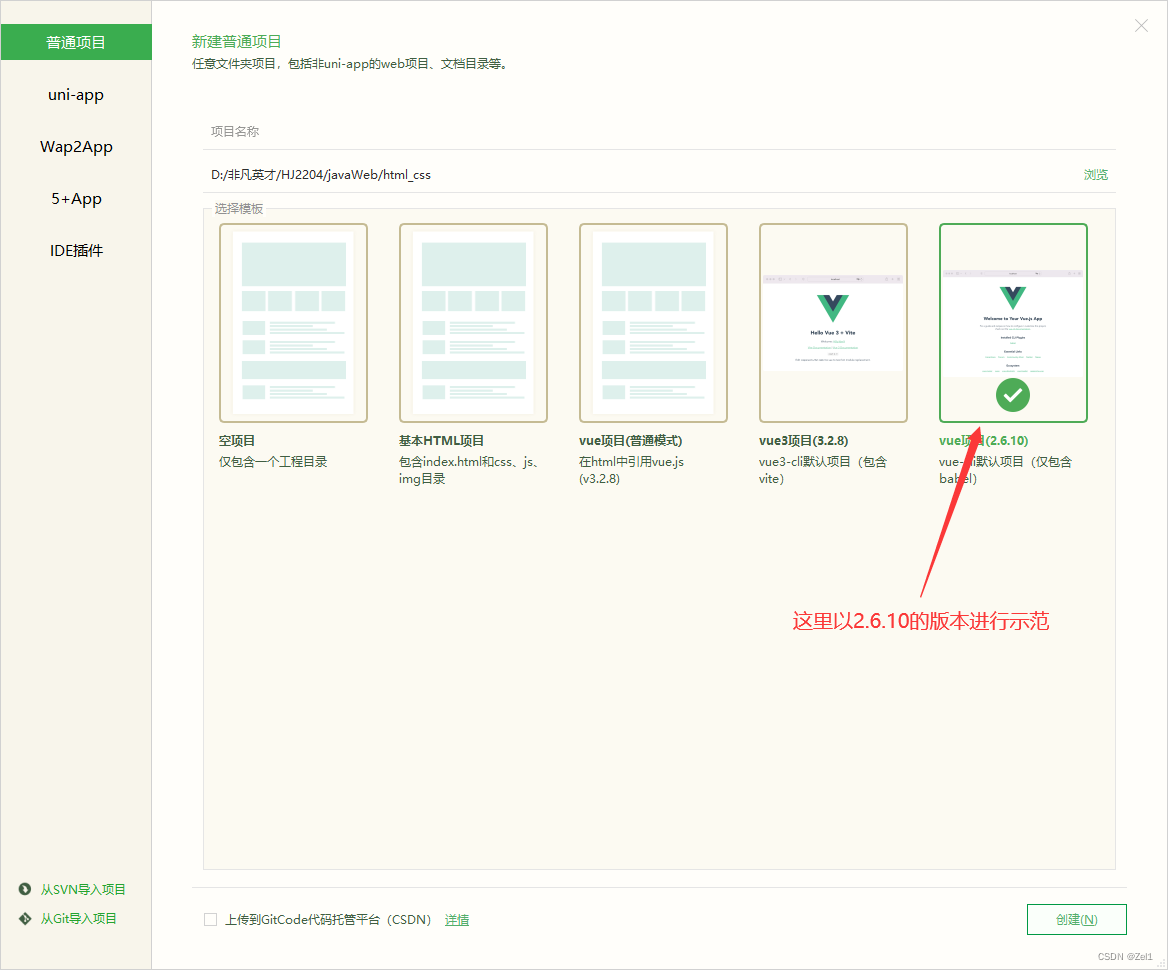
Use HbuilderX to quickly create a vue project. When you click New, you can choose the version of the vue project. Here, choose version 2.6.10
After creation, you need to wait for a period of time. After the project is successfully created, a prompt box will appear in the lower right corner (this step requires downloading many packaged files from the server)
After the project is successfully created, click the icon in the middle of the command line window at the bottom of Hbuilder to open the terminal of the project. After successful opening, use the npm run serve command to run the project
Use the ctrl+c command in the terminal to terminate the project run
3. Download component routing
vue router is the official routing manager for Vue.js. It is deeply integrated with the core of Vue.js, making it easy to build single-page applications.
①Installation
After the project is terminated, you can use the npm i [email protected] command in the terminal to download the vue-router plugin package
1. Create router directory
Create an index.js file in this directory, configure routing in it, and import it in index.js every time a new component is added
import View from 'view';
import router from 'vue-router'; /* import routing */
/* import component */
import Login from '../Login.vue';
import Main from '../Main.vue';
Vue.use(router);
/* Define component routing */
var rout = new router({
routes: [
{
//path is a custom component address
path: '/login',
name: 'Login',
//component is the name of the component imported above
component: Login
},
{
path: '/main',
name: 'Main',
component: Main
}
]
});
//export route object
export default rout;
2. Use routing
Write in the template tag in the main component App.vue
< router-link to="/index">首页< /router-link>
< router-link to="/content">内容< /router-link>
< router-view/>
3. Configure routing in main.js
import router from './router/index.js'
Vue.use(router);
new View({
the: '#app',
router,
render: h => h(App)
})
4. Download the elementUI framework
①Use the npm i element-ui -S command in the terminal to download the ElementUI framework
② Write the following content in main.js:
import ElementUI from 'element-ui';
import 'element-ui/lib/theme-chalk/index.css';
Vue.use(ElementUI); new View({ render: h => h(App), }).$mount('#app');