The css style is specially used to "beautify" the label.
1. Quickly understand CSS
<img src="..." style="height:100px" />
<div style="color:red">hello</div>
Here style="height:100px" and style="color:red" are css
2. The common way of css
2.1 On the label
<img src="..." style="height:100px" />
<div style="color:red">hello</div>
2.2 in the head
<!DOCTYPE html>
<html lang="en">
<head>
    <meta charset="UTF-8">
    <title>用户登陆</title>
    <style>
        .c1{
            color=red;
        }
    </style>
</head>
<body>
    <h1 class='c1'>登陆</h1>
    <h1 class='c1'>登陆</h1>
    <h1 class='c1'>登陆</h1>
</body>
</html>
2.3 In the file
common.css
.c1{
    height:100px;
}
.c2{
    color:red;
}
<!DOCTYPE html>
<html lang="en">
<head>
<meta charset="UTF-8">
<title>用户登陆</title>
<link rel="styleheet" href="common.css" />
</head>
<body>
<h1 class='c1'>登陆</h1>
<h1 class='c1'>登陆</h1>
<h1 class='c1'>登陆</h1>
</body>
</html>Applicable to situations where multiple files require this style
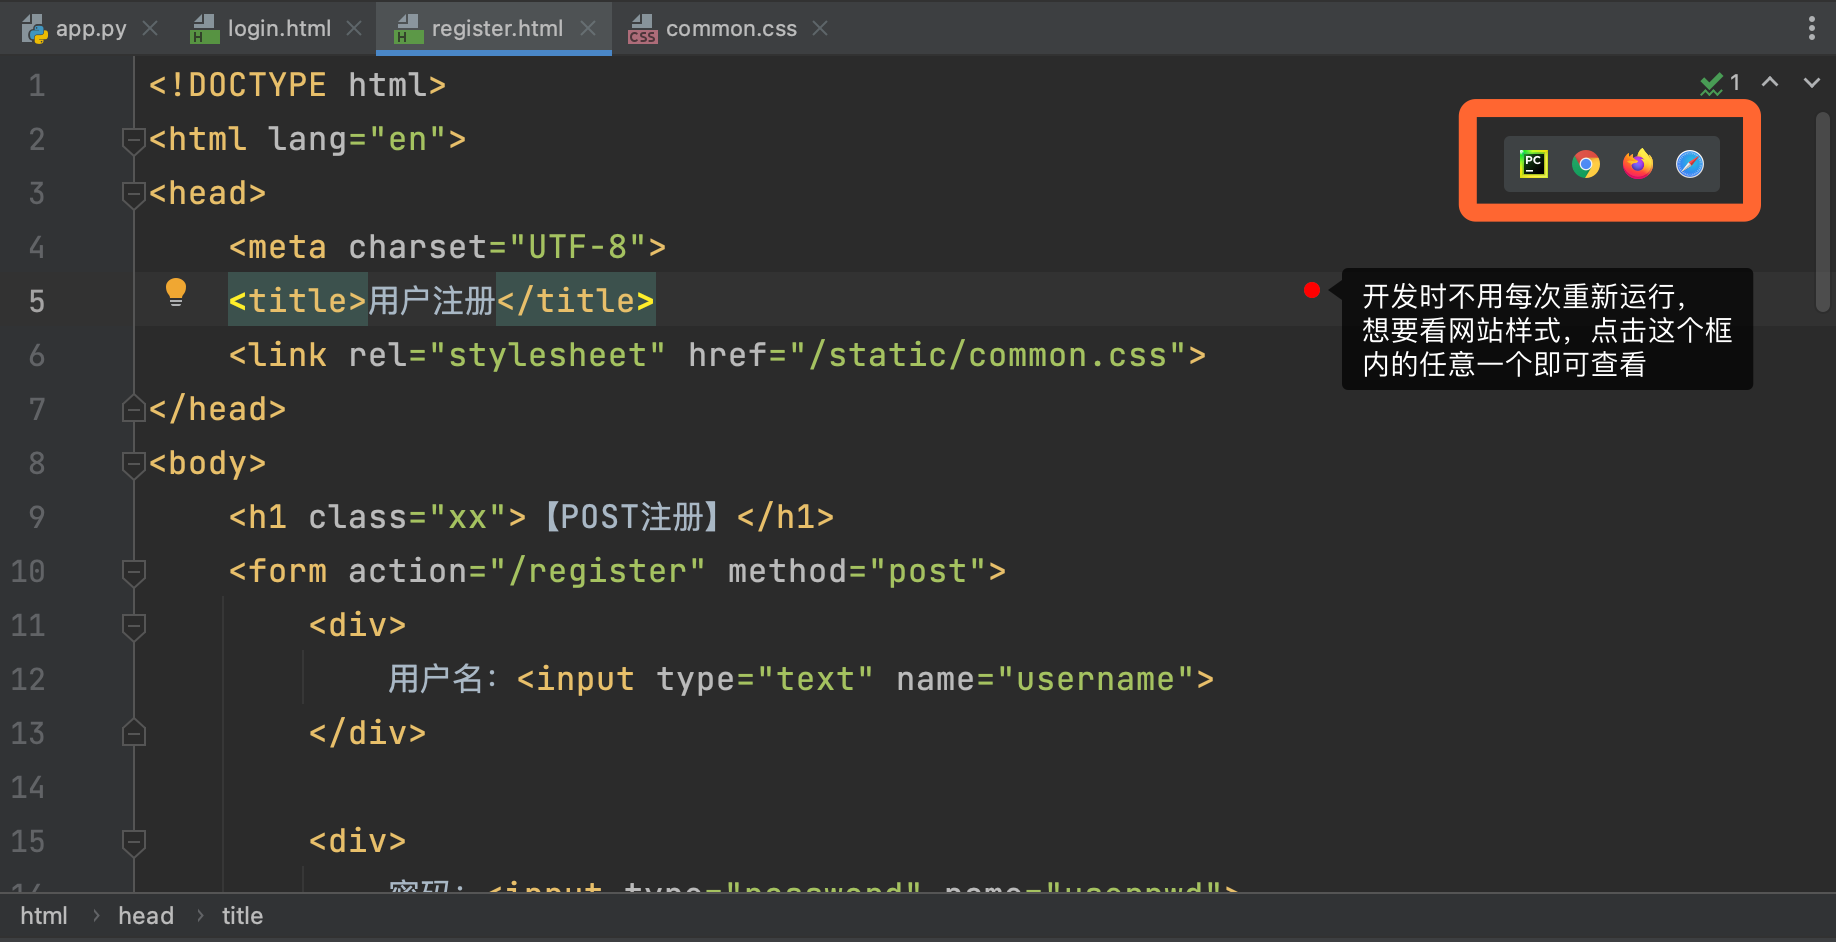
The .css file can be placed in the static directory like the referenced picture
Case: application in flask
Login interface: write css in the head
Registration interface: write css in the .css file
Problem: It is inconvenient to develop using the Flask framework
Requires reboot every time
Specifies that some files must be placed in specific folders
To create a new interface, you need to rewrite one
function
HTML file
PyCharm provides a very convenient tool for developing front-end
If you want to observe the changes of the page in real time, open the settings and modify as shown in the following figure:
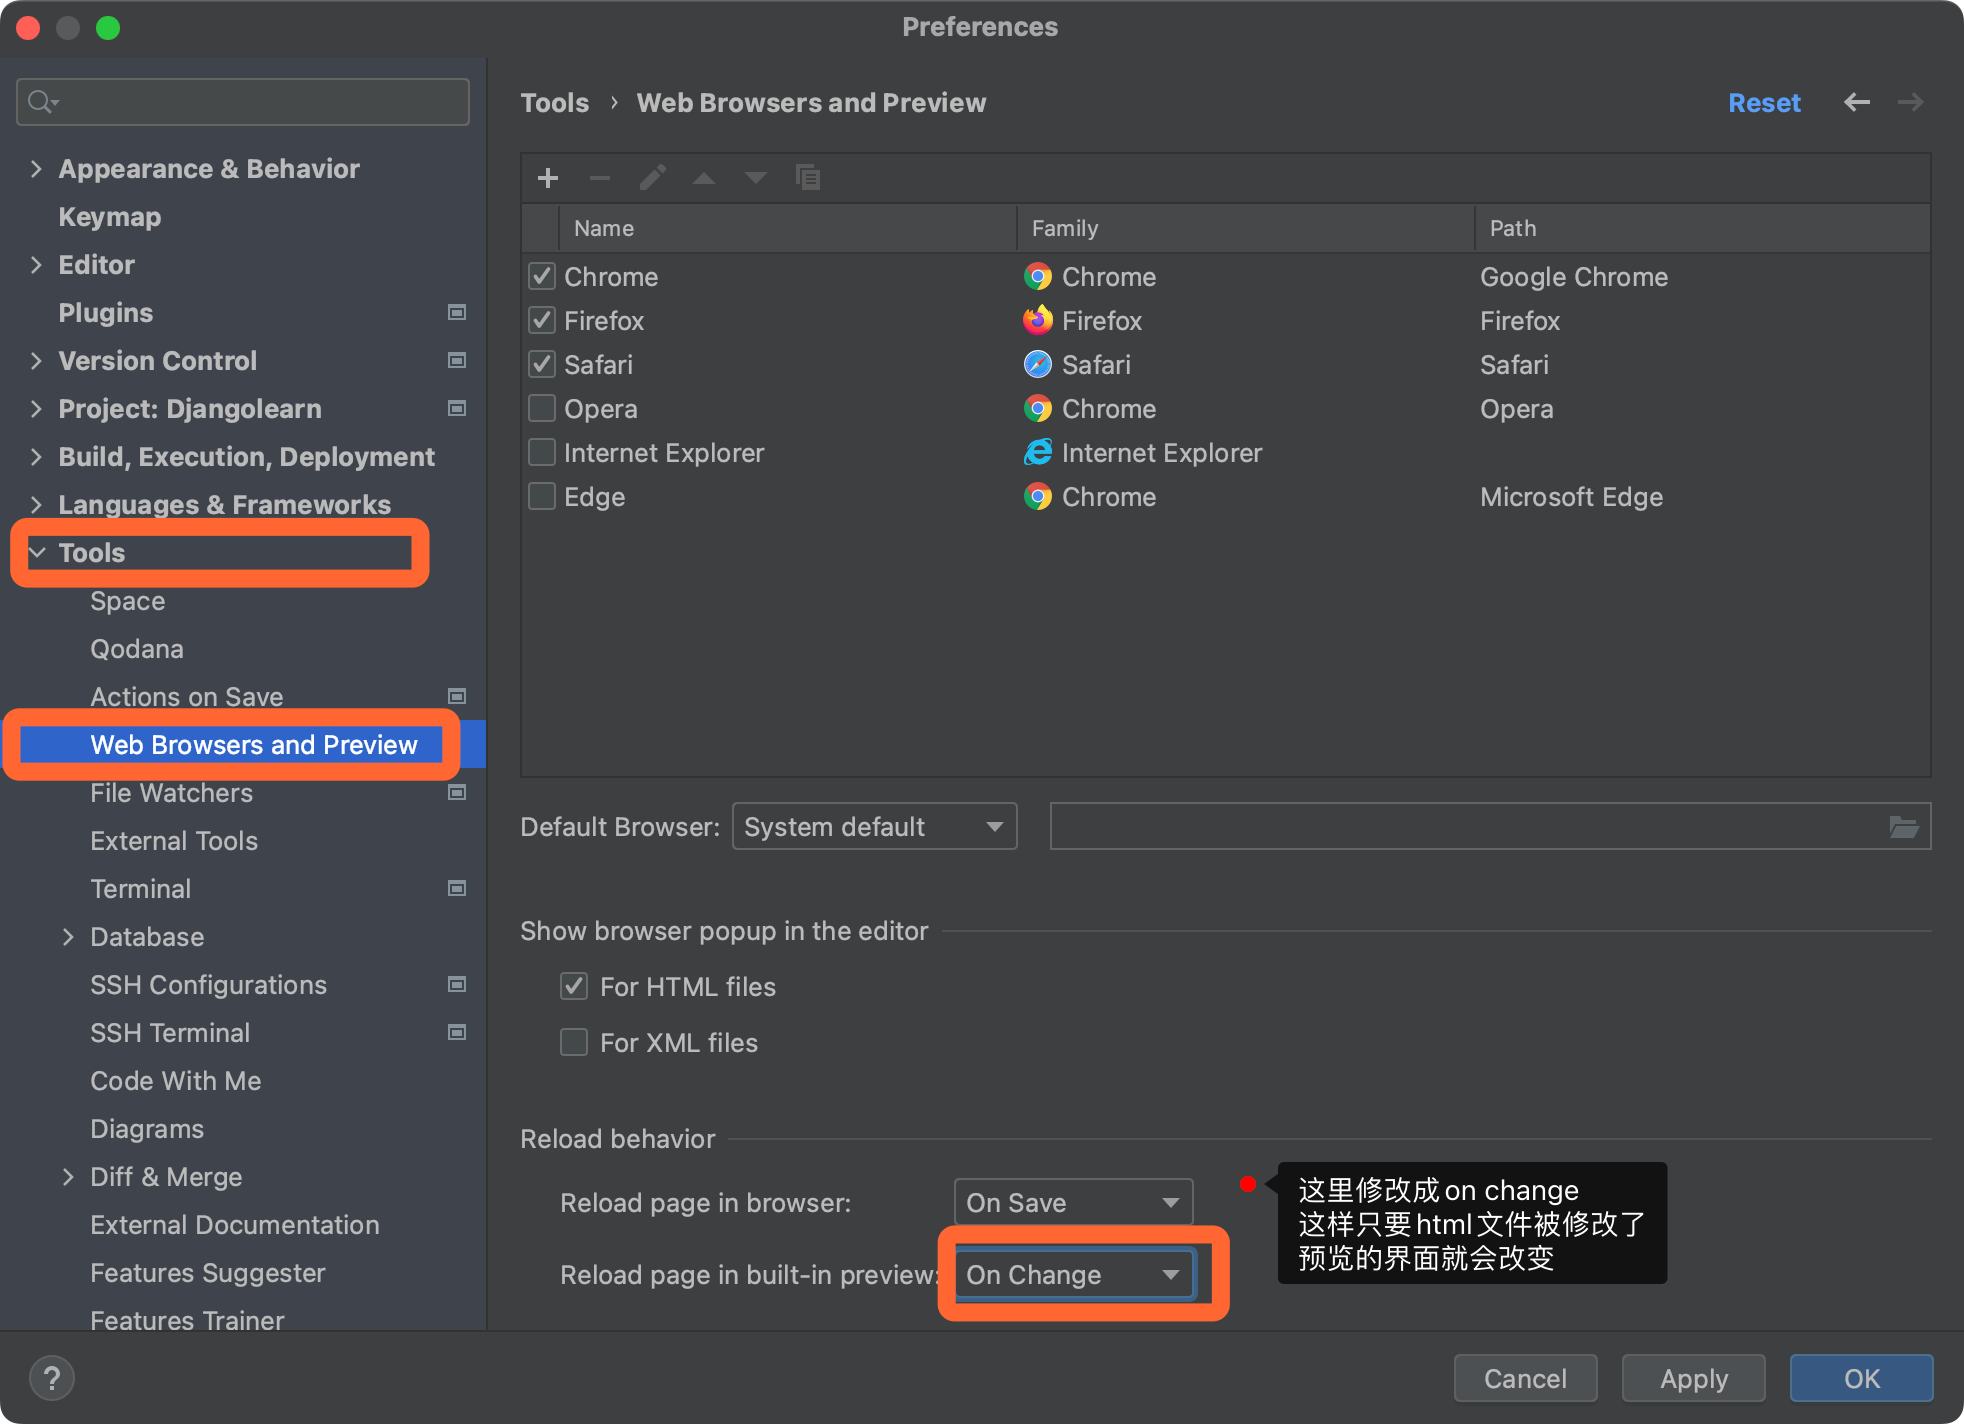
In this way, the preview interface will change as the html file changes.
3. CSS selectivity
3.1 Class selectors
.c1{

}
<div class="c1"></div>
3.2ID selector
#c1{

}
<div id="c1"></div>
3.3 Label selector
li{

}
<li>xxx</li>

div{

}
<div>xxx<div>
3.4 Attribute selectors
input[type='text']{
    border: 1px solid red;
}
.v1[xx='456']{
    color:gold;
}

<input type="text">
<input type="password">

<div class="v1" xx="123">a</div>
<div class="v1" xx="789">b</div>
<div class="v1" xx="456">c</div>
3.5 Descendant selectors
.yy li{
    color: pink;
}
.yy > a{
    color: orange;
}
Adding nothing means to find all his descendants in the class named yy; adding angle brackets means only to find the sons of the yy class.
<div class="yy">
    <a href="https://www.baidu.com">百度</a>
    <div>
        <a href="https://www.sogou.com">搜狗</a>
    </div>
    <ul>
        <li>city</li>
        <li>country</li>
        <li>world</li>
    </ul>
</div>
About selectors:
Many uses: class selector, label selector, descendant selector
Less used: ID selector, attribute selector
3.6 When using multiple selectors
.c3{
    color:blue;
    border: 1px solid red;
}
.c4{
    color:green;
    font-size: 28px;
}
<!--使用多个样式时,重复的样式会被后定义的样式所覆盖,类似于就近原则-->
<div class="c3 c4">
<ul>
<li>abc</li>
<li>def</li>
<li>ghj</li>
</ul>
</div>If you don't want to be covered by the style defined later, the css style can be defined like this:
.c3{
    color:blue !important;
    border: 1px solid red;
}
4. CSS styles
4.1 Height and Width
.c1{
    height: 300px;
    width: 50%;
}
Width supports percentages, height does not, since pages can be infinitely long.
For inline labels, the height and width settings are invalid
For block-level tags, it is enabled by default
4.2 Block-level and inline tags
display:inline-block enables the label to have both block-level and inline label characteristics
.c2{
    display: inline-block;
    height: 100px;
    width: 300px;
    border: 1px solid red;
}
<!--块级和行内标签-->
<div>
<span class="c2">chinese</span>
<span class="c2">chinese</span>
<span class="c2">chinese</span>
</div>The effect is as follows:

Block level becomes inline label, and inline label becomes block level label
<div style="display: inline">中国</div>
<span class="c2" style="display: block">外国</span>
4.3 Font color, size, bold, font format
.c3{
    color: gold;
    font-size: 20px;
    font-weight: 100;
    font-family: "Apple Color Emoji", serif;
}
4.4 Floating
float:left\right
.c4{
    float:left;
    width: 200px;
    height: 150px;
    border: 1px solid red;
}
<!--浮动-->
<div>
<span>左边</span>
<span style="float: right">右边</span>
</div>
<div style="background-color: lightblue">
<div class="c4"></div>
<div class="c4"></div>
<div class="c4"></div>
<!--如果不添加下面一行,就会脱离文档流-->
<div style="clear: both"></div>
</div>4.5 padding
padding-left
padding-right
padding-top
padding-button
padding
.c5{
    border: 1px solid red;
    height: 400px;
    width: 200px;
    padding: 20px;
}
<!--内边距-->
<div class="c5">
<div style="background-color: gold">听妈妈的话</div>
<div>才是好孩子</div>
</div>4.6 Margins
margin
margin-left
margin-right
margin-top
margin-button
<!--外边距-->
<div style="background-color: gold; height:100px"></div>
<div style="background-color: lightblue; height:100px; margin: 20px"></div>
4.7区域居中
margin: 0 auto其中0表示无上边距,auto表示区域自动居中
.c6{
    width: 500px;
    background-color: pink;
    height: 1000px;
    margin: 0 auto;
}
<!--区域居中-->
<div class="c6"></div>