Before we talked about the basic usage of axios [axios] the basic usage of axios , in the actual Vue project, we do not use this method. At that time, the standardization of the project was not realized, and the components and modules were not strictly divided, but everything was written in an html file. Now we have to look at how to use axios from the perspective of front-end engineering .
Zero, preparation work
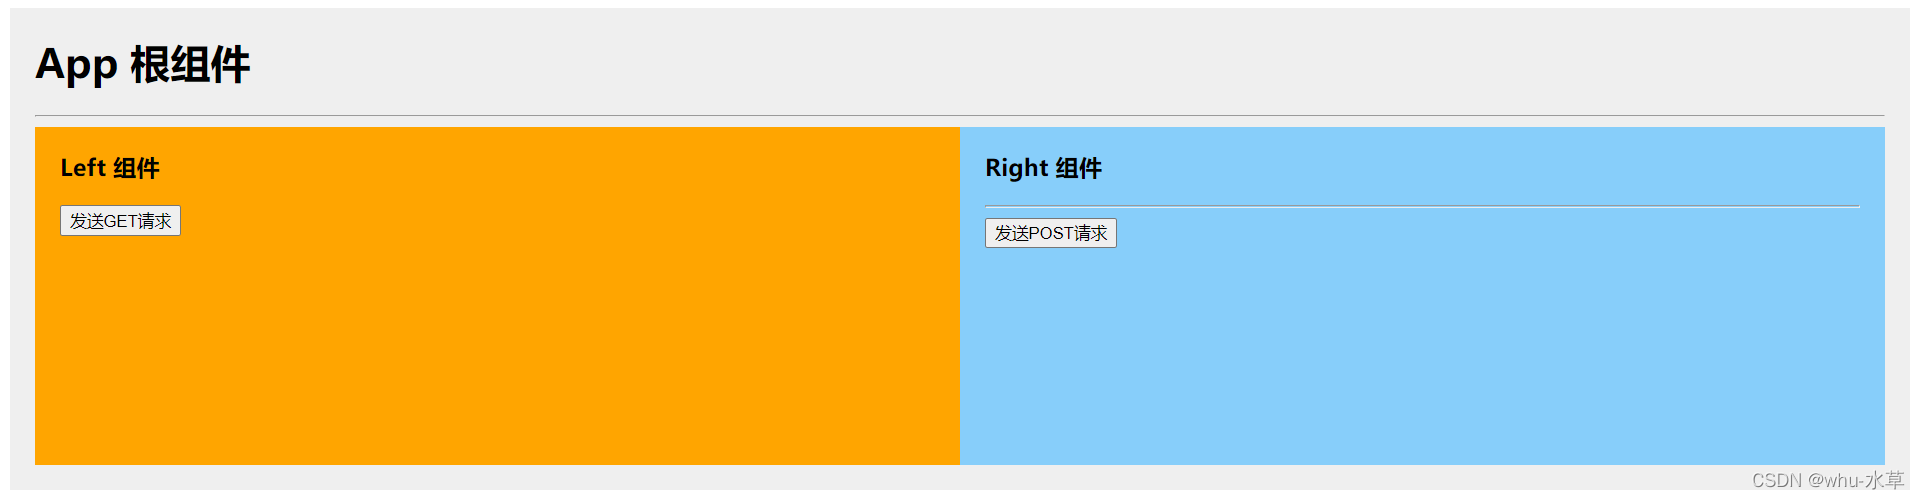
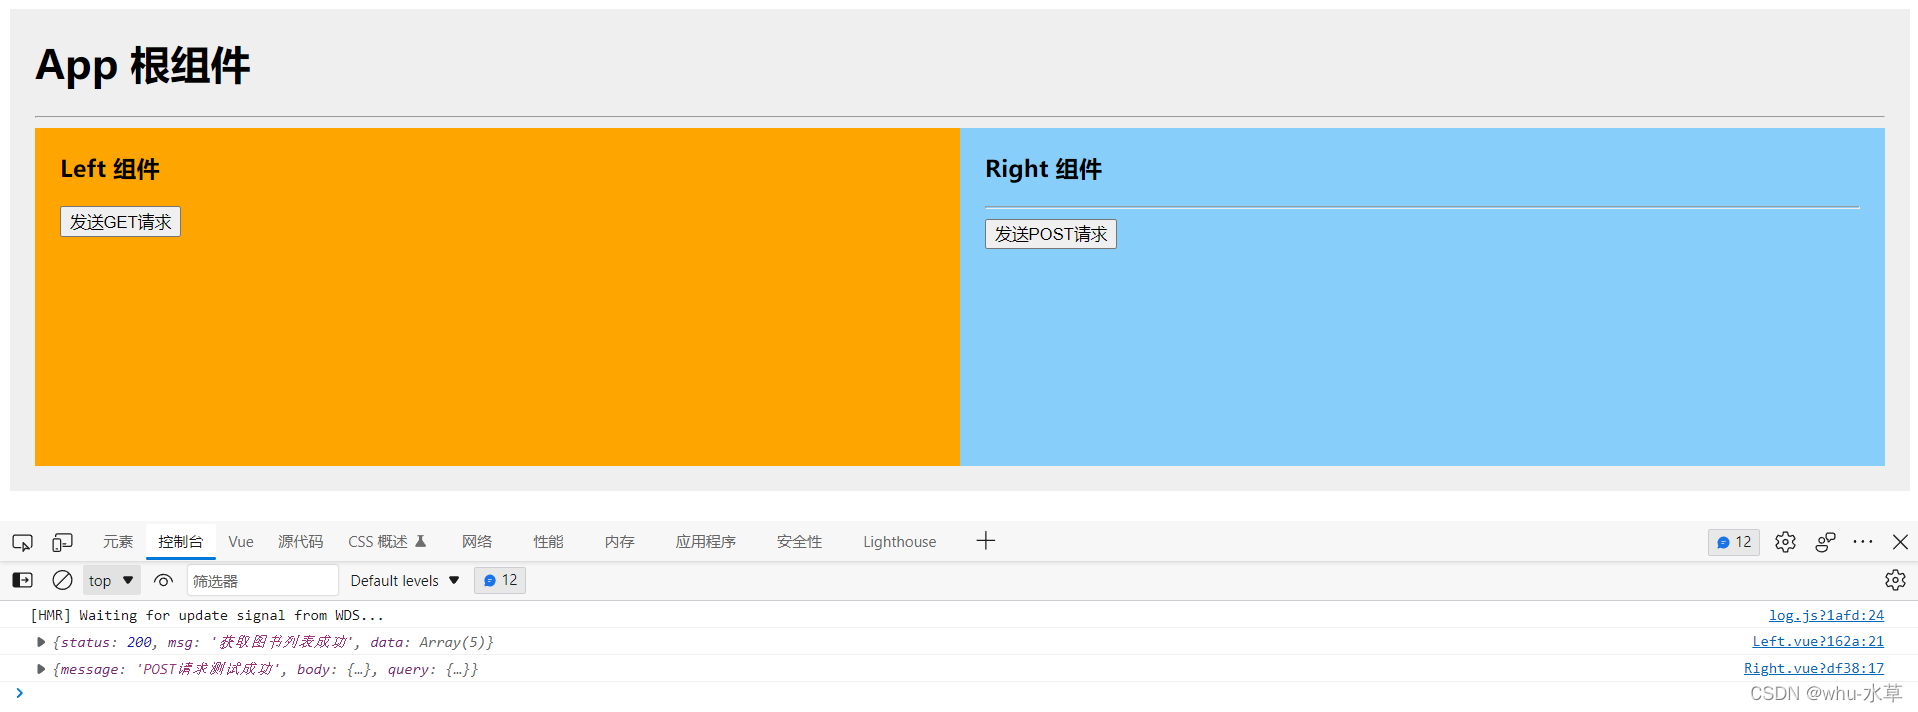
Suppose we have a Vue project, the App root component contains a Left component and a Right component, and there is a button in the Left component, which sends a GET request after clicking. There is a button in the Right component, which sends a POST request when clicked. The basic page structure is as follows:
First, you need to install the axios package , and then you can use axios in the project. Execute in the terminal npm i axios -Sto install axios into the project.
1. Import axios into the .vue component that needs to send the request and use it
The script tag content of the Left component :
<script>
// 导入axios模块
import axios from 'axios'

export default {


  data() {


    return {


      bookList: {

      }
    }
  },
  methods: {


  	// 点击事件
  	// <button @click="getInfo">发送GET请求</button>
    async getInfo() {


      const {

       data: res } = await axios.get('http://www.liulongbin.top:3006/api/getbooks')
      console.log(res)
      // 一般把请求回来的数据转存到data中
      this.bookList = res
    }
  }
}
</script>
The script tag content of the Right component :
<script>
// 导入axios模块
import axios from 'axios'

export default {


  methods: {


  	// 点击事件
  	// <button @click="postInfo">发送POST请求</button>
    async postInfo() {


      const {

       data: res } = await axios.post('http://www.liulongbin.top:3006/api/post', {

       name: 'zs', age: 20 })
      console.log(res)
      // 不再演示数据转存到data的过程
    }
  }
}
</script>
The request can be successful, but the disadvantage of this method is: every time you use axios, you need to import it once. As long as the .vue component uses axios, you need to import the axios module, and the components cannot be used with each other (not universal) , kind of hard. So we want axios to be available globally .
2. Mount axios to the Vue prototype and configure the request root path
(1) Because we want axios to be available globally , we need to configure it in the main.js file . The steps are as follows:
- Import the axios module
- Mount axios on the Vue prototype.
import Vue from 'vue'
import App from './App.vue'

// 1.导入axios模块
import axios from 'axios'

Vue.config.productionTip = false

// 2.将axios挂载到Vue原型上
Vue.prototype.$http = axios

new Vue({


  render: h => h(App)
}).$mount('#app')
[Note] When axios is mounted on the Vue prototype, the
$httpname is arbitrary, which means that we have mounted a$httpproperty (method) named on the Vue prototype, and its value isaxios. By convention, we all name this property as$http.
(2) In order to simplify the call of the .vue component instance, you can configure a request root path, and only need to pass in the part after the root path when using it later.
import Vue from 'vue'
import App from './App.vue'

// 1.导入axios模块
import axios from 'axios'

Vue.config.productionTip = false

// 3.配置请求根路径
axios.defaults.baseURL = 'http://www.liulongbin.top:3006'
// 2.将axios挂载到Vue原型上
Vue.prototype.$http = axios

new Vue({


  render: h => h(App)
}).$mount('#app')
(3) How to use it in components:
- It is no longer necessary to import the axios module, just delete the import code directly
- Each .vue component can be regarded as a Vue instance, because a property called Vue is mounted on the Vue prototype
$http, and the .vue component is a Vue instance, so it can bethis.$httpused normally by getting axios . - Since the request root path is configured, the first parameter of the GET/POST request can be passed directly to the part after the root path.
The script tag content of the Left component :
<script>
// 不再需要导入axios模块,直接删除导入代码
export default {


  data() {


    return {


      bookList: {

      }
    }
  },
  methods: {


    async getInfo() {


      const {

       data: res } = await this.$http.get('/api/getbooks')
      console.log(res)
      // 一般把请求回来的数据转存到data中
      this.bookList = res
    }
  }
}
</script>
The script tag content of the Right component :
<script>
export default {


  methods: {


    async postInfo() {


      const {

       data: res } = await this.$http.post('/api/post', {

       name: 'zs', age: 20 })
      console.log(res)
      // 不再演示数据转存到data的过程
    }
  }
}
</script>
[Disadvantages]: The code reusability of requesting data is poor . If different components need to request the same data, a request function must be written once for each request.
3. Encapsulate a module that gets axios, and encapsulate the API for requesting data
1. Encapsulate the axios module
At the same level as the src directory, create a utils folder to indicate the tools used, and create a request.js file in it , which is the module that encapsulates axios . Whoever needs to use this root path to request data should import this module.
Contents of request.js file:
// 导入axios
import axios from 'axios'

// 通过axios.create方法创建一个axios实例,用request接收
const request = axios.create({


  // 指定请求的根路径
  baseURL: 'http://www.liulongbin.top:3006'
})

export default request
How to use (take the Left component as an example):
<script>
// 导入request模块
import request from '@/utils/request.js'

export default {


  data() {


    return {


      bookList: {

      }
    }
  },
  methods: {


    async getInfo() {


      // 假设需要传一个参数,这里的参数是假的,演示用
      const {

       data: res } = await request.get('/api/getbooks', {


        params: {

       id: 1 }
      })
      console.log(res)
      // 一般把请求回来的数据转存到data中
      this.bookList = res
    }
  }
}
</script>
[Expansion] Multiple axios modules can be encapsulated in a project . If multiple request root paths need to be used , each root path encapsulates a corresponding axios module, and each module is different from each other and does not affect each other.
But at this time, the problem of low code reusability is still not solved, and the request function will be written repeatedly. At this point, we encapsulate into an API module .
2. Package API module
At the same level as the src directory, create an api folder to represent the api you wrote, and create a bookAPI.js file in it. This is the packaged books module . All API interfaces about the book can be packaged in this module. Whoever needs to use this API interface should import this module.
Contents of the bookAPI.js file:
// 导入request模块
import request from '@/utils/request.js'

// 向外按需导出一个接口函数
export const getBookListAPI = function() {


  // 记得一定要把请求到的promise对象return出去
  return request.get('/api/getbooks', {


    // 假设需要传一个参数,这里的参数是假的,演示用
    params: {

     id: 1 }
  })
}
<script>
// 按需导入bookAPI
import {

       getBookListAPI } from '@/api/bookAPI.js'

export default {


  data() {


    return {


      bookList: {

      }
    }
  },
  methods: {


    async getInfo() {


      // 调用getBookListAPI请求数据
      const {

       data: res } = await getBookListAPI()
      console.log(res)
      // 一般把请求回来的数据转存到data中
      this.bookList = res
    }
  }
}
</script>
This realizes the encapsulation of the request data interface and improves the reusability of the code.