Table of contents
Getting to Know Materials and Textures
Getting to Know Materials and Textures
The material in three.js is the material on the surface of the geometry. All materials inherit from Material. ThreeJS materials are divided into : basic material, depth material, normal vector material, amber material, Phong material, standard material, shader material, basic line material and dotted line material.
Materials are like the skin of an object, determining the appearance of geometry. For example, a material can define whether a geometry looks like metal or wood, whether it is transparent, what color, etc., and then added to the Mesh before it can be added to the scene for rendering. This chapter will guide you to get familiar with all the materials provided by the API in Three.js, and you will also learn to use these materials to make exquisite three-dimensional objects.
The base class of texture is Texture, and we generally use this class to construct a texture by passing an image to its property Image. Texture is the property of the material, and the material and the geometry Gemotry constitute the Mesh, which is then added to the Scene for rendering. The texture determines what the surface of the object should look like, and the material determines what kind of "temperament" the object has.
Modify model material color
For example, if I set up a geometry, if I want to modify its color later, I can do it in the following ways:


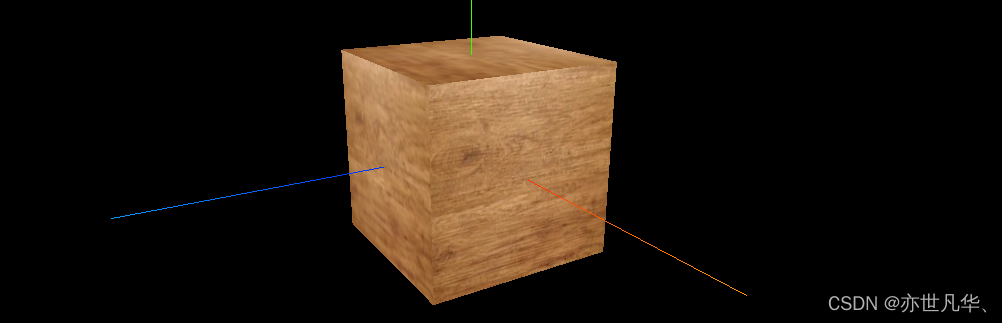
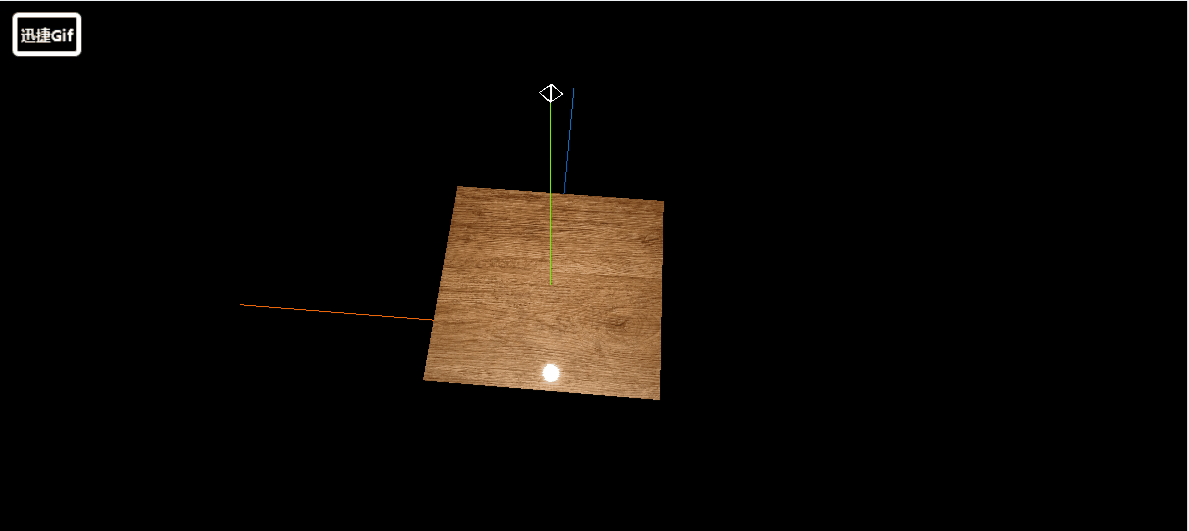
Add texture to the model
Adding texture to geometry is very simple, just prepare a texture map, and then refer to the case given in the official document:


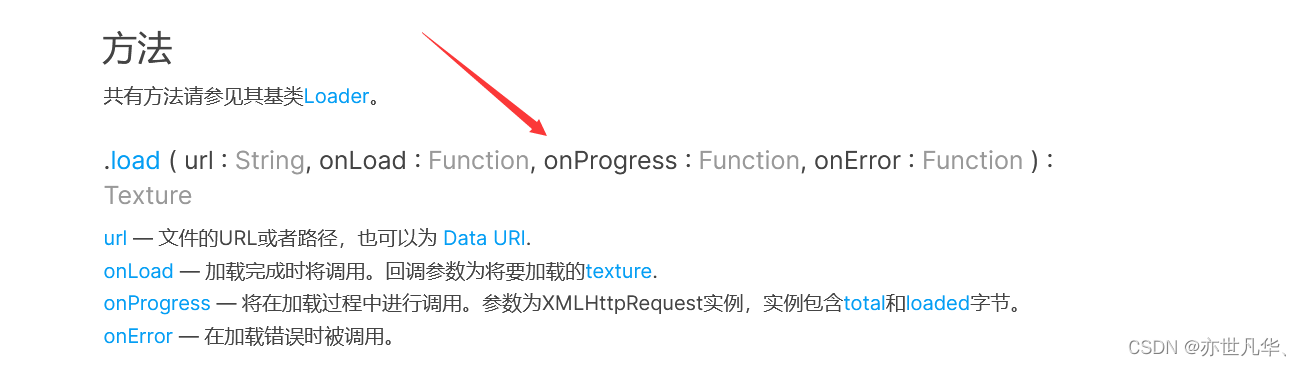
Texture Common Properties Use
There are many properties of textures. For details, please refer to the official documentation , as follows. Next, we will focus on a few important properties:
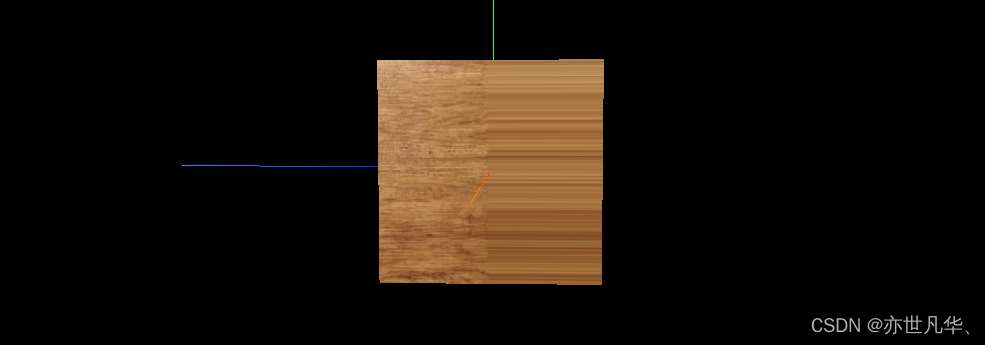
Texture Offset Settings :

Texture rotation settings :
// 设置纹理旋转 45deg
doorColorTexture.center.set(0.5,0.5) // 设置旋转原点
doorColorTexture.rotation = Math.PI / 4
Texture repeat settings :
// 设置纹理重复
doorColorTexture.repeat.set(2,3)
// 设置纹理重复模式
doorColorTexture.wrapS = THREE.RepeatWrapping  // 水平无限重复
doorColorTexture.wrapT = THREE.MirroredRepeatWrapping // 垂直镜像重复
texture display algorithm
The algorithm for texture display is realized through the following official API functions provided to us:


// texture纹理显示设置
doorColorTexture.minFilter = THREE.NearestFilter
doorColorTexture.magFilter = THREE.NearestFilter
// texture纹理显示设置
doorColorTexture.minFilter = THREE.LinearFilter
doorColorTexture.magFilter = THREE.LinearFilter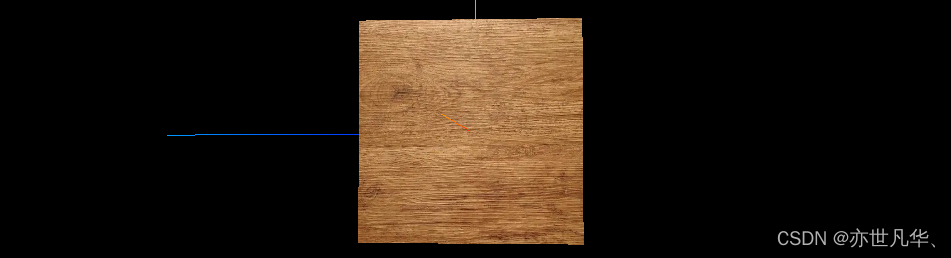
set roughness
We can also set the roughness to the geometry to make its surface smooth so that the reflected light is more obvious, as follows:

Of course , we can use the materials provided by some texture websites to write relevant detailed features for a certain geometry .
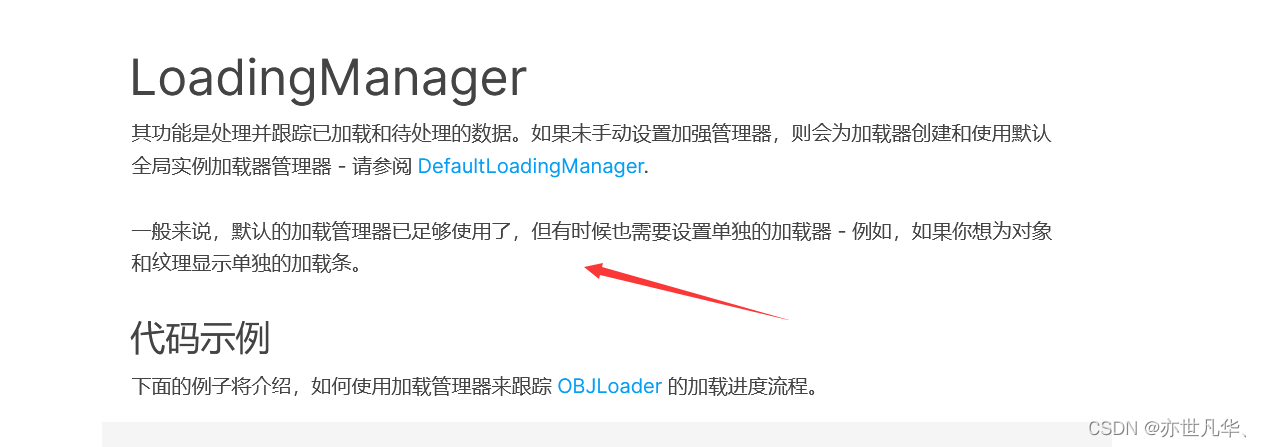
Texture loading progress
When our project image resources are too large, we can visualize a loading progress display in the following way:
Create a load manager:
// 设置加载管理器
const loadingManager = new THREE.loadingManager()
Put the parameters provided by the three after load into it :
// 设置三种情况
const event = {}
event.onLoad = () =>{
  console.log('图片加载成功');
}
event.onProgress = (url,num,total) =>{
  console.log('图片加载完成:',url);
  console.log('图片加载进度:',num);
  console.log('图片总数:',total);
  console.log('加载进度的百分比:',((num/total)*100).toFixed(2)+"%")
}
event.onError = (e) =>{
  console.log('图片加载出现错误');
  console.log(e);
}

// 设置加载管理器
const loadingManager = new THREE.LoadingManager(
  event.onLoad,
  event.onProgress,
  event.onError
)

// 导入纹理
const textureLoader = new THREE.TextureLoader(loadingManager)
const doorColorTexture = textureLoader.load(img)
Of course, we can display the progress on the interface, as follows:
var div = document.createElement("div")
div.style.width = "200px"
div.style.height = "200px"
div.style.position = "fixed"
div.style.right = 0
div.style.top = 0
div.style.color = "#fff"
document.body.appendChild(div)
Because the case I wrote is only one picture, the loading speed is very fast. If there are a lot of project materials in the later stage, this will have obvious effects, as follows:

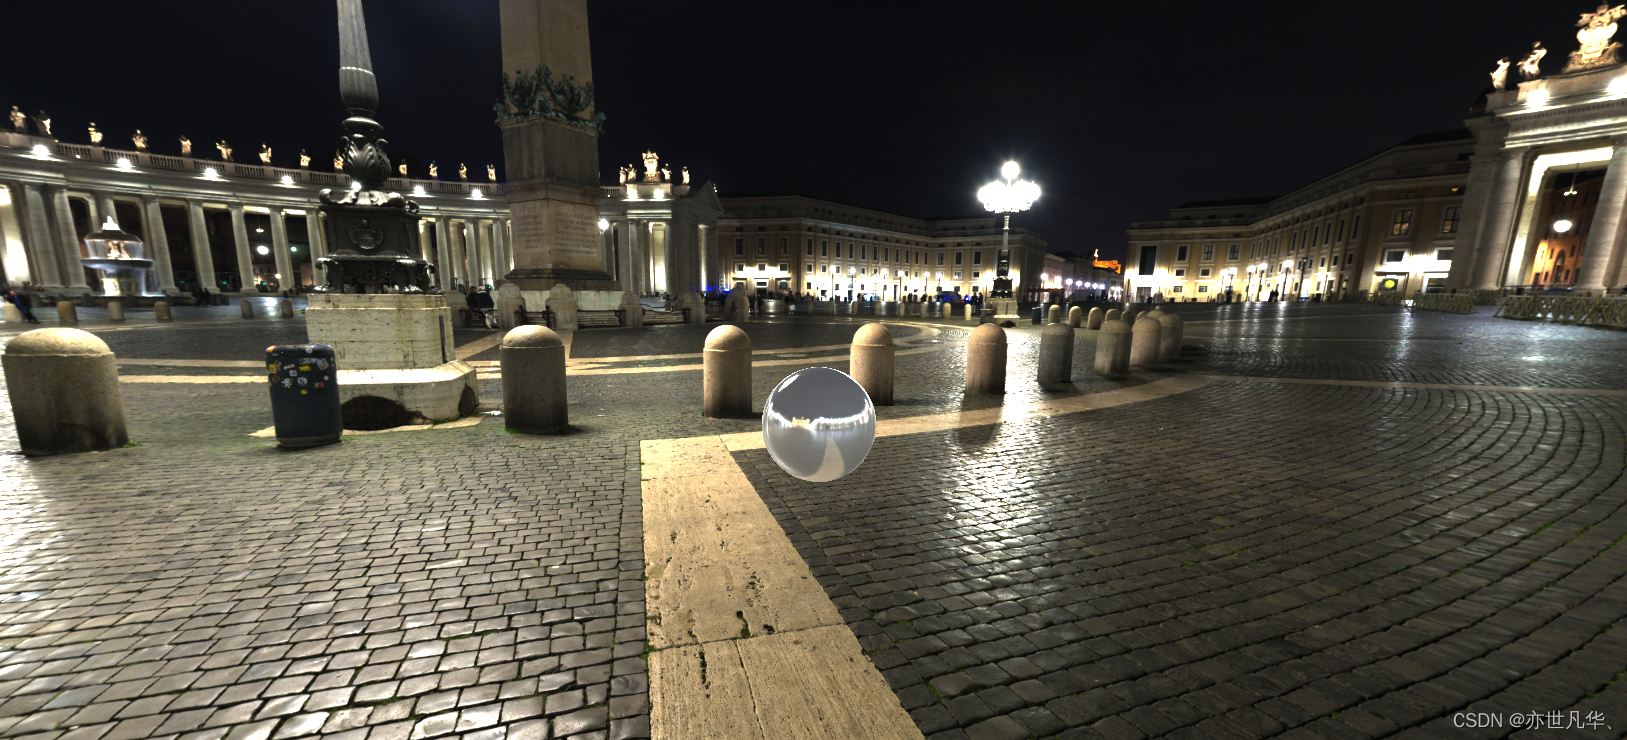
Set environment map
The environment map is similar to pasting a picture on the whole body of a geometry, making it feel like it is in the current space. Of course, you can use real pictures like commercial streets or rural fields, etc. here.
Note : The resolution and size of the pictures used must be consistent, otherwise they will not be loaded.
// 设置cube纹理加载器
const cubeTextureLoader = new THREE.CubeTextureLoader()
const envMapTexture = cubeTextureLoader.load([img1,img2,img3,img4,img5,img6])
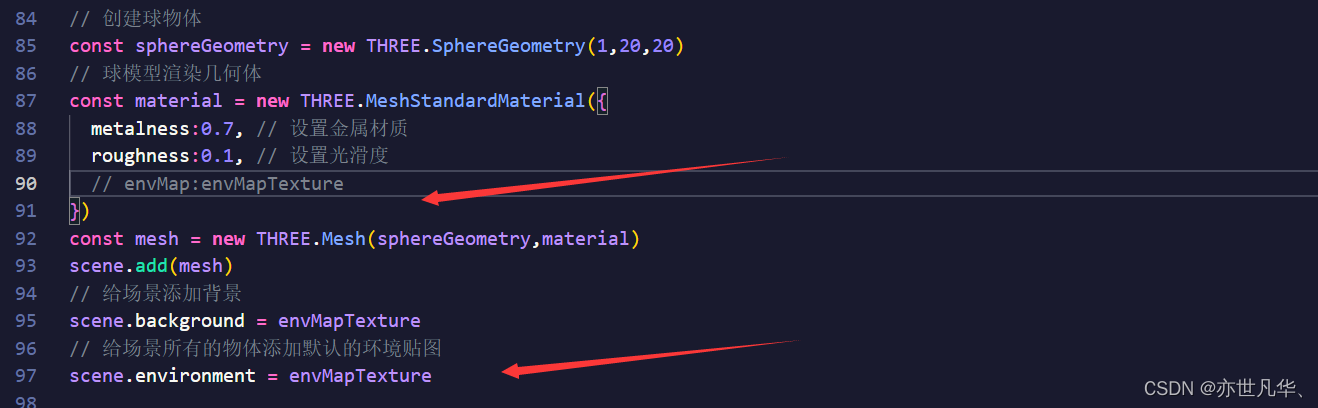
// 创建球物体
const sphereGeometry = new THREE.SphereGeometry(1,20,20)
// 球模型渲染几何体
const material = new THREE.MeshStandardMaterial({
metalness:0.7, // 设置金属材质
roughness:0.1, // 设置光滑度
envMap:envMapTexture
})
const mesh = new THREE.Mesh(sphereGeometry,material)
scene.add(mesh)
Of course, we can also add a background to the environment to make the whole style more realistic, as follows:
// 给场景添加背景
scene.background = envMapTexture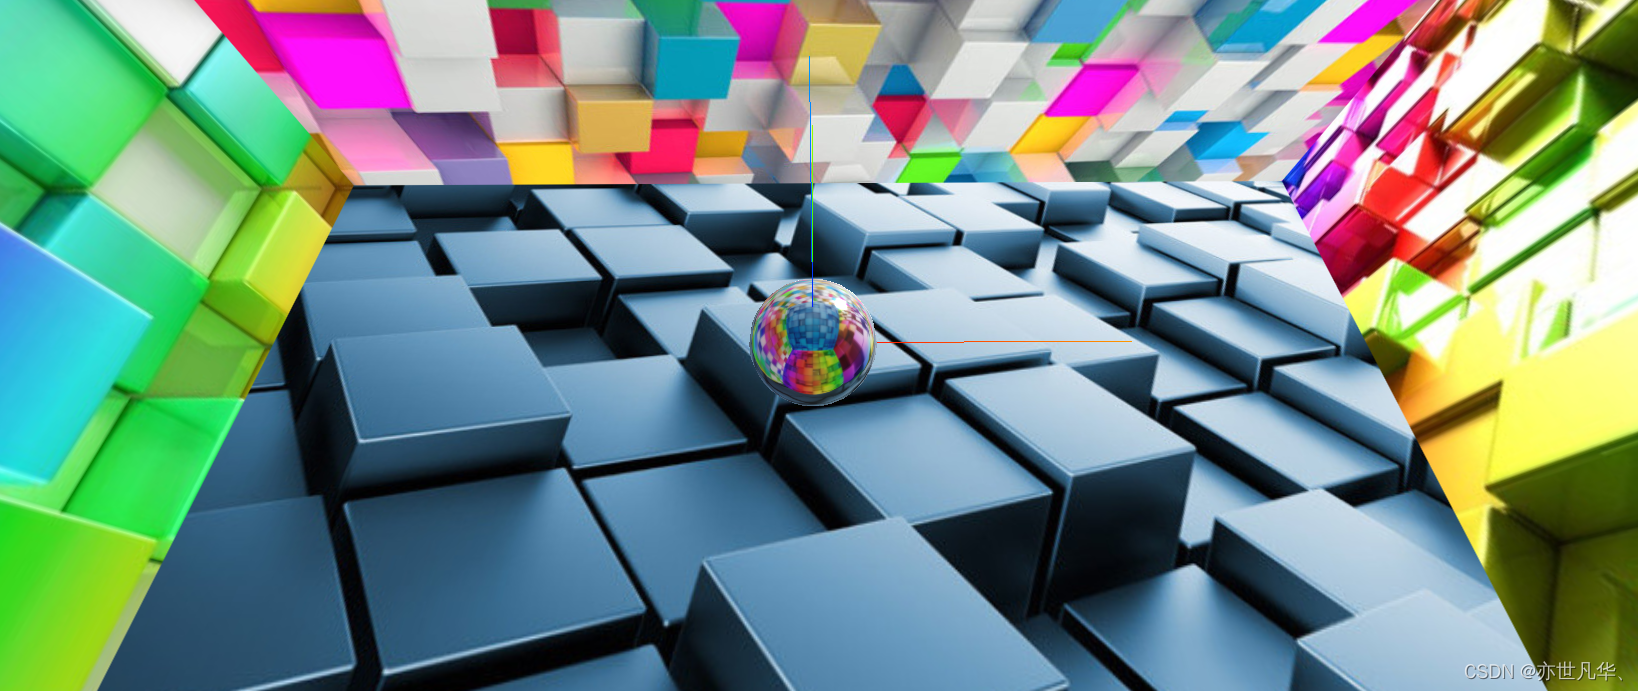
Of course, you don't need to set the envMap attribute for the material, you can also set the following settings to add the same background to all current pages

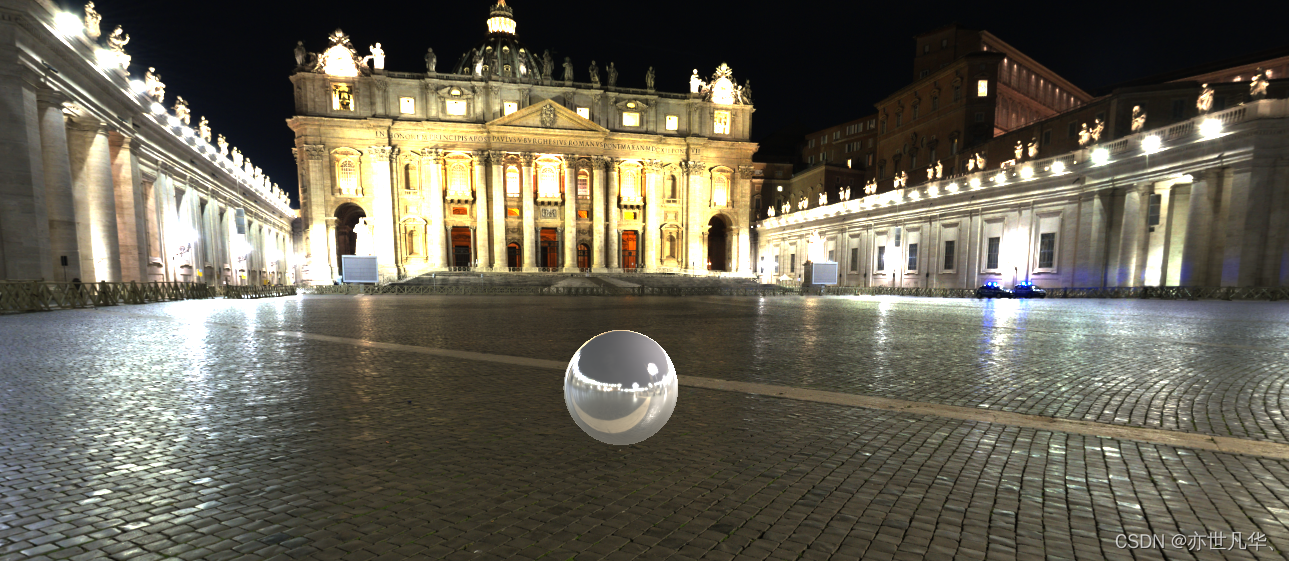
Of course, we don't necessarily need 6 pictures to achieve it. A panorama can also achieve 3D visualization. This way is similar to a world map presented in front of you, but when it is not shown to you in a flat picture But when you show it to you with a sphere, you can also feel the 3D effect. The realization of the panorama is similar to this:
import { RGBELoader } from 'three/examples/jsm/loaders/RGBELoader'
// 添加hdr环境图
const rgbeLoader = new RGBELoader()
rgbeLoader.loadAsync("/src/public/2.hdr").then((texture)=>{
  texture.mapping = THREE.EquirectangularReflectionMapping
  scene.background = texture
  scene.environment = texture
})
Ok, that’s all about the use of materials and textures. For details, you can refer to the official website and give the code notes of this article:
import * as THREE from 'three';
// 导入轨道控制器
import { OrbitControls } from 'three/examples/jsm/controls/OrbitControls'
// import img from '../public/木质纹理.jpg'
// import img1 from '../public/1.jpg'
// import img2 from '../public/2.jpg'
// import img3 from '../public/3.jpg'
// import img4 from '../public/4.jpg'
// import img5 from '../public/5.jpg'
// import img6 from '../public/6.jpg'
// import img7 from "../public/1.hdr"
import { RGBELoader } from 'three/examples/jsm/loaders/RGBELoader'
// 添加hdr环境图
const rgbeLoader = new RGBELoader()
rgbeLoader.loadAsync("/src/public/2.hdr").then((texture)=>{
  texture.mapping = THREE.EquirectangularReflectionMapping
  scene.background = texture
  scene.environment = texture
})

// 1.创建场景
const scene = new THREE.Scene();
// 2.创建相机
const camera = new THREE.PerspectiveCamera(75,window.innerWidth/window.innerHeight,0.1,1000)
// 设置x、y、z轴坐标,即设置相机位置
camera.position.set(0,0,10)
// 将相机添加到场景之中
scene.add(camera)
// 3.添加物体,创建几何体
// const geometry = new THREE.BoxGeometry(3,3,3)

// var div = document.createElement("div")
// div.style.width = "200px"
// div.style.height = "200px"
// div.style.position = "fixed"
// div.style.right = 0
// div.style.top = 0
// div.style.color = "#fff"
// document.body.appendChild(div)

// // 设置三种情况
// const event = {}
// event.onLoad = () =>{
//   console.log('图片加载成功');
// }
// event.onProgress = (url,num,total) =>{
//   console.log('图片加载完成:',url);
//   console.log('图片加载进度:',num);
//   console.log('图片总数:',total);
//   let value = ((num/total)*100).toFixed(2)+"%"
//   div.innerHTML = value
//   console.log('加载进度的百分比:',((num/total)*100).toFixed(2)+"%")
// }
// event.onError = (e) =>{
//   console.log('图片加载出现错误');
//   console.log(e);
// }

// // 设置加载管理器
// const loadingManager = new THREE.LoadingManager(
//   event.onLoad,
//   event.onProgress,
//   event.onError
// )

// // 导入纹理
// const textureLoader = new THREE.TextureLoader(loadingManager)
// const doorColorTexture = textureLoader.load(img)

// // 设置纹理偏移
// doorColorTexture.offset.x = 0.5
// doorColorTexture.offset.y = 0.5
// doorColorTexture.offset.set(0.5,0,5)
// // 设置纹理旋转 45deg
// doorColorTexture.center.set(0.5,0.5) // 设置旋转原点
// doorColorTexture.rotation = Math.PI / 4
// // 设置纹理重复
// doorColorTexture.repeat.set(2,3)
// // 设置纹理重复模式
// doorColorTexture.wrapS = THREE.RepeatWrapping  // 水平无限重复
// doorColorTexture.wrapT = THREE.MirroredRepeatWrapping // 垂直镜像重复

// texture纹理显示设置
// doorColorTexture.minFilter = THREE.NearestFilter
// doorColorTexture.magFilter = THREE.NearestFilter
// doorColorTexture.minFilter = THREE.LinearFilter
// doorColorTexture.magFilter = THREE.LinearFilter

// 设置cube纹理加载器
// const cubeTextureLoader = new THREE.CubeTextureLoader()
// const envMapTexture = cubeTextureLoader.load([img1,img2,img3,img4,img5,img6])

// 创建球物体
const sphereGeometry = new THREE.SphereGeometry(1,20,20)
// 球模型渲染几何体
const material = new THREE.MeshStandardMaterial({
  metalness:0.7, // 设置金属材质
  roughness:0.1, // 设置光滑度
  // envMap:envMapTexture
})
const mesh = new THREE.Mesh(sphereGeometry,material)
scene.add(mesh)
// // 给场景添加背景
// scene.background = envMapTexture
// 给场景所有的物体添加默认的环境贴图
// scene.environment = envMapTexture


// // 网格模型渲染几何体
// const material = new THREE.MeshStandardMaterial({
//   color:'#fffff00',
// })
// const mesh = new THREE.Mesh(geometry,material)
// scene.add(mesh)


// 4.初始化渲染器
const renderer = new THREE.WebGLRenderer()
renderer.setSize(window.innerWidth,window.innerHeight)
document.body.appendChild(renderer.domElement)

// // 添加一个平行光
// const directionalLight = new THREE.DirectionalLight(0xffffff,1)
// // 设置光源方向
// directionalLight.position.set(8,10,5)
// // 方向光指向对象网格模型Mesh,即照射的对象,可以不设置,默认的位置是0,0,0
// directionalLight.target = mesh
// scene.add(directionalLight)

// 添加一个环境光
const ambient = new THREE.AmbientLight(0xffffff,0.9)
scene.add(ambient)

// // 创建一个点光源
// const pointLight = new THREE.PointLight(0xffffff,1.0)
// // 设置点光源位置
// pointLight.position.set(0,5,0)
// scene.add(pointLight)
// // 可视化点光源
// const pointLightHelper = new THREE.PointLightHelper( pointLight, 0.1 );
// scene.add(pointLightHelper)

// // 添加坐标轴辅助器
// const axesHelper = new THREE.AxesHelper(5) // 数值代表线的长度
// scene.add(axesHelper) // 添加到场景之中

// 创建轨道控制器
const controls =  new OrbitControls(camera,renderer.domElement)
// 设置控制器阻尼,让控制器更有真实效果,但必须在动画循环里调用 .update()
controls.enableDamping = true

export function render(){
  // 每次循环渲染时调用stats更新方法,来刷新时间
  controls.update()
  renderer.render(scene,camera) // 周期性执行相机的渲染功能,更新canvas画布上的内容
  requestAnimationFrame(render) // 接下来渲染下一帧的时候就会调用render函数
}
// 先开始就渲染一下
render()