foreword
Since there are no objects such as document and window in the app, if you use the traditional method of importing on the PC side, you will find that the reference cannot be successful, and a white screen will appear.
There are currently two solutions:
Using uniapp's web-view method (Baidu map)
Use renderjs to call js objects such as document (Gaode map)
1. Use uniapp's web-view method (Baidu map)
First create a uniapp page and use the webview component in it
map.vue:
<template>
    <view>
          <view class="page-body">
            <web-view  :src='remoteUrl'></web-view>
          </view>
     </view>
</template>
<script >
export default {
created () {
this.remoteUrl = `/static/html/map.html`;
},
data () {
return {
remoteUrl: '',
}
},
}
</script><style>
.page-body {
width: 100vw;
height: 100vh;
}
</style>2. Then we create a new basic map.html page under static/html
<!DOCTYPE html>
<html lang="zh">
<head>
<meta charset="UTF-8">
<meta name="viewport" content="width=device-width, initial-scale=1.0">
<meta http-equiv="X-UA-Compatible" content="ie=edge">
<title>webview百度地图</title>
<style type="text/css">
html {
height: 100%
}
body {
height: 100%;
margin: 0px;
padding: 0px;
}
#mapPage {
width: 100vw;
height: 100vh;
position: relative;
}
#container {
width: 100vw;
height: 100vh;
}
</style>
</head>
<body>
<div id='mapPage
<div id='container'></div>
</div>
</body>
<!-- 微信 JS-SDK 如果不需要兼容小程序,则无需引用此 JS 文件 -->
<!-- <script type="text/javascript" src="https://res.wx.qq.com/open/js/jweixin-1.4.0.js"></script> -->
<!-- uni 的 SDK -->
<script type="text/javascript" src="https://js.cdn.aliyun.dcloud.net.cn/dev/uni-app/uni.webview.1.5.2.js">
</script>
<!-- 百度地图 -->
<script type="text/javascript"
src="https://api.map.baidu.com/api?v=3.0&&type=webgl&ak=你的ak"></script>
<!-- vue -->
<script src="https://cdn.jsdelivr.net/npm/[email protected]"></script>
<script type="text/javascript">
document.addEventListener('UniAppJSBridgeReady', function() {
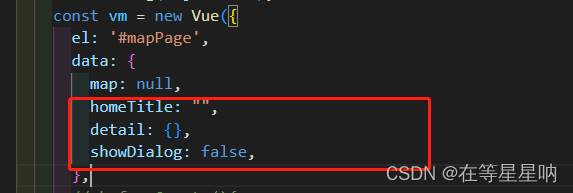
const vm=new Vue({
el:'#mapPage',
data:{
map: null,
},
methods:{
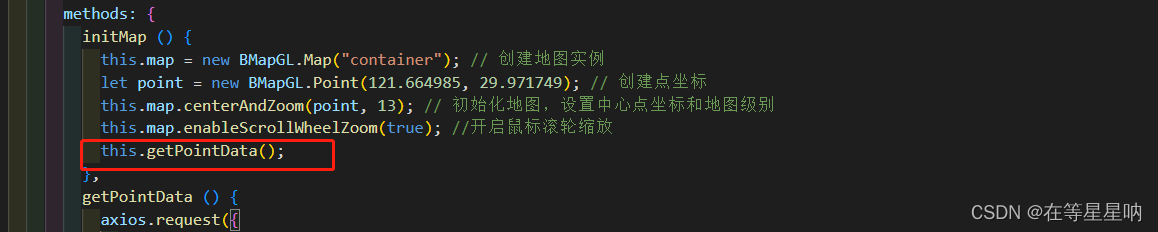
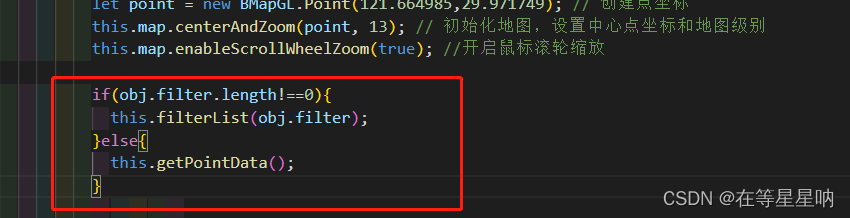
initMap(){
this.map = new BMapGL.Map("container"); // 创建地图实例
let point = new BMapGL.Point(121.664985,29.971749); // 创建点坐标
this.map.centerAndZoom(point, 13); // 初始化地图,设置中心点坐标和地图级别
this.map.enableScrollWheelZoom(true); //开启鼠标滚轮缩放
},
},
mounted(){
this.initMap();
}
})
});
</script>
</html>3. Set the top bar
The number of icons on the map is displayed in real time in the middle, and a filter button (you can filter the icons on the map after jumping to other pages, and enter the map page after filtering)

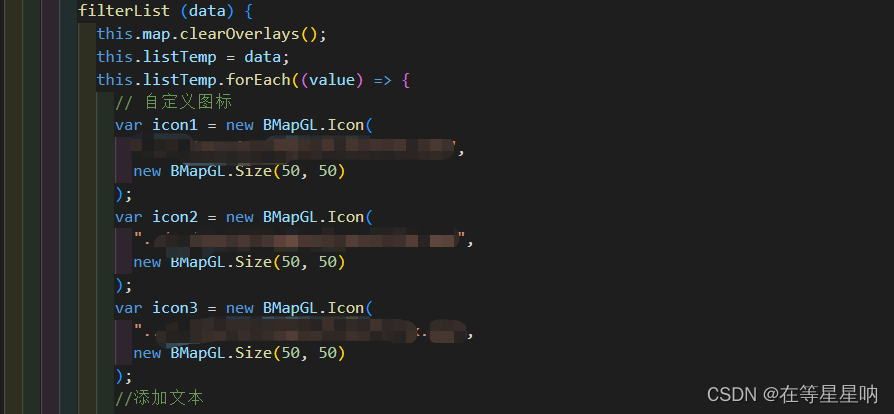
4. Obtain the icon information from the background interface, and place a custom icon on the map
①Introduce axios

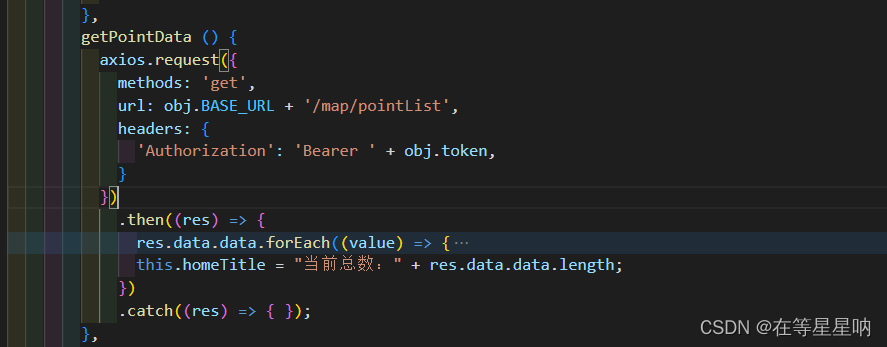
②Create method getPointData to get icon data
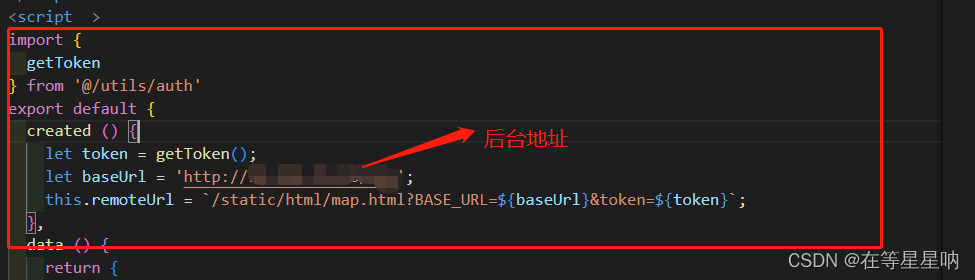
(1) The uniapp page passes token and ip address
map.vue
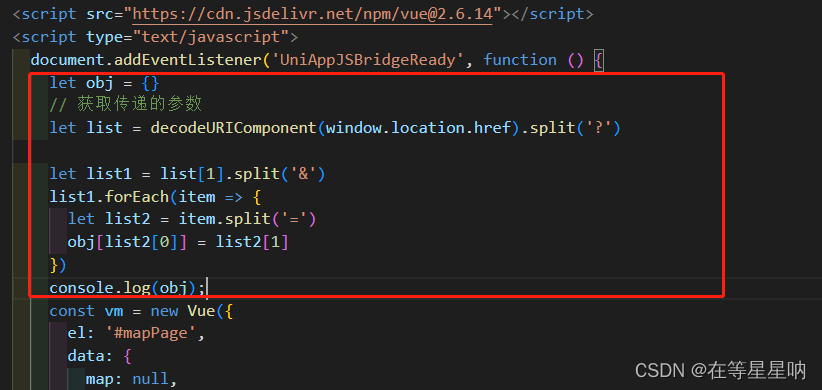
(2) The html page obtains the data passed by uniapp
(3) Call interface
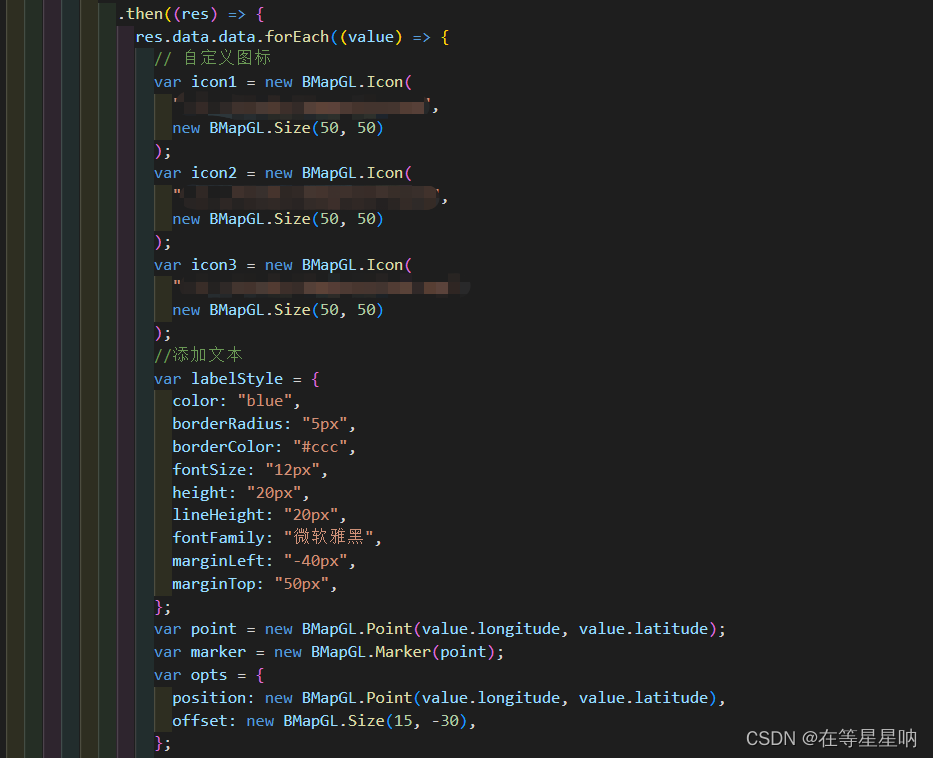
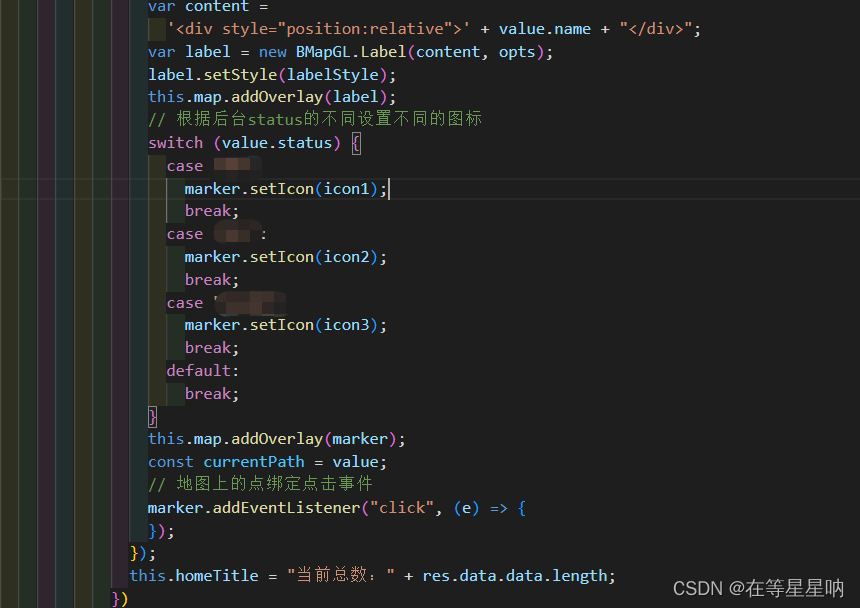
(4) Add different icons and labels according to the data returned by the interface
(5) Call method
5. Add a click event for the marker, and the detailed information of the marker will pop up
① Add div container and data data
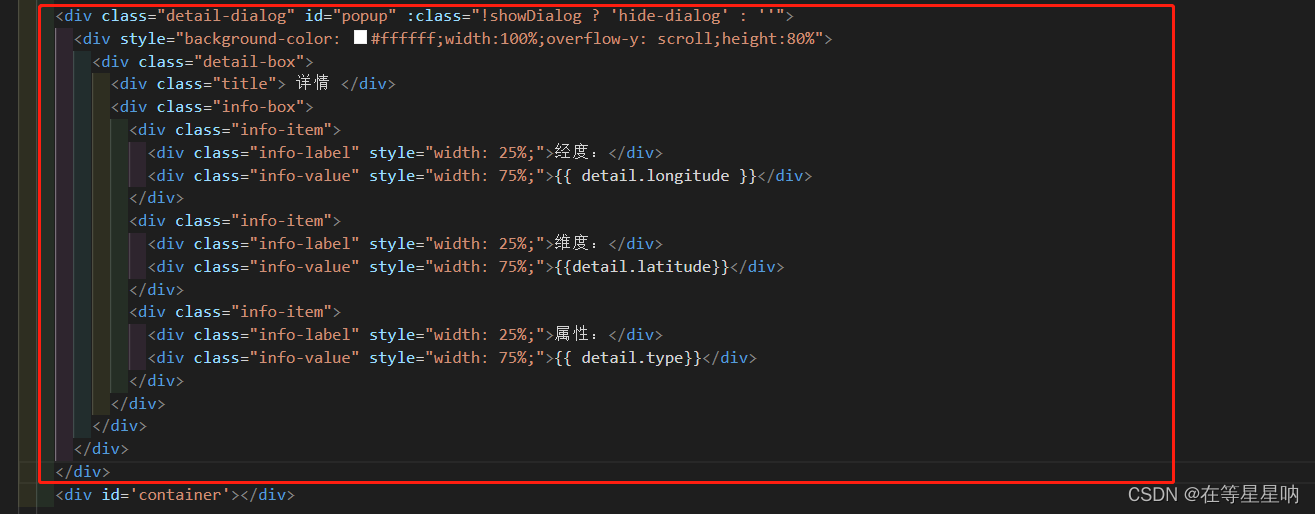
②Add content to div
        showDetail (value) {
          this.detail = {};
          this.showDialog = true;
          axios.request({
            methods: 'get',
            url: obj.BASE_URL + '/app/info',
            headers: {
              'Authorization': 'Bearer ' + obj.token,
            },
            params: {
              Id: value,
            }
          })
            .then((res) => {
              this.detail = res.data.data;
            })
            .catch((res) => { });
        },
        closeDetail () {
          this.showDialog = false;
        },
③The click event triggers the showDetail method
So far, the basic functions of the map have been completed. The filtering of the top bar will be introduced later
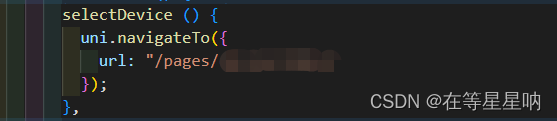
Click the filter icon to trigger an event and jump to the filter page
2. Filter pages

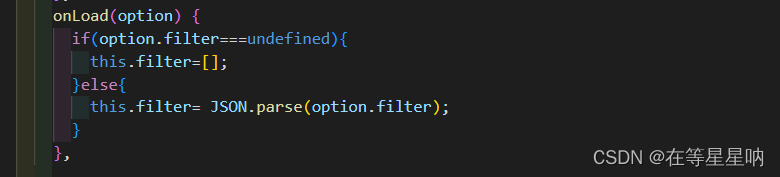
3. Receive the filter on the uniapp page
pages/map/index
4. Send the filter to the html page
pages/map/index

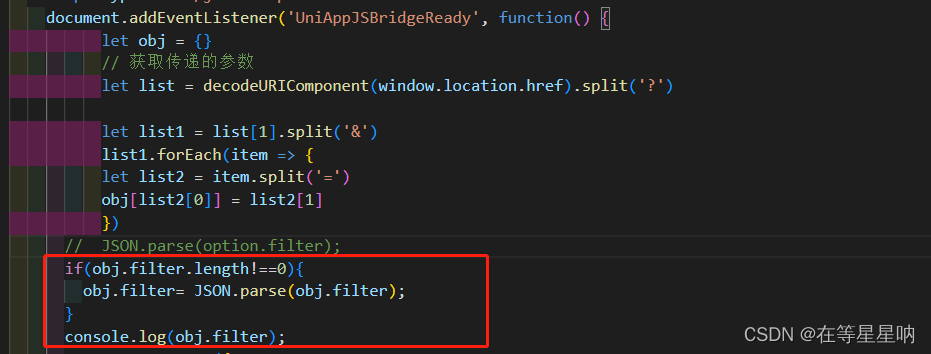
5. Receive on the html page
map.html
6. Call the screening method
7. Define the screening method
Note: There is a delay problem with this method, it is recommended to use method 2
2. Use renderjs to call js objects such as document (Gaode map)
define the basic structure
html:
<template>
  <view>
      <view class="page-body">
        <view :msg="msg"
              :change:msg="amap.receiveMsg"
              :currentIndex="currentIndex"
              :change:currentIndex="amap.currentIndexChange"
              id="amap">
        </view>
      </view>
  </view>
</template>
render.js
<!-- render.js -->
<script module="amap" lang="renderjs">
export default{
data(){
return{
map:null,
myData:[],
}
},
methods:{
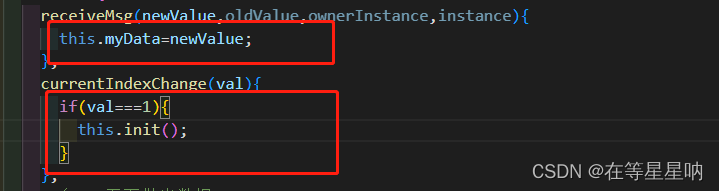
receiveMsg(newValue,oldValue,ownerInstance,instance){
console.log(newValue);
},
currentIndexChange(val){
console.log(val);
},
// 引入高德地图SDK
init(){
if(typeof window.AMap=='function'){
this.initAmap();
}else{
// 动态引入较大类库避免影响页面展示
const script =document.createElement('script');
script.src='https://webapi.amap.com/maps?v=1.4.15&key=你的key';
script.onload=this.initAmap.bind(this);
document.head.appendChild(script);
}
},
//初始化地图
initAmap(){
this.map=new AMap.Map('amap',{
resizeEnable:true,
center:[121.664985,29.971749],
zooms:[14,20],//设置地图级别范围
zoom:15,
})
this.map.on('complete',()=>{
console.log('加载完成')
})
},
}
}
</script>own script
<script>
export default {
data () {
return {
pointData: [],
current: 0,
}
},
computed: {
msg () {
return this.pointData
},
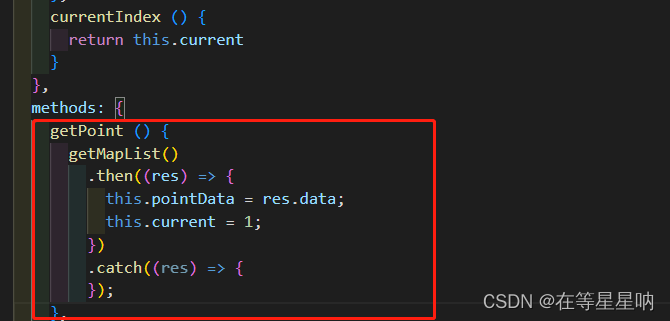
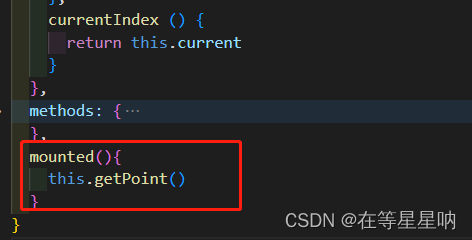
currentIndex () {
return this.current
}
},
methods: {
},
}
</script>2. Add coordinates to the map
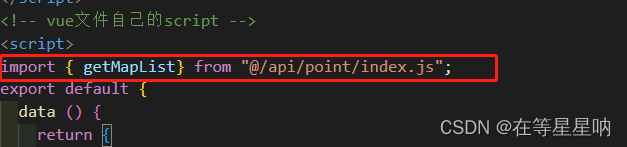
①Call the background interface in your own script to obtain icon information
Ⅰ. Reference the background interface method
Ⅱ. Define the method of obtaining icons
Ⅲ. Call method
② Pass the coordinate information to renderjs (renderjs)
③在地图上添加图标(renderjs)
注意:如果图标路径采用相对路径,自定义图标可能加载不出来,建议将图标转换为base64格式
Ⅰ.定义base64图标
Ⅱ.清除地图上原有图标,初始化图标数据

Ⅲ.地图上添加图标
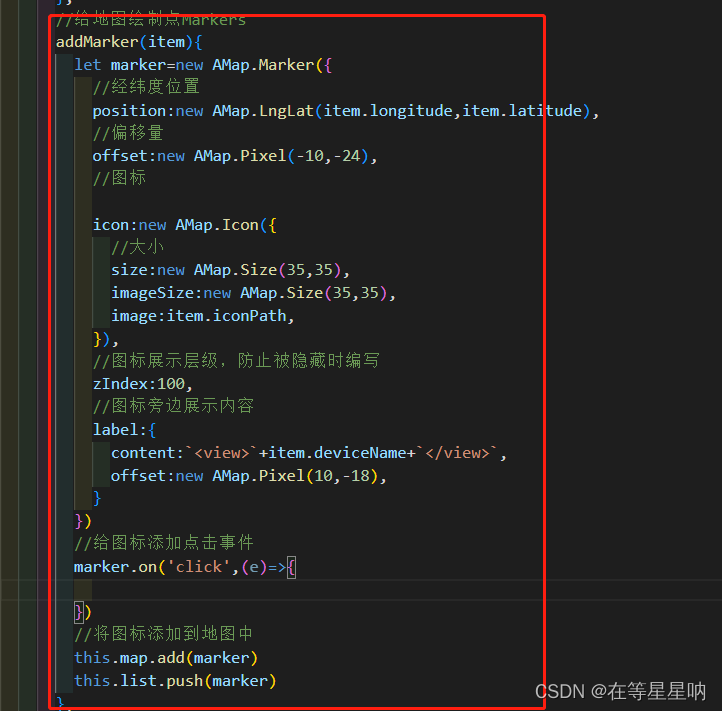
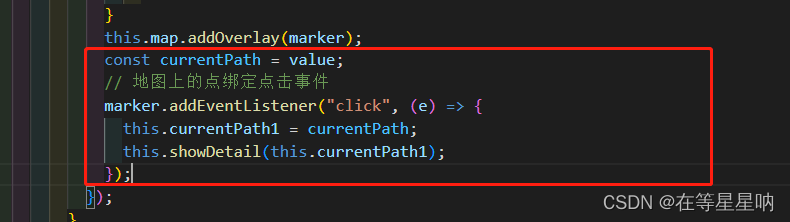
3.为图标添加点击事件,显示弹出框
①弹出框html结构
②定义点击事件,将当前图标上的唯一标识传递给自己的script(renderjs)
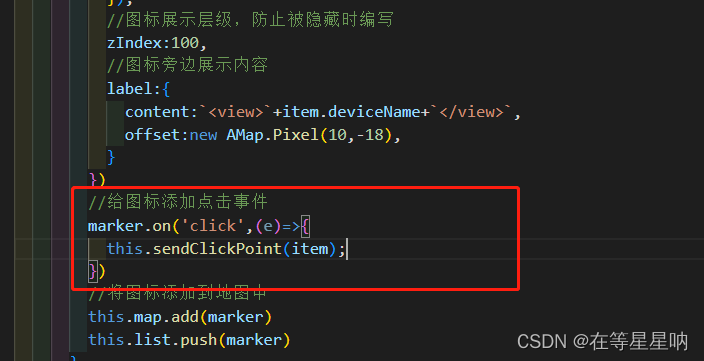

③接收id,并调用接口,获取弹出框信息(自己的script)
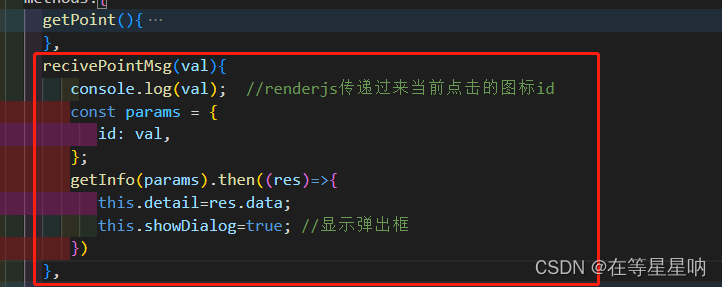
至此,两种方法实现地图已经完成。