foreword
When we use Jenkins for project construction, sometimes there is a relationship between two projects. For example, after project 1 is built, we want to execute project 2 directly, or some parameters in project 1 need to be passed to project 2 for use. At this point you can use Jenkins' parameterized build method to complete the process.
1. Jenkins parameterized construction
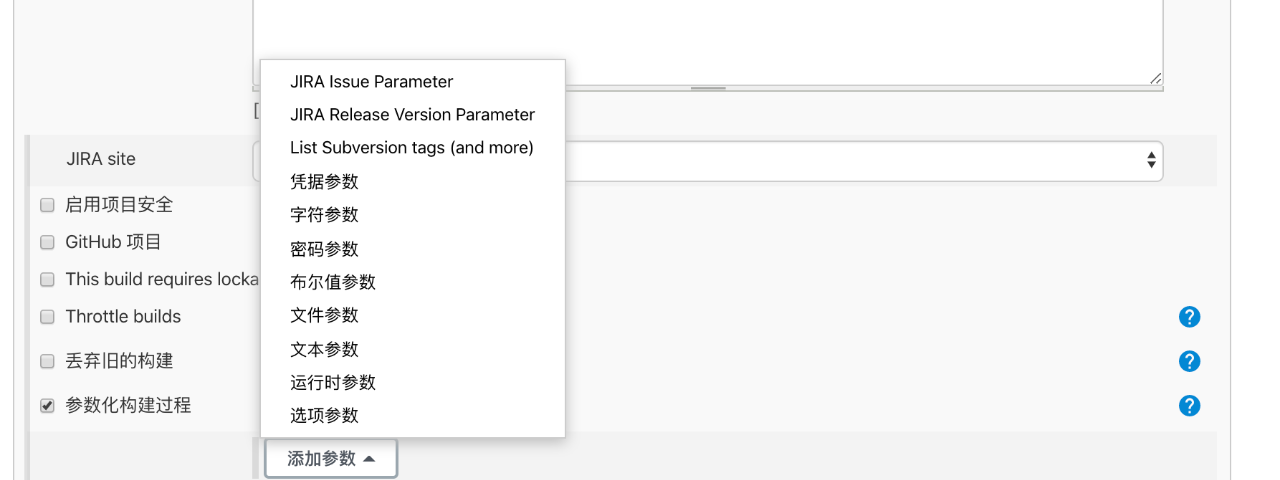
Tick the parameterized build process
Choose the type of parameter you want to add
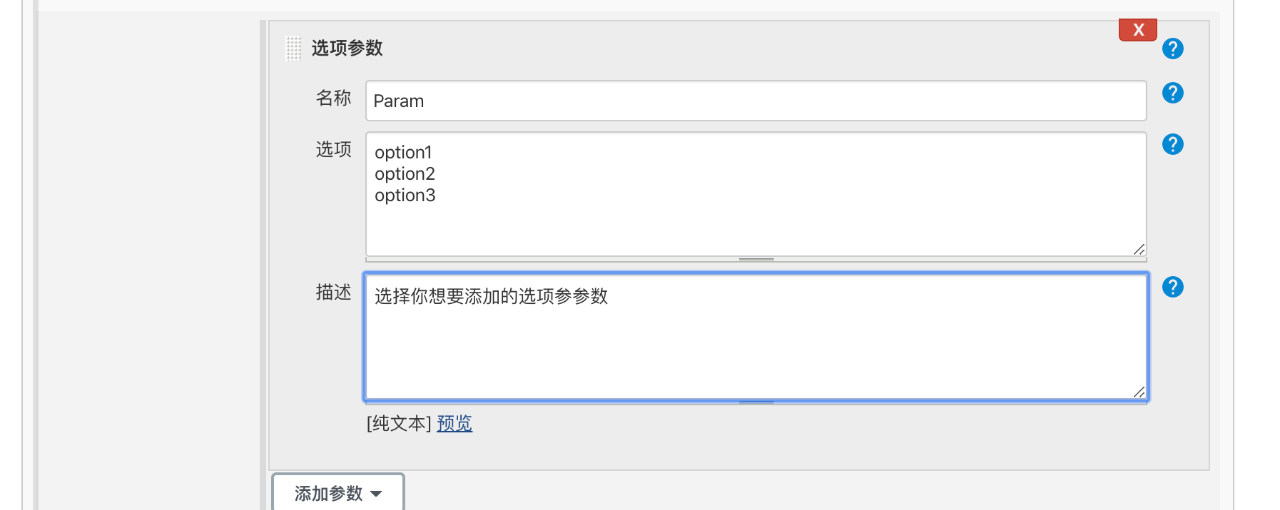
Parameter definition, here take the option parameter type as an example
The use of parameters, such as printing the parameters selected during construction 10 times:
for((index=0;index<10;index++));
  do
    echo ${Param}
  done
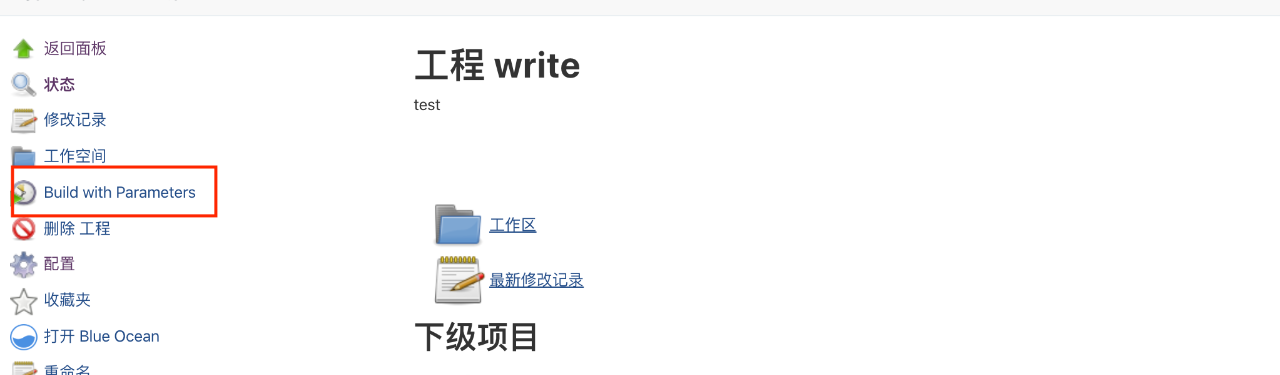
For parameterized construction, go back to the home page, click Build with Parameters, and check the parameters you want to use in the pop-up option box
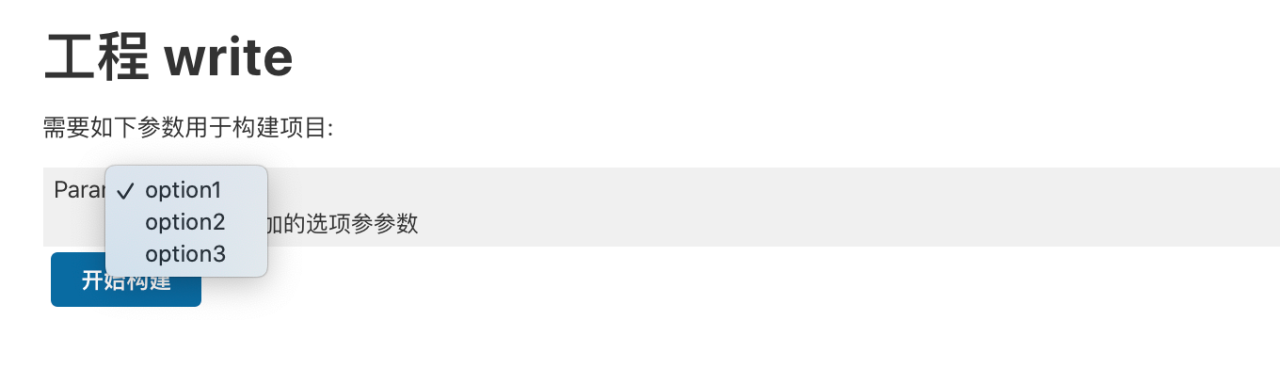
For example, if we select option2, and then click Build Now, you can view the console output under the built project:
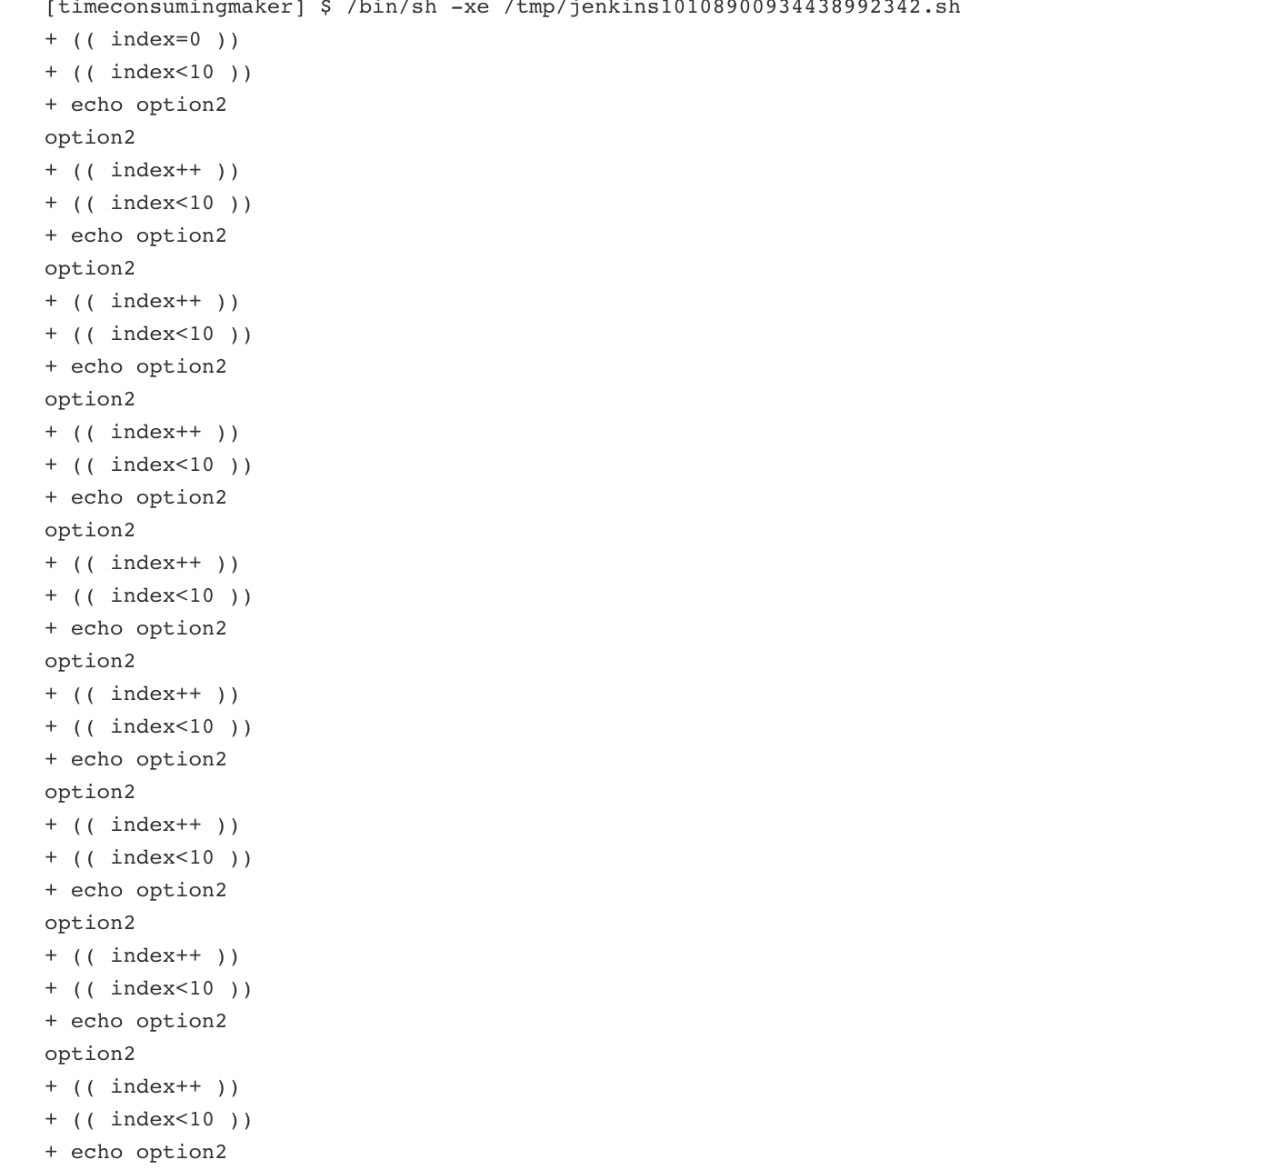
At this point, you can see that option2 is printed 10 times in the console log, indicating that the parameterized construction is successful.
Two, Jenkins task trigger
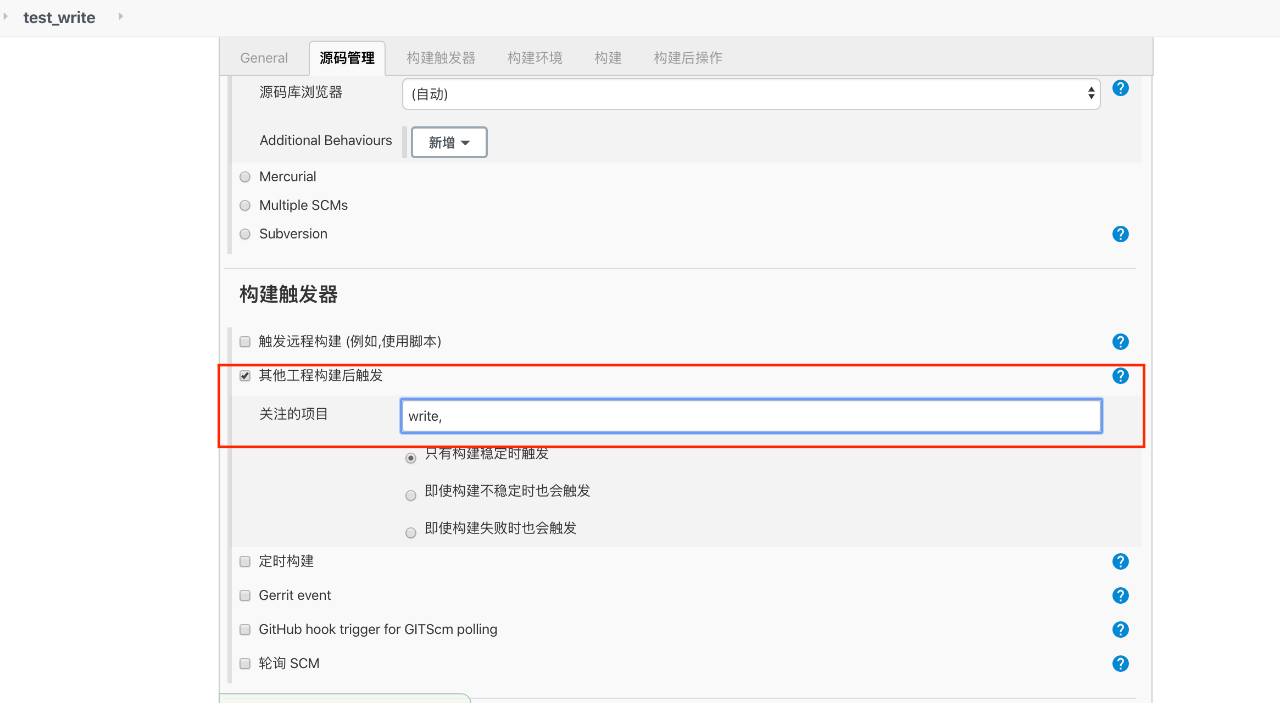
When building a multi-task continuous integration project, it is often necessary to execute task 1 and then execute task 2. If the execution of task 2 does not need to use the parameters in task 1, then it can be triggered in task 2. Add the name of task 1 to the browser. Still take write as task 1, and test_write as task 2 as an example. In the build trigger option of task 2, check other projects to be triggered after construction, and then fill in the name write of task 1 in the concerned project, as shown in the following figure:
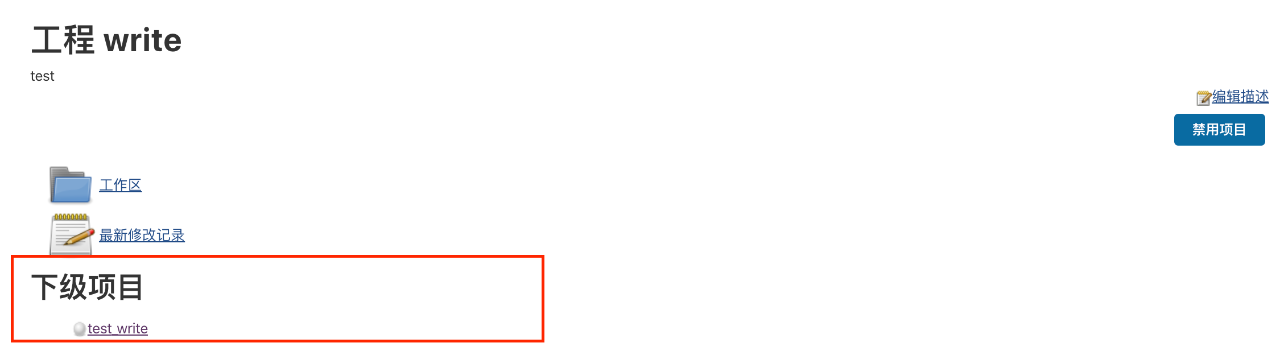
Then write an instruction to print 'test' 3 times in the execution shell script of task 2, and save it. Finally, parameterize the construction task 1, or print the option 10 times. This time, check option3, and you can see that the link of the sub-item test_write appears in the interface:
Build task 1, the parameter option is option3, then the output of task 1 is:
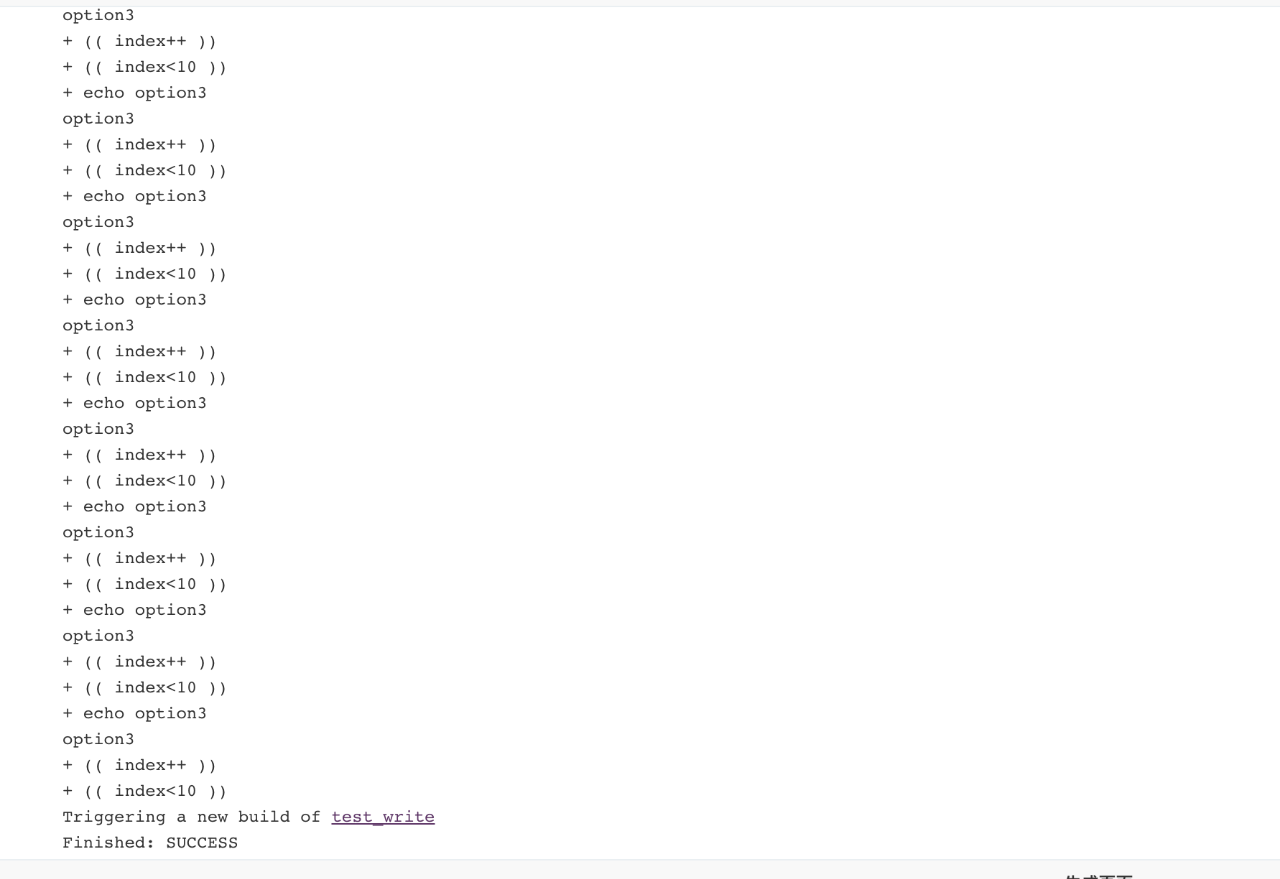
Then click into test_write and find that a construction project has just been completed:
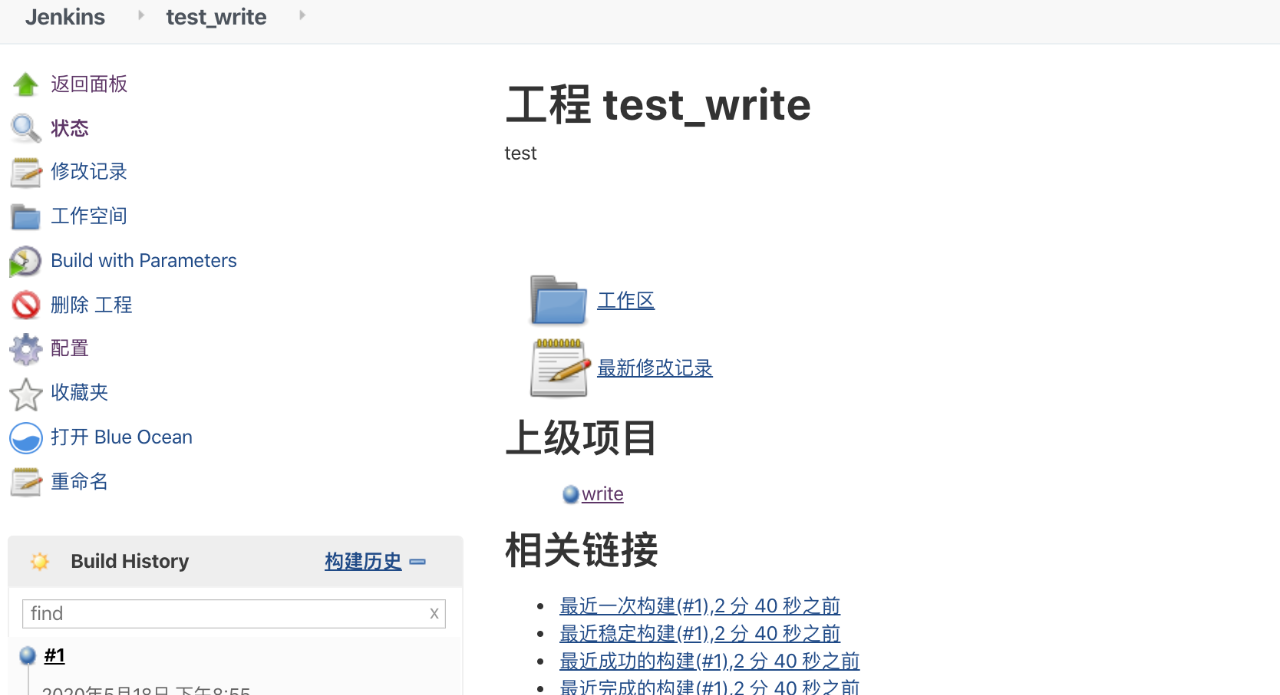
Click to view the console output of this project:
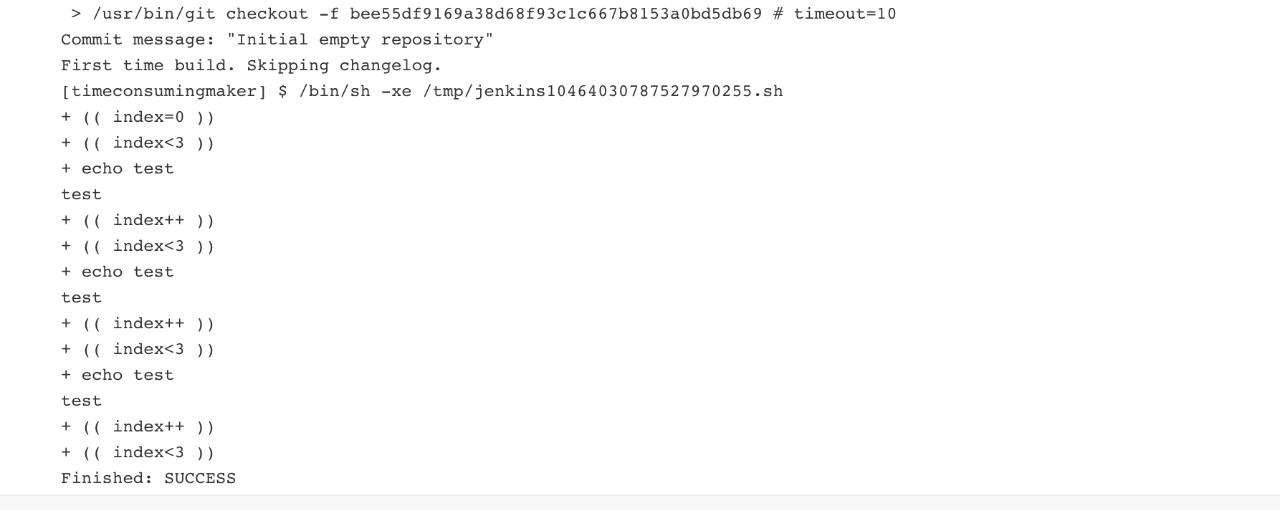
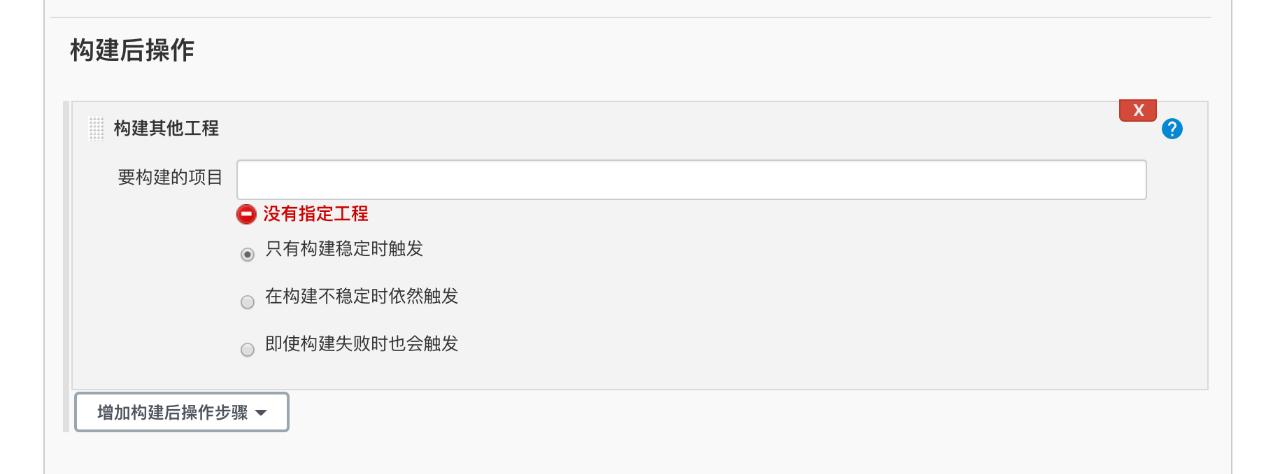
Task 2 printed test 3 times normally, indicating that task 1 successfully triggered task 2 and was built normally. There is more than one way to trigger without parameters. It can also be completed by adding post-build operations in task 1 - building other projects - filling in the project to be built, as shown in the figure below. The principle is similar to the above, so I won't repeat it here.
3. Jenkins parameterized trigger
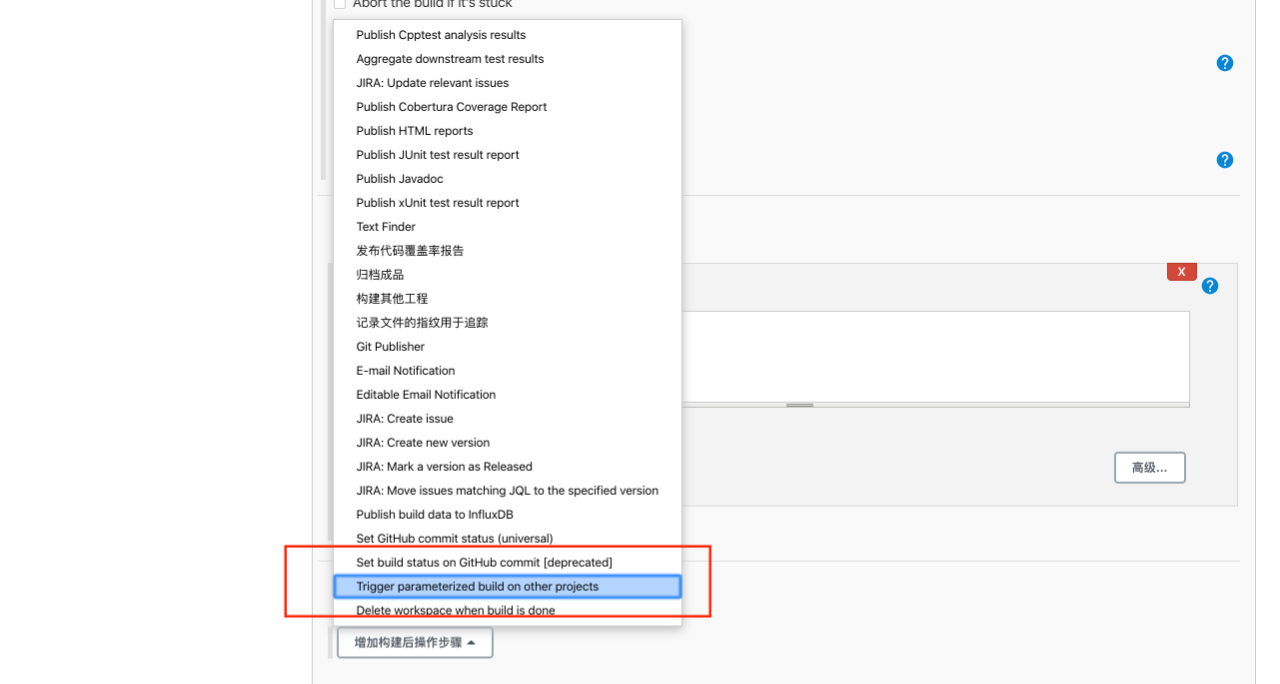
When there are parameters in task 1 that need to be passed to task 2 after construction, in order to realize the construction with parameters, a Jenkins plug-in: Parameterized Trigger is needed. Readers can install it by themselves. After the installation is successful, in the post-build operation option of the project You can see that there is one more Trigger parameterized build on other projects option:
Still take the write task as task 1 and the test_write task as task 2 as an example to explain.
1. In task 1, save the parameters in execution to the properties file.
Because the variables will be recycled after the terminal shell is executed, it is not possible to pass the variables directly to task 2. It needs to be written into a file and then in the form of a file. To transfer, add the following code to the execution shell code of task 1:
echo "PARAM_NAME=$Param" > profile.txt
PARAM_NAME represents the parameters to be passed to task 2, as shown in the figure:

2. Add post-build operations in task 1
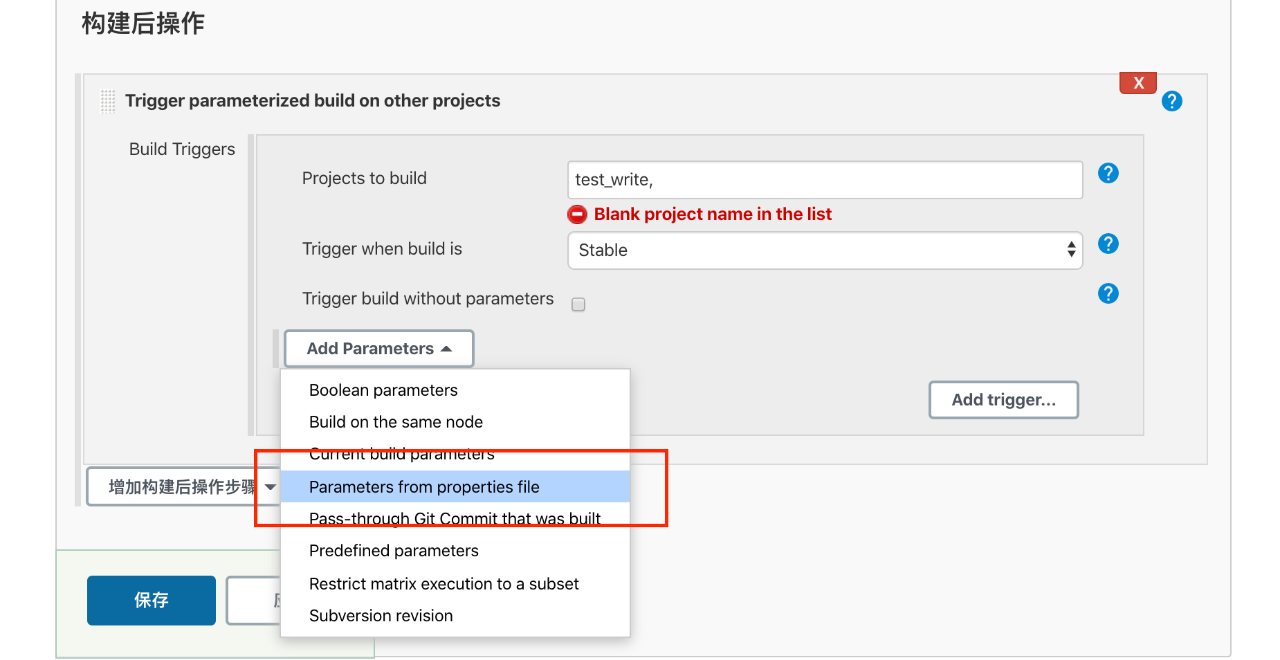
In the post-build operation in task 1, select Trigger parameterized build on other projects, then fill in test_write in the project name, and select Parameters from properties file in the Add Parameters option:
Add the path of profile.txt in Use properties from file. Note that you must fill in the absolute path of the profile.txt you saved on the server here, otherwise it will prompt that it cannot be found (important!!!).
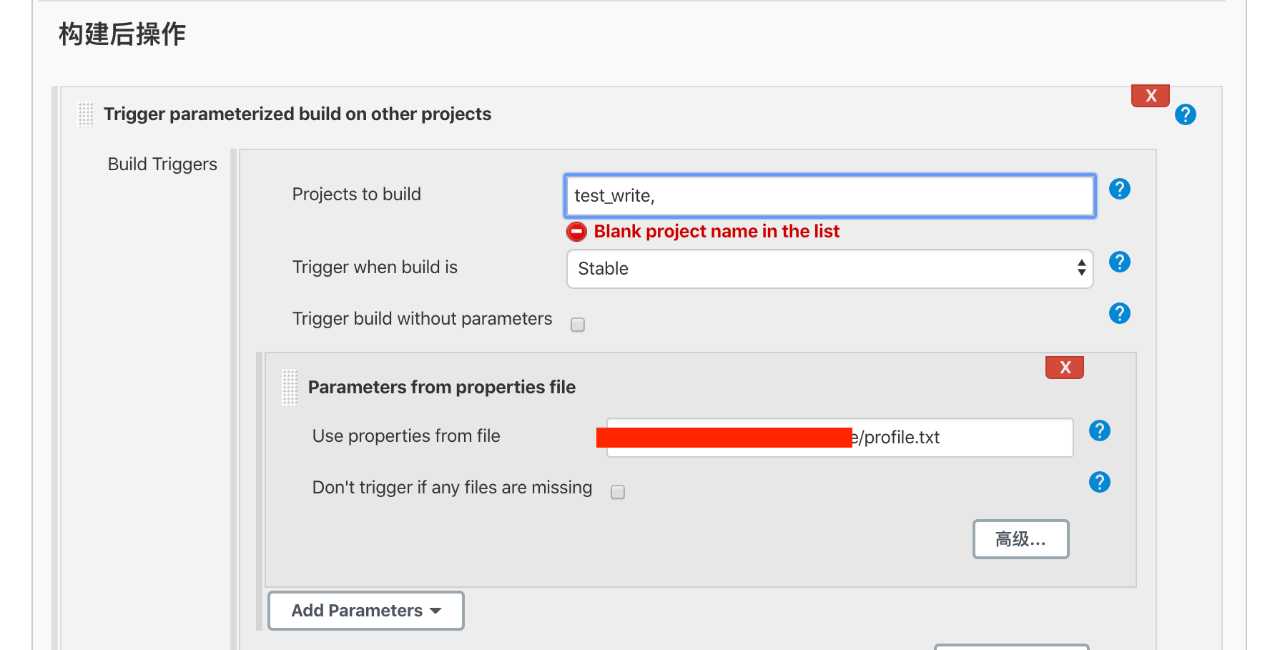
Then click Save.
3. Add build parameters in task 2
Pass the parameter PARAM_NAME defined in the properties file of task 1 to task 2, then PARAM_NAME is the construction parameter of task 2, define it as a character type, and print this parameter three times in the execution shell.

Task 2 executes the shell code:
for((index=0;index<3;index++));
  do
    echo ${PARAM_NAME}
  done
Then click Save.
4. Test whether the build is successful
So far, the parameterized triggering process from task 1 to task 2 is completed. At this time, open task 1, parameterize and build task 1, and select option2 to test:

We expect task 1 to print option2 10 times and pass the value to task 2 through the PARAM_NAME saved in profile.txt, and trigger task 2 to build, and finally print 3 times in task 2:
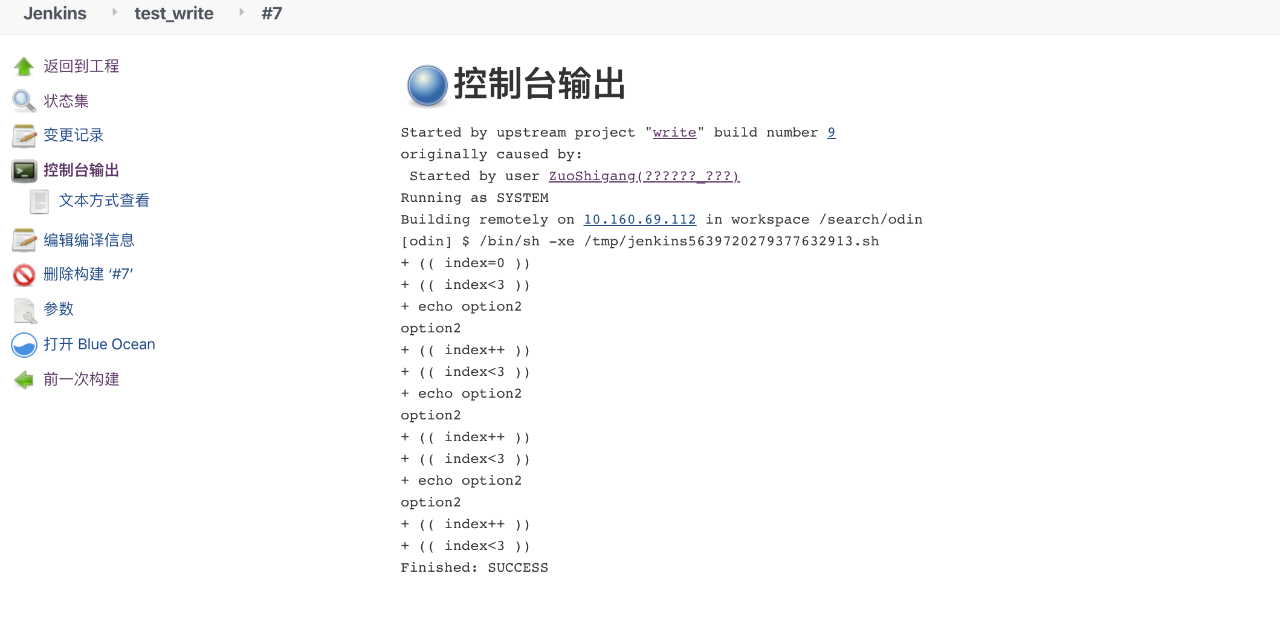
As shown in the figure, it means that task 2 has been successfully triggered by task 1 with parameters.
Finally: The complete software testing video learning tutorial below has been sorted out and uploaded. Friends can get these For [software testing] friends, it should be the most comprehensive and complete preparation warehouse. This warehouse is also Accompany tens of thousands of test engineers to go through the most difficult journey, and hope to help you too!【保证100%免费】
软件测试技术交流群社:746506216(里面还有工作内推机会,毕竟我们是关系社会。)
Software Testing Interview Documentation
We must study to find a high-paying job. The following interview questions are the latest interview materials from first-tier Internet companies such as Ali, Tencent, and Byte, and some Byte bosses have given authoritative answers. Finish this set The interview materials believe that everyone can find a satisfactory job.
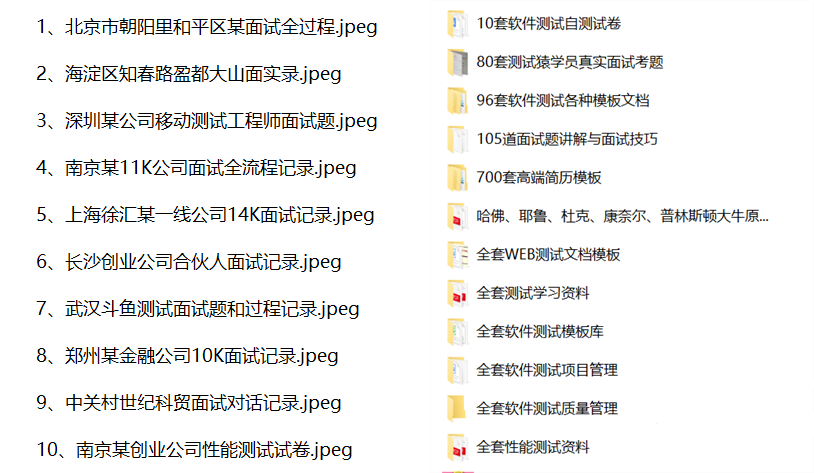
How to obtain interview documents: