The author of this article is a complete and detailed tutorial for reinstalling after uninstalling, including detailed configuration of environment variables and solutions to common errors
1. Node.js installation and environment variable configuration
1.node.js download (including domestic and foreign download addresses)
1. Foreign official website address: Node.js (nodejs.org) is slow to download, and the domestic address is provided below.
It can be seen that the current version LTS is the stable version used by most users, Current is the latest version, and the stable version (18.15.0) is selected here
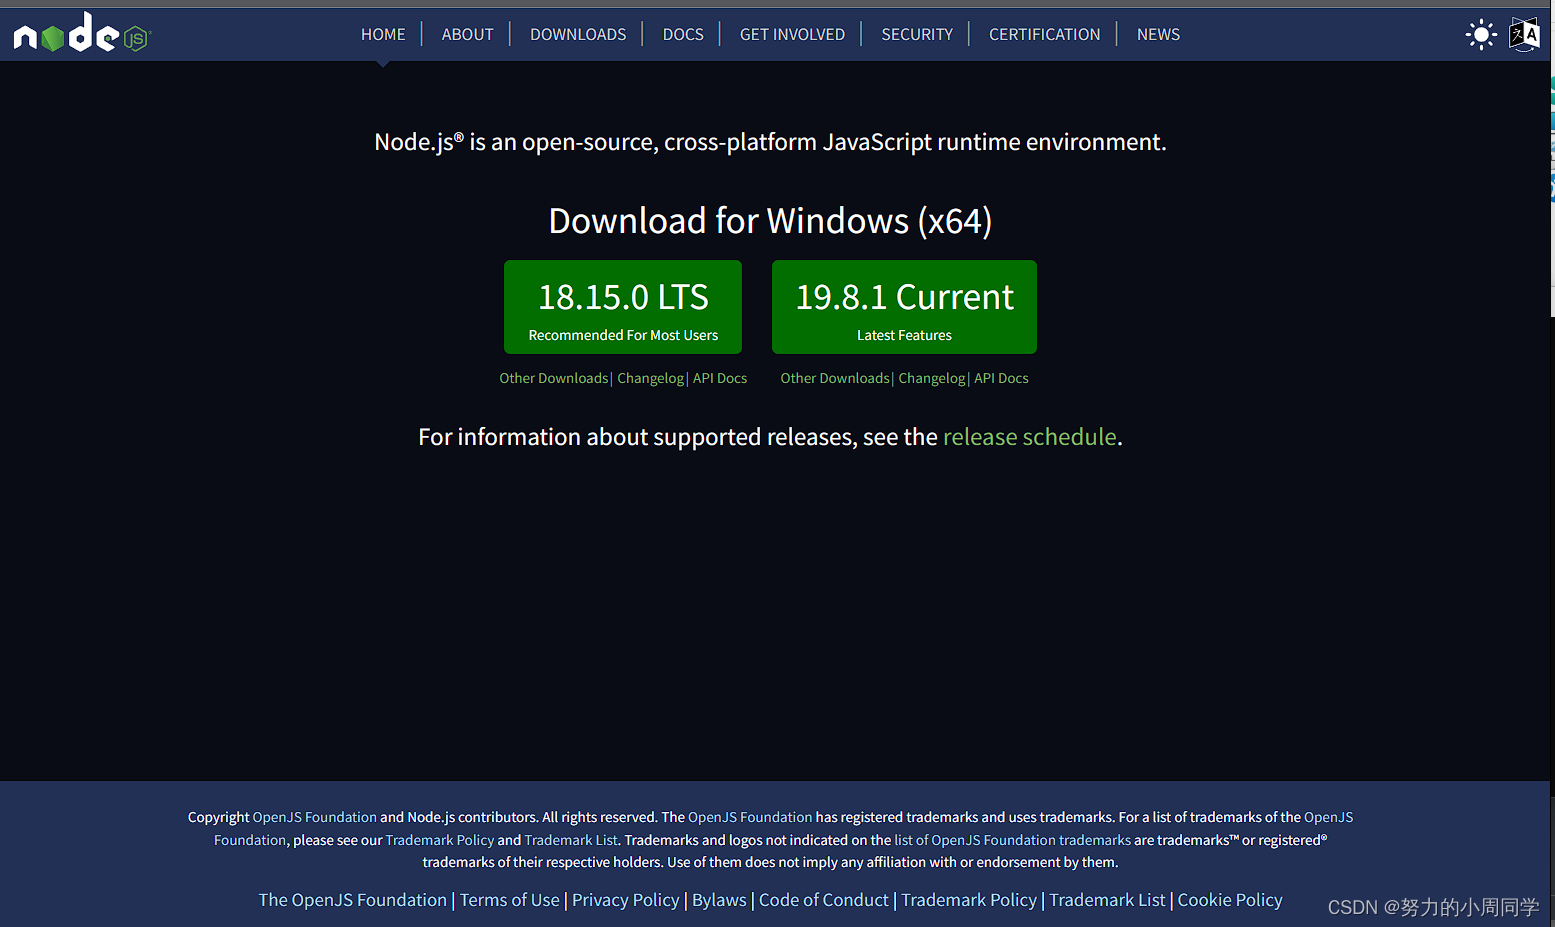
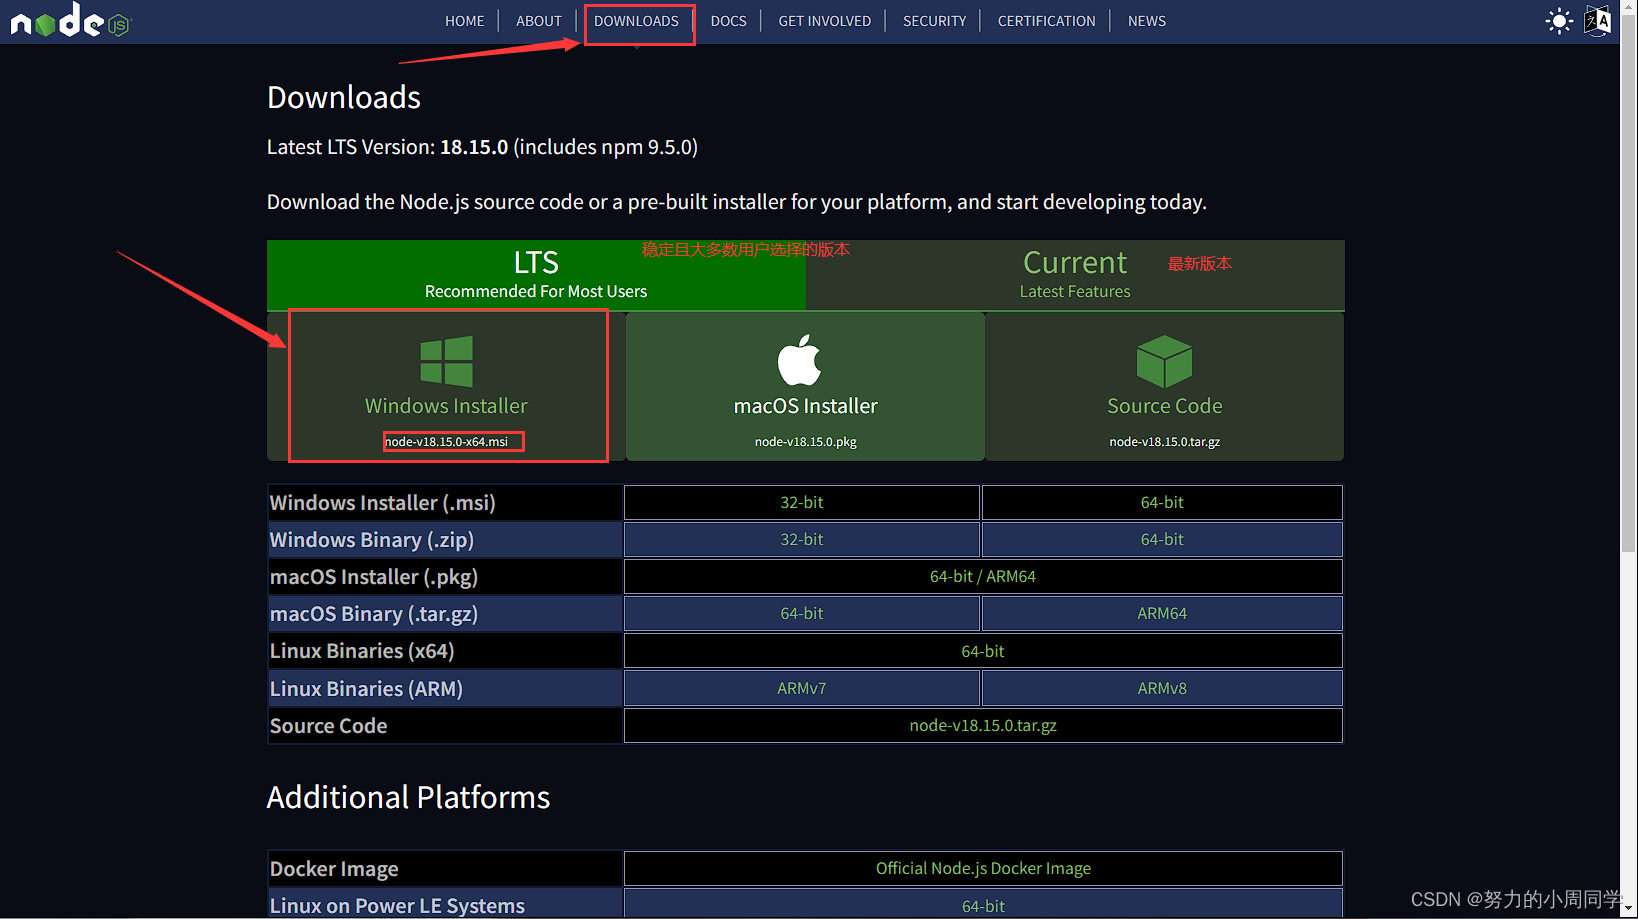
Click Downloads as shown in the figure below to download node.js
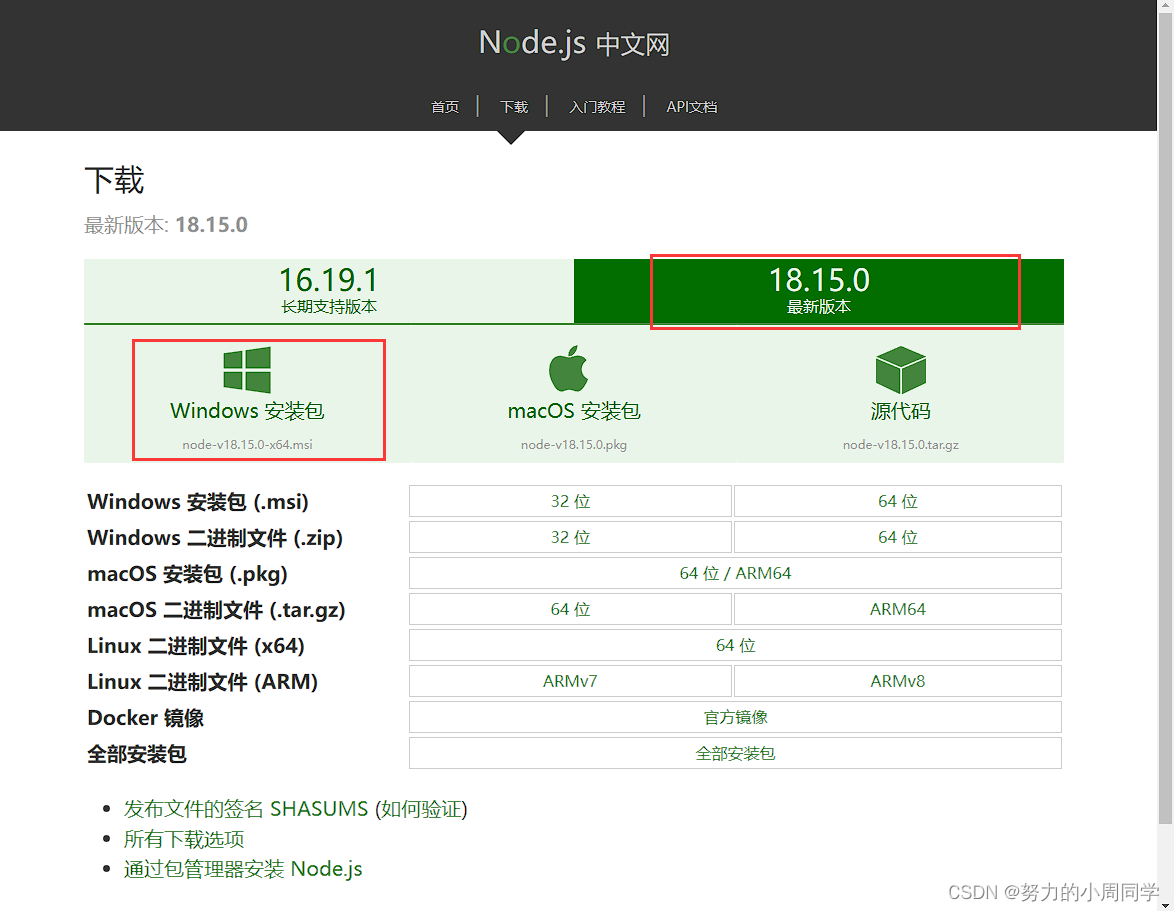
2. Domestic download address: Download | Node.js Chinese Network (nodejs.cn)
Click the latest version, click the Windows installation package to download and install, as follows
2. Node.js detailed installation steps
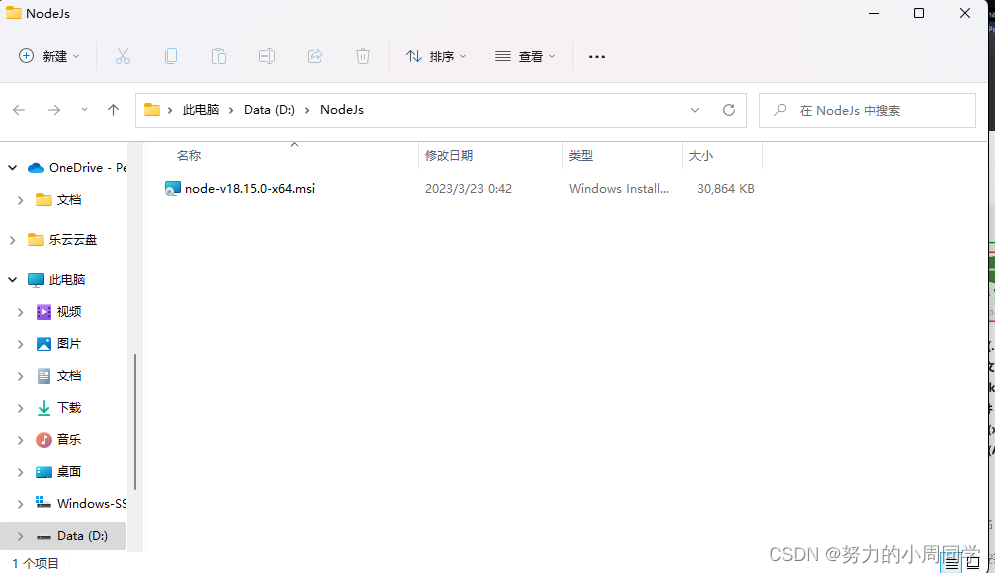
Open the installation package under the folder where you downloaded and installed, and double-click to install it
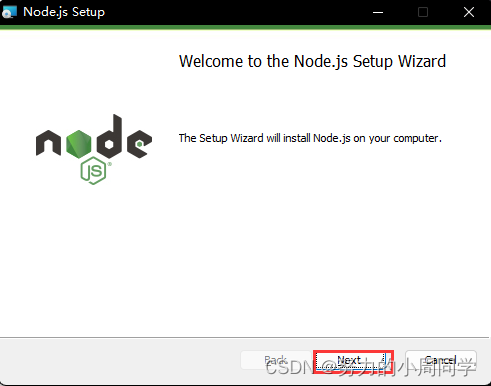
click next next step
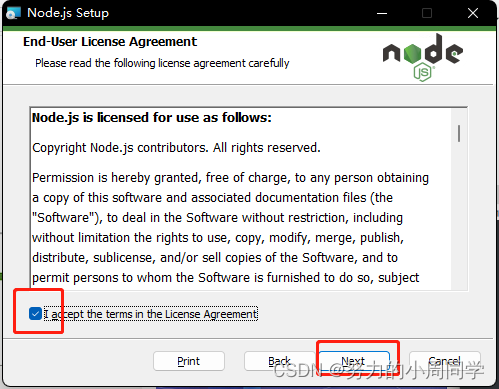
Check and click next
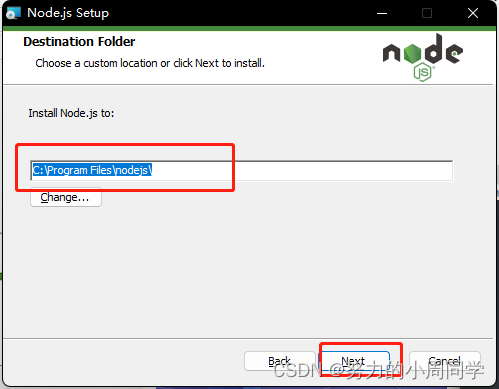
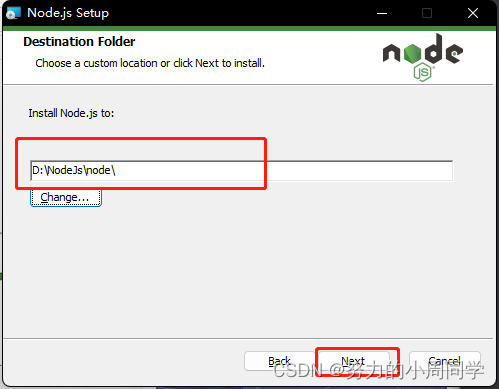
It is best to select the installation location in English, mine is D\NodeJs\node\, and then click next
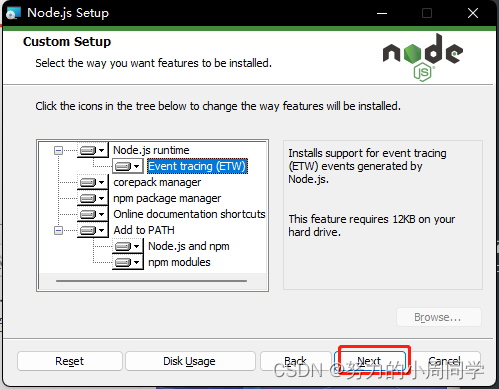
click next
As shown in the picture below, do not check! Do not check! Do not check! Direct next
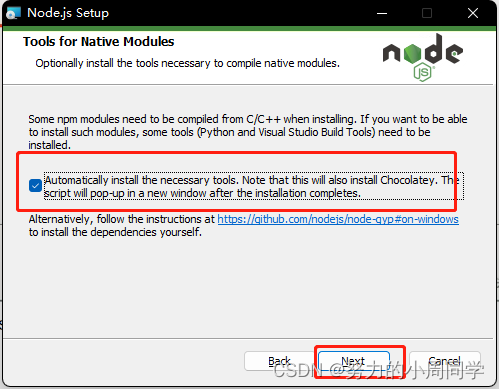
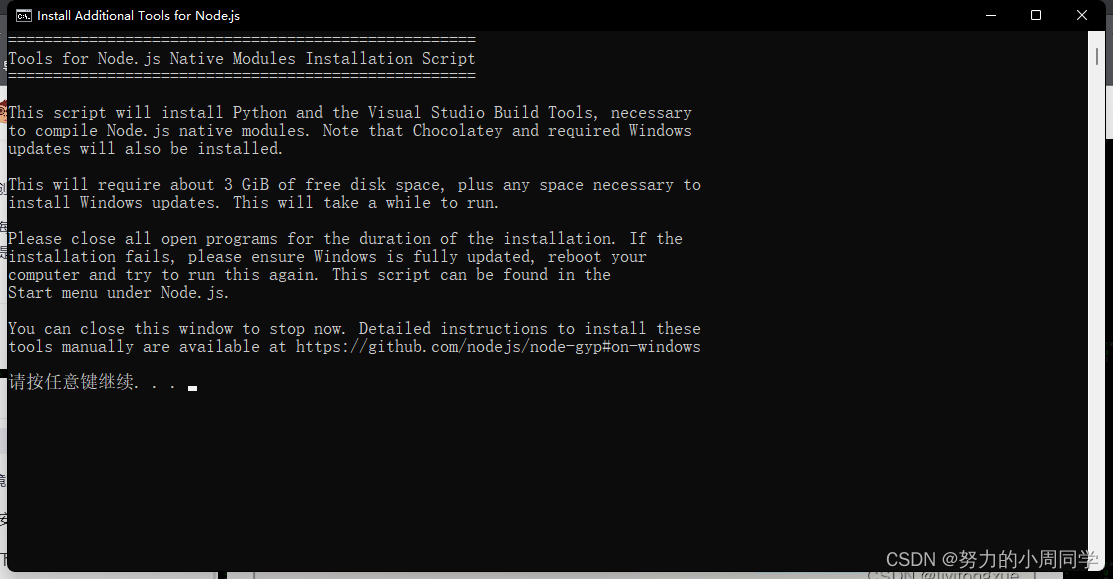
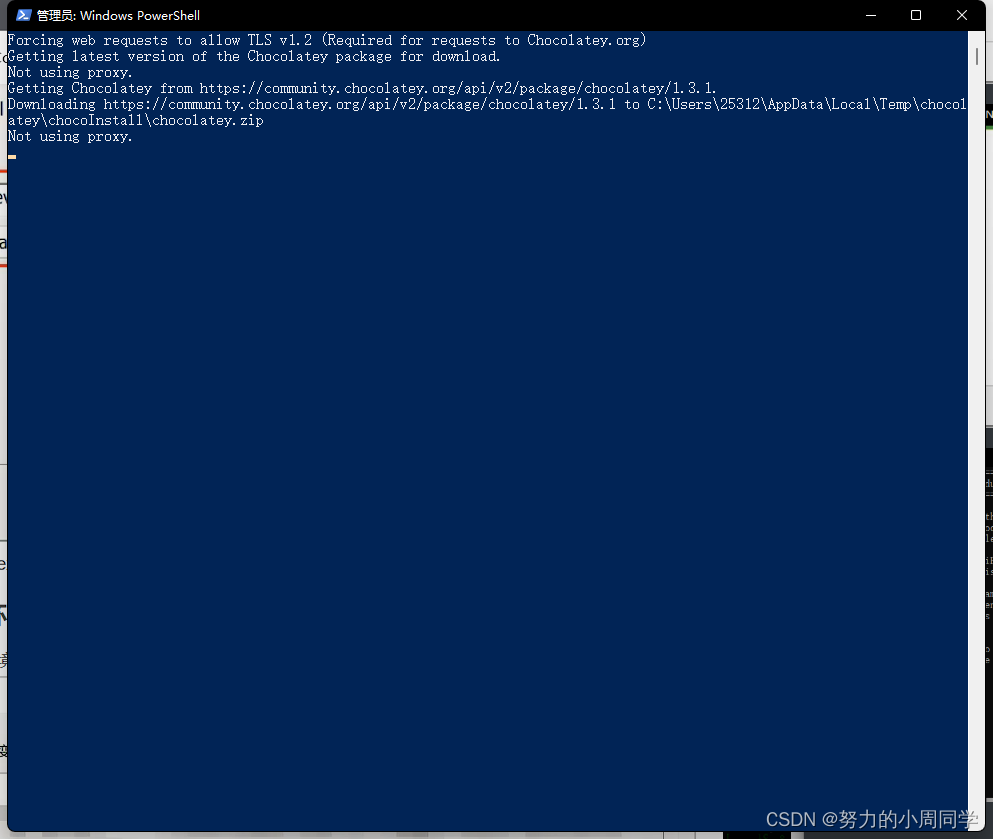
If checked, such an interface will appear after the download is complete.
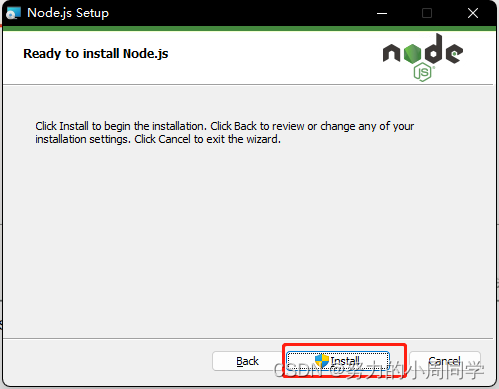
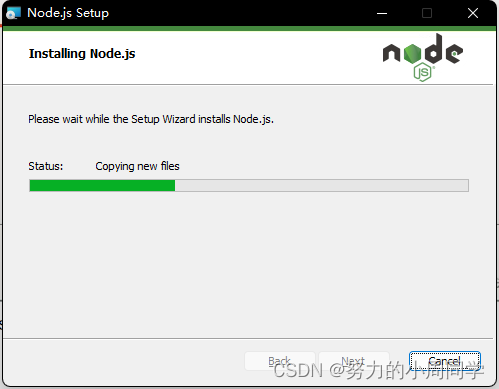
7. Click install install
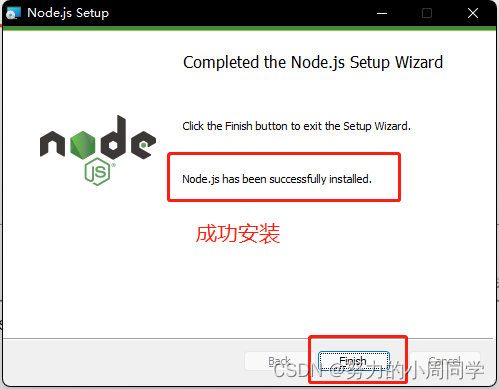
8. Complete the installation, click Finish
3. Configure environment variables in detail
Find the environment variables of the computer, this is Windows11 system
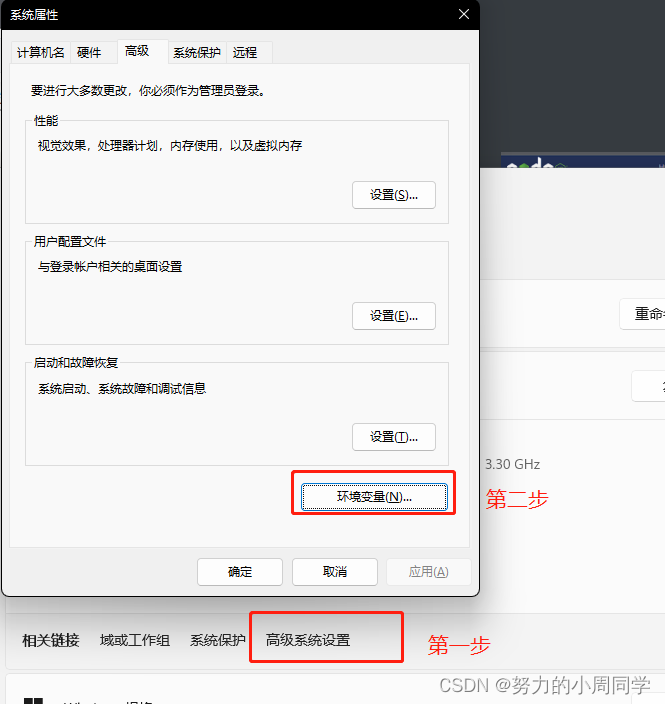
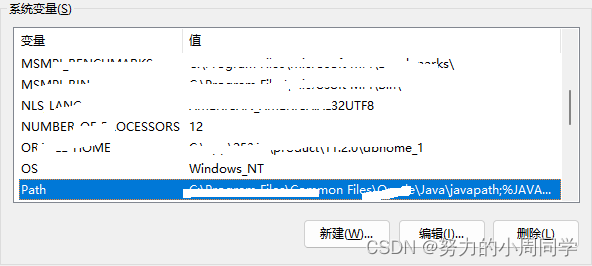
2. Enter the environment variable, edit the variable [Path] under [System Variables], and click Edit
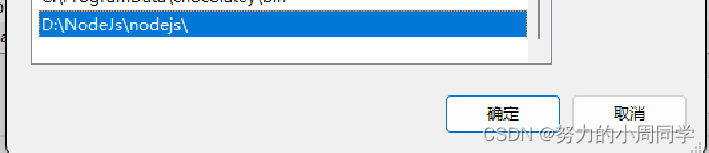
3. Add the installation path mine is D:\NodeJs\nodejs\
2. Verify that the installation is successful!
1. Enter the cmd command line window, right click to enter the administrator mode, enter the command, and view the nodejs version
node -v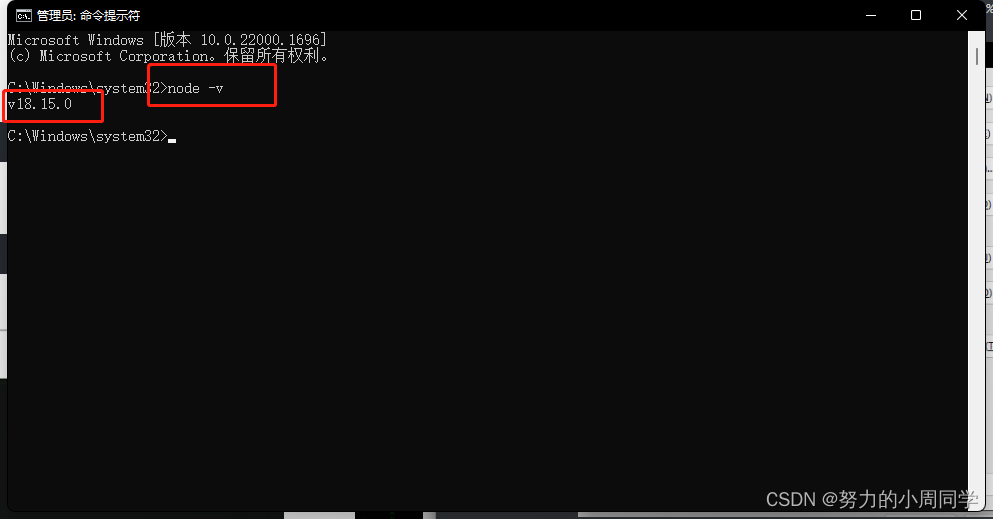
2. Check the npm version as shown in the figure below, which means the installation is successful:
npm -v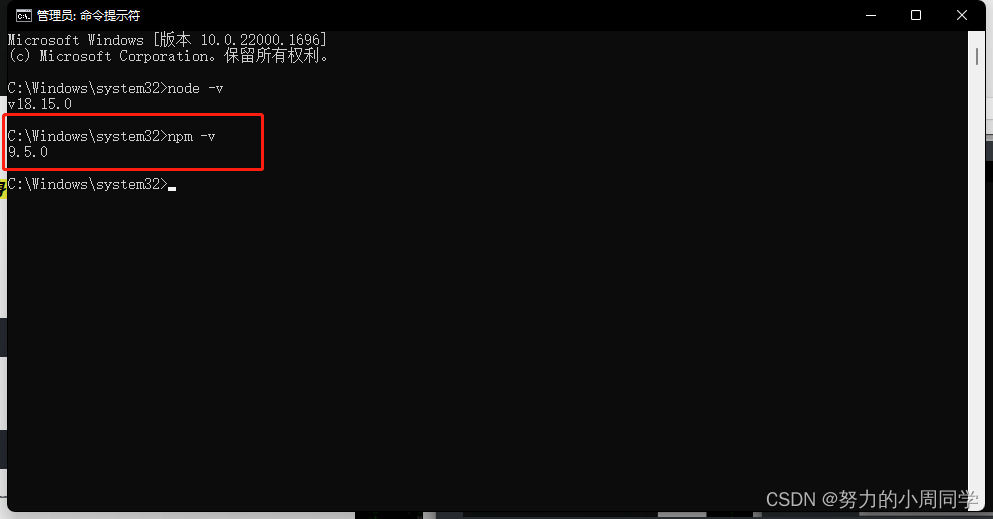
3. Modify the download location
1. View the default storage location of npm
View the storage path of npm global modules
npm get prefixView the default storage path of npm cache
npm get cache
如上图所示,npm 全局模块存放位置以及cache的存放位置,默认是在 C 盘 “C:\Users\用户\AppData” 下。
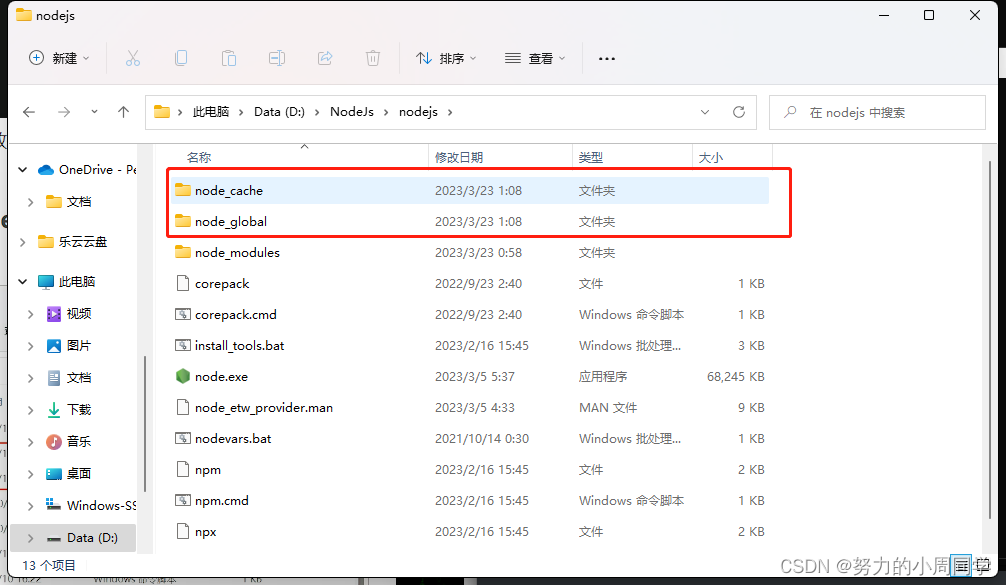
2.在 nodejs 安装目录下,创建 “node_global” 和 “node_cache” 两个文件夹
3.修改默认文件夹
设置全局模块的安装路径到 “node_global” 文件夹 npm config set prefix 命令
npm config set prefix "D:\NodeJs\nodejs\node_global"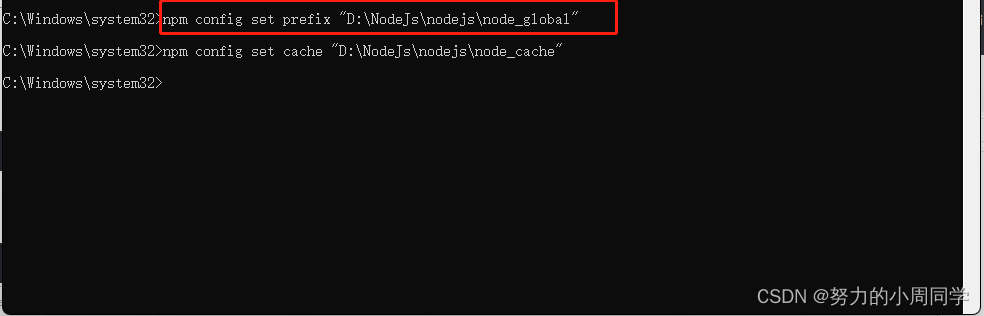
设置缓存到 “node_cache” 文件夹 npm config set cache 命令
注意看路径不要写错了喔!!!
npm config set cache "D:\NodeJs\nodejs\node_cache"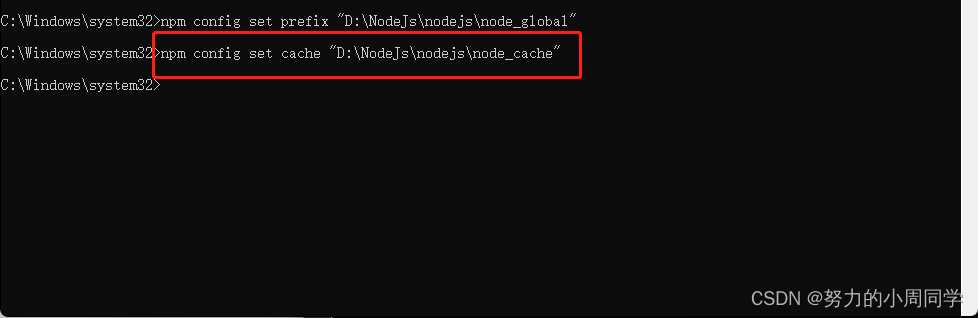
在系统变量的环境变量中配置node_global 的路径,方便执行命令

4. 查看是否修改成功
使用命令
npm install express -g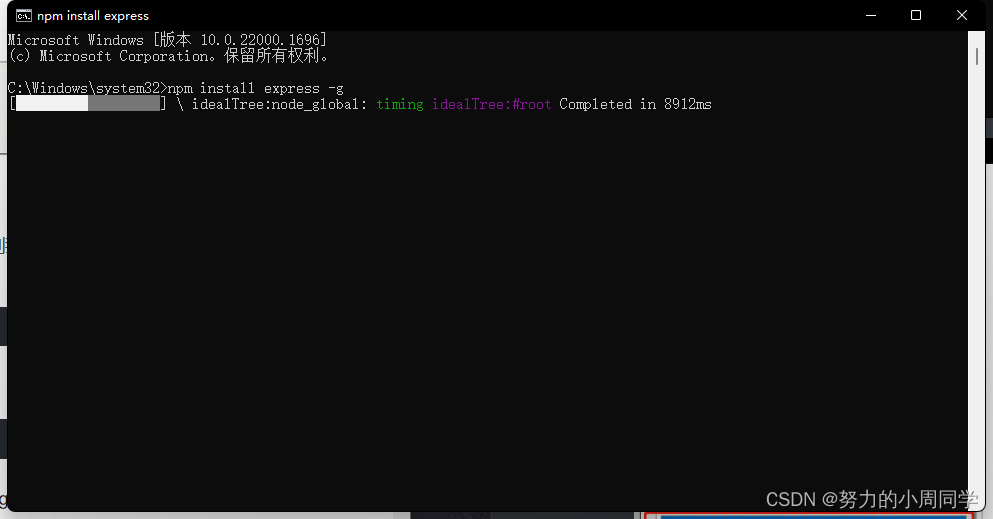
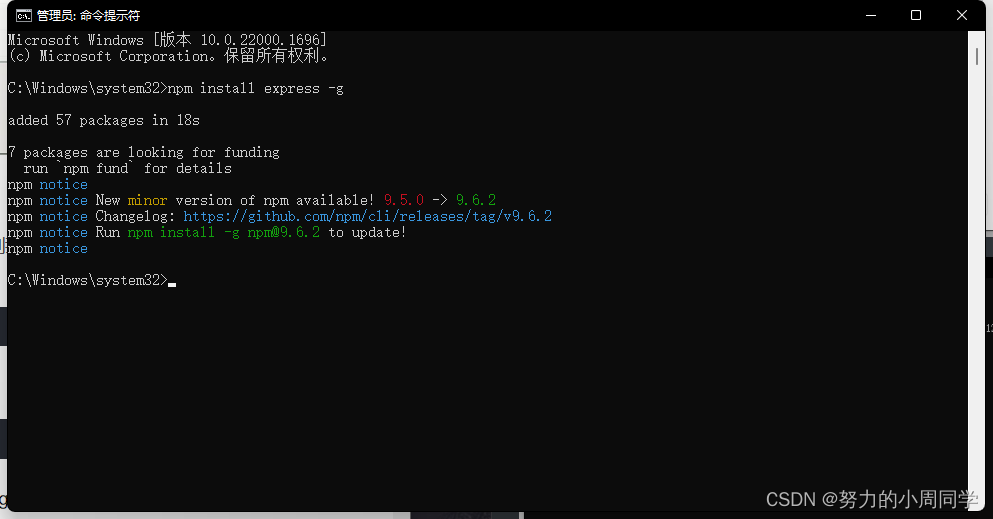
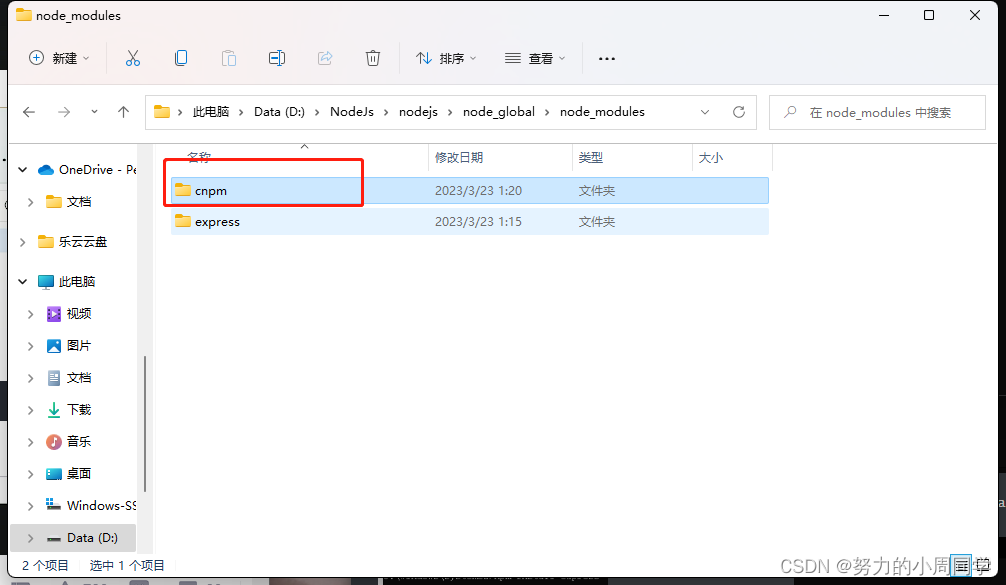
如上图所示,下载express模块成功,然后在文件管理器中查看是否保存到上面自定义的路径下。
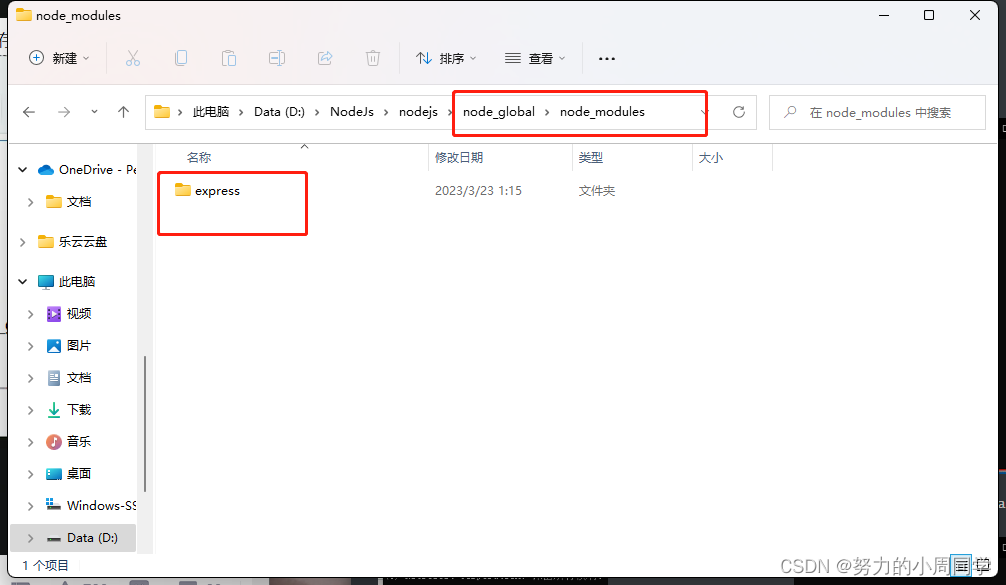
到这里就已经修改成功了
四、设置淘宝镜像
1.将npm默认的registry修改为淘宝registry, 查看当前的镜像
npm config get registry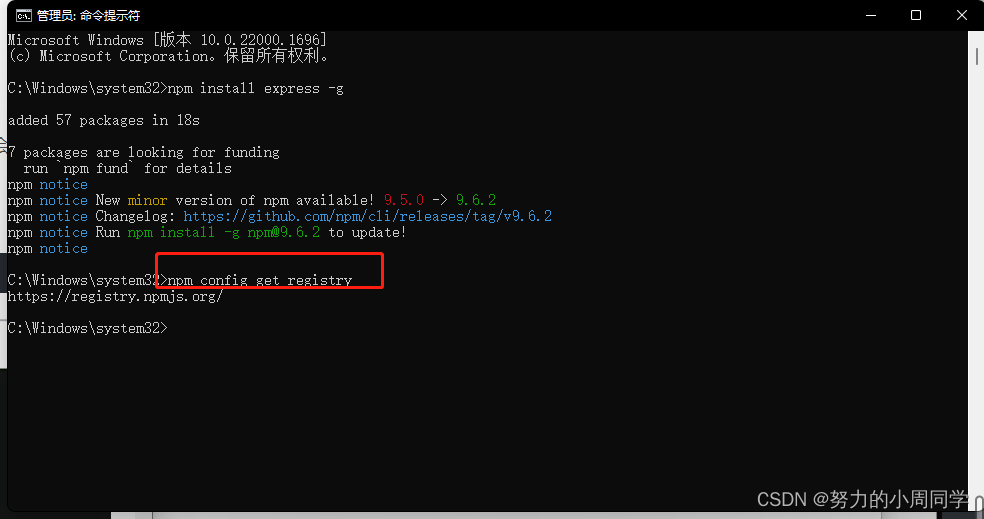
设置淘宝镜像
npm config set registry https://registry.npmmirror.com/npm config set registry https://registry.npm.taobao.org/ //即将停止解析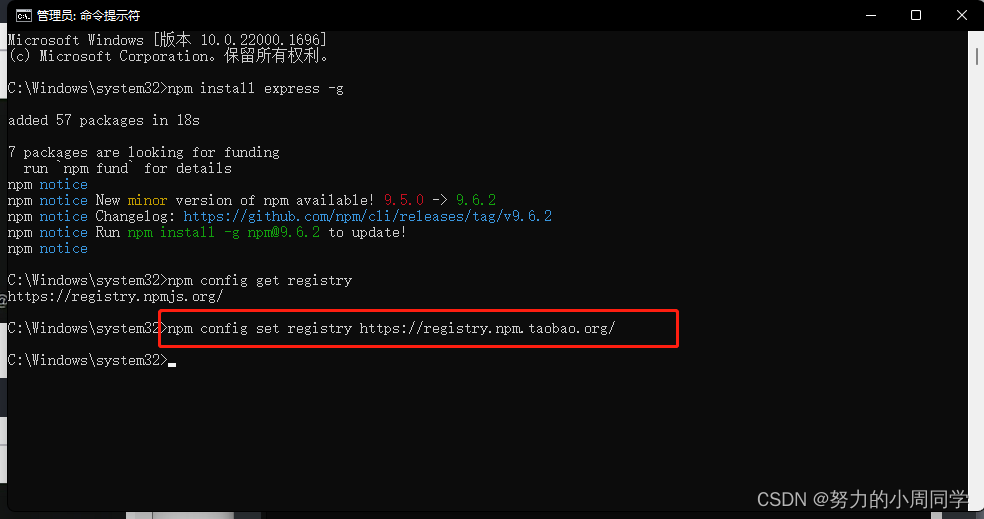
3. 执行npm config get registry查看当前的镜像
npm config get registry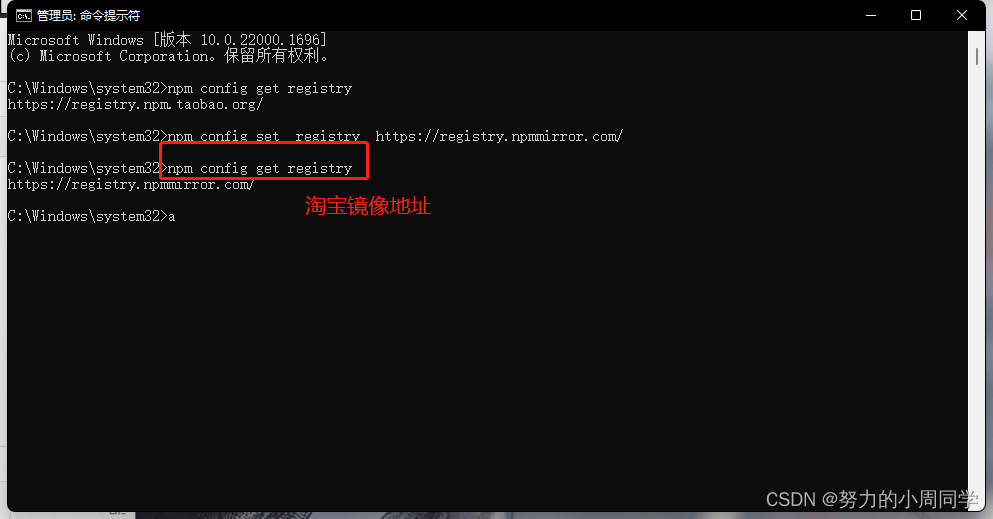
如上图所示,npm默认的registry已修改为淘宝镜像
安装淘宝源cnpm
已更改至最新
npm install -g cnpm --registry=https://registry.npmmirror.com 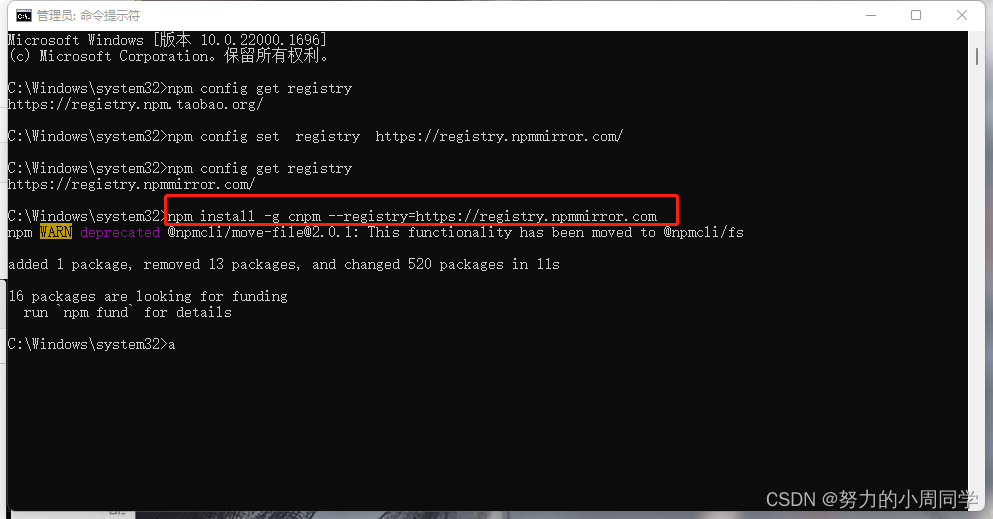
5. 查看cnpm的模块是否安装成功在本地
执行命令查看cnpm模块
cnpm -v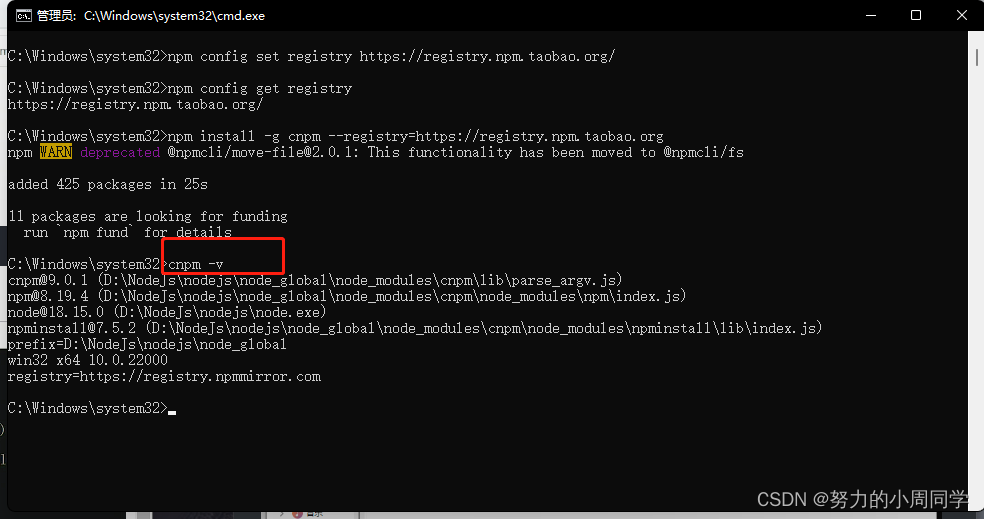
到这里就已经安装完毕.
如果遇到安装完cnpm时出现不是内部或外部命令,也不是可运行的程序。需要重新打开cmd才能正常安装。
五.卸载
如果需要卸载看另一篇博客:
文章地址: http://t.csdn.cn/JpI25