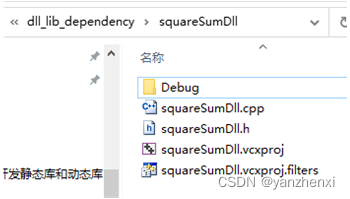
Create a dynamic library project add, empty project, solution name is dll_lib_dependency
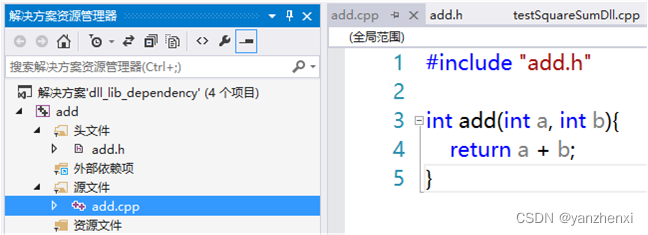
Add header and source files

Select the project, right-click -> Generate, you can see that the dynamic library has been generated

As you can see, the add function has been exported

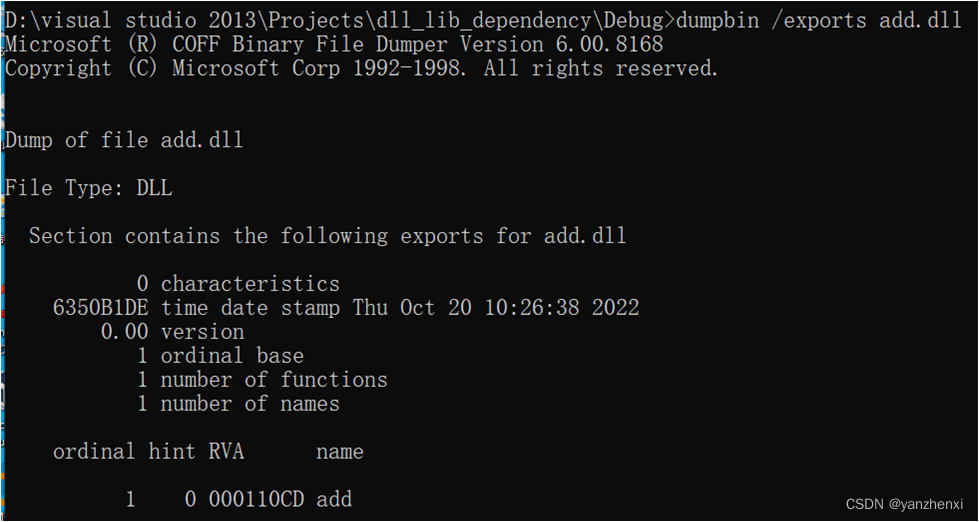
You can also use the command dumpbin /exports add.dll to view the exported functions
You can also use the command dumpbin /headers add.dll to view the relevant information of the dynamic library, as shown in the figure below

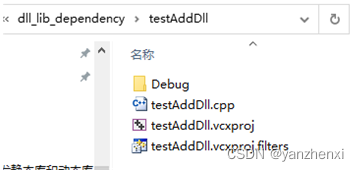
Then add a new project testAddDll in the solution, and only add one source file in the project to test the dynamic library add.dll
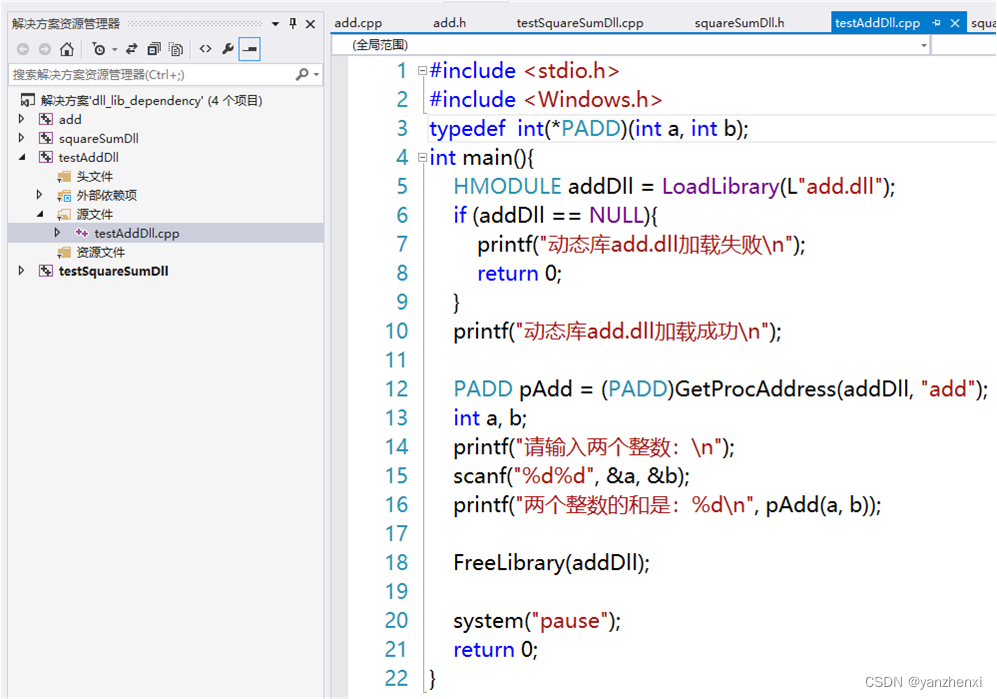
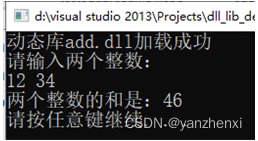
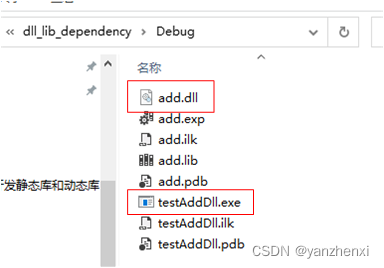
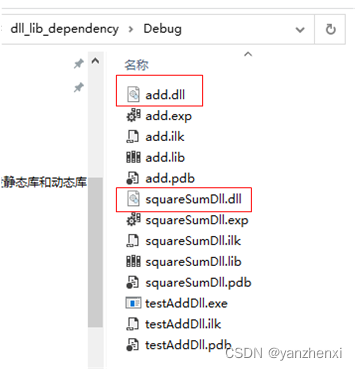
When running, it should be noted that the dynamic library add.dll does not need to be placed under the project testAddDll, but under the Debug directory of the project solution, that is, under the directory where the executable file is generated, and the same directory as testAddDll.exe . Because the projects in the same solution, the generated libraries and executable files will all be generated in this directory, so there is no need to specifically move add.dll to this directory.
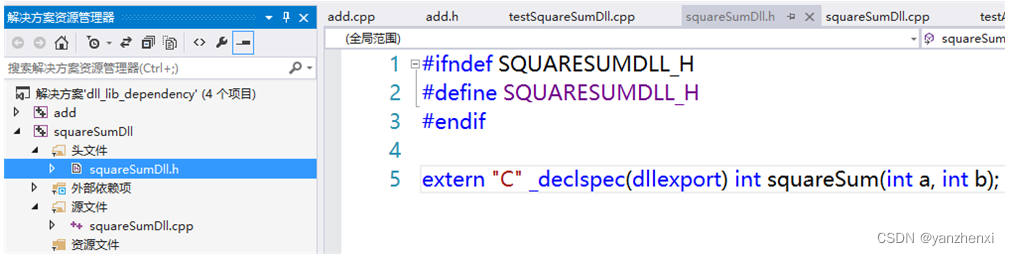
Next, create a dynamic library squareSumDll.dll. Under the solution dll_lib_dependency, add a new project squareSumDll, still choose a dynamic library and an empty project. Add header and source files.

It is not necessary to put add.dll in the project directory, just put add.dll in the directory where the executable file exe is generated. Select the project, right click - "Generate, you can find that the dynamic library has been generated
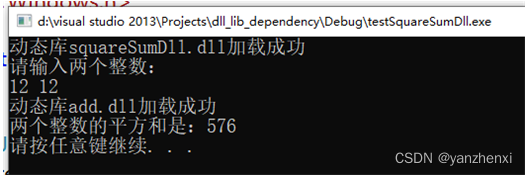
In the solution, add a project testSquareSumDll, console application, empty project, add source code
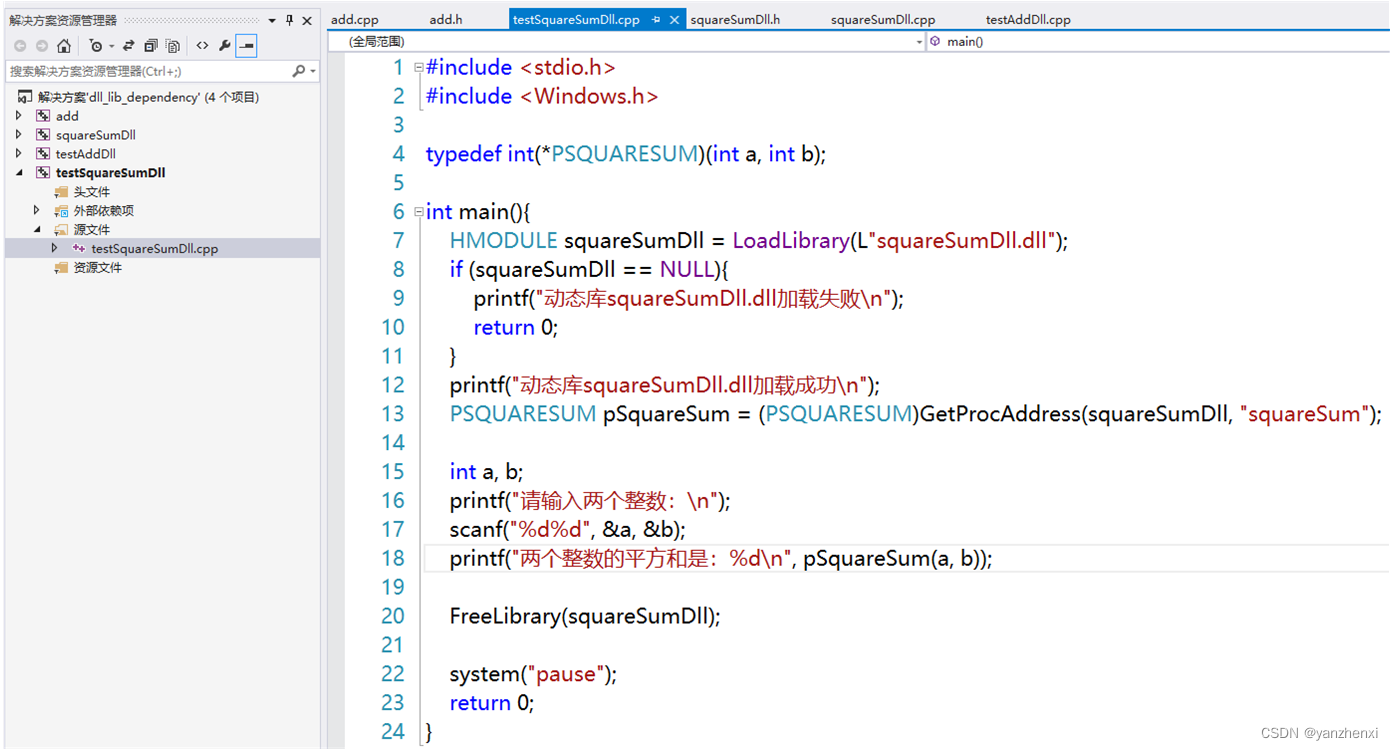
Select the project, right click - "debug -" add a new instance, run the project