Broken thoughts:
I'm sorry that I've been busy with my studies recently, and I've been busy with some tests, so I didn't fill in the pits on time. What I bring today is the Android application behavior detection demo that needs to be completed based on the requirements of the course project.
Because the configuration of the environment took some time, make a simple record to facilitate subsequent optimization.
Table of contents
1 Introduction and preparation of tools
2.1 Configuration of Yeshen Simulator
1 Introduction and preparation of tools
First, let me introduce the hardware environment. You only need a Windows 10 computer, and my system is 64-bit.
Because it involves Android development, but not everyone has an idle spare machine that can be used for tinkering, so I choose to use the Android emulator to build. Before installation, you need to install and download these things on the computer~
1.1 Camille
This is the core tool. Thank you very much @zhengjim for providing such a convenient and fast tool, but when I saw this project, I couldn’t join the group (sadly
Download address: Frida-based Android App Privacy Compliance Detection Auxiliary Tool

Just click Code---Download ZIP on the upper right to download successfully. After downloading, unzip it to a known location for later use.
1.2 Night Simulator
Official Website: Ye Shen Android Simulator

Download the 64-bit version on the official website and install it. You don’t need to make settings first, and I will talk about it later. But you need to know the installation path yourself to facilitate subsequent work:

1.3 Python
This project needs to use the Python environment (I believe that most students must have an environment in the computer), for the integrity of the article, here is a brief introduction, I personally recommend using Anacoda3 for the configuration of the Python environment.
Installation tutorial: Anaconda 3 detailed installation tutorial
1.4 ADB
Since I have done similar Android debugging before, this part of my computer is configured. If there are students who have related Android projects, I believe they must be familiar with this.
Installation tutorial: Summary of Win10 configuration and installation ADB tutorial
1.5 Frida
Firda It is an easy-to-use cross-level Hook tool, omnipotent Java from layer to Native layer Hook , and a dynamic instrumentation tool that can insert code into the native App memory space, dynamically monitor and modify behavior, native platforms include Win、Mac、Linux、Android、iOS all platforms .
Download link: Releases · frida/frida (github.com)
Click: Show all *** assets

In the browser, press Ctrl+F, search for "server" directly, and find the corresponding version (see the following content for the specific required version).
Notice:
The version that needs to be downloaded here should correspond to the version of the emulator (mainly the number of digits of the system).
If you are using the same version of the Night God simulator as I am, we should be consistent.
I downloaded the following version here:

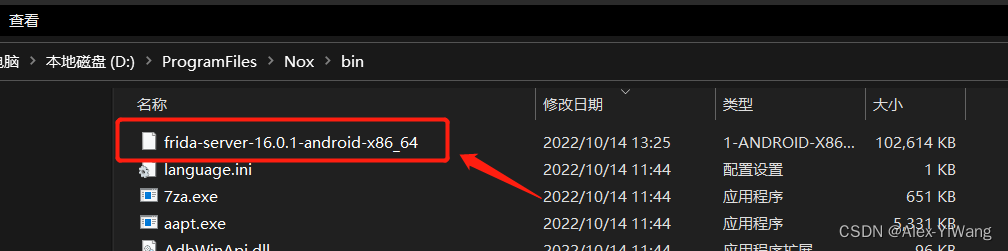
After downloading, decompress it to a suitable location (I recommend directly decompressing it to the bin directory of the Yeshen Simulator), as shown in the figure below, which is convenient for subsequent processing:
2 Environment Construction
2.1 Configuration of Yeshen Simulator
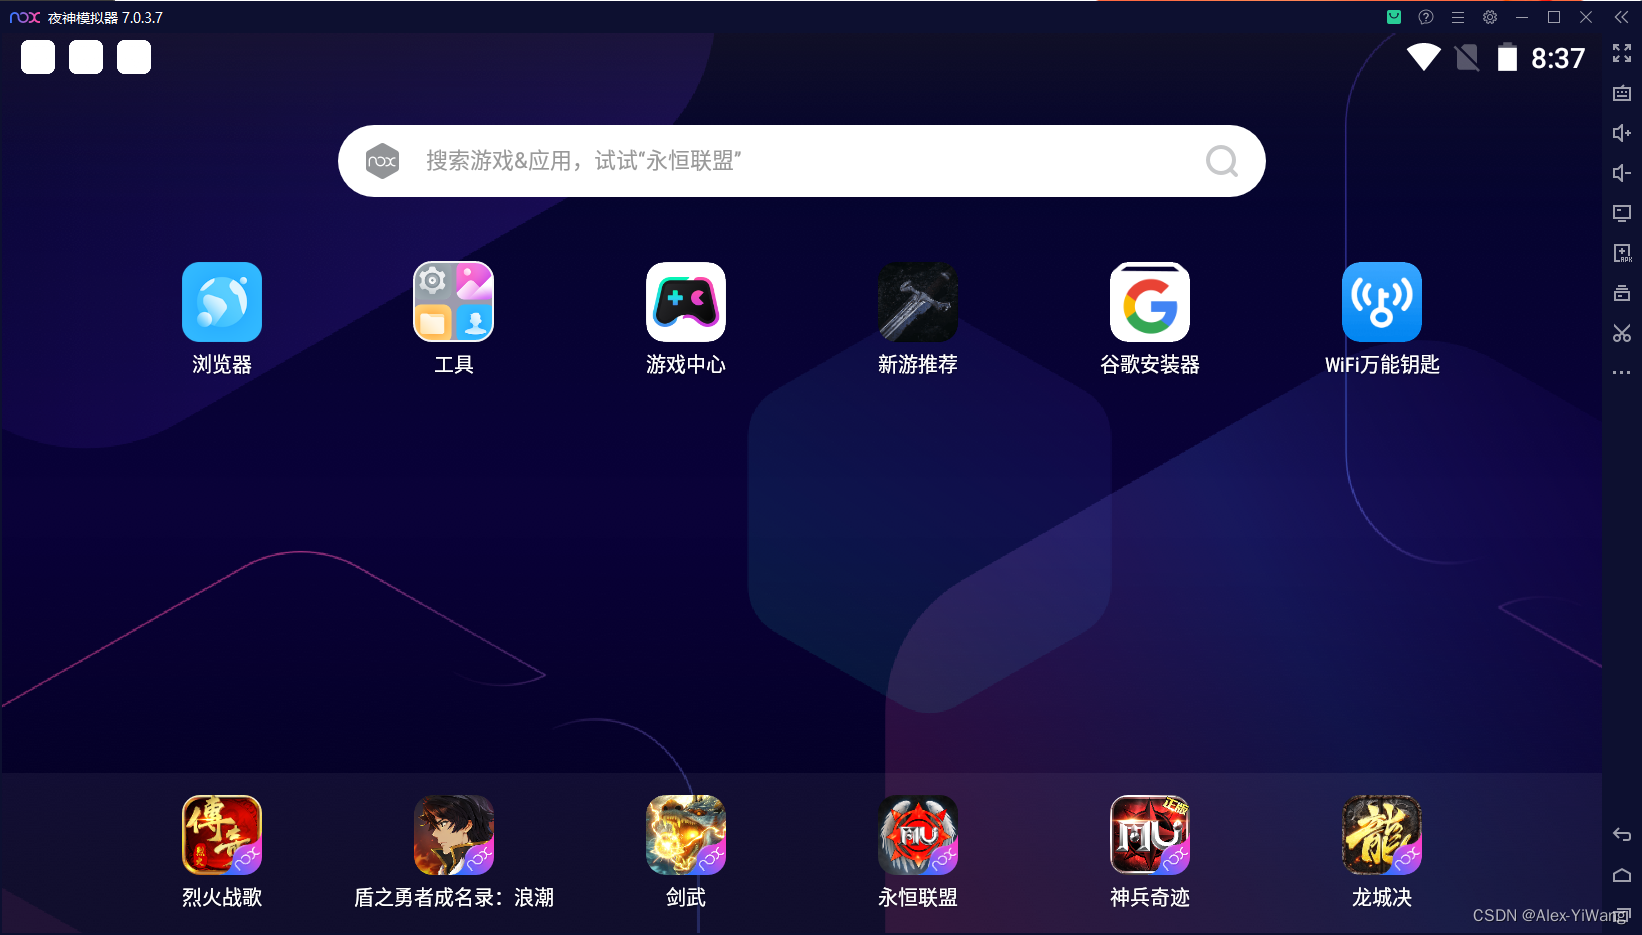
The Yeshen Simulator needs to enable the root authority and USB debugging function. After the installation is complete, open the Yeshen Simulator directly, and you can see such an interface.

1. Open root permission
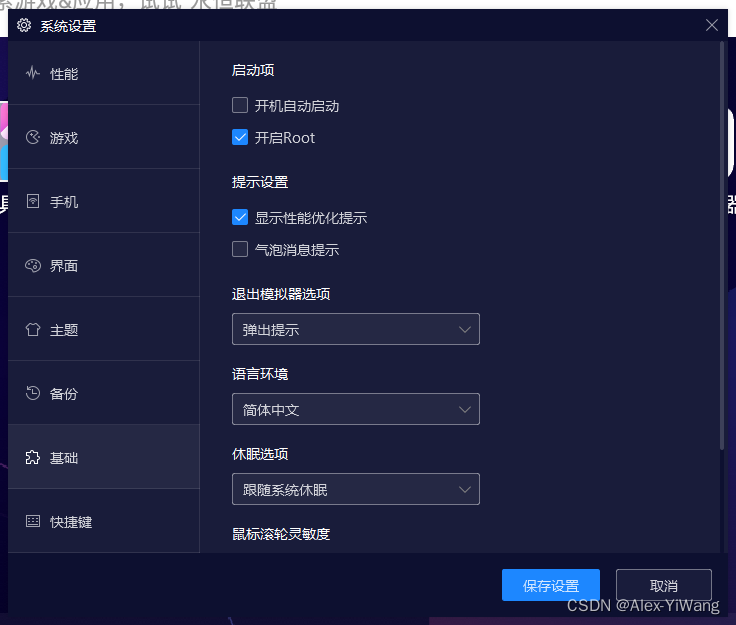
Root permissions can be turned on here (it is turned on by default).
2. Turn on the USB debugging function
- Open the Night God Simulator and enter the settings on the screen (it is the setting of the Android system, not the setting of the Night God Simulator).
- Swipe to the end of [Settings] and enter [About Tablet PC]
- Click [version number] multiple times
- Back to the [Settings] directory, you will see [Developer Options]
- Enter [Developer Options], select [USB Debugging]
The completed effect is shown in the figure below:

At this time, the Night Simulator needs to be closed.
2.2 ADB configuration
For the configuration of ADB, my recommendation is still to follow the Zhihu article mentioned above .
After setting the installation path, the approximate effect is as follows:

As long as the effect is guaranteed to enter ADB in CMD, the version can be displayed, as shown in the following figure:

It proves that the ADB installation is successful. In order to avoid version problems, an overwrite operation is required .
From the D:\ProgramFiles\Minimal ADB and Fastboot path (ADB installation path), copy the adb.exe file to the D:\ProgramFiles\Nox\bin directory (inside the bin folder of the Yeshen Simulator installation path).
Use adb.exe to overwrite the original adb.exe and nox_adb.exe files in the bin directory.
Verify that the ADB of the Yeshen emulator is configured correctly:
1. Enter the D:\ProgramFiles\Nox\bin directory, open the console of the computer, enter nox_adb.exe and nox.exe, and the version number appears successfully.


2. Open the Yeshen emulator, and after entering the Android system, enter: adb devices in the console under the same path; the device of the Yeshen simulator can be displayed, which proves that the installation is successful.

2.3 Configuration of Frida
This step is more critical, and needs to be configured on the Windows side and the ADB side (that is, the Android side) respectively.
1. Windows side:
As mentioned above, use Anacoda3 to install the Python environment, and open Anaconda Prompt in "Start" (you can also use CMD without using Anaconda)
Run the command below:
pip install frida
pip install frida-tools
Install the frida and frida-tools tools separately. After the installation is complete, run the following command to check whether the installation is correct:
frida --versionWhen the version number similar to the figure below appears, it proves that the installation is correct:

2. ADB side:
First, you need to open the Yeshen simulator, and at the same time open CMD in the bin directory, and run the following commands respectively:
1. View the address and port number of the device
adb devices
2. Connect the device
adb connect 127.0.0.1:62001
3. Open the ADB shell
adb shell
Note that if an error is reported here, it may be the first place to check the port number to see if there are multiple devices connected at the same time. You can use adb disconnect + address: port number to delete the incorrectly linked port.
4. Check the Android CPU settings ( very important!! Corresponding to the version of Frida-server in the previous article )
getprop ro.product.cpu.abi
You can see that my version here is x86_64, so what I want to download is: frida-server-16.0.1-android-x86_64.xz
5. At this point, you can close the current CMD, re-open the CMD in the bin directory, and enter the following commands in order to put the decompressed frida-server-16.0.1-android-x86_64.xz file into Android, because we The file has been decompressed to the bin directory, so it is more convenient.
adb push frida-server-16.0.1-android-x86_64 /data/local/tmp3 Test and run
At this point, Camille's test can be implemented. Here I take "WIFI Master Key" as an example to introduce the detection process. For convenience, I have installed the corresponding APP in the Android emulator.
1. Open the Frida service
Keep the emulator open, in the bin directory of Frida, open the CMD window (or use the rest of the above), run the following commands in order, and open the Frida service (you need to keep this window open afterwards).
adb forward tcp:27042 tcp:27042
adb forward tcp:27043 tcp:27043
adb shell
su
cd /data/local/tmp/
chmod 755 frida-server-16.0.1-android-x86_64
./frida-server-16.0.1-android-x86_64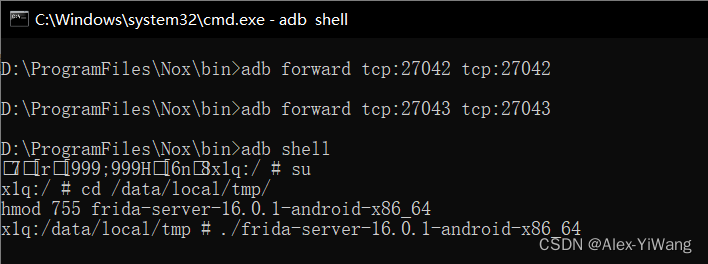
2. View the APP package name that needs to be detected
The operation of Camille needs to know the name of the APP package to be detected, how to know it? Here we need to open a new CMD window in the bin directory and run the following command:
adb shell am monitor
Then open the WIFI master key in the emulator, and you can see the package name:

Here you can see that the package name is: com.snda.wifilocating
You can make a record and use it later.
3. Run Camille
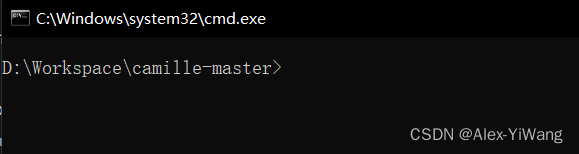
Remember the decompression path of Camille at the beginning, enter this path here, and open a new CMD window:
Next, you can run the instructions of the original project description file separately.
(1) The console displays the detection results:
python camille.py com.snda.wifilocating
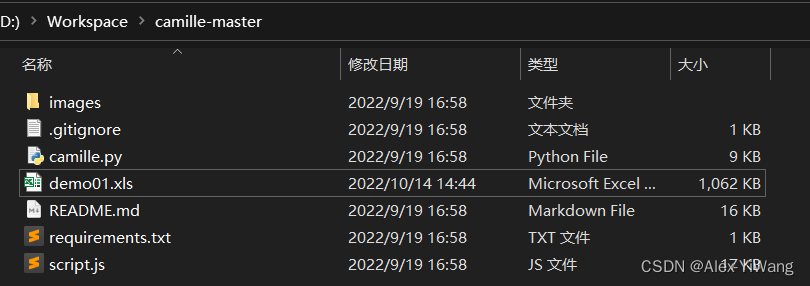
(2) Save the display results to an Excel file (note that the xls file name cannot be repeated after two consecutive saves):
python camille.py com.snda.wifilocating -ns -f demo01.xls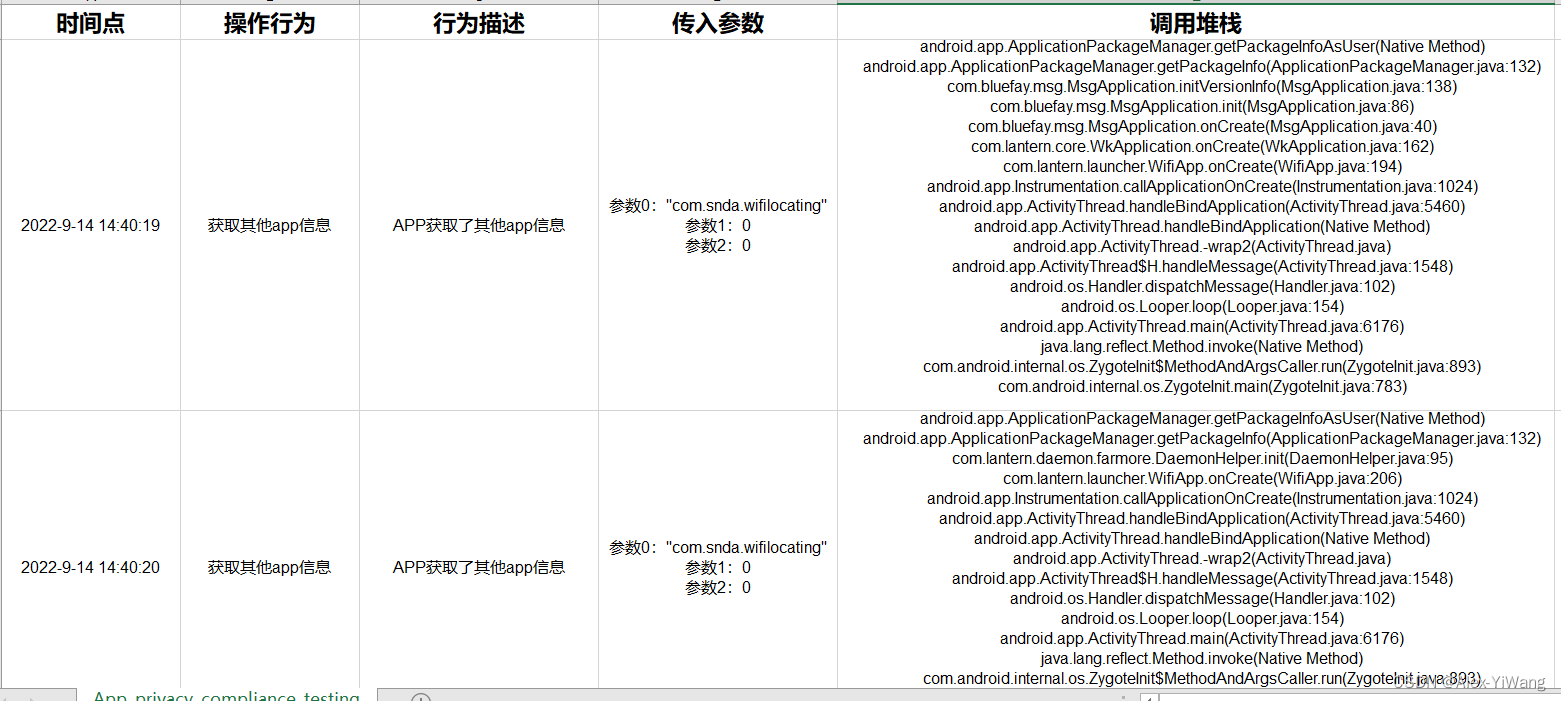
4 Recommended reading
This is the whole content of this issue. If you like my article, don't forget to like + bookmark + follow, and share it with your friends~