1. Compile the kernel
Kernel source code 1, routine source code-"3, punctual atomic Uboot and Linux factory source code-"linux-imx-4.1.15-2.1.0-g8a006db.tar.bz2.
Create a new folder named "alientek_linux" in Ubuntu, and then copy the compressed package linux-imx-4.1.15-2.1.0-g8a006db.tar.bz2 to the previously created alienek_linux folder and decompress it. The command is as follows:
tar -vxjf linux-imx-4.1.15-2.1.0-g0d2381d-v2.4.tar.bz2
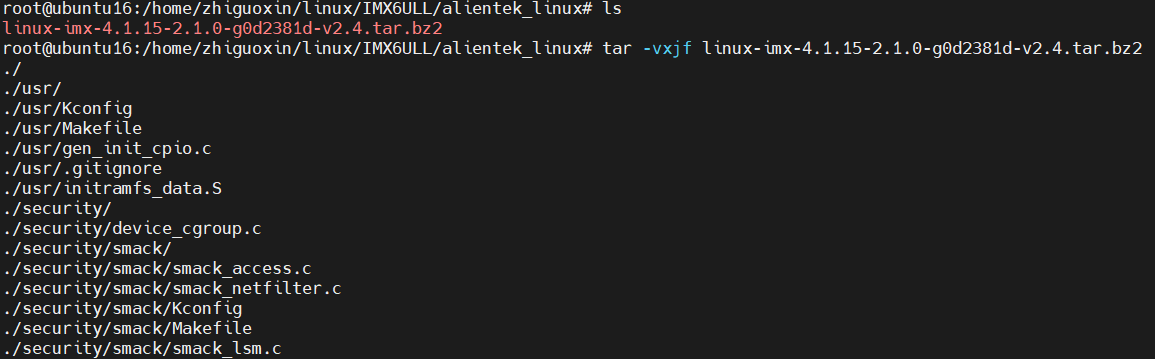
After the decompression is completed, the root directory of the Linux source code is shown in the figure:

Create a new mx6ull_alientek_emmc.shshell script named,
touch mx6ull_alientek_emmc.sh
Then enter the following in this shell script:
#!/bin/sh
make ARCH=arm CROSS_COMPILE=arm-linux-gnueabihf- distclean
make ARCH=arm CROSS_COMPILE=arm-linux-gnueabihf- imx_v7_defconfig
make ARCH=arm CROSS_COMPILE=arm-linux-gnueabihf- menuconfig
make ARCH=arm CROSS_COMPILE=arm-linux-gnueabihf- all -j16
Use chmod to give mx6ull_alientek_emmc.shexecutable permissions, and then run this shell script, the command is as follows:
./mx6ull_alientek_emmc.sh
Delete the kernel LOGO
When compiling, the Linux graphical configuration interface will pop up, as shown in the figure:
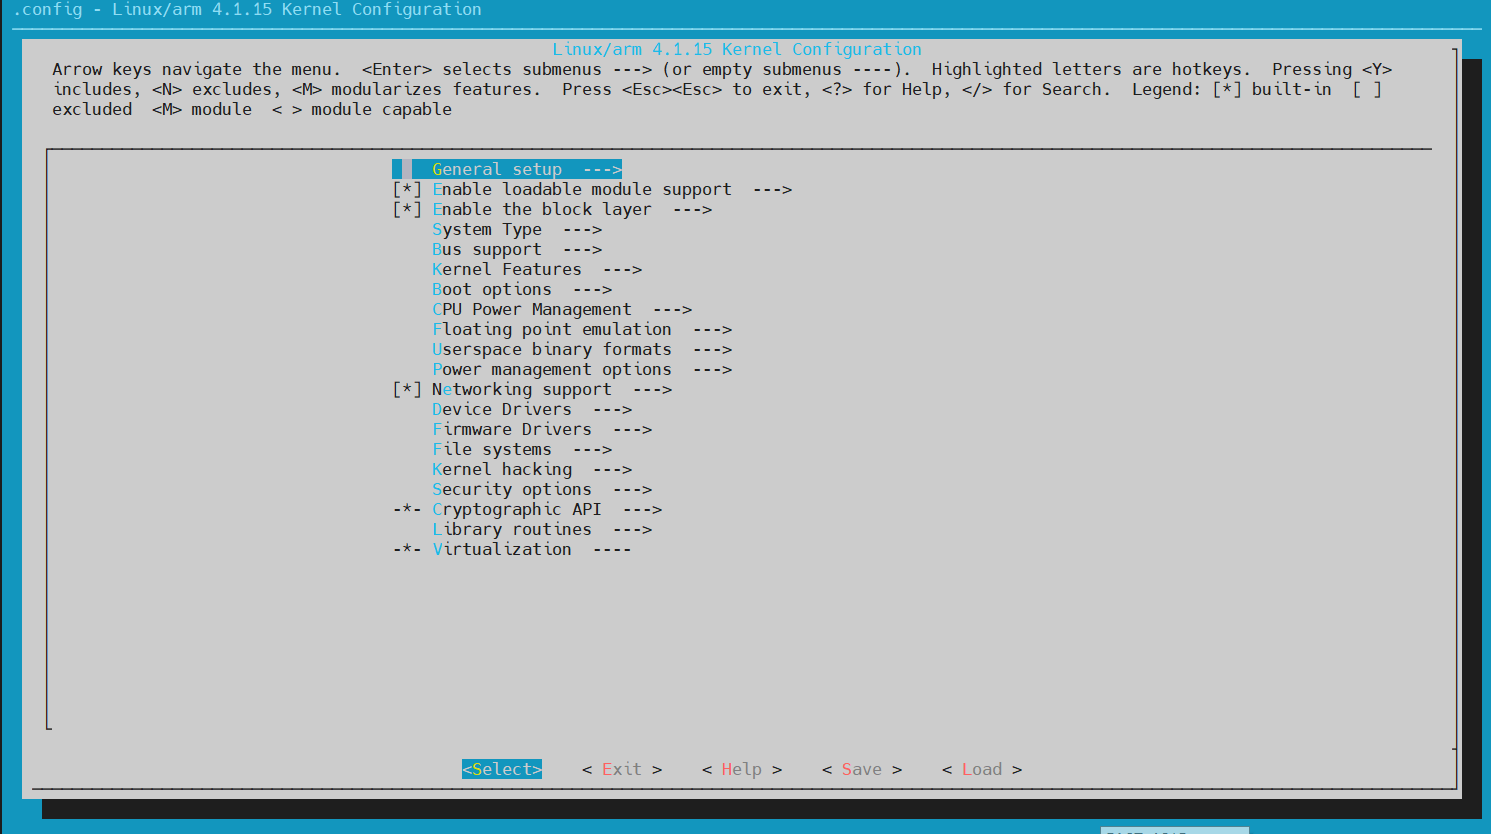
->General setup
->Device Drivers
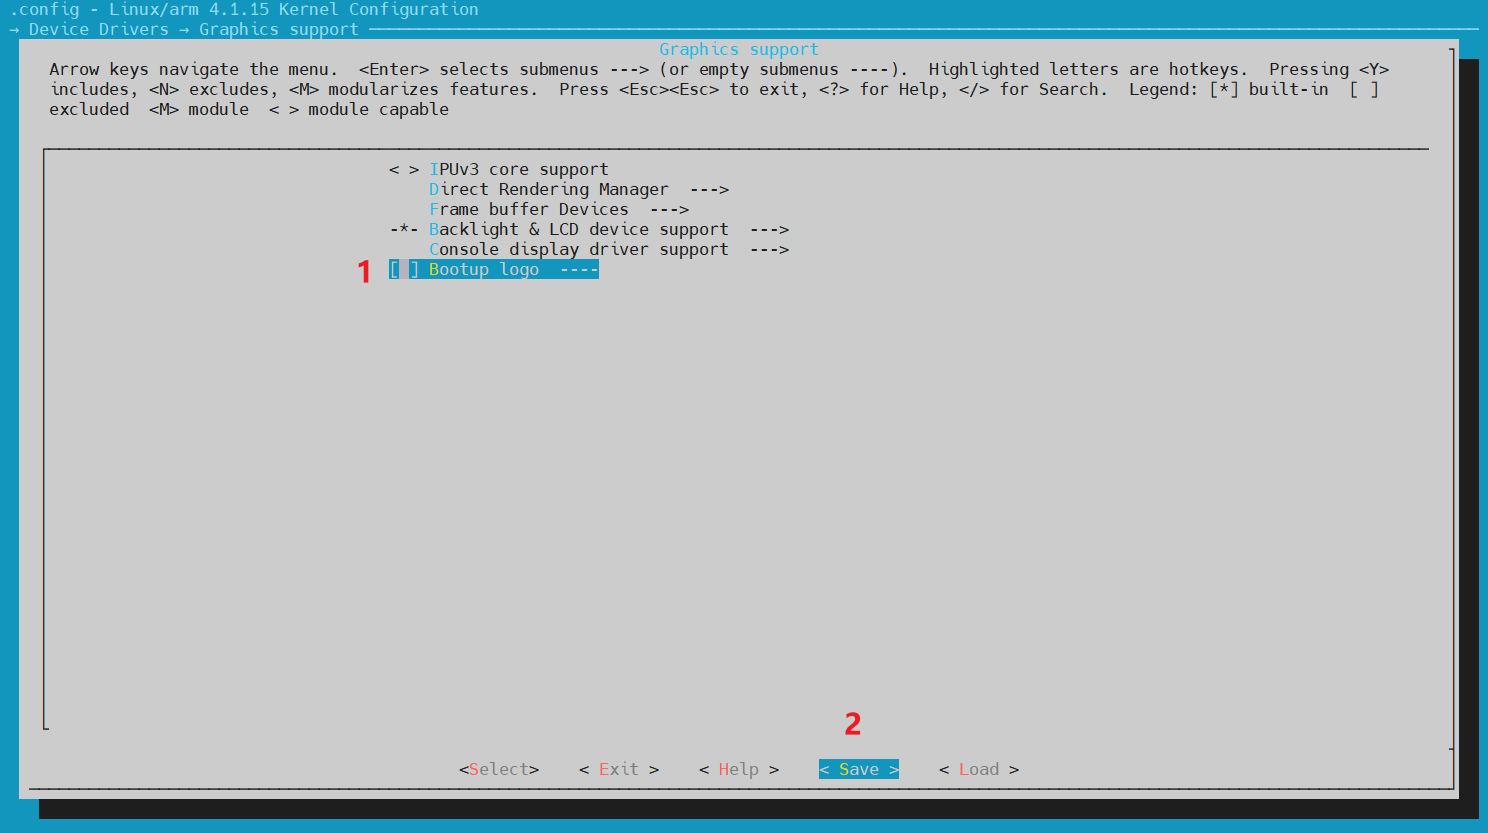
->Graphics support
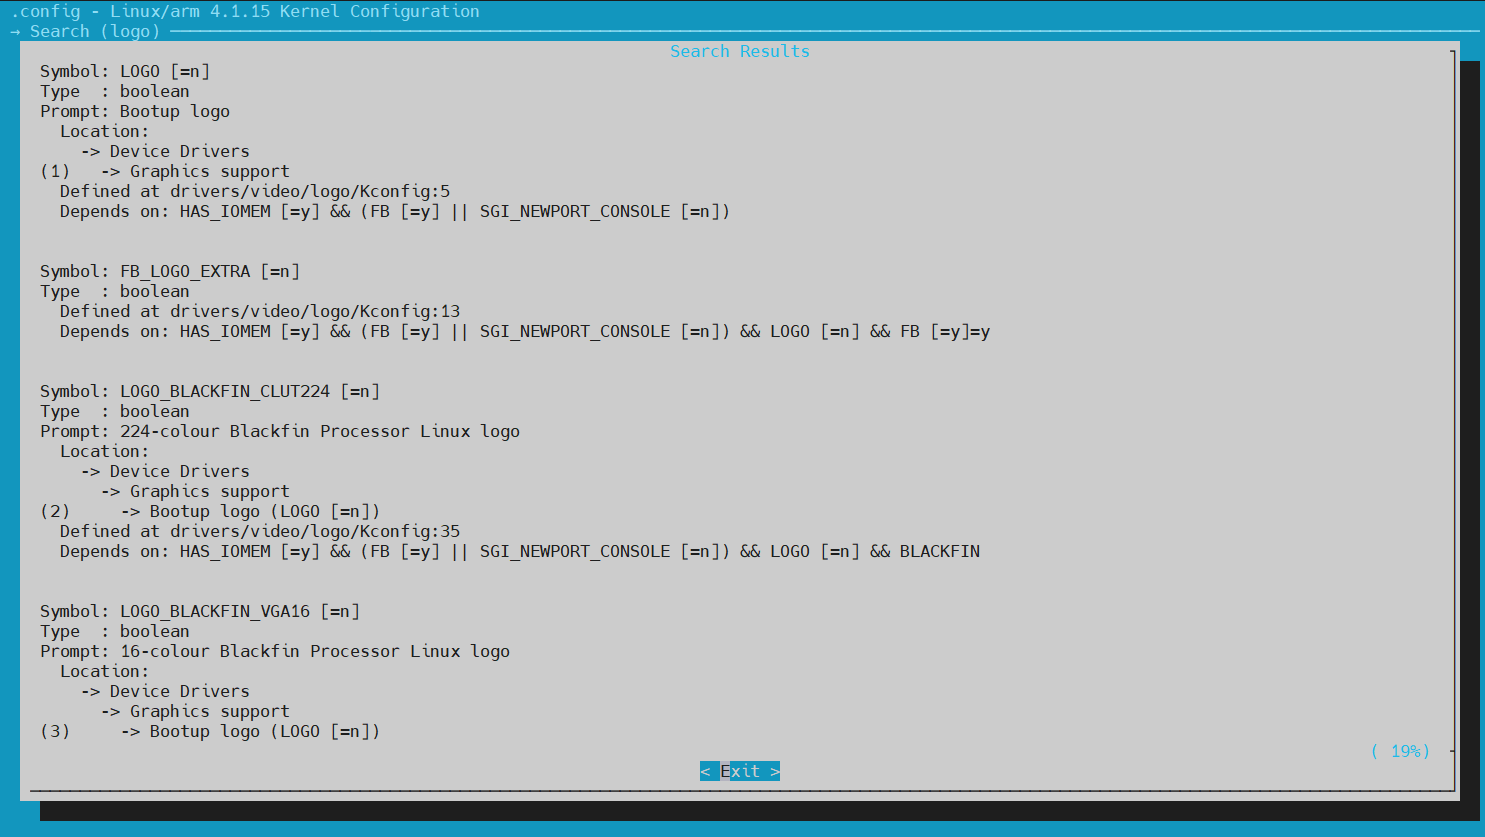
->Bootup logo
Device Drivers->Graphics support->Bootup logo is not set;
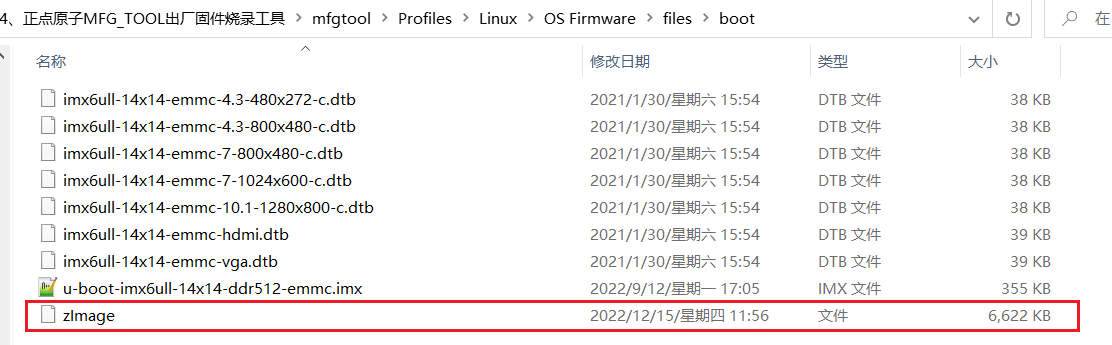
Finally, the generated zImage file will be copied to \mfgtool\Profiles\Linux\OS Firmware\files\boot of the mfgtool tool
Turn the DIP switch to the USB position. At this time, the mfgtool tool will display the words " vendor-defined device conforming to the HD standard" . If not, please check whether the wiring is correct and whether the DIP switch is dialed to the USB position. At the same time, open a serial port debugging terminal software, you can observe the printing information in the process of programming.

Click the "Start" button to start programming.
2. Programming the kernel
MfgTool actually downloads these three files to the development board USB OTGfirst , and note that there is no need to download rootfs. It is equivalent to start the Linux system directly on the DDR of the development board, and then burn the complete system to the EMMC after the Linux system is started, including, so the working process of MfgTool is mainly divided into two stages:uboot、kernel 和.dtb(设备树)DDRuboot、linuxkernel、.dtb(设备树)和 rootfs
- ①. Download uboot, linux kernel and .dtb (device tree) in the firmware directory, and then
USB OTGdownload this file to the development boardDDR. The purpose is to start the Linux system in DDR and prepare for the subsequent programming. - ②. After the operation in step ①, the Linux system has been running at this time. After the system is running, the formatting and partitioning of EMMC can be easily completed. After the EMMC partition is established, you can read the uboot, linux kernel, .dtb (device tree) and rootfs files to be burned from the files, and then burn them into the EMMC. This is the general workflow of MfgTool .
1. Start programming
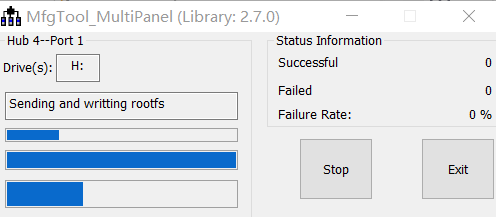
At this time, you can see the specific burning process on Mobaterm:

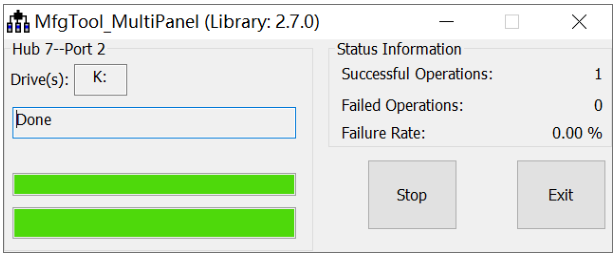
Wait for the flashing to complete, because the root file system of punctual atom is relatively large, so the flashing will take a little longer. After programming is completed, the MfgTool software is as shown in the figure:
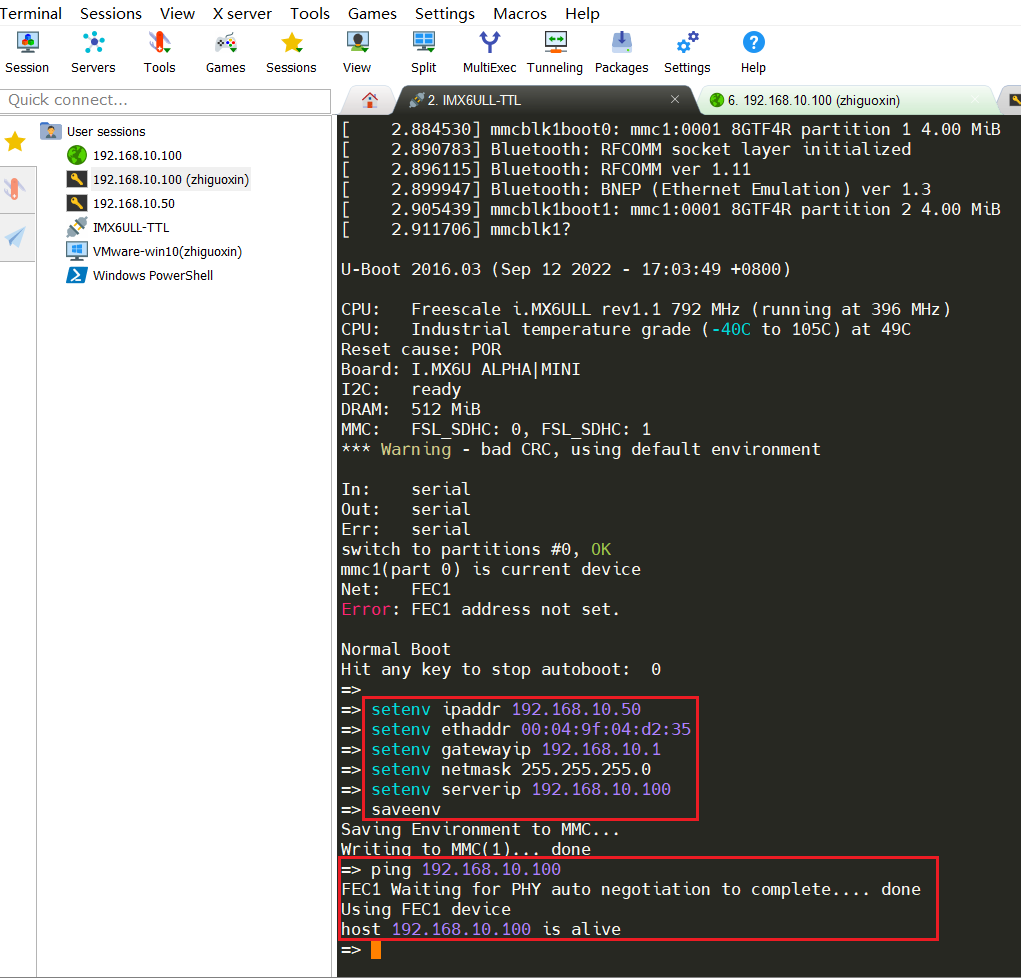
2. Set up the network
As shown in the figure above, the newly programmed system does not support the network, but uboot supports the network. When we transplant uboot, we generally need to adjust the network function, because we need to use the network function of uboot for debugging when transplanting linuxkernel. At this time, add network-related environment variables to uboot.
setenv ipaddr 192.168.10.50
setenv ethaddr 00:04:9f:04:d2:35
setenv gatewayip 192.168.10.1
setenv netmask 255.255.255.0
setenv serverip 192.168.10.100
saveenv
The setting of the network address environment variable should be based on your actual situation. Make sure that the IP addresses of the Ubuntu host and the development board are in the same network segment. For example, my current development board and computer are both in the network segment 192.168.10.0, so set the development The IP address of the board is 192.168.10.50, my Ubuntu host has the address 192.168.10.100, so the serverip is 192.168.10.100. ethaddr is the network MAC address, which is a 48bit address. If there are multiple development boards in the same network segment, you must ensure that the ethaddr of each development board is different, otherwise there will be problems in communication! After setting the network-related environment variables, you can use network-related commands.
Whether the network of the development board can be used and whether it can communicate with the server (Ubuntu host) can be verified through the ping command, and the IP address of the server can be directly pinged. For example, the IP address of my server is 192.168.10.100, and the command is as follows:
ping 192.168.10.100
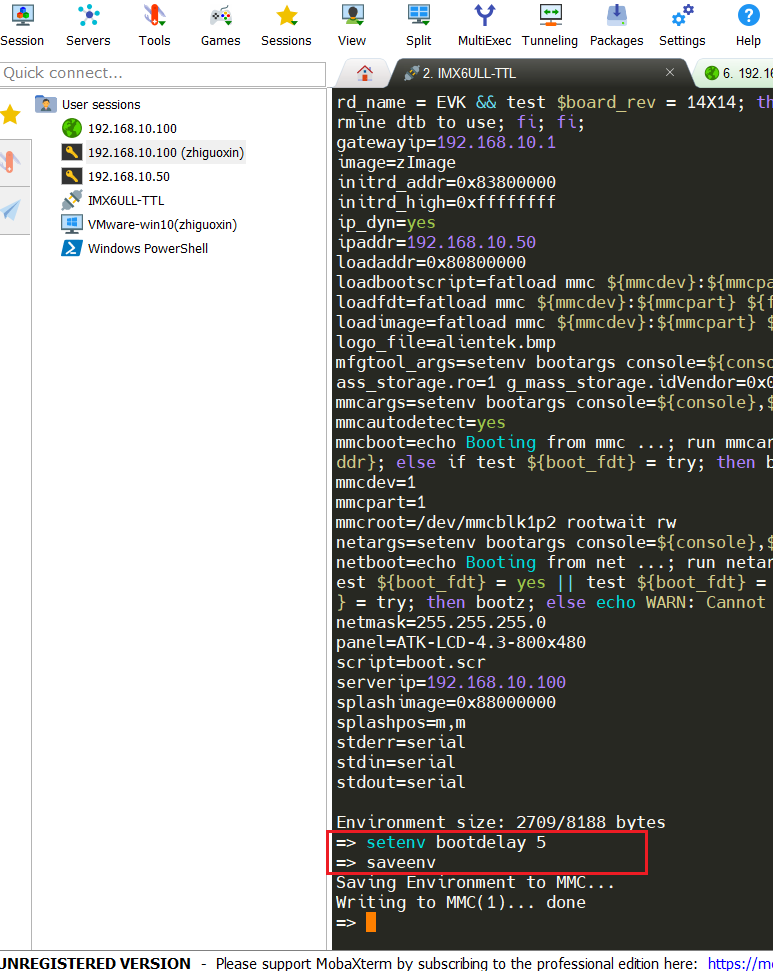
Change the environment variable bootdelay to 5, that is, the countdown time is 5s before starting the kernel, and enter uboot.
setenv bootdelay 5
saveenv
Use the imx6ull-alientek-emmc.dtb device tree in emmc, and open the LCD terminal tty0.
setenv bootargs 'console=tty0 console=ttymxc0,115200 root=/dev/mmcblk1p2 rootwait rw'
setenv bootcmd 'mmc dev 1; fatload mmc 1:1 80800000 zImage; fatload mmc 1:1 83000000 imx6ull-alientek-emmc.dtb; bootz 80800000 - 83000000;'
saveenv
Or directly use the factory imx6ull-14x14-emmc-4.3-800x480-c.dtb device tree, and open the LCD terminal tty0.
setenv bootargs 'console=tty0 console=ttymxc0,115200 root=/dev/mmcblk1p2 rootwait rw'
setenv bootcmd 'mmc dev 1; fatload mmc 1:1 80800000 zImage; fatload mmc 1:1 83000000 imx6ull-14x14-emmc-4.3-800x480-c.dtb; bootz 80800000 - 83000000;'
saveenv
3. Set static ip
Since the LAN8720 PHY network chip does not have a MAC address, a random MAC address will be generated for the network when the system starts. A MAC address is generated every time, resulting in that the ip obtained by the network is not fixed every time it is turned on. So we need to set it to a static ip, which will not change due to the change of the MAC address, and set a fixed ip method for debugging. The development board will automatically obtain an ip when it starts up, and the easiest way is to directly set an ip to it. So we can use this ip directly.
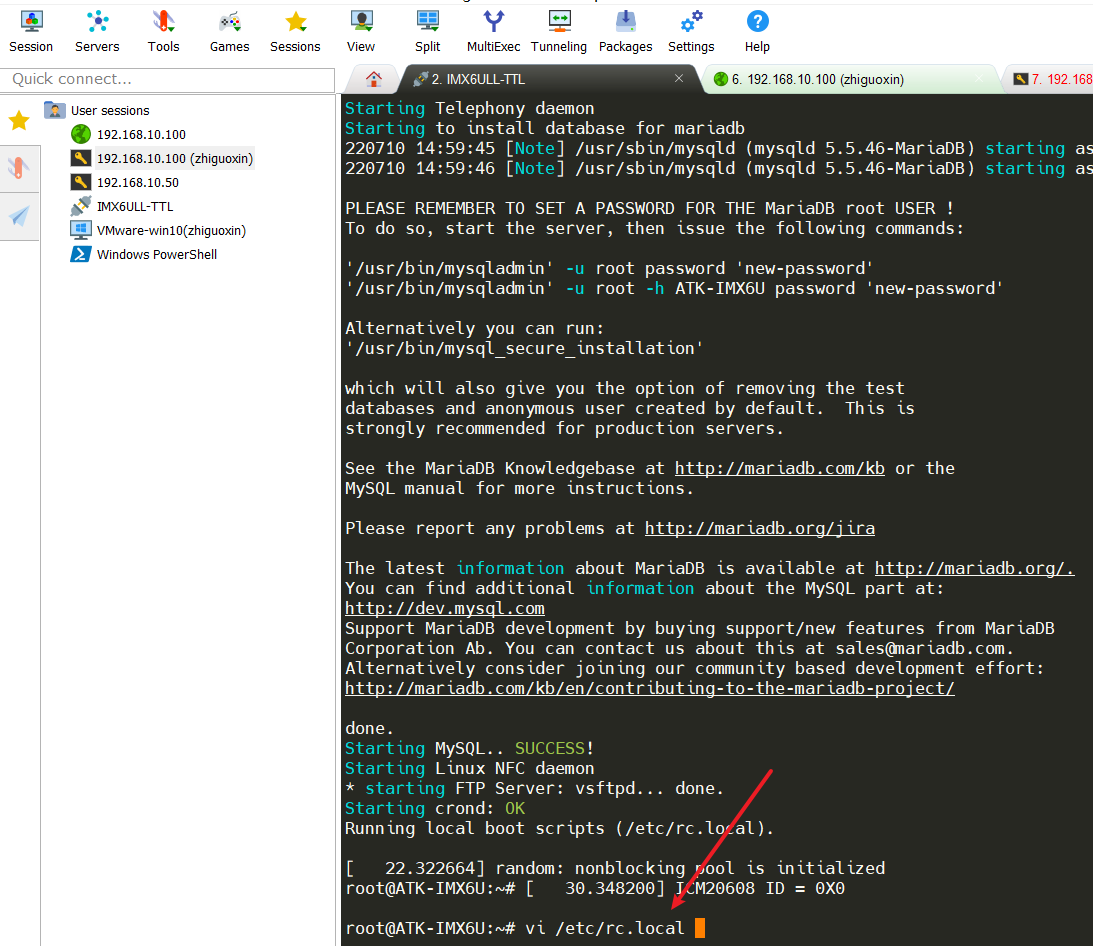
Add the following files in the /etc/rc.local file in the factory file system as shown in the figure.
vi /etc/rc.local
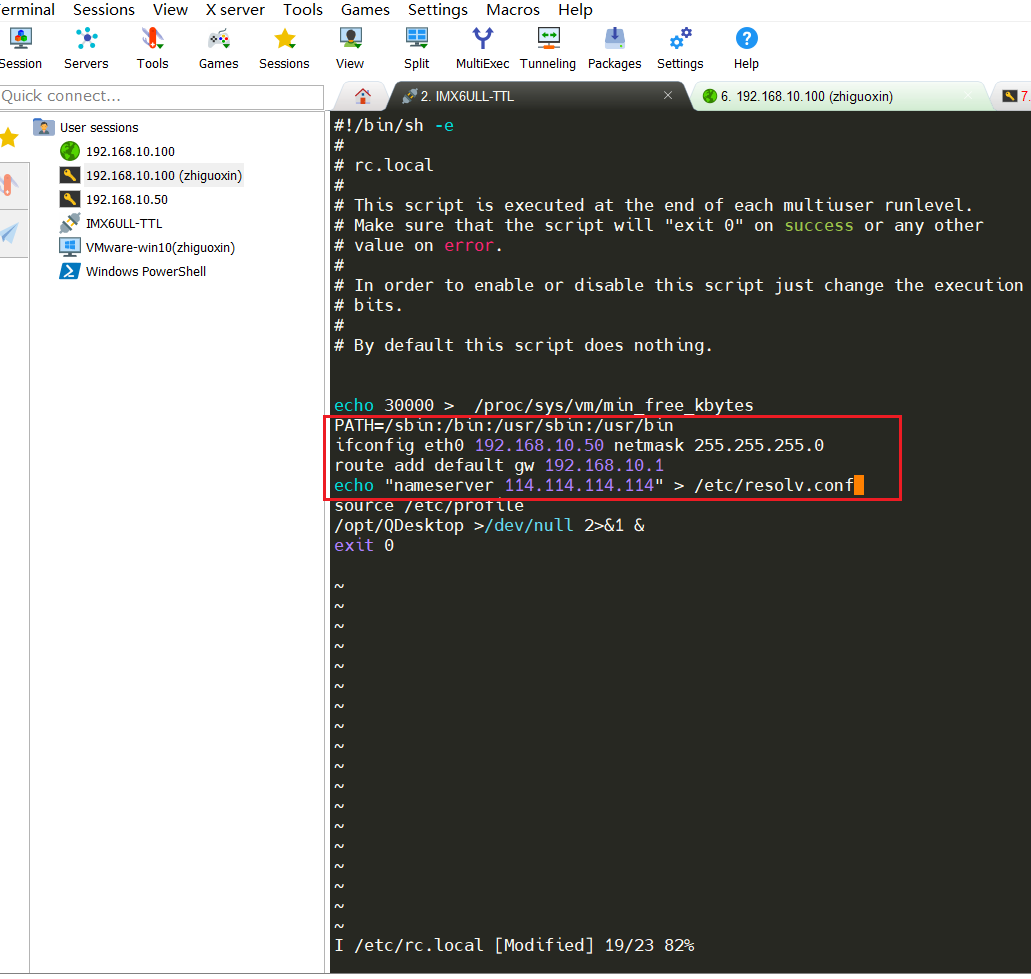
Add the following content, please set the ip address of the corresponding network segment according to the router you use personally. The figure below shows setting the static ip address of eth0.
PATH=/sbin:/bin:/usr/sbin:/usr/bin
ifconfig eth0 192.168.10.50 netmask 255.255.255.0
route add default gw 192.168.10.1
echo "nameserver 114.114.114.114" > /etc/resolv.conf
4. Delete the progress bar interface logo
Enter the development board and execute the following command to delete the logo
rm /usr/bin/psplash
rm /usr/bin/psplash-write
reboot