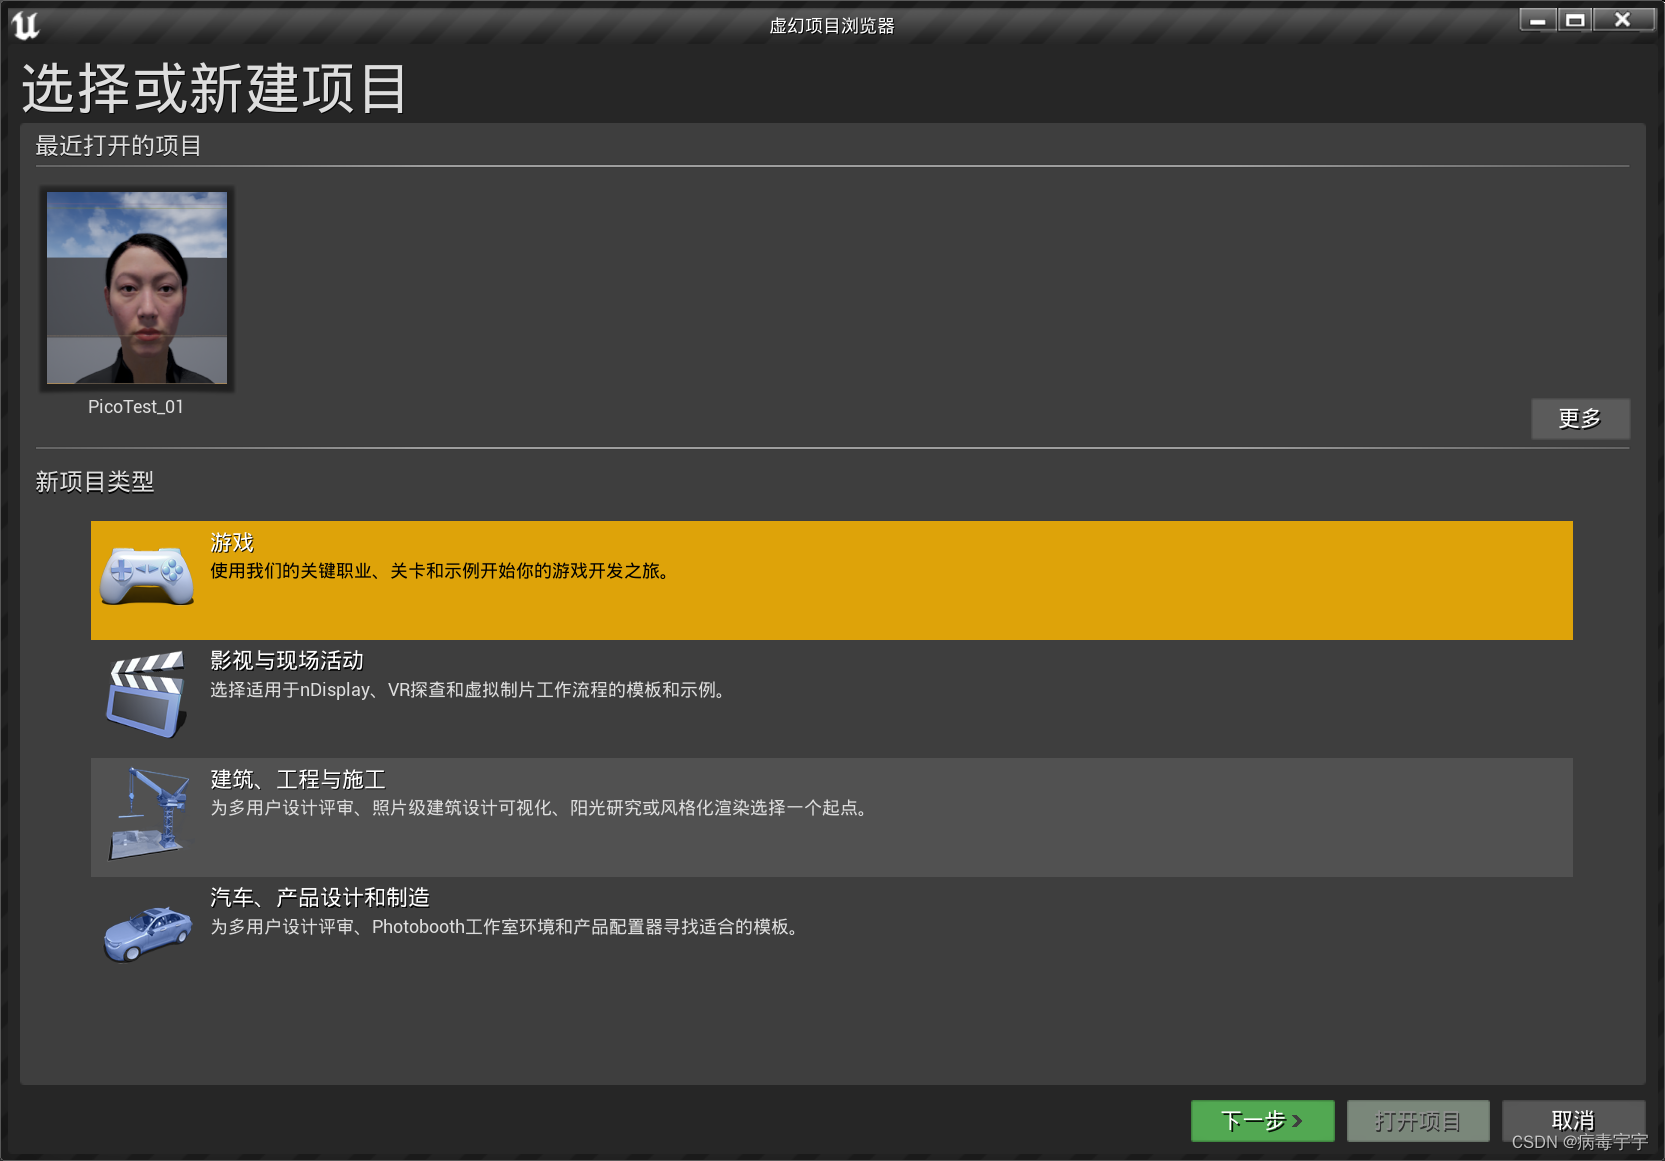
Open UE4, select Game for the new project type. I am using UE 4.27.2 version. I tried to package it with UE5, but there were many problems, so I reinstalled 4.27. Here I only write the path that I am sure can go through.
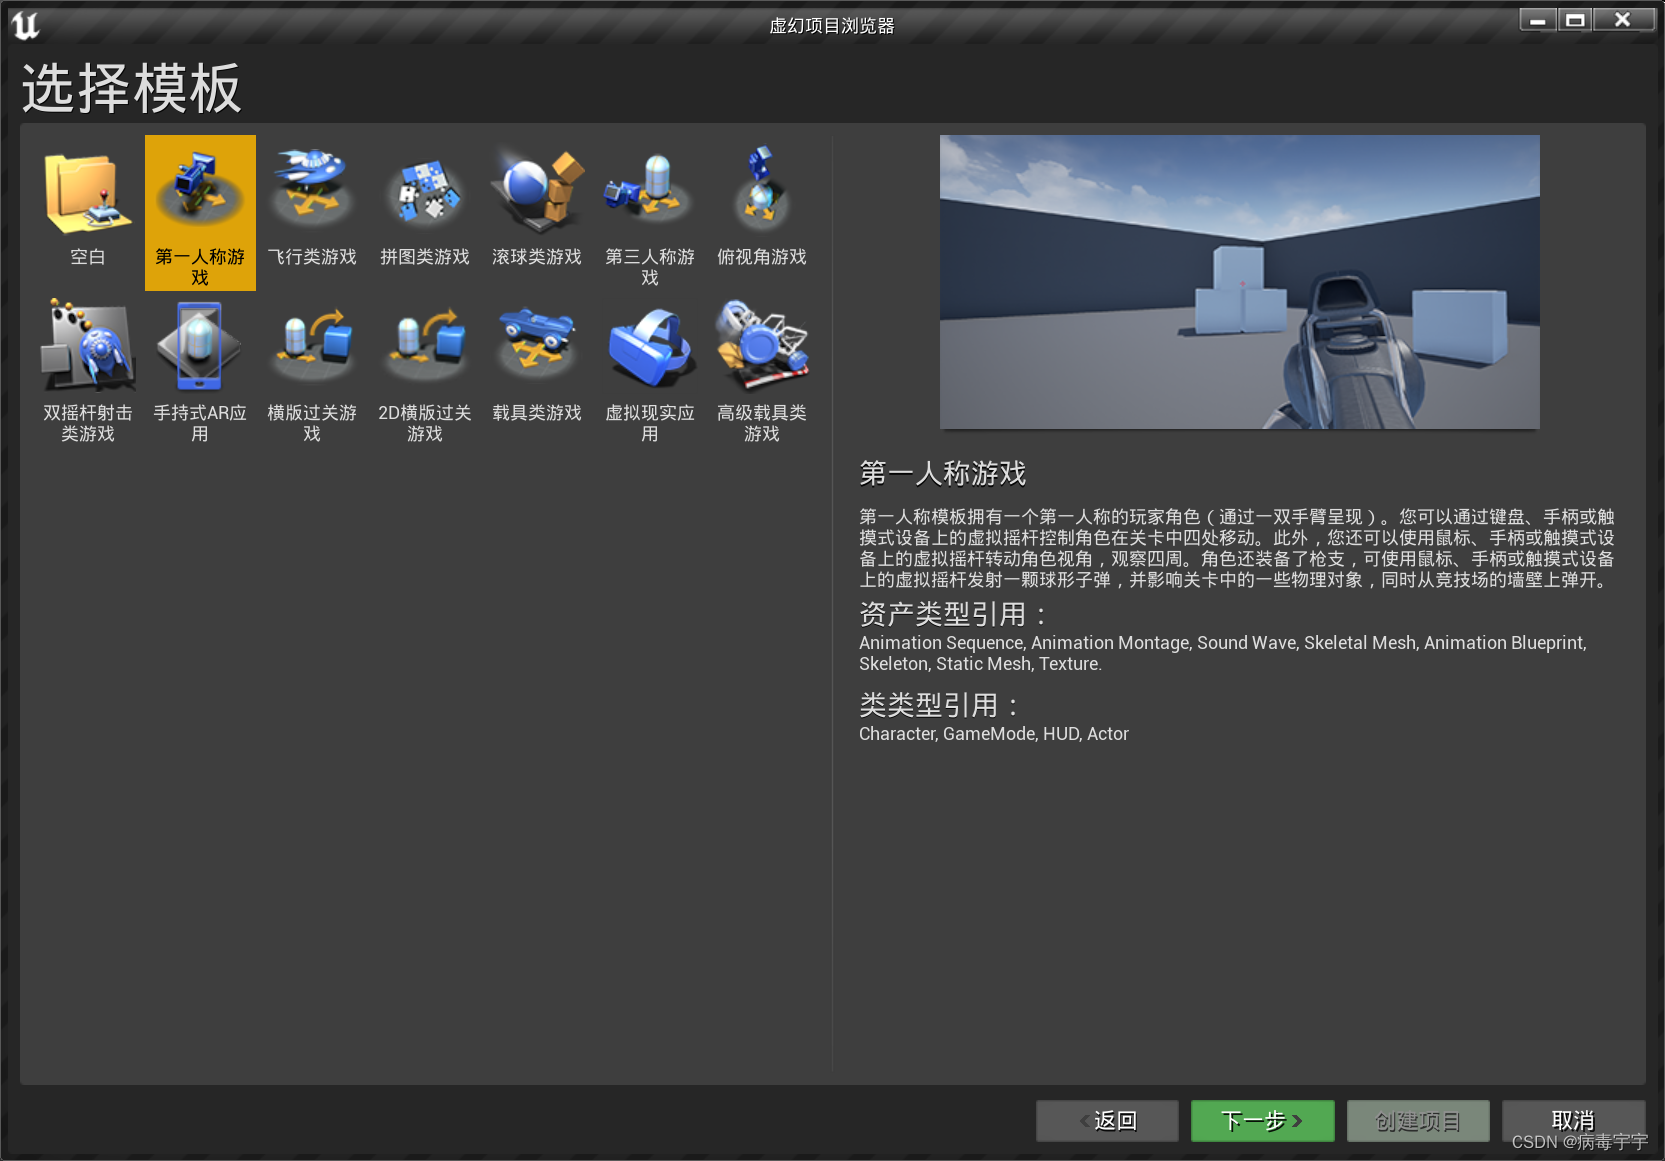
Template Selection First Person Game
Choose Scalable 3D or 2D for Performance Features; choose Mobile/Tablet for Target Platform; choose No Portable for Beginner Content Pack

Create a project after selection
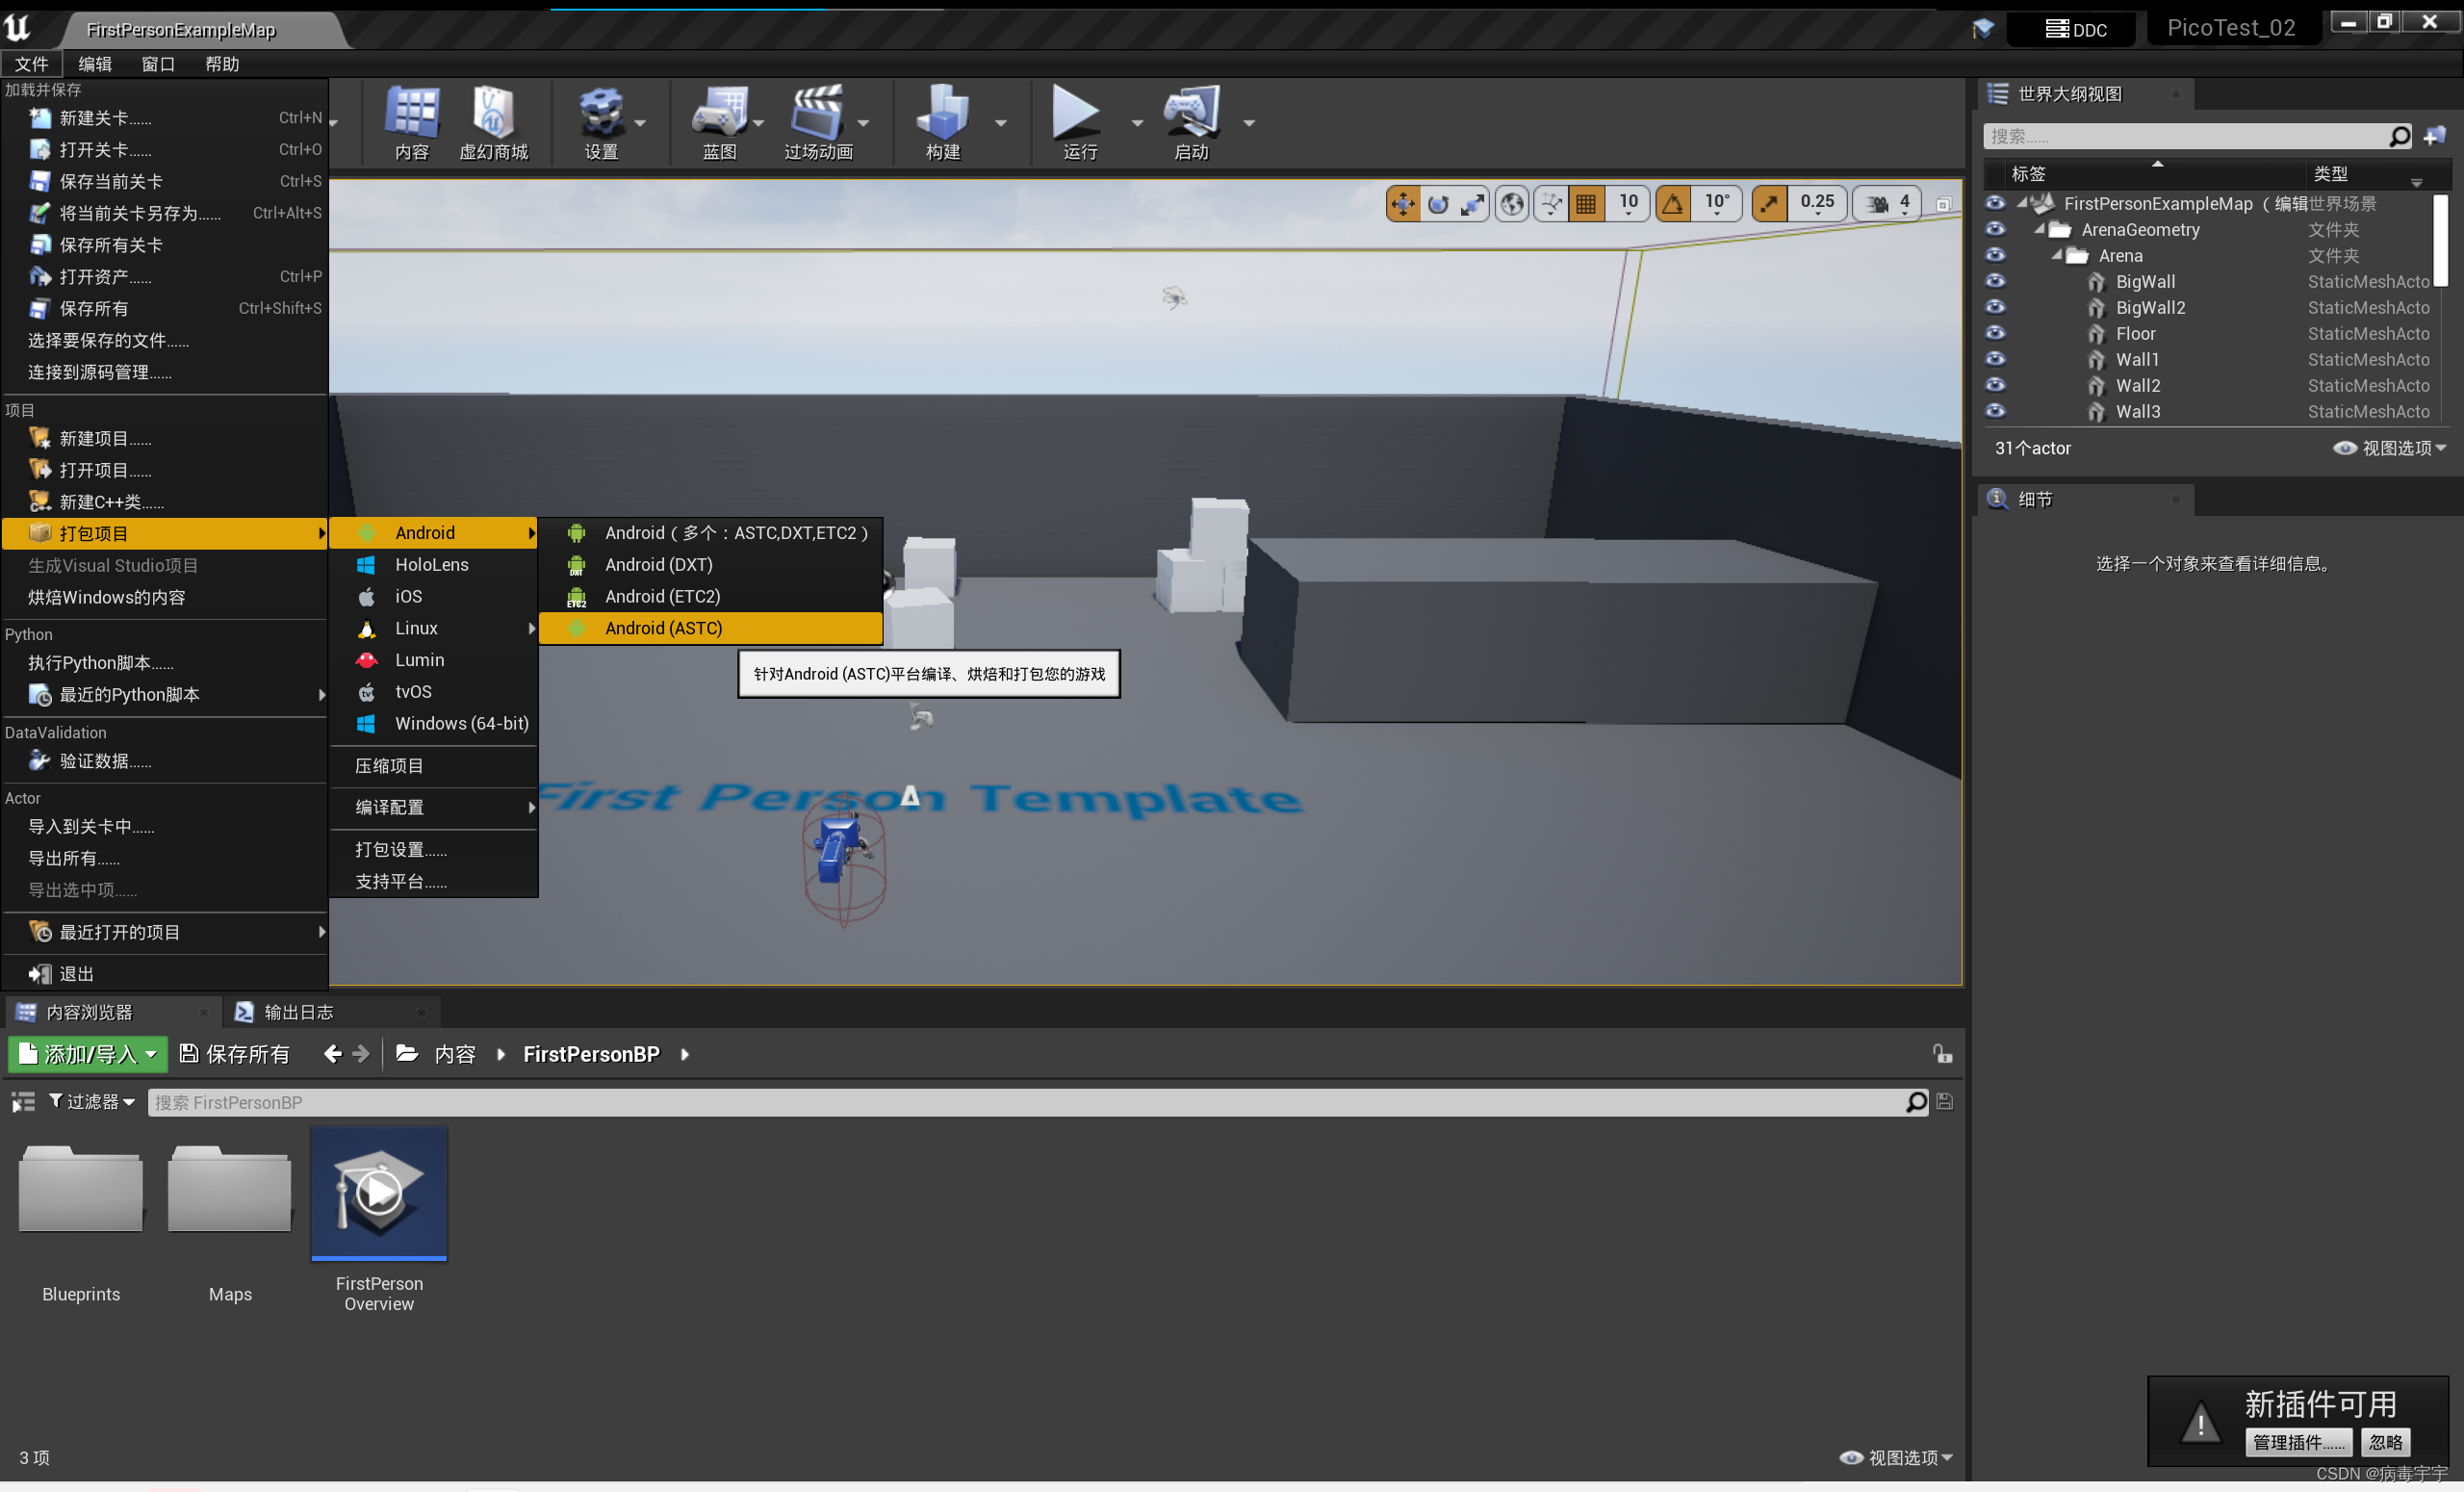
After the creation is complete, it is the main interface of UE4

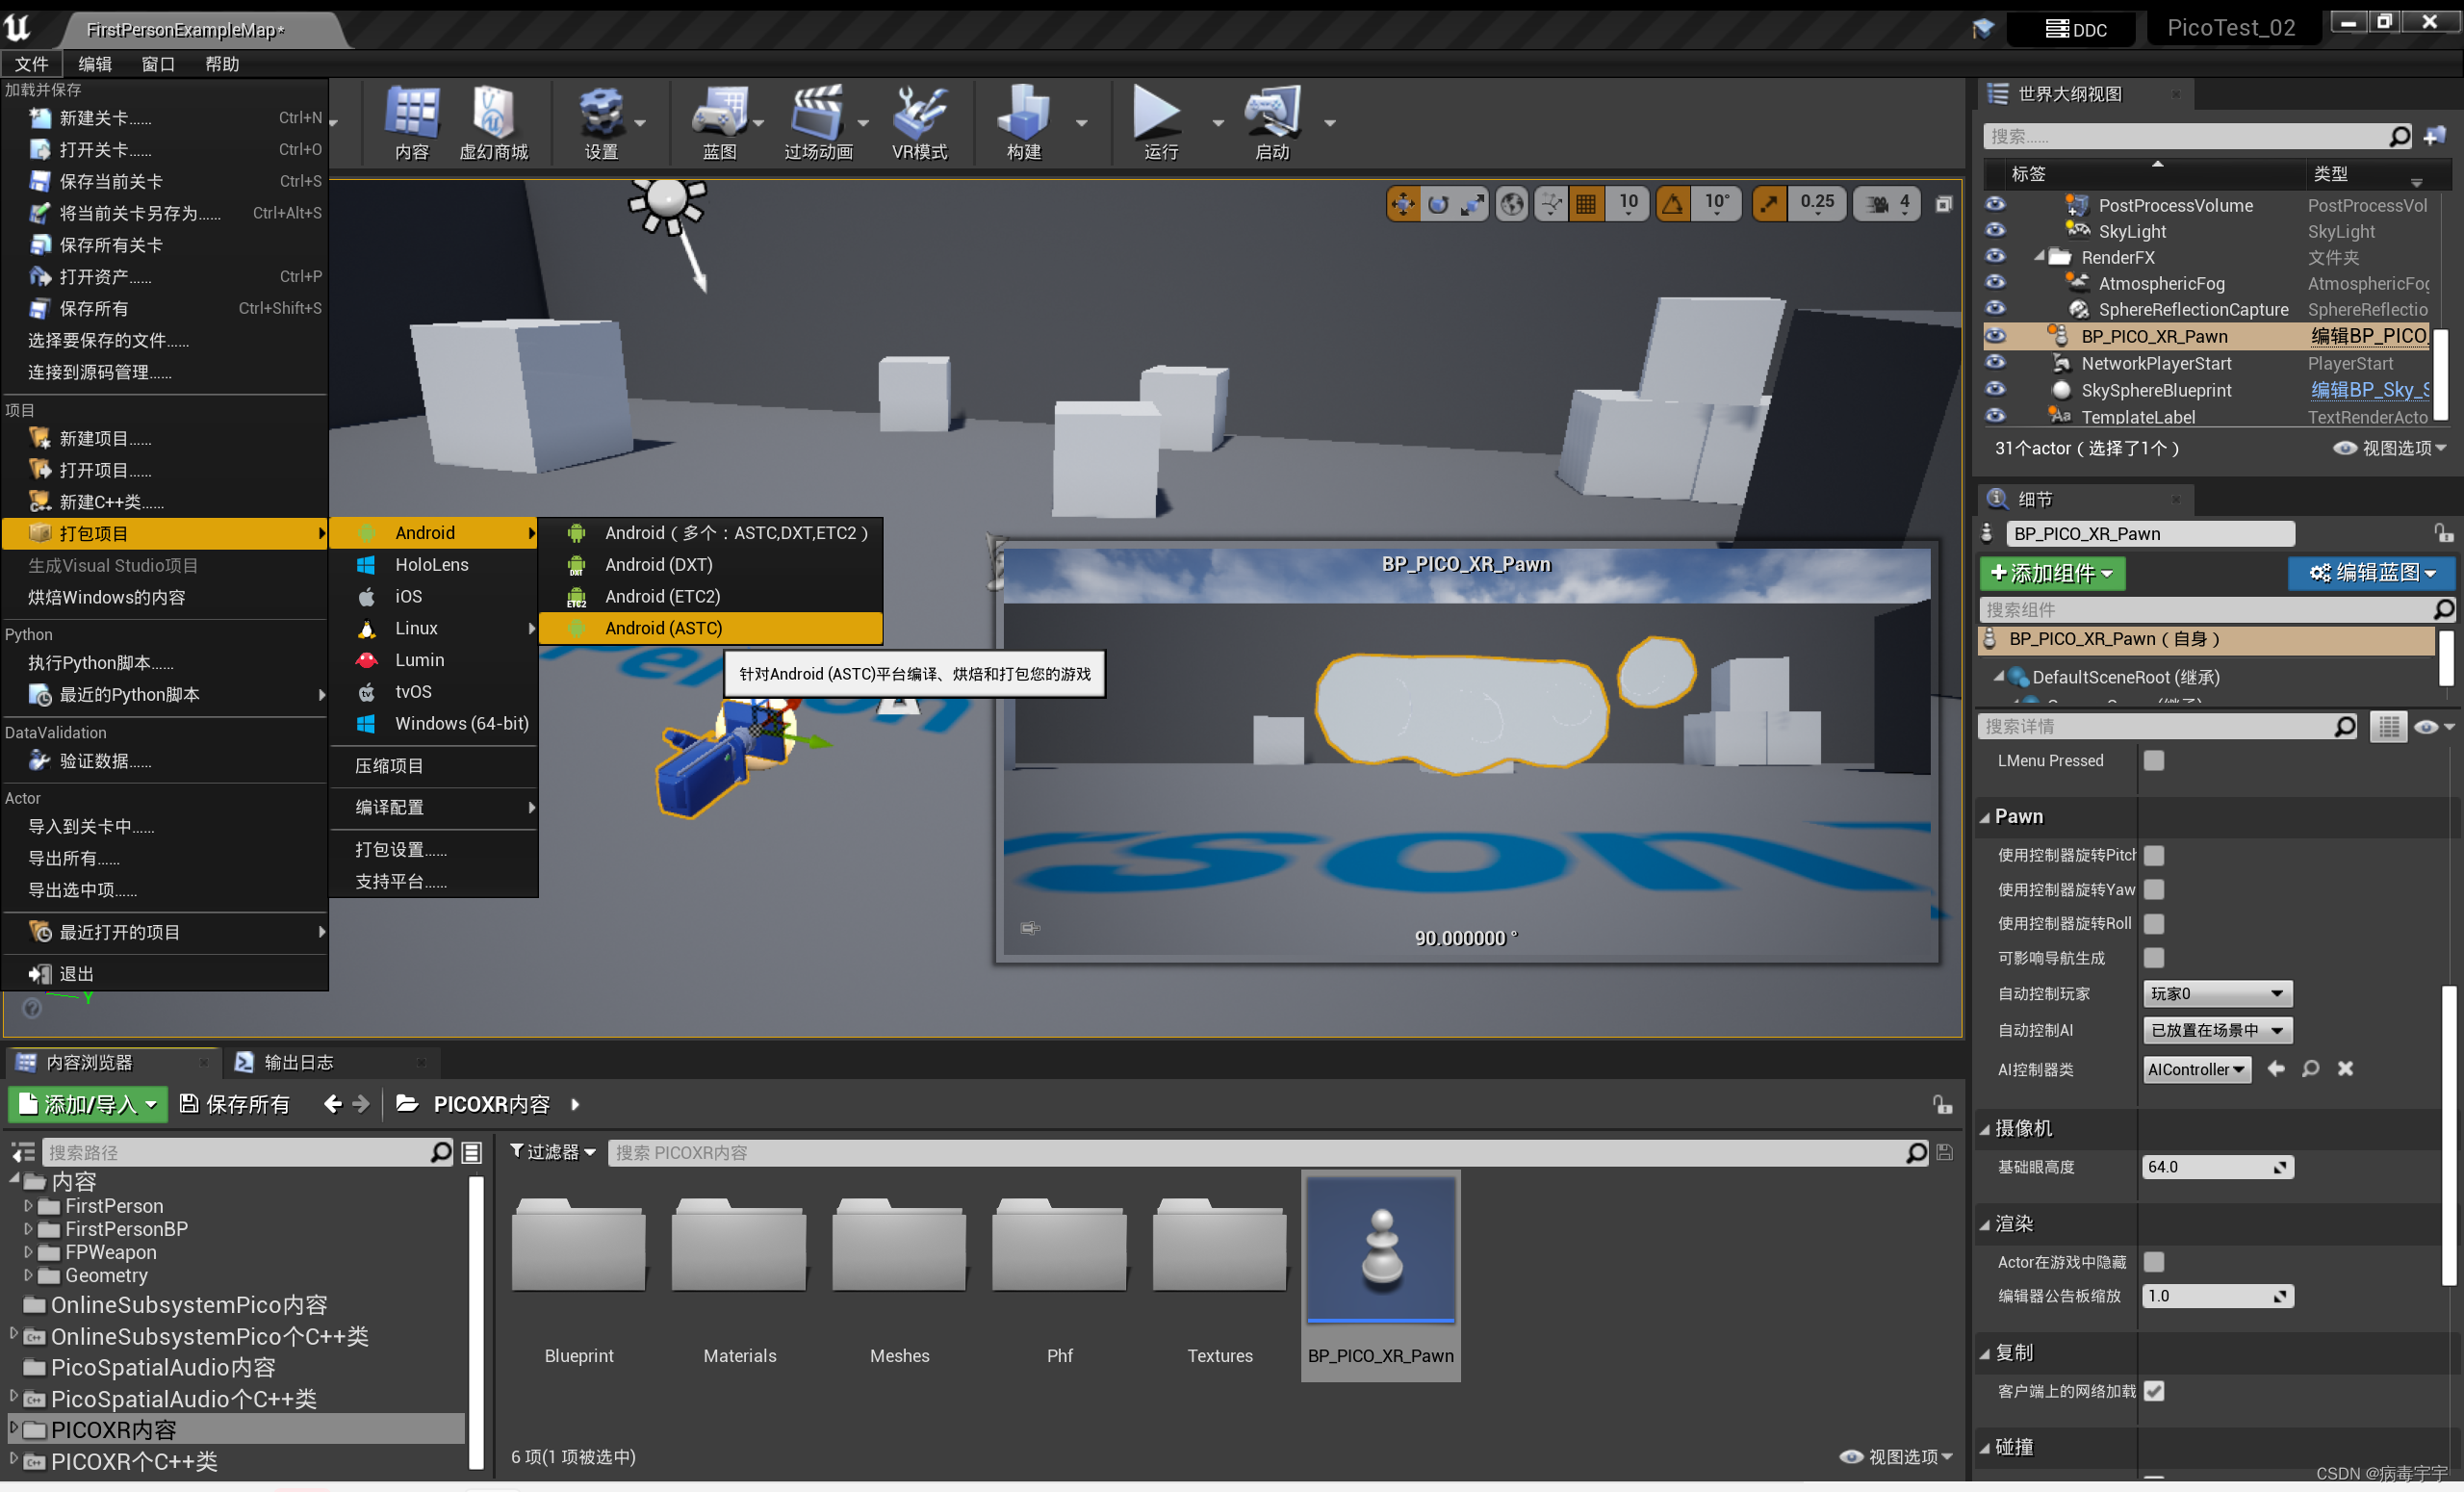
Next, we can test to see if our environment can package android. Press the picture, click Android(ASTC)
If a page pops up at this time, it means that the basic environment for android development has not been configured. Let's install and configure the required software below.

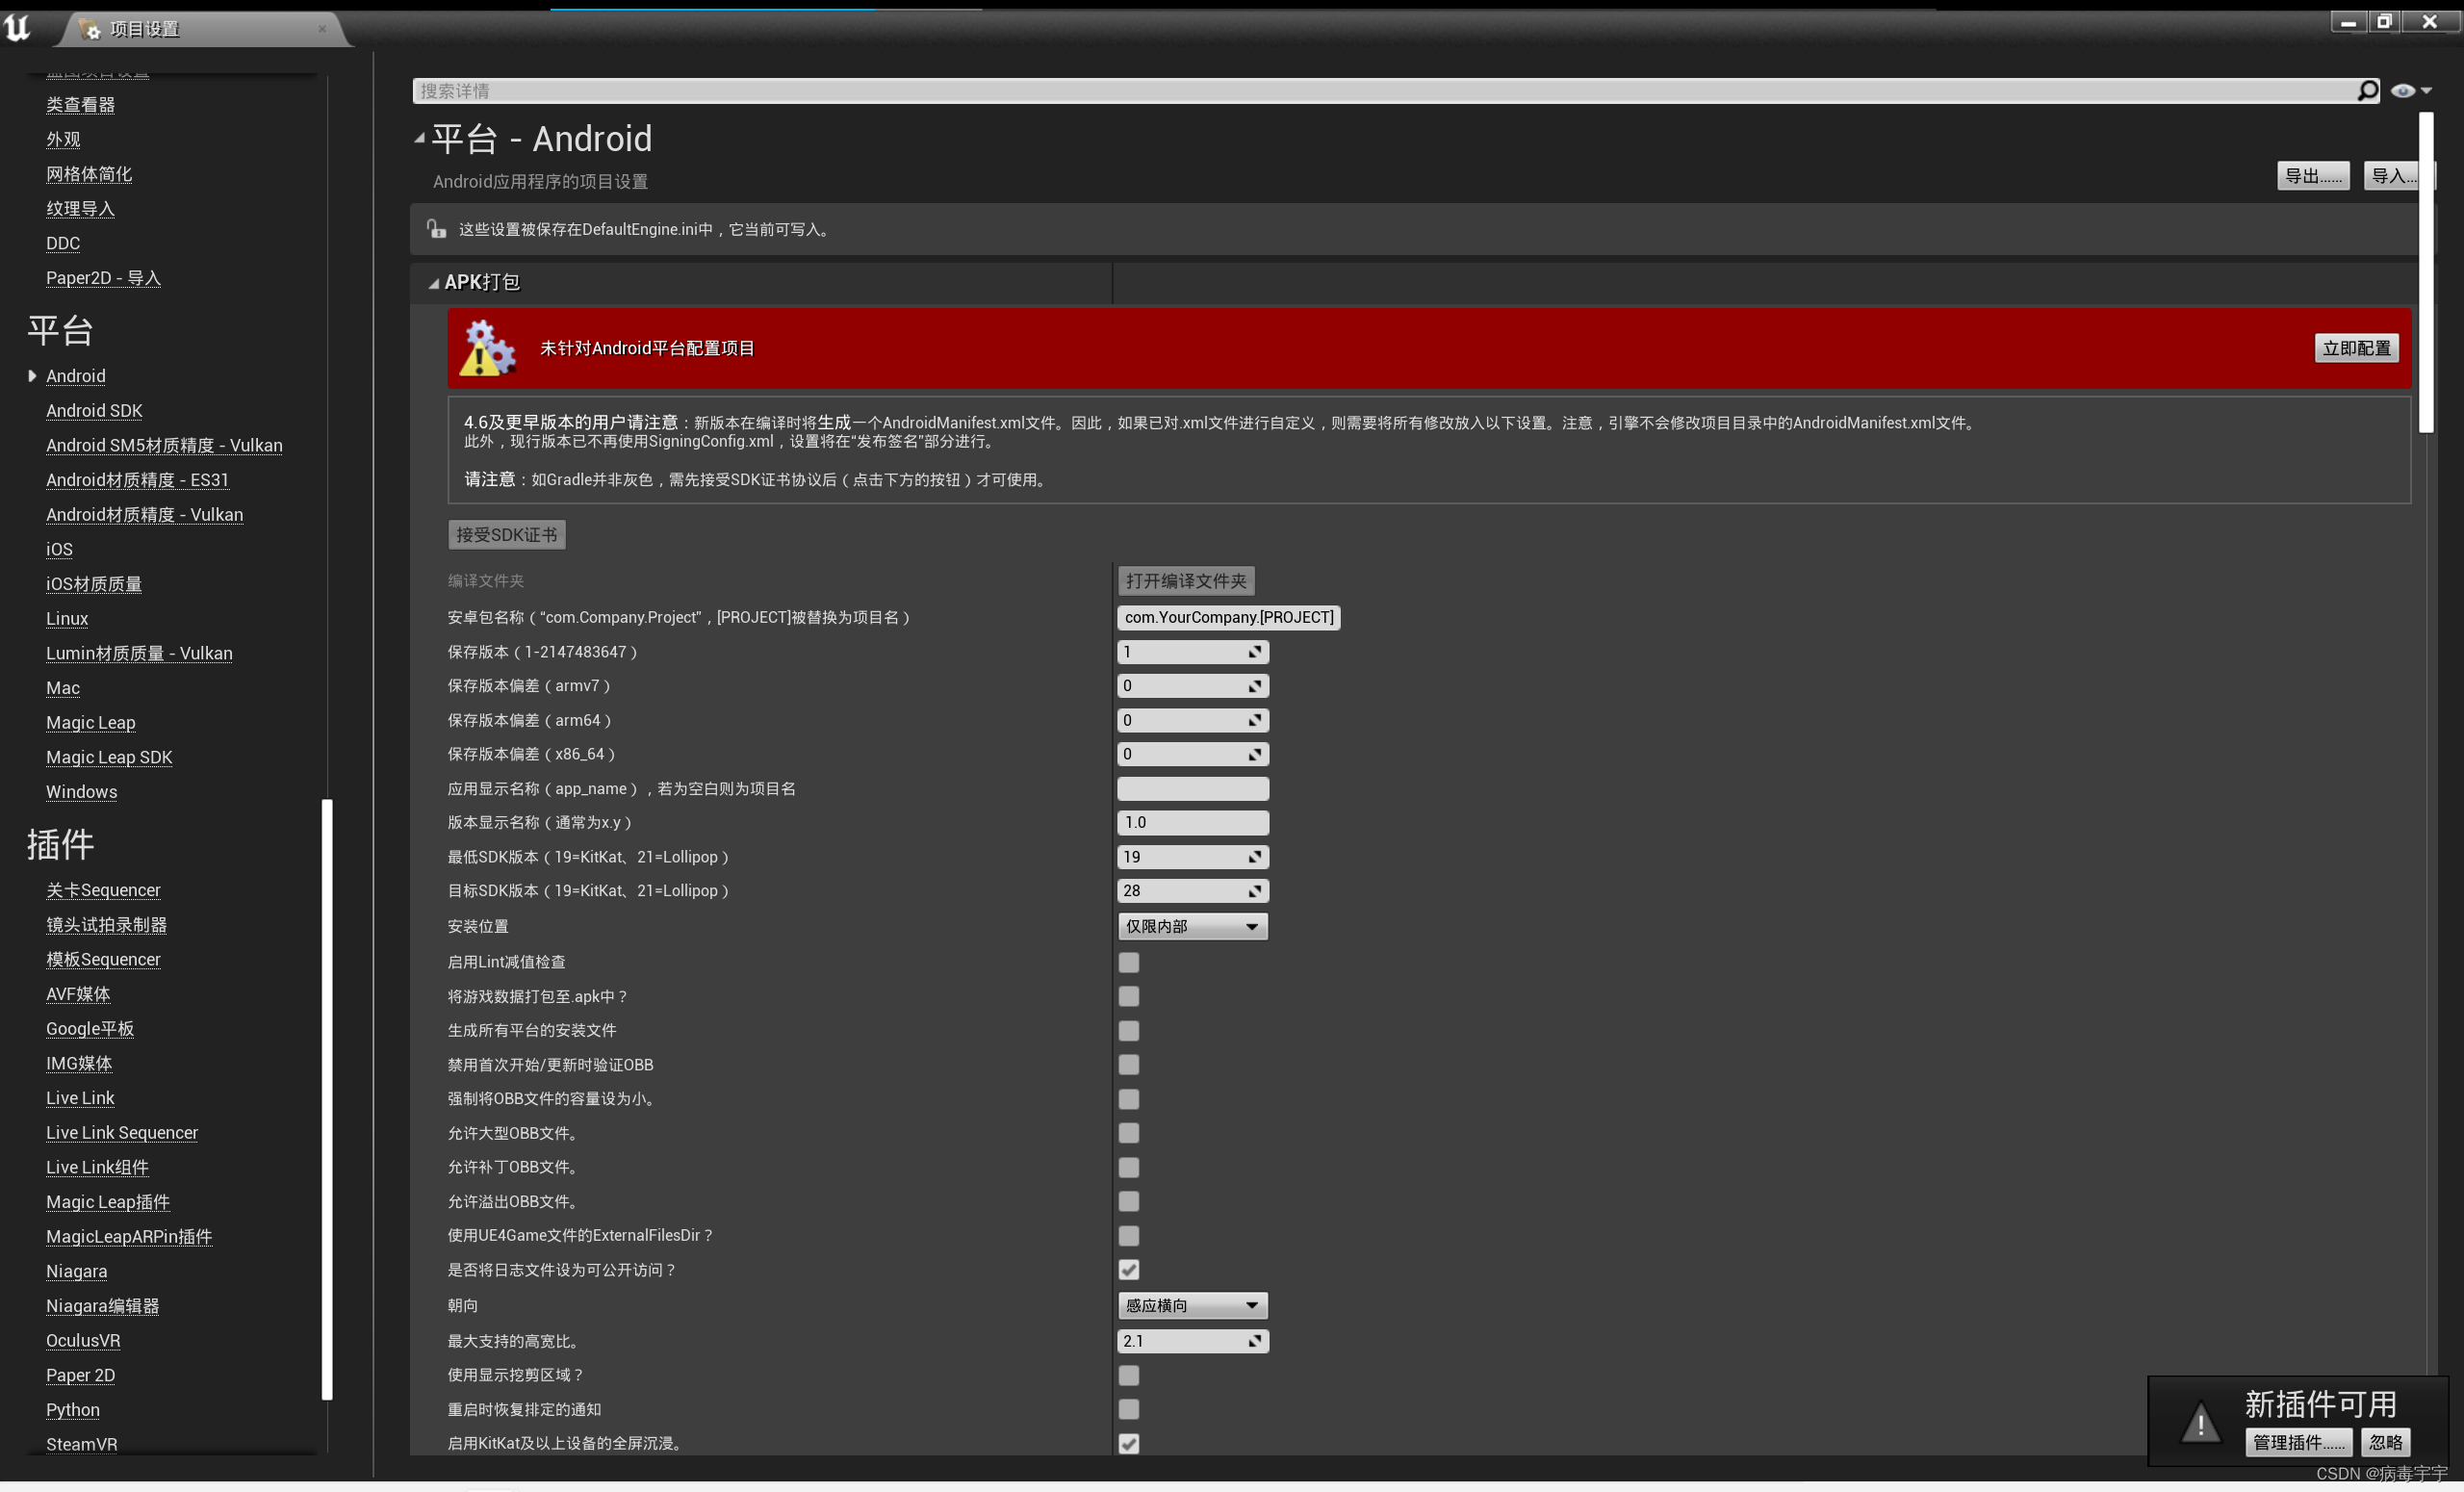
Open project settings

Select android in the left column, and click [Configure Now] on the right

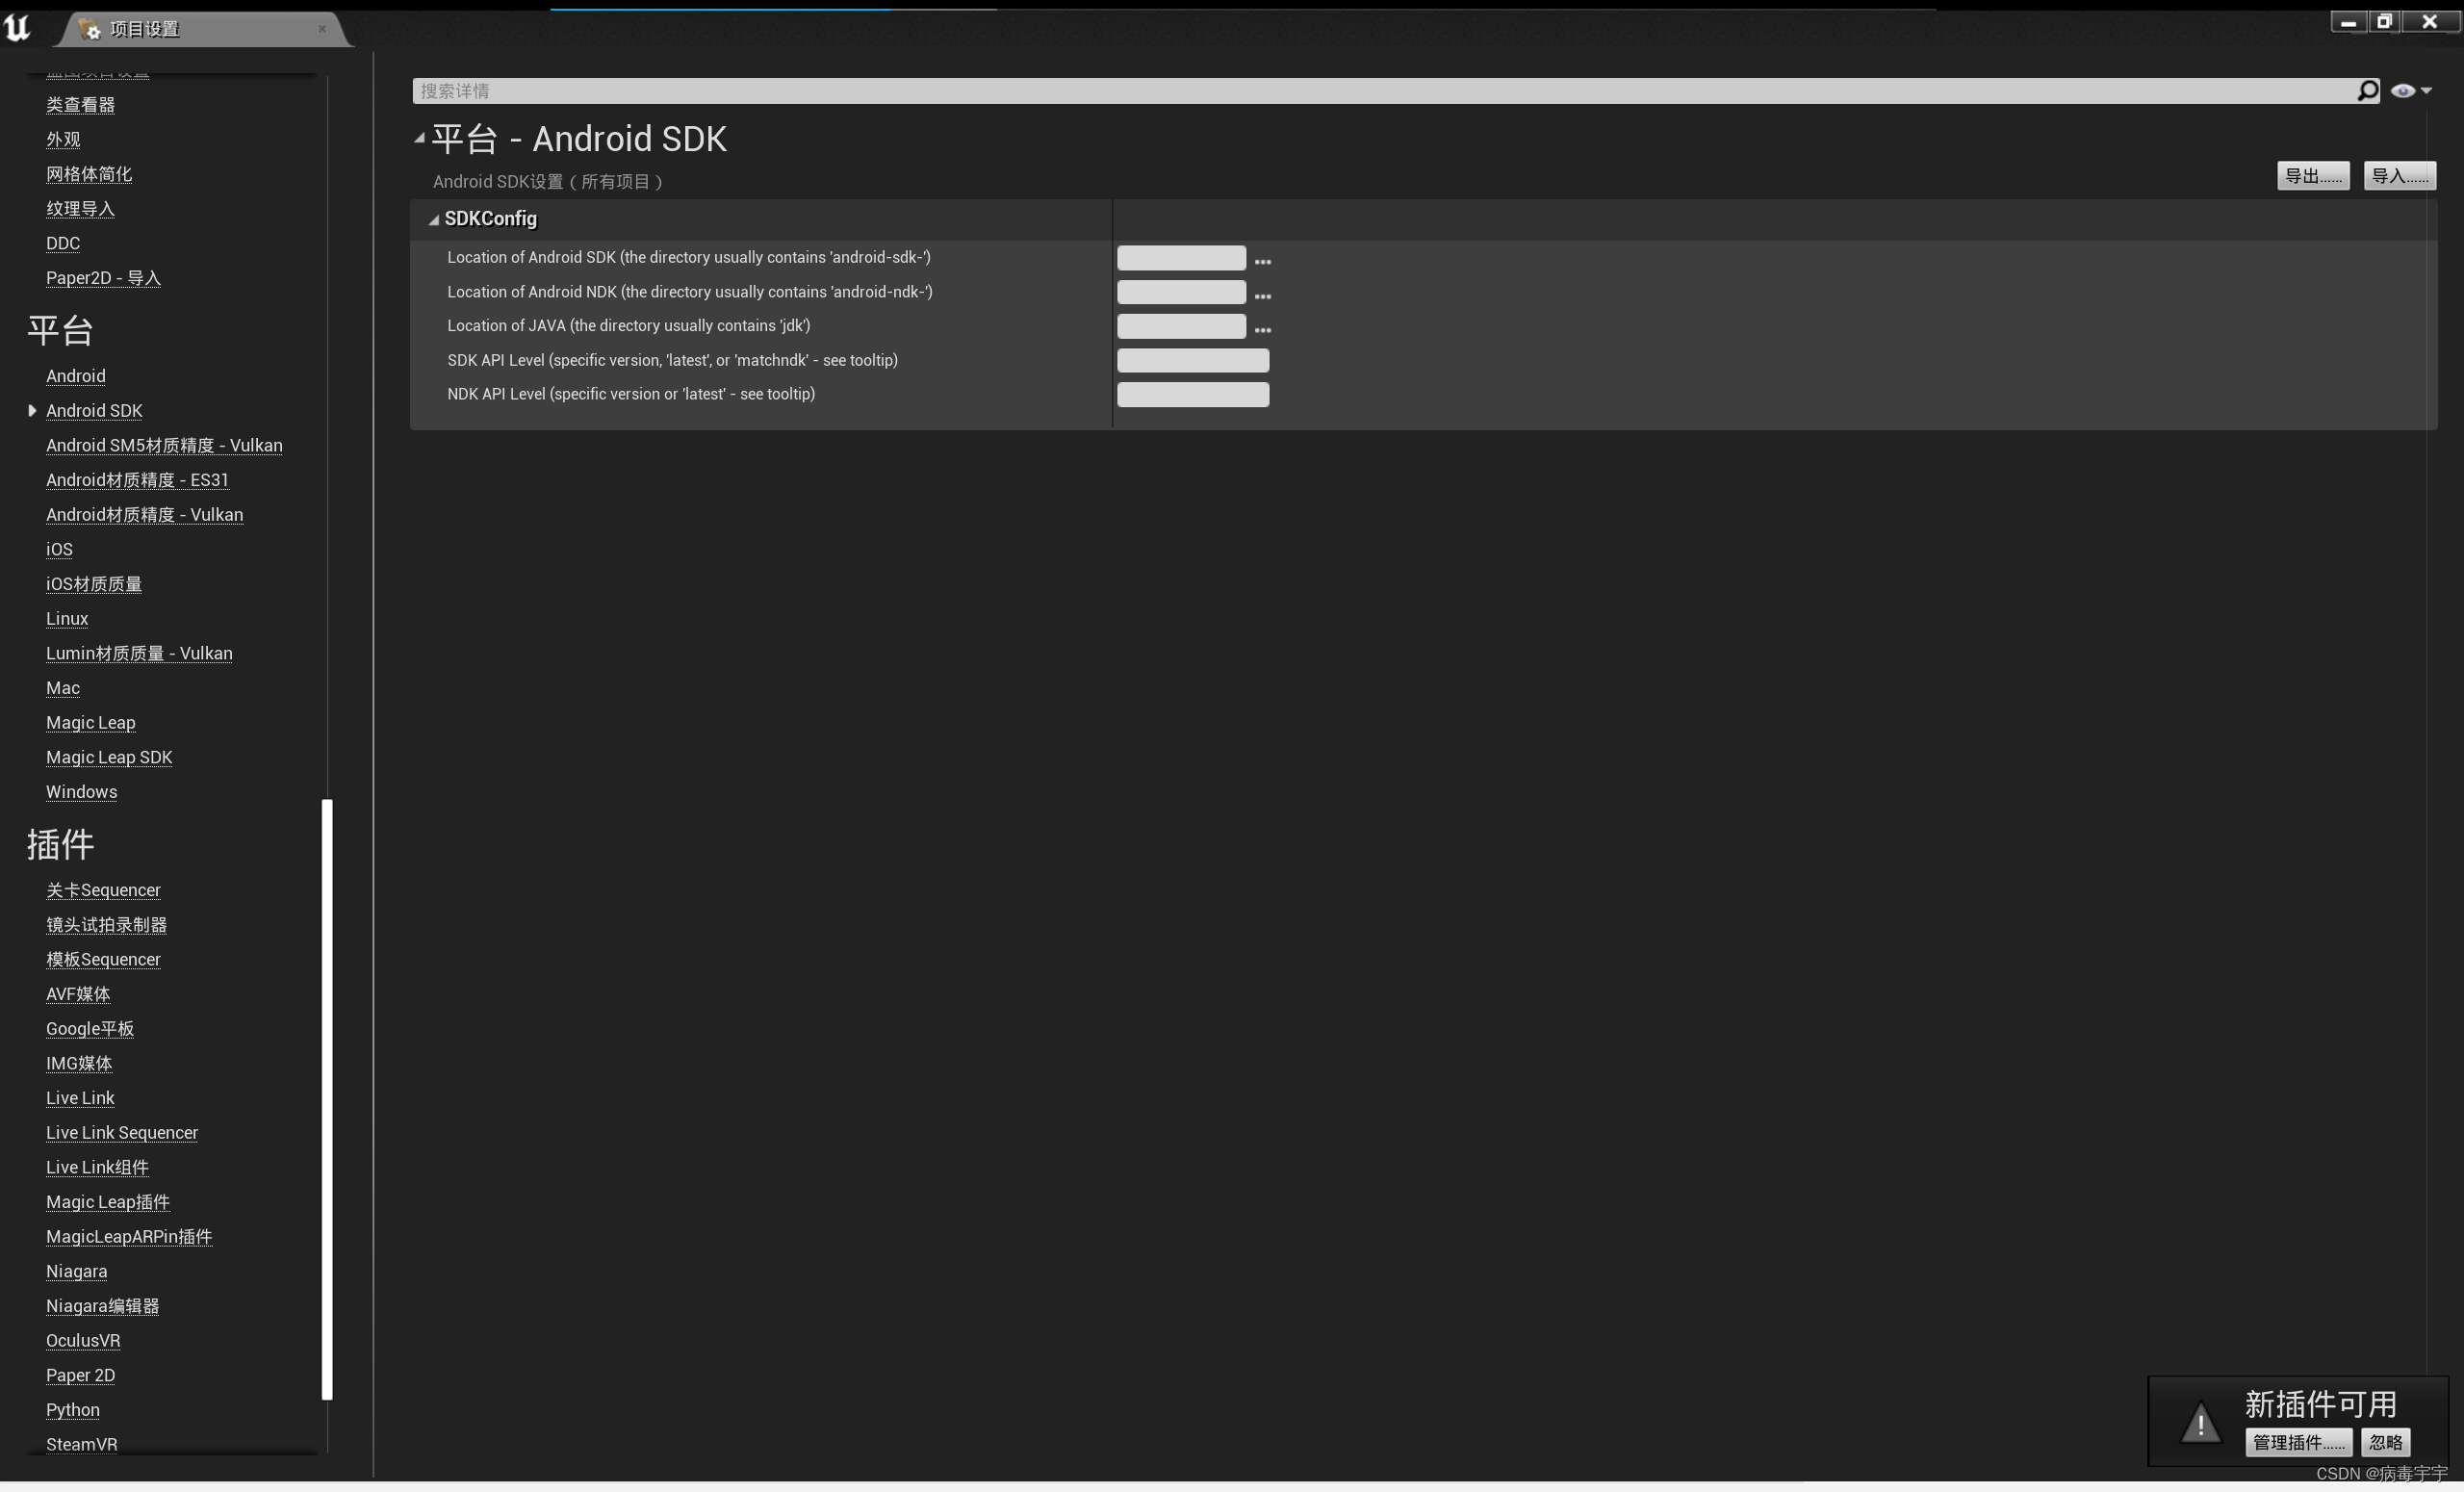
Then click the android sdk on the left column. If the configuration information on the right is empty, it means that the development environment has not been installed and configured before.
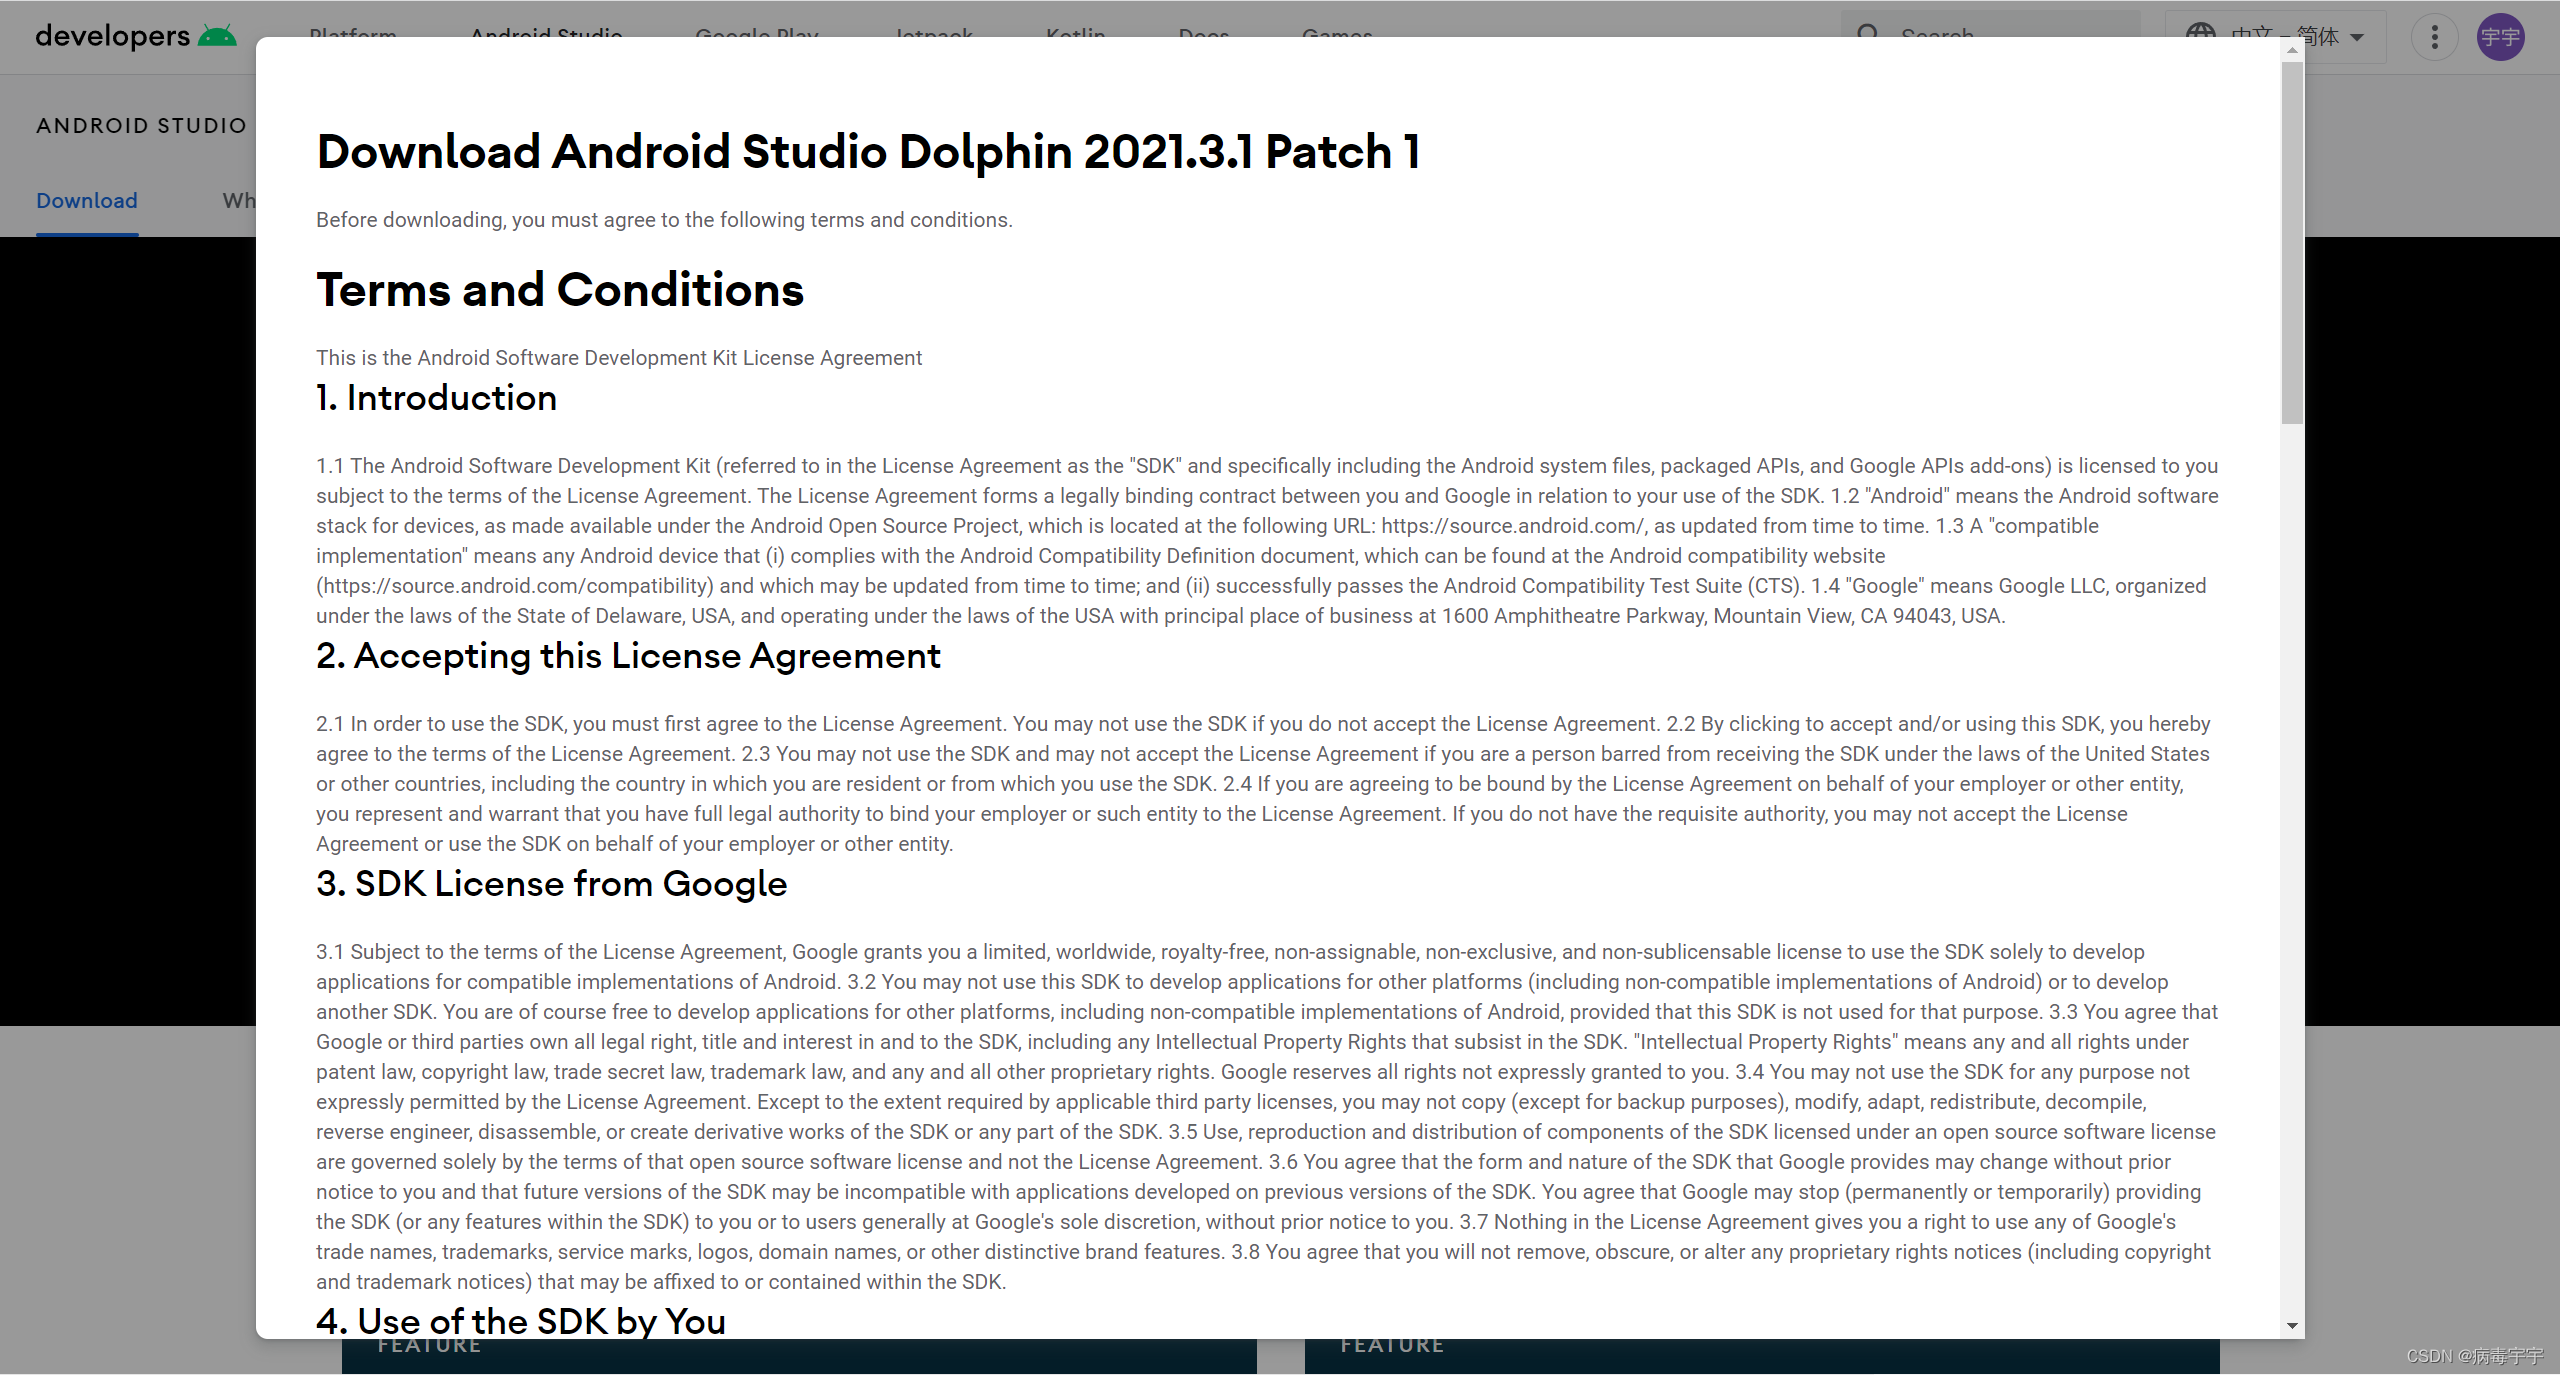
First go to the android official website, download android studio, and download the latest version. The official website address is https://developer.android.com/studio/

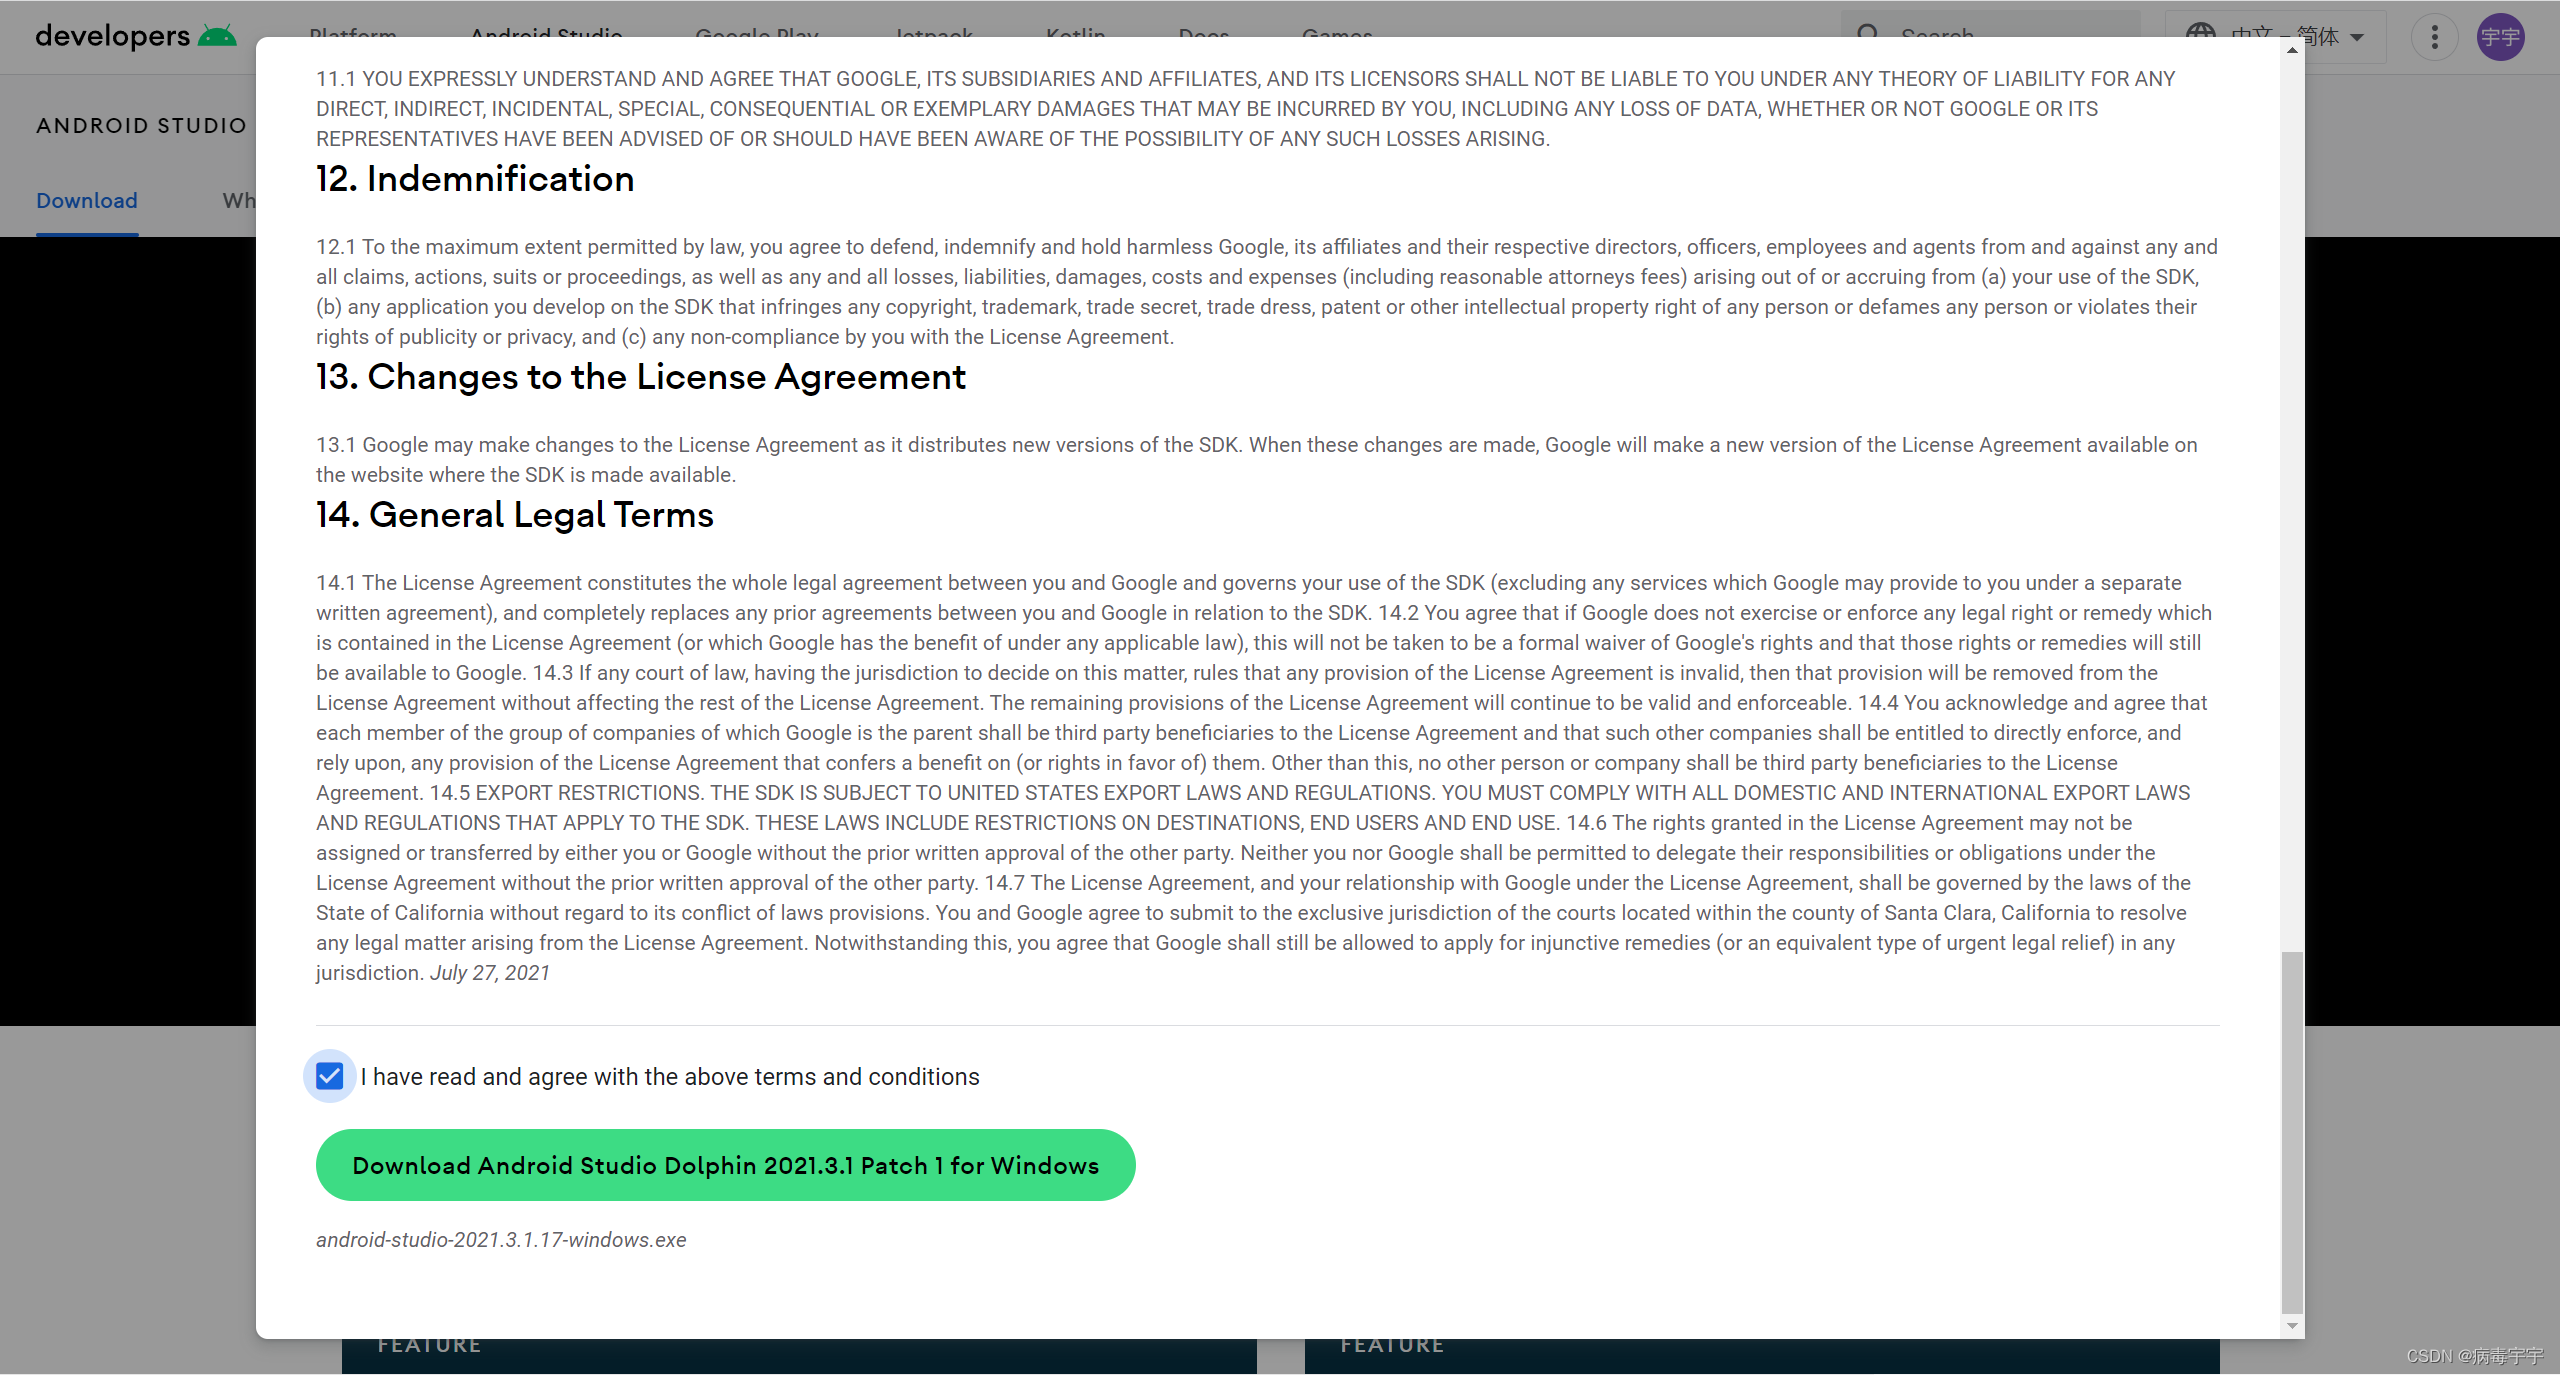
There is an agreement before downloading, just agree and download
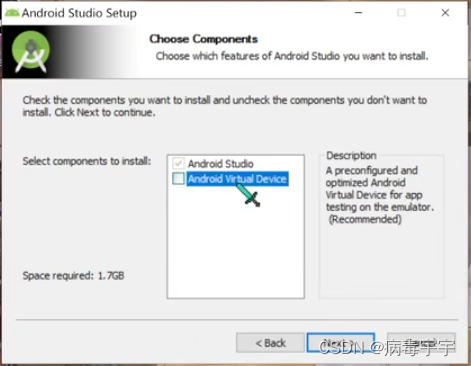
Execute the file after the download is complete to start the installation. Cancel the android virtual device during installation, because this virtual machine cannot simulate PICO VR and it is useless
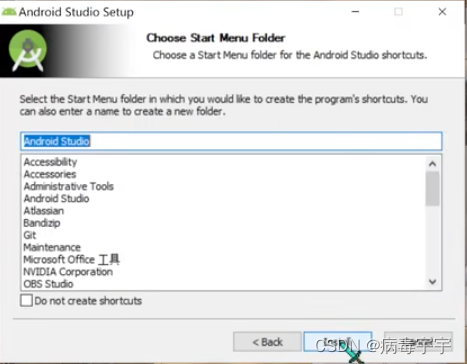
The best installation path is the default


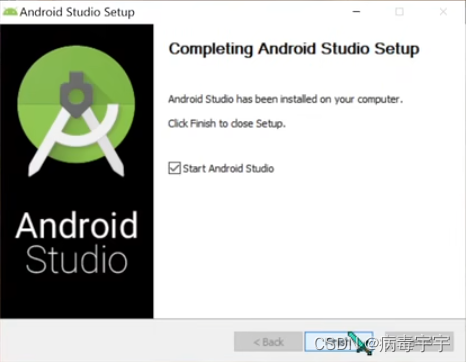
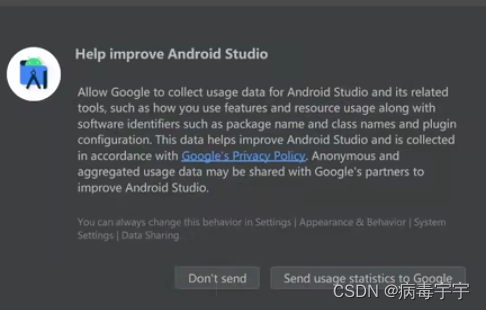
Start directly after the installation is complete. Let help improve android studio, just don't send
If you want to set the proxy, you don’t need to worry about it, just cancel it
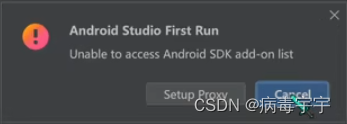
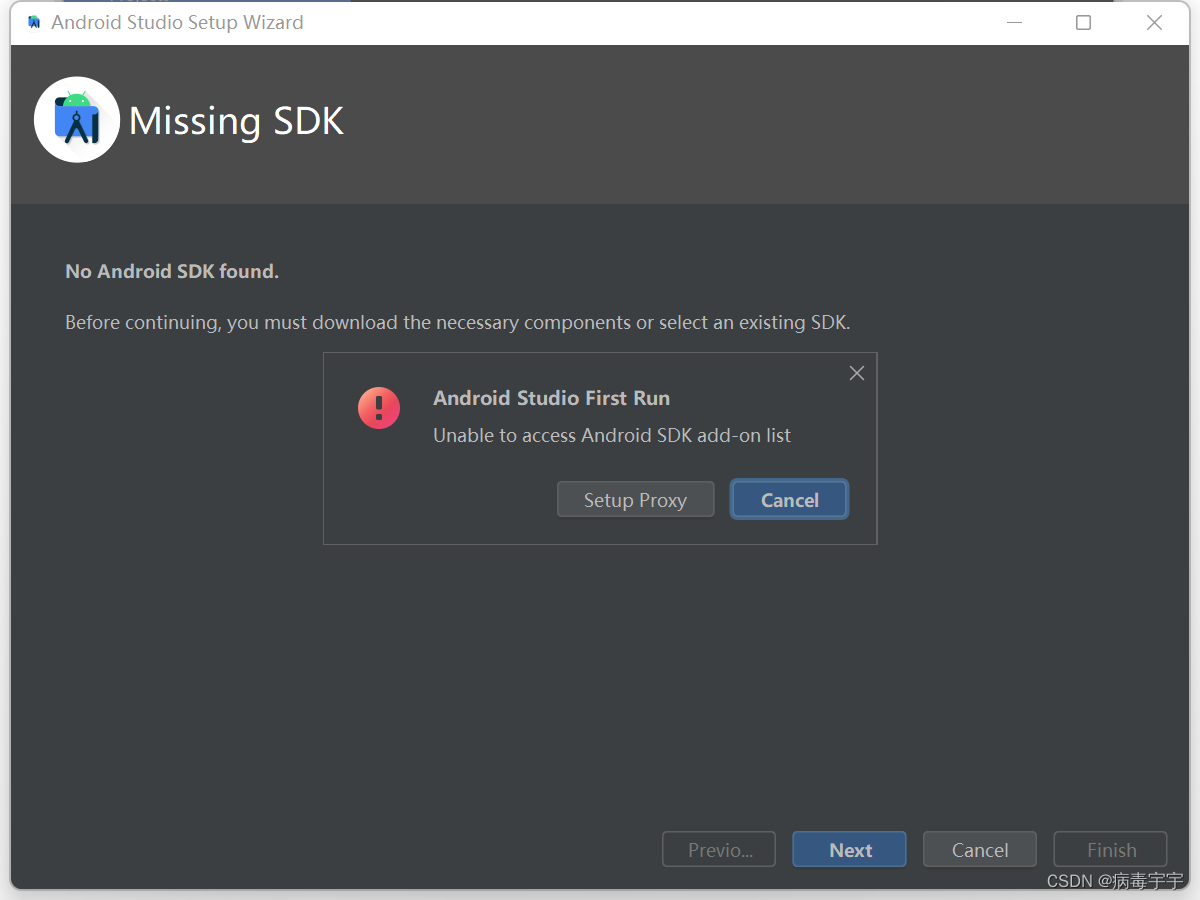
It doesn't matter if the SDK is missing, it will be installed later
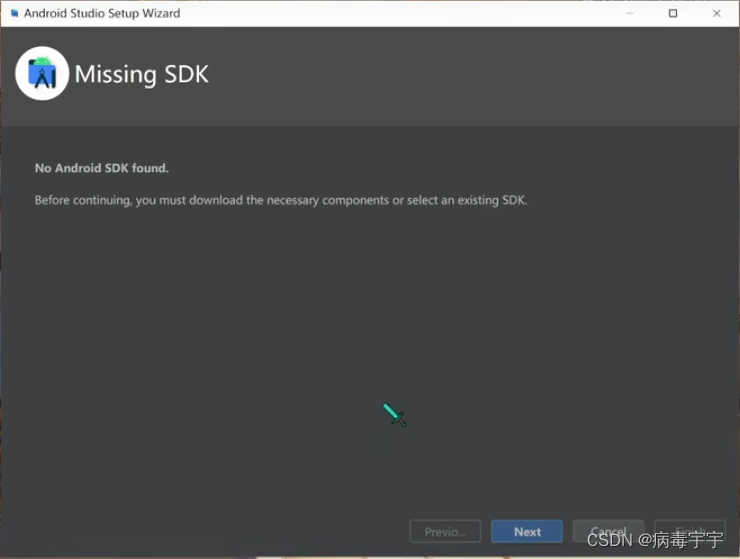
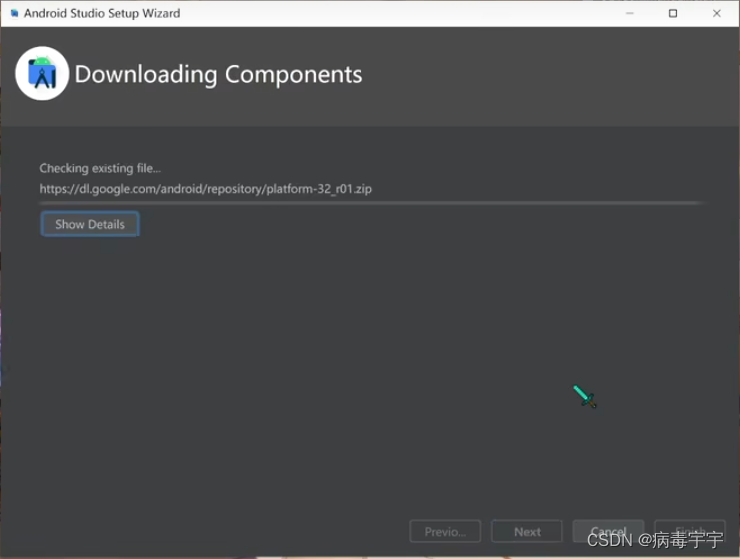
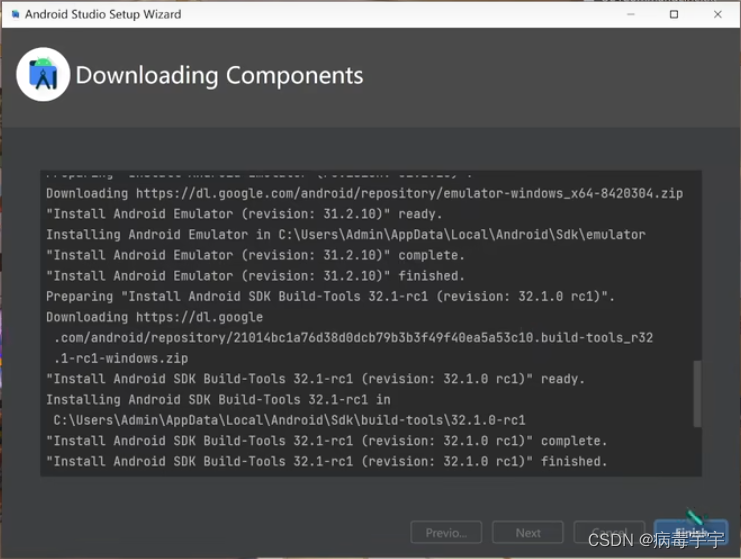
After Next, it will automatically start installing the latest android SDK. But the sdk version installed by android studio is too high, and I will talk about how to reinstall the SDK later
Open android studio after Finish
If there are the following prompts, don’t worry about it, just cancel
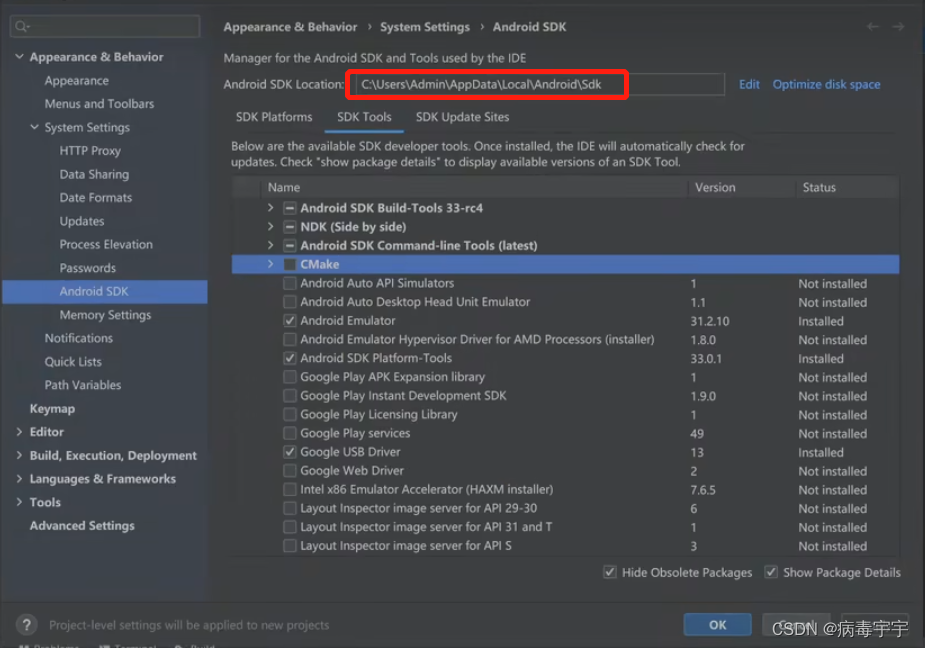
open sdk manager

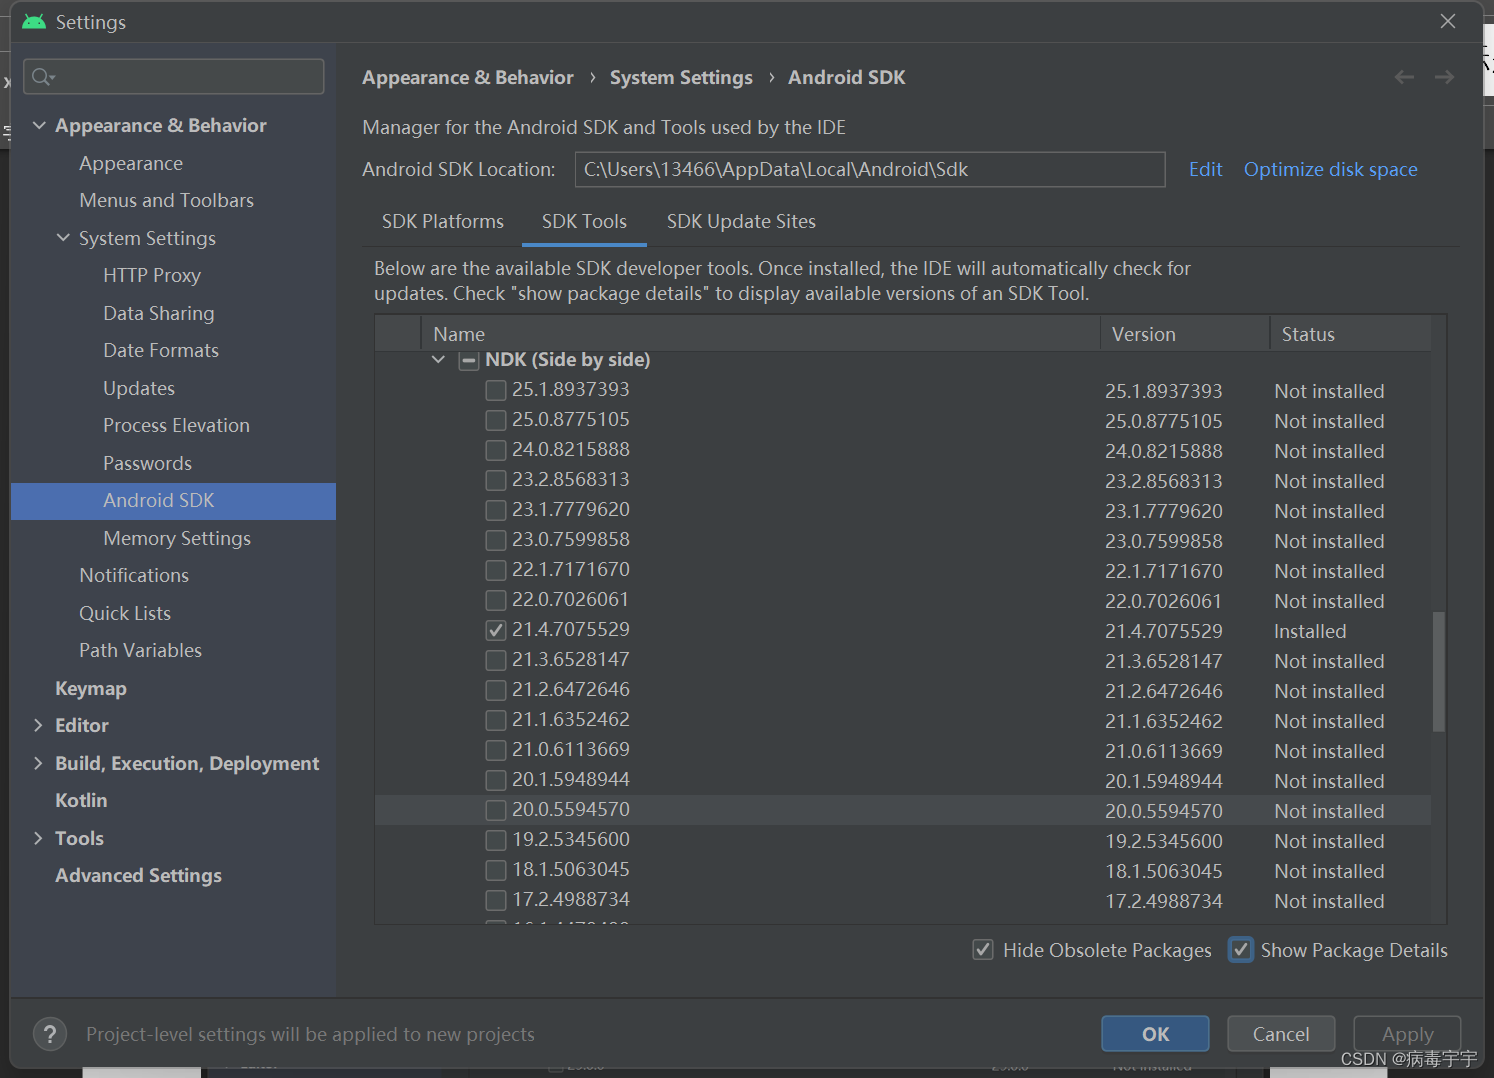
Click android sdk on the left column, and change the option on the right to the content selected in the figure below. Note: The ones that were automatically checked before must be removed. In addition, the three items of SDK Platforms, SDK Tools, and SDK Update Sites must be changed

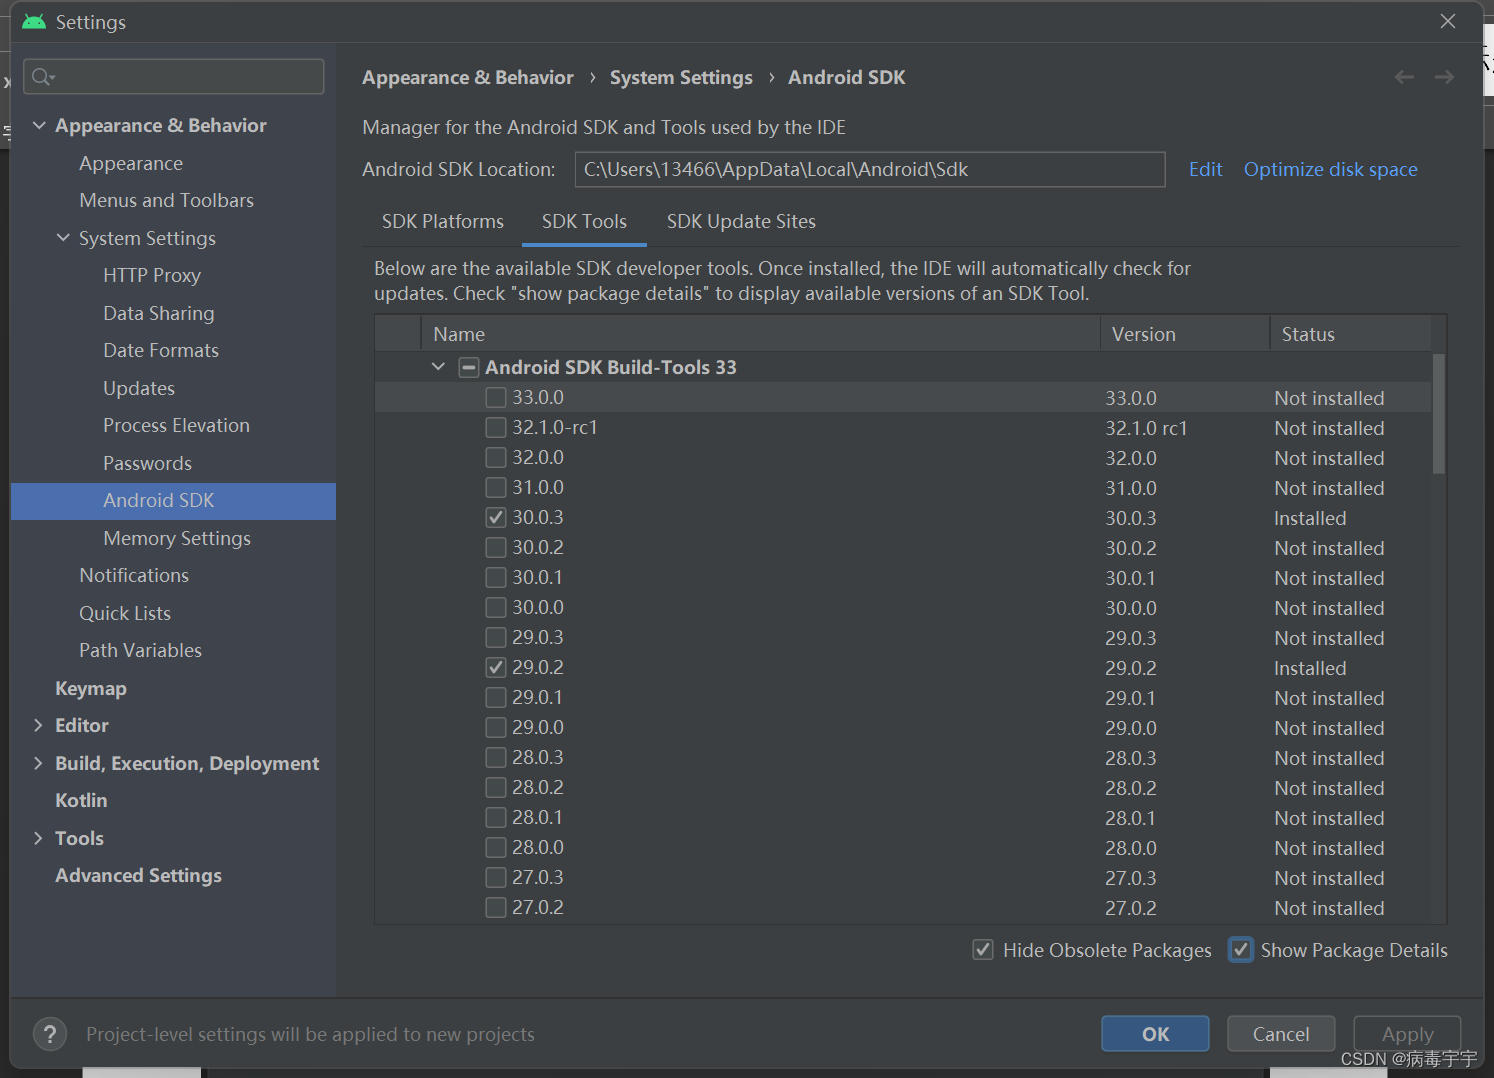

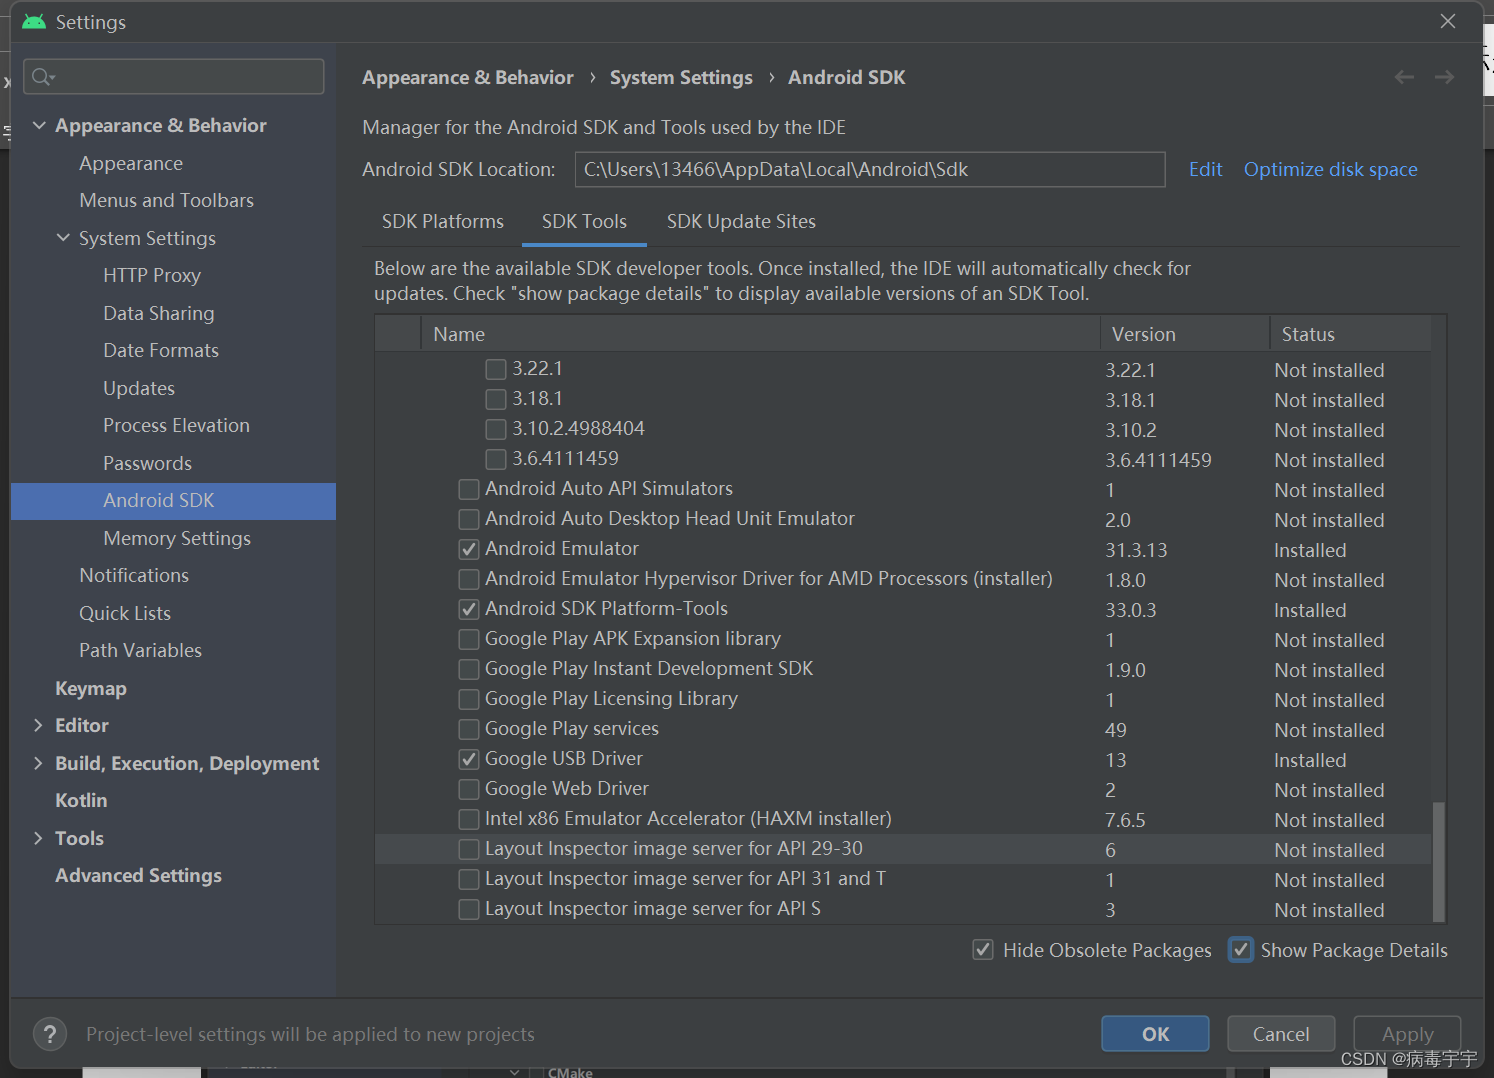

Click Apply

Then start installing the various packages you just selected

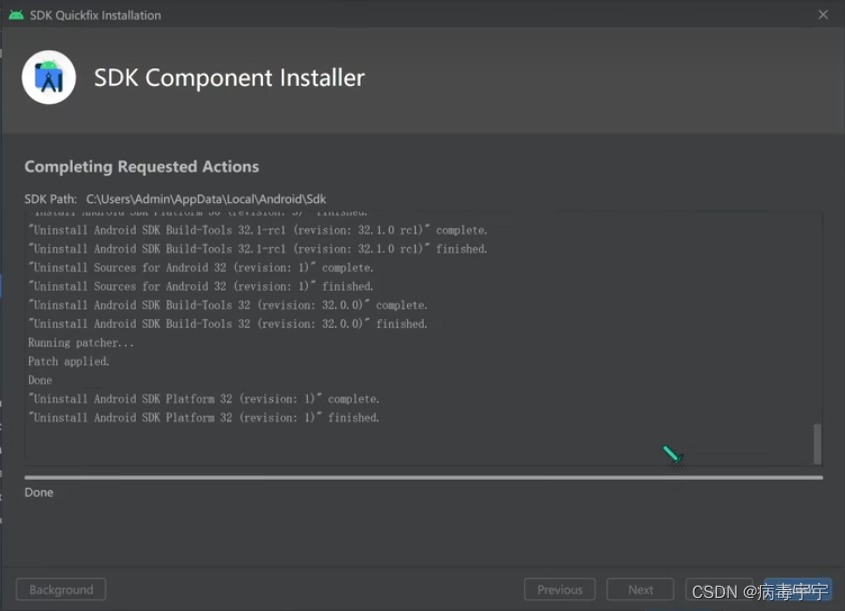
The installation is complete, finish, remember the installation path of the android sdk here, it will be used later
Now the Android sdk is installed.
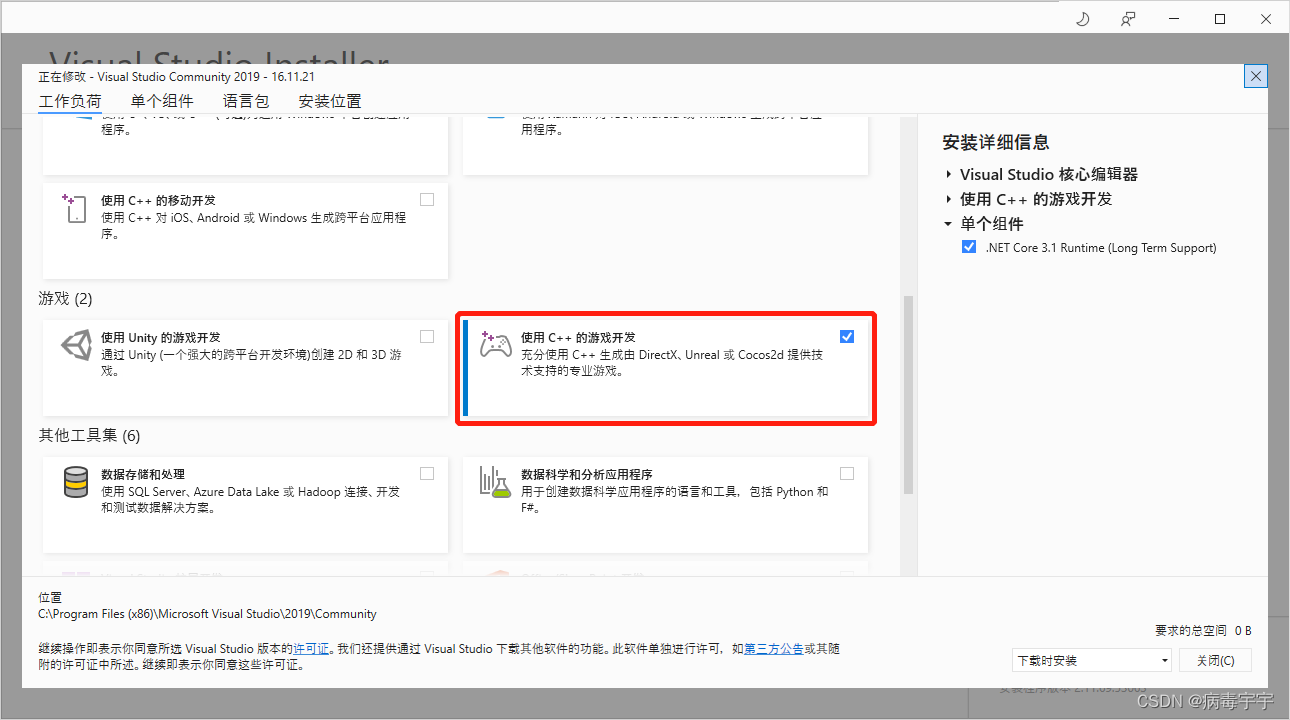
Note: Let me say here that in addition to the above android sdk, visual studio must also be installed. I installed visual studio community 2019.

When installing, you must select "Game development using C++", otherwise you will encounter problems when installing the ue4 plug-in later
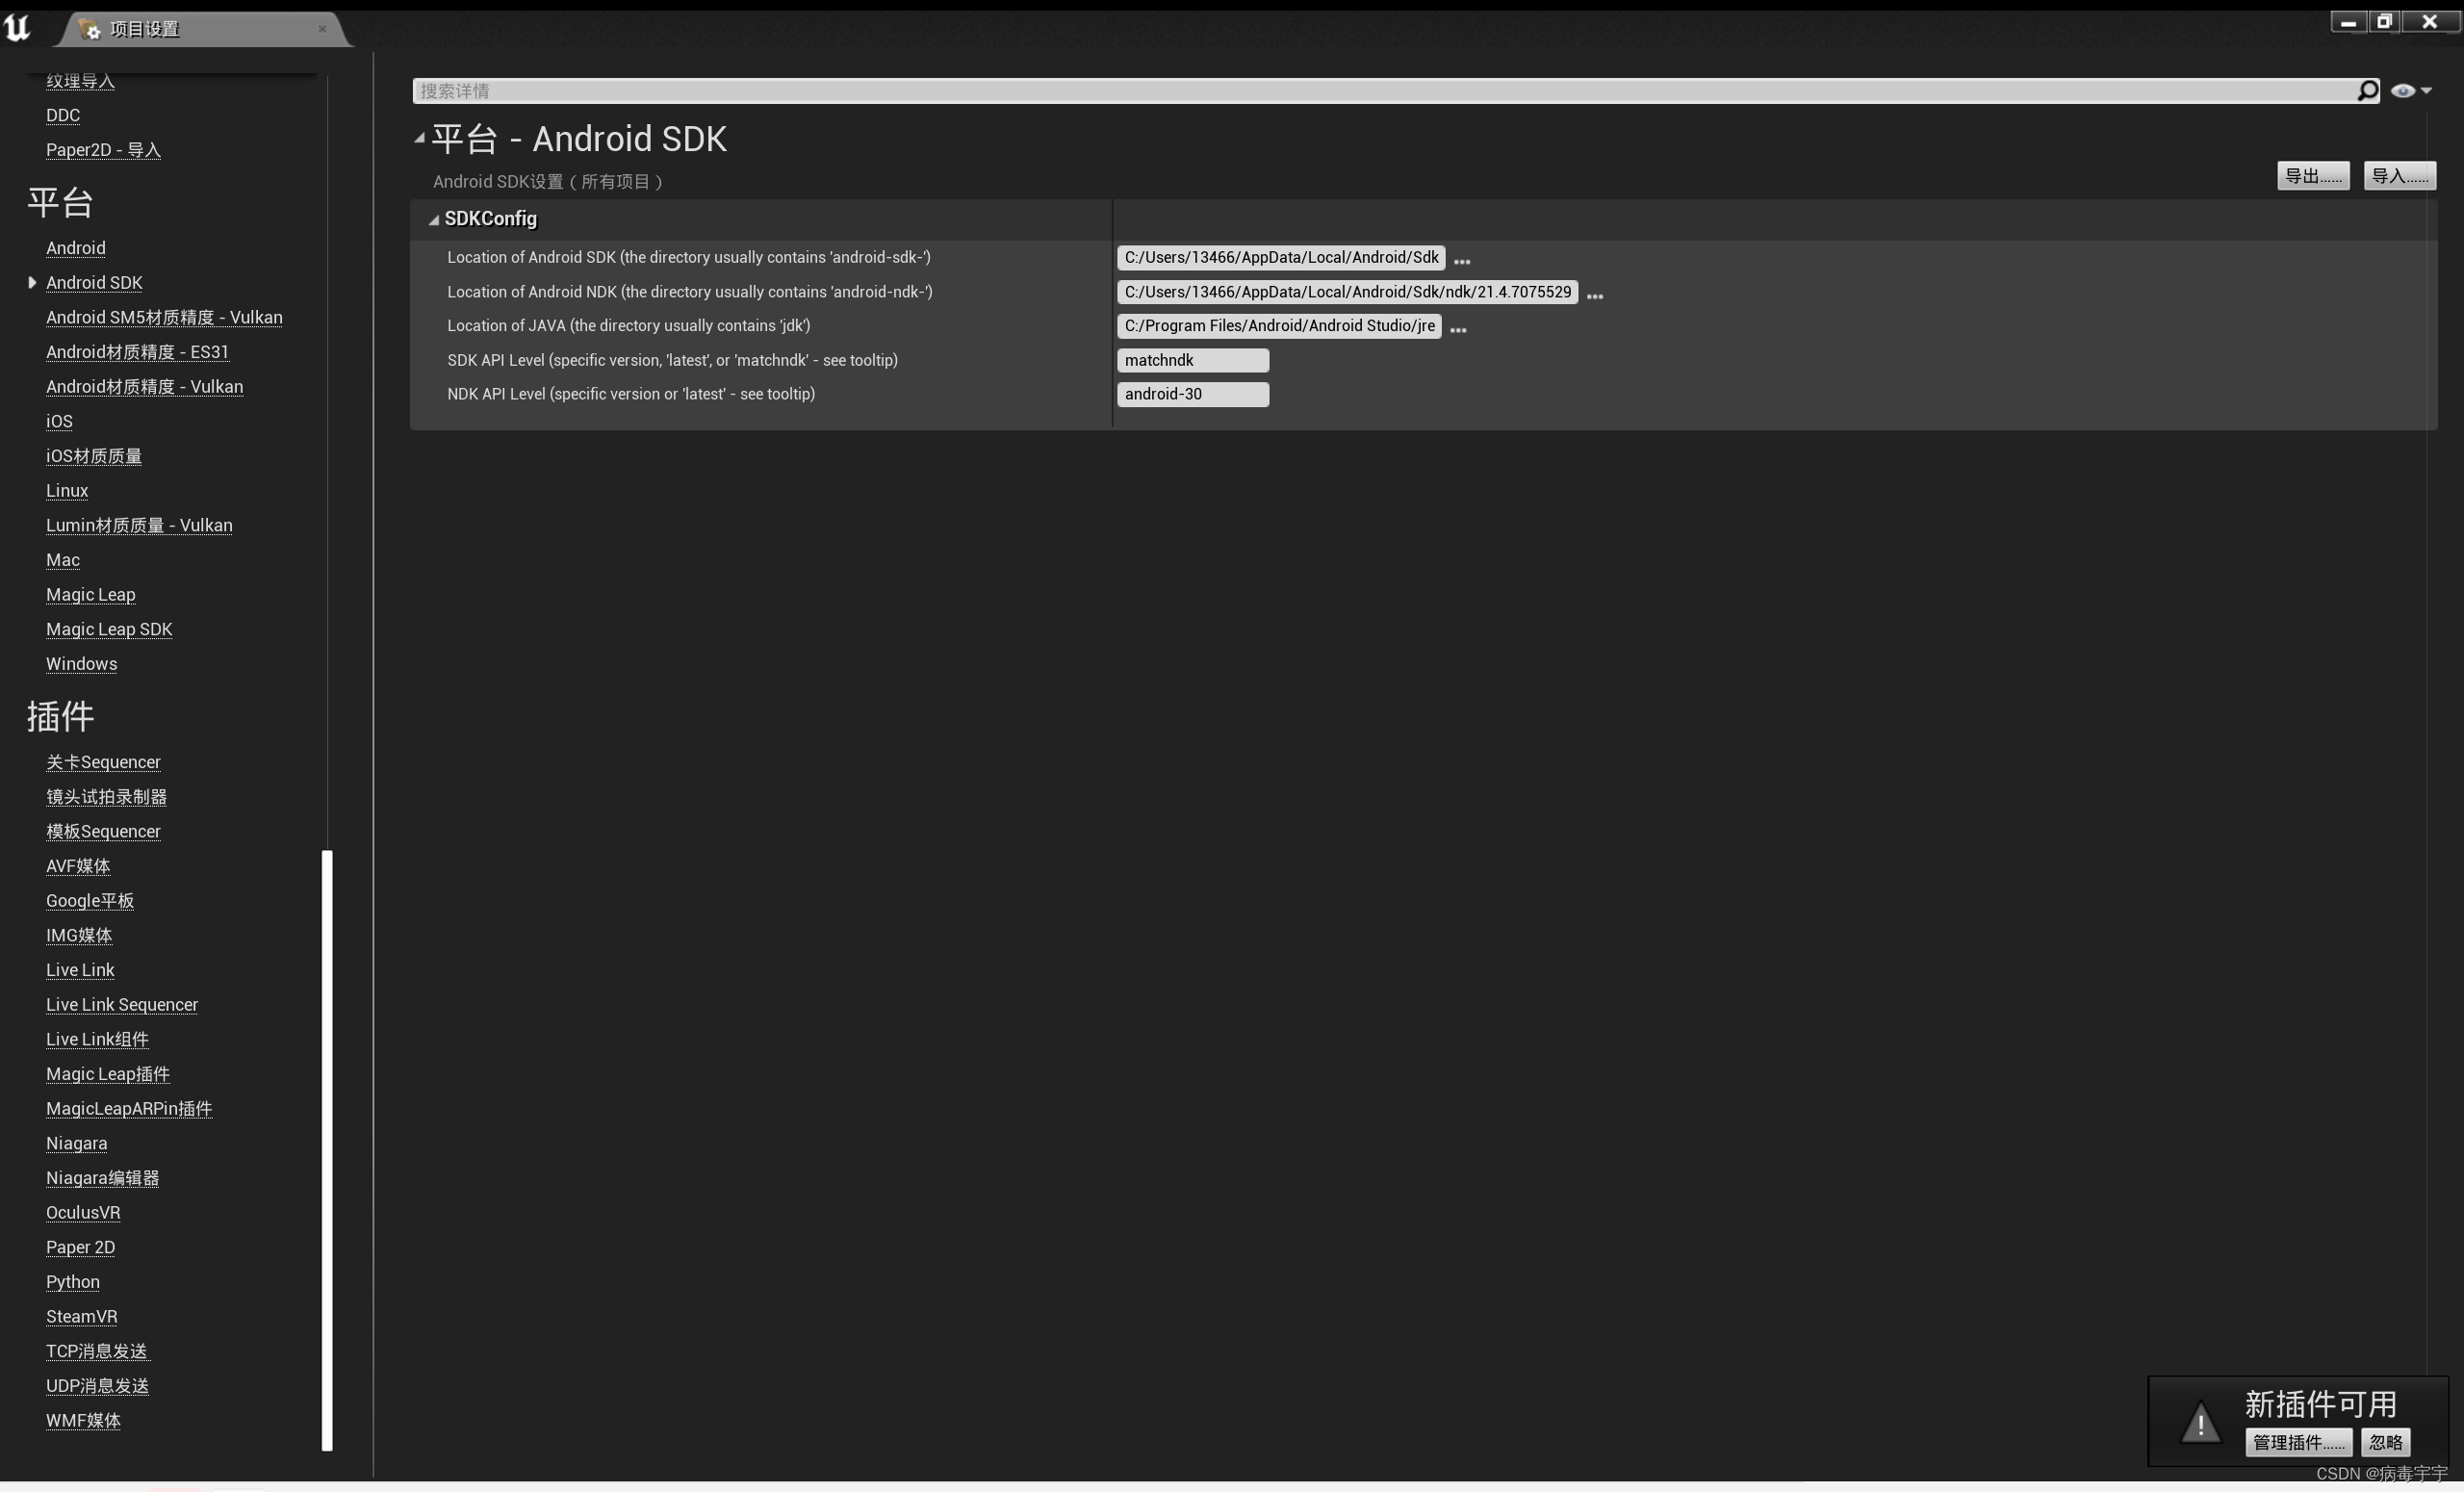
Go back to ue4, open the project settings, click android sdk on the left column, and configure according to the figure below on the right. The specific content is:
C:/Users/13466/AppData/Local/Android/Sdk
C:/Users/13466/AppData/Local/Android/Sdk/ndk/21.4.7075529
C:/Program Files/Android/Android Studio/jre
matchndk
android-30
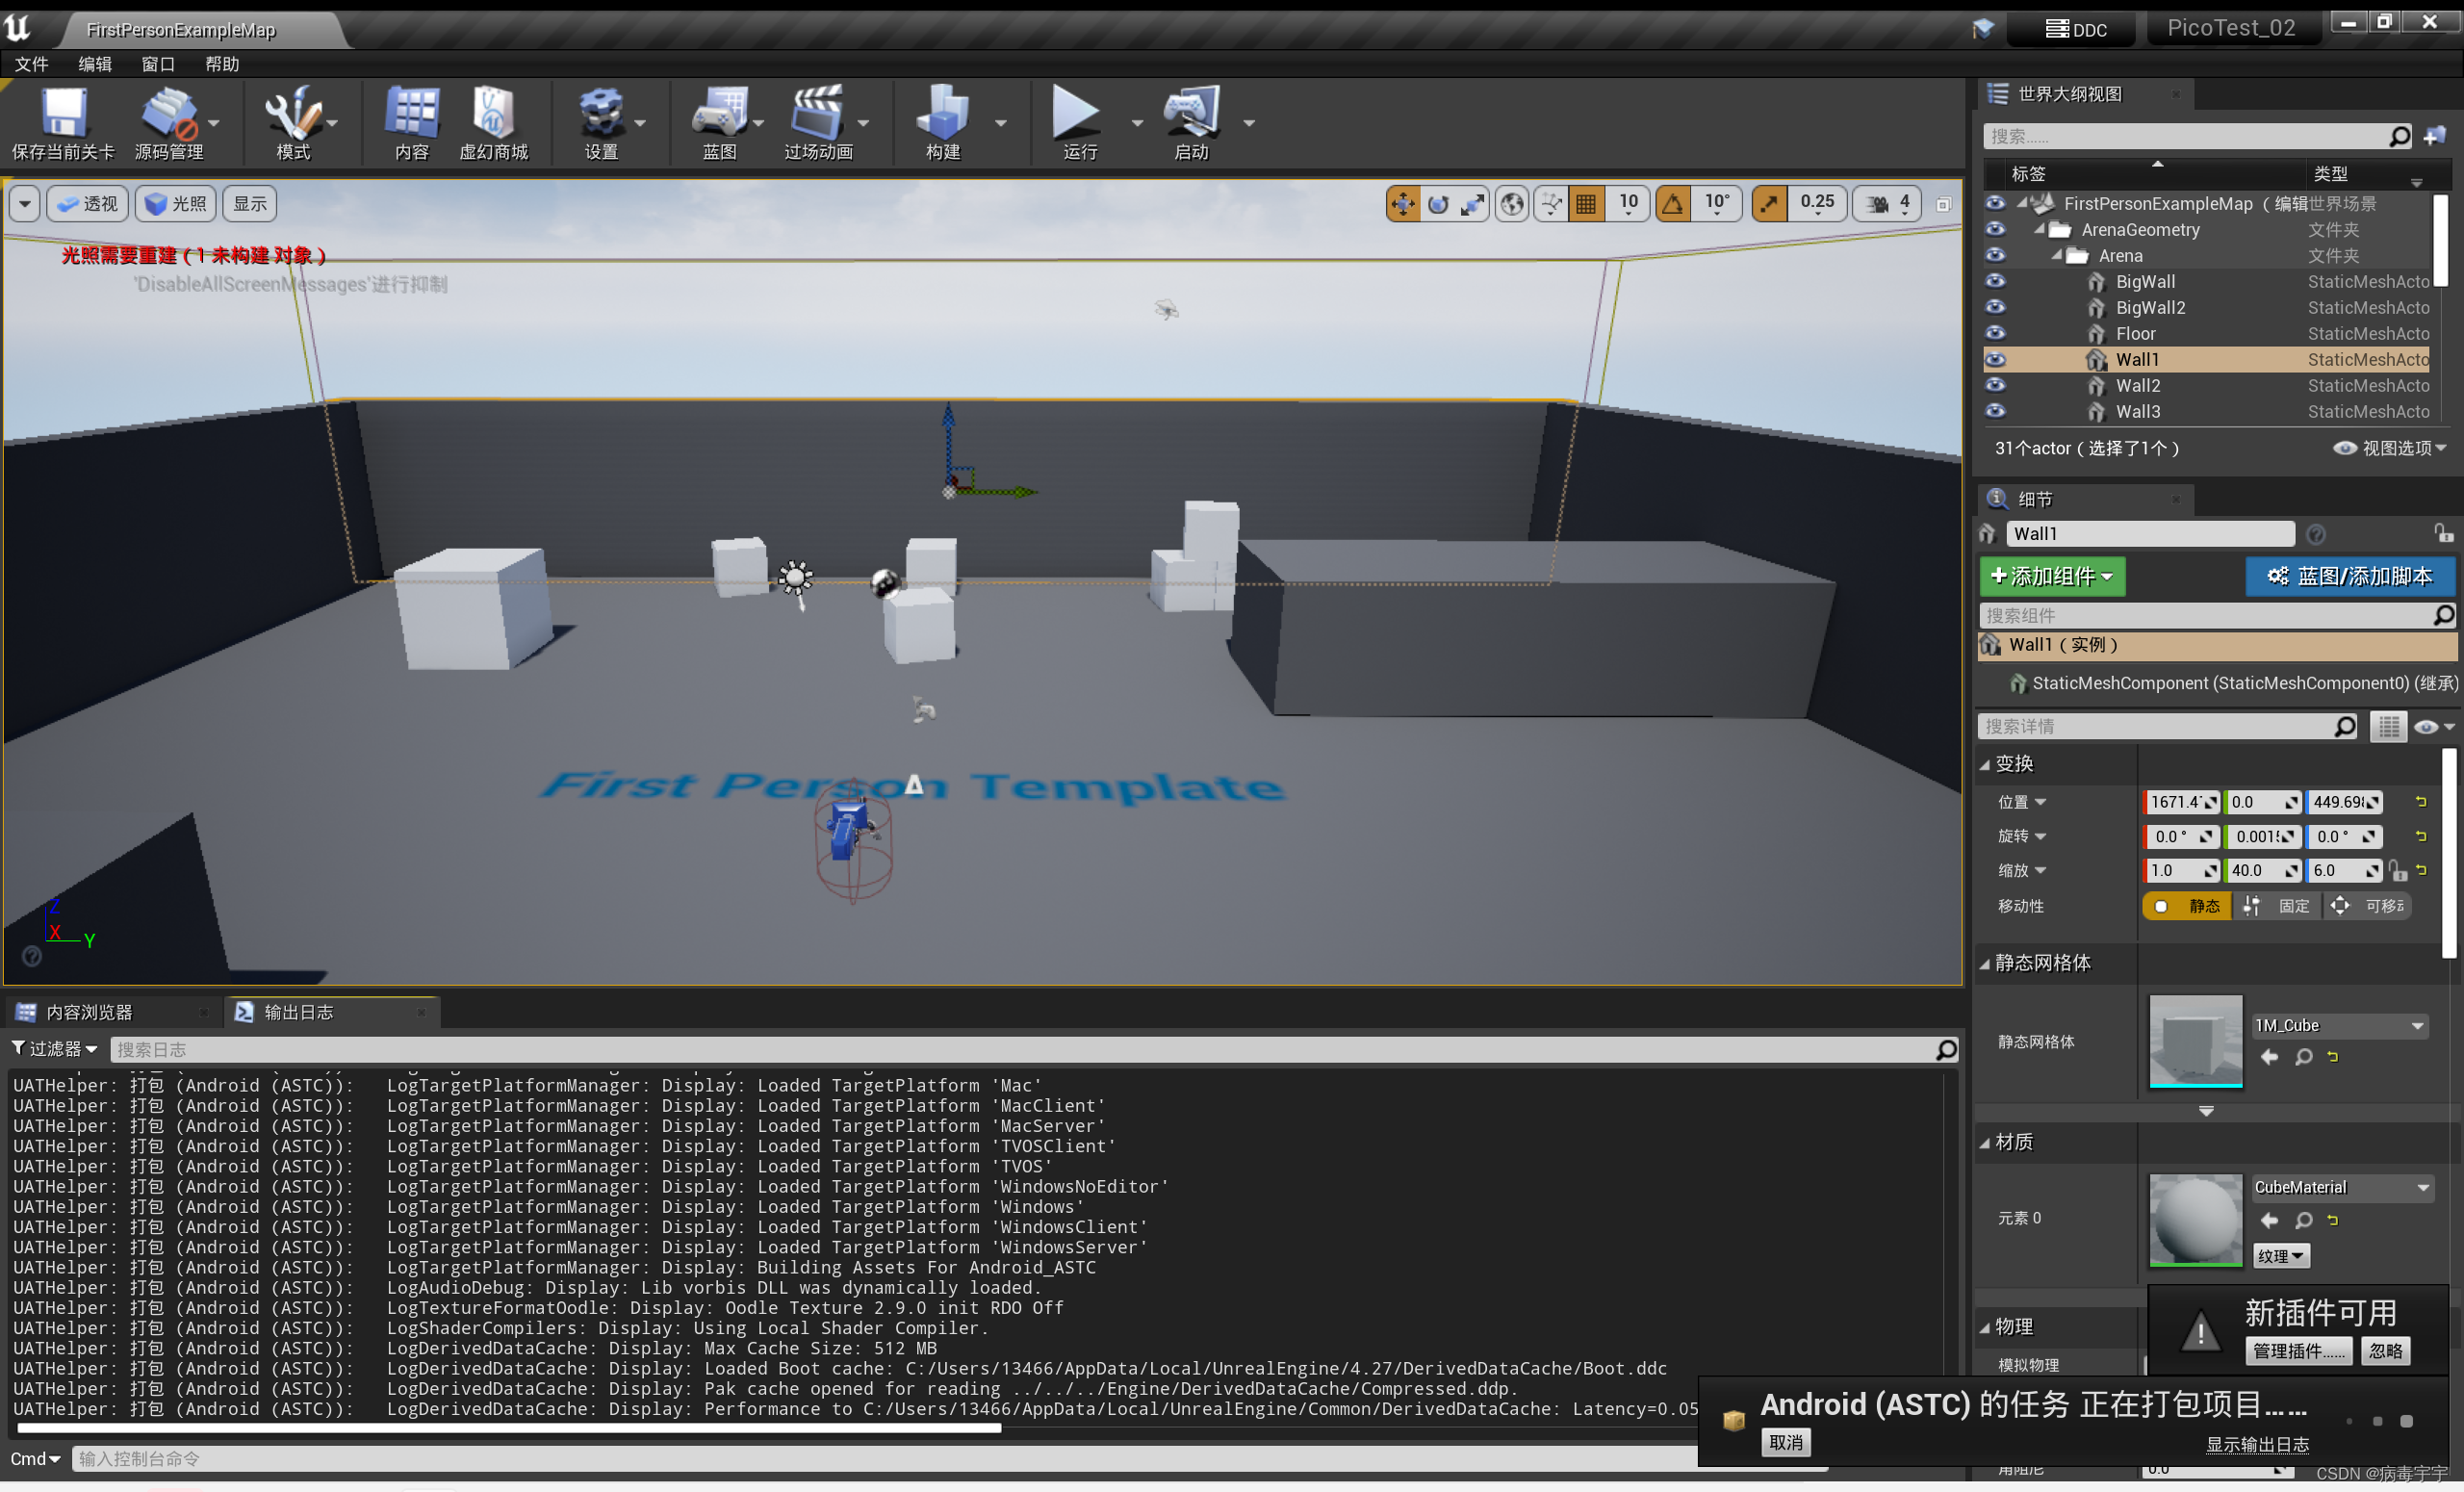
Now the android sdk is configured, let's verify it. Still click on android (ASTC)

Now the web page will not pop up, but it will let you choose the packaged save address. You can directly select the directory of the current project, and the system will create a new folder

You can see that the packaging has started, and there are project logs rolling. Note: If there is a red prompt in the project log, it means that there is a name error, and the packaging will definitely fail. Just look at the reason for the failure.

The packaging process is relatively long, and there will be a prompt on the ue4 interface after completion. An Android_ASTC directory will be added under the project directory, with 4 files in it
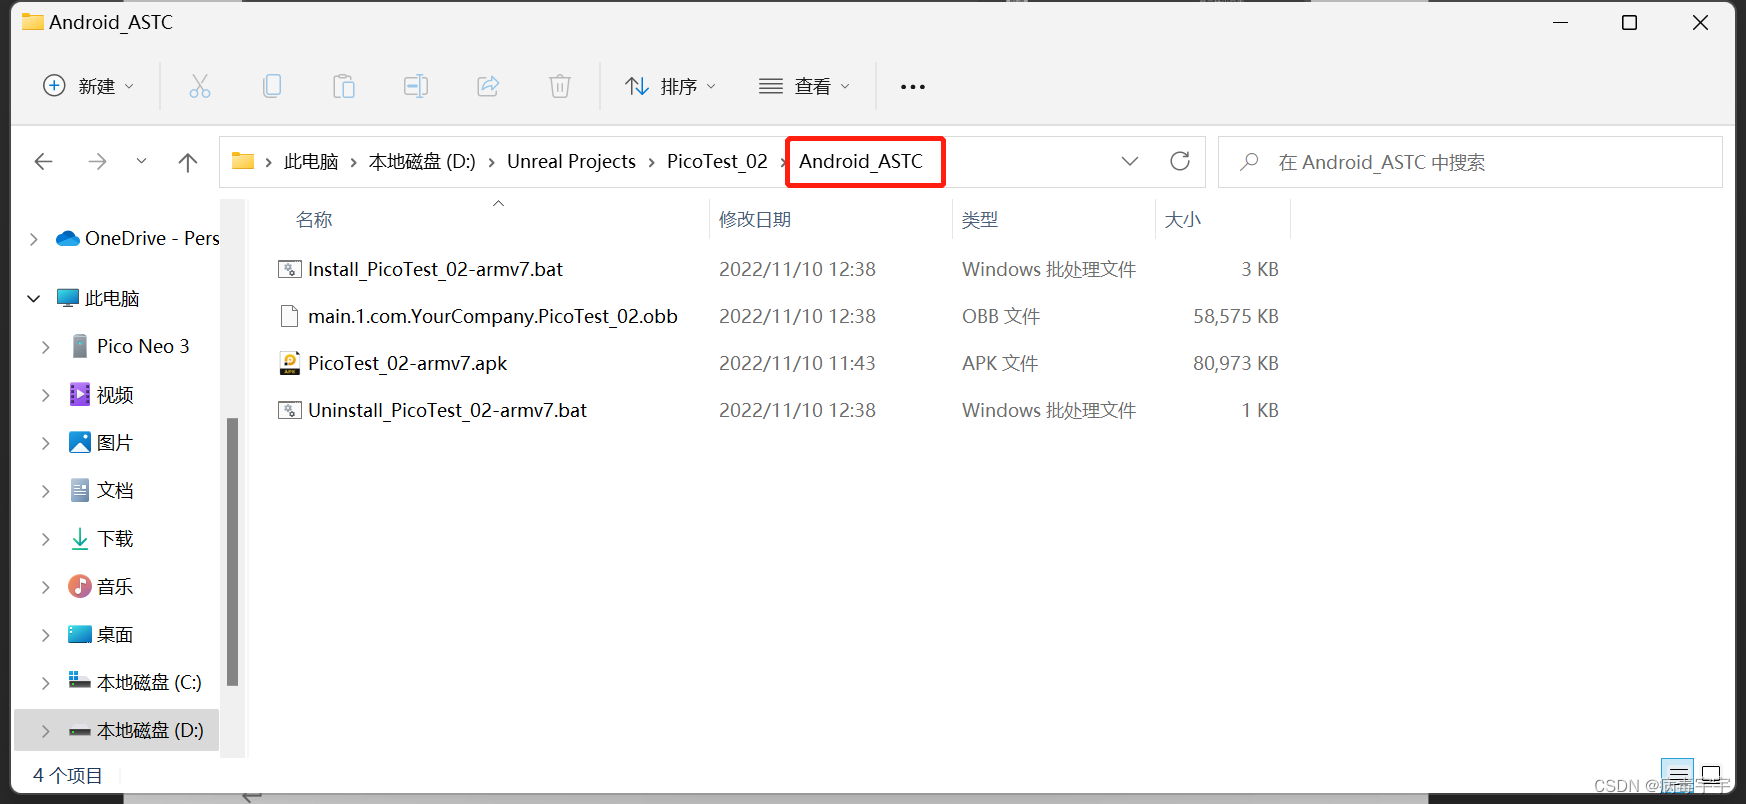
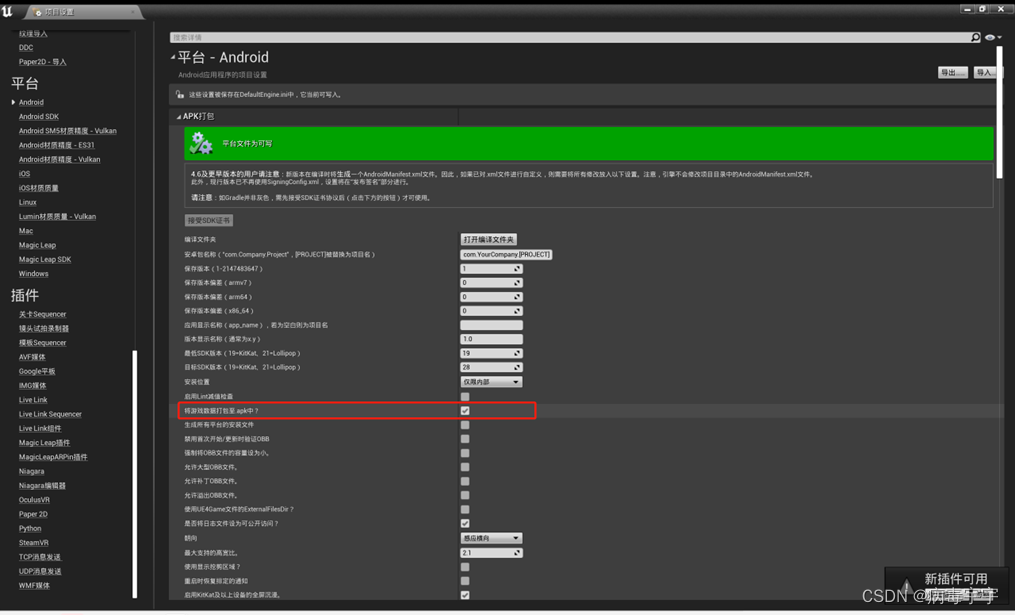
This shows that our configuration is correct, and now this apk file can be installed and run on our android device. But our purpose is to install the program on PICO VR, so we need to continue to operate. Open the project settings, select android on the left, and check "Package game data into .apk" on the right. In this way, there will be no more .abb files when packaging
Go to pico's official website https://www.picoxr.com/
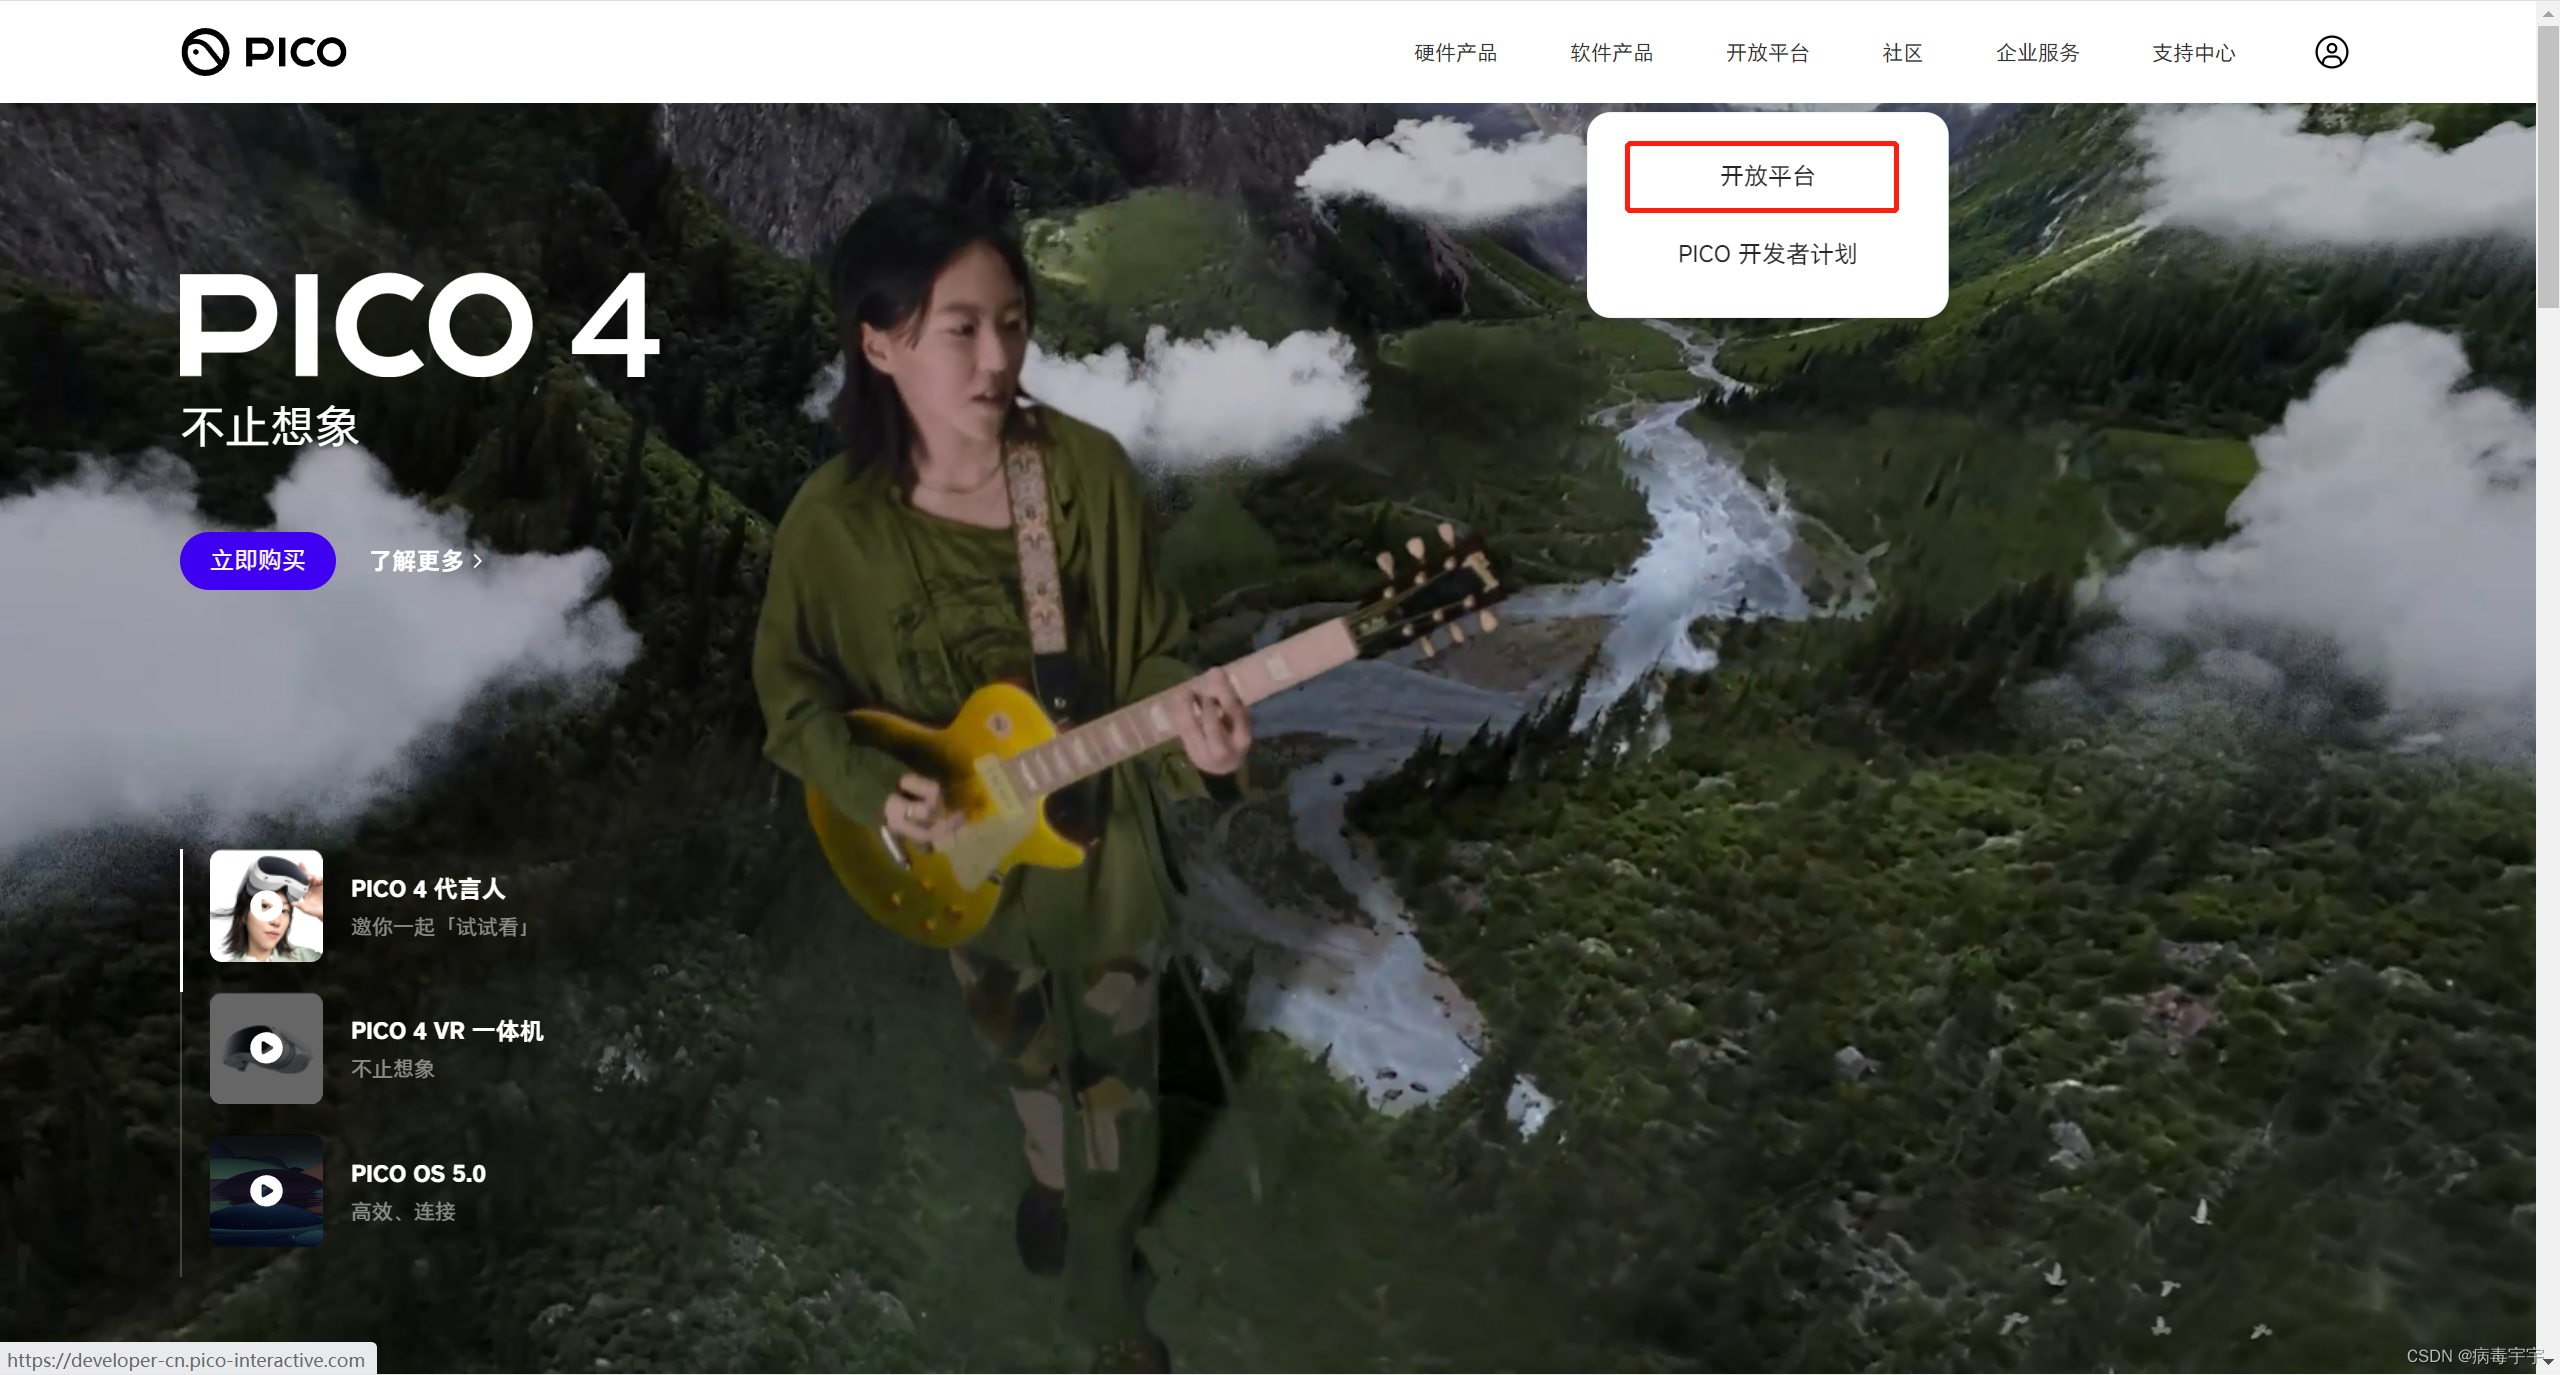
Enter the open platform

Click "Download SDK"

Select unreal => pico unreal integration sdk => download the latest version
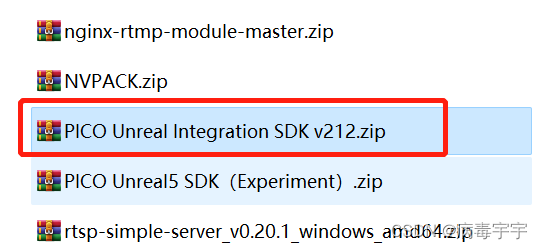
After decompression, you will see that pico sdk corresponds to 3 versions of ue

Next, close the ue4 project, open ue4.27 in the pico sdk, and move the Plugins in the report to the project directory just created in ue4

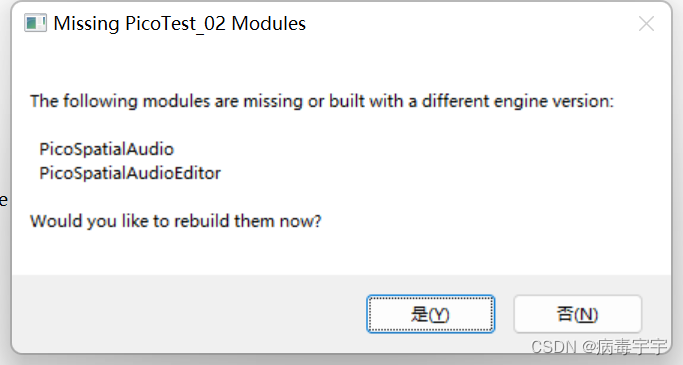
Start the ue4 project, you will see a prompt that the project is missing modules, click "Yes" to rebuild directly
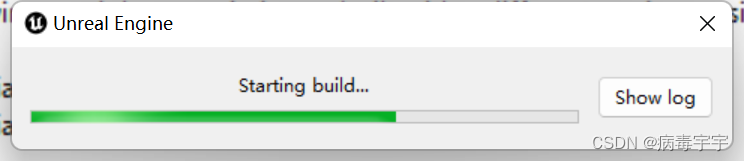
If the following progress bar appears, it means that it is restarting, just wait for a while
But if the picture below shows that it cannot be compiled, the basic problem lies in the installation of "visual studio community 2019" or "c++ game development", go back and check carefully

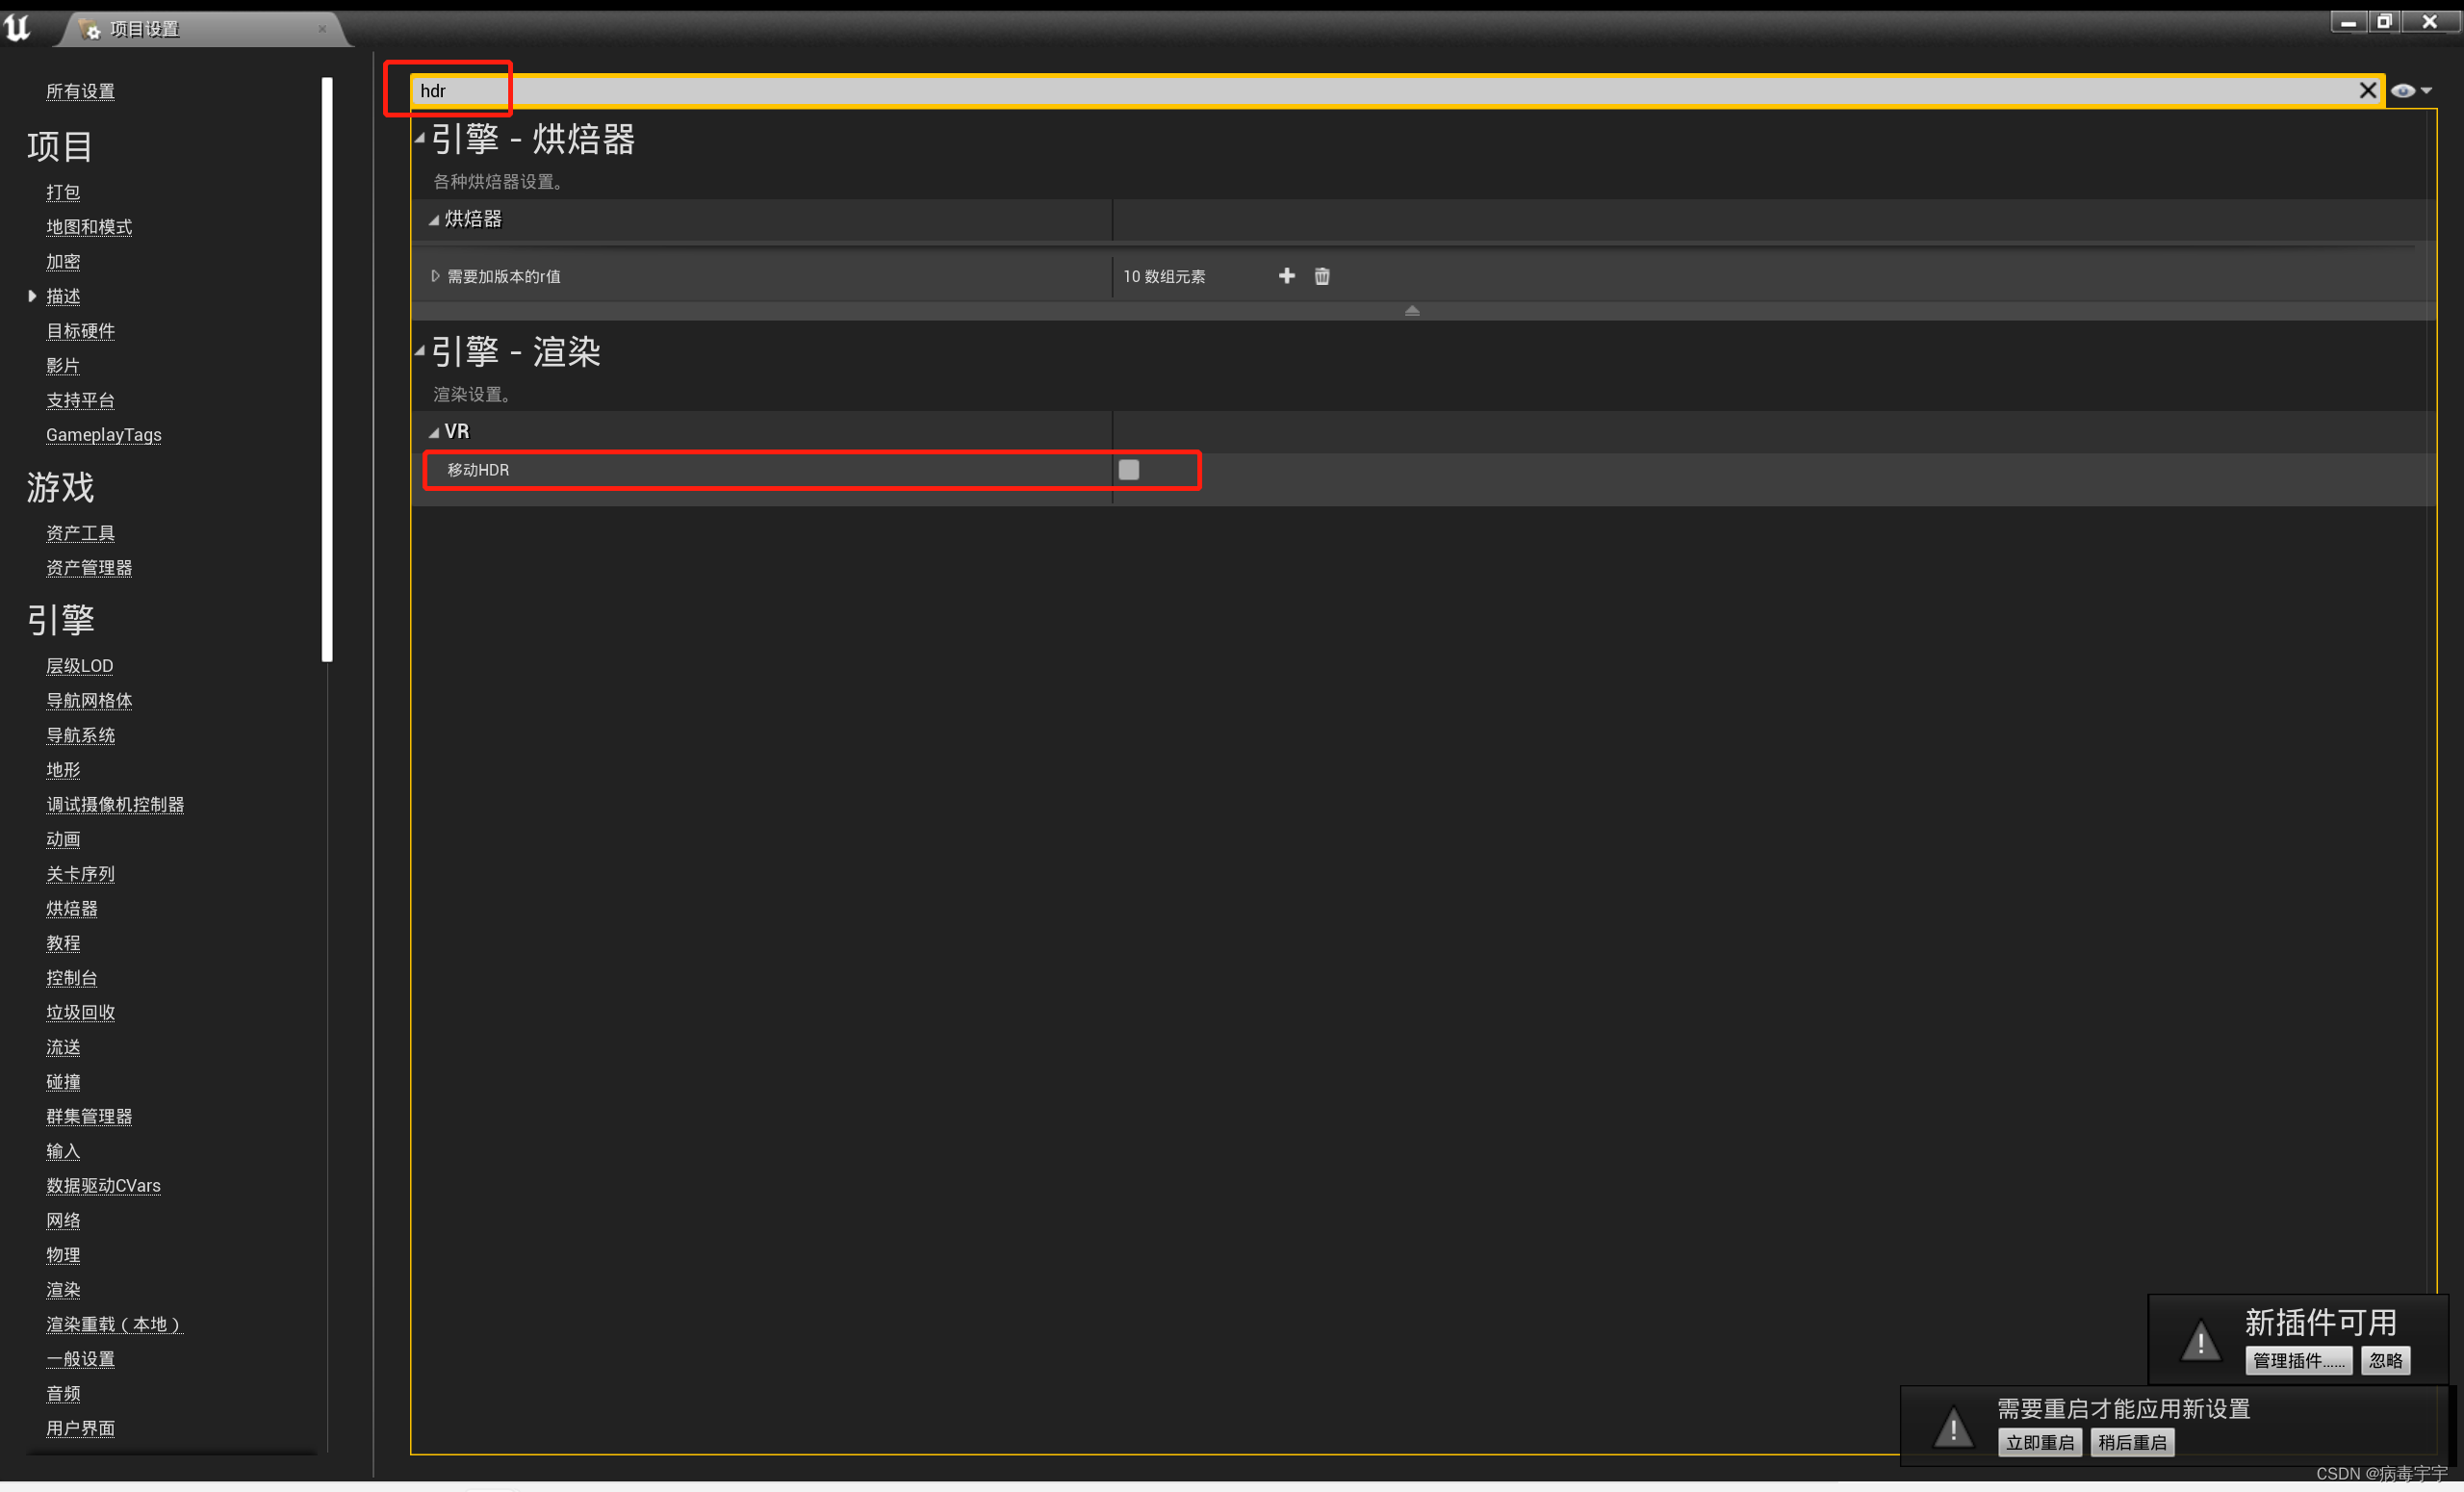
After Ue4 restarts, do some necessary settings. Open the project settings. Search for hdr and uncheck Mobile HDR.
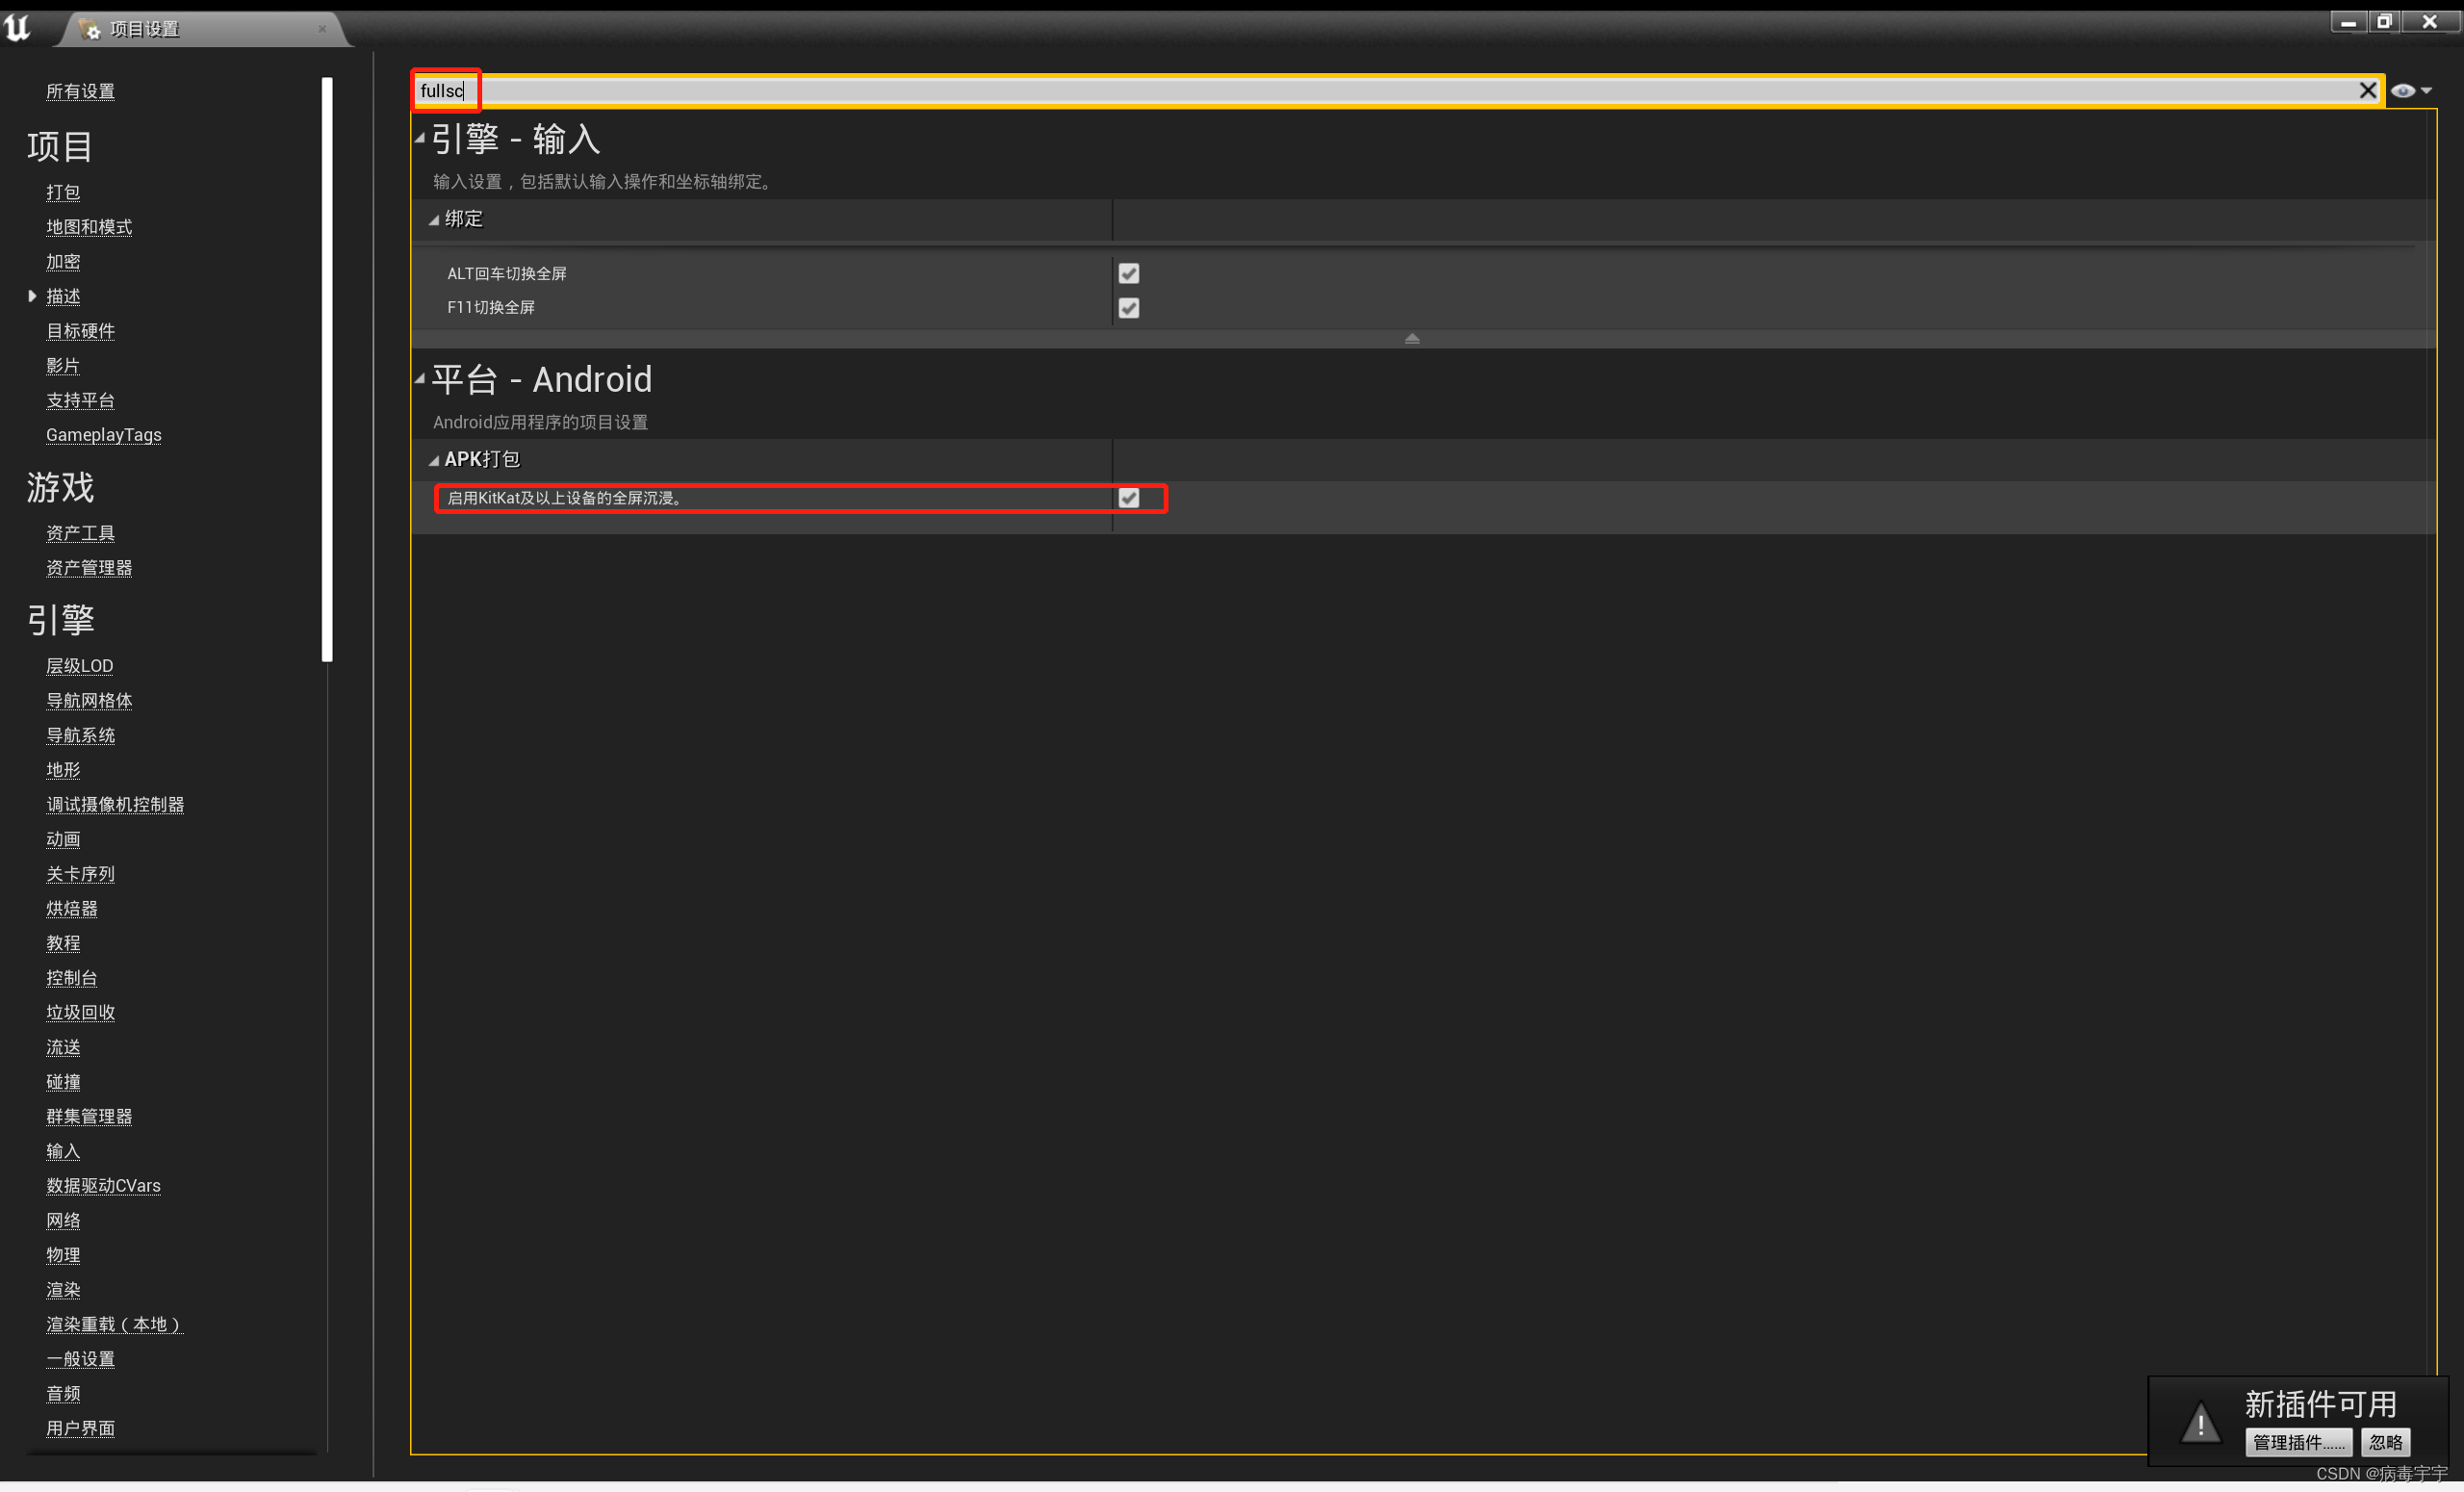
Search for fullsc in the project settings, and check "Enable full-screen immersion for kitkat and above devices"
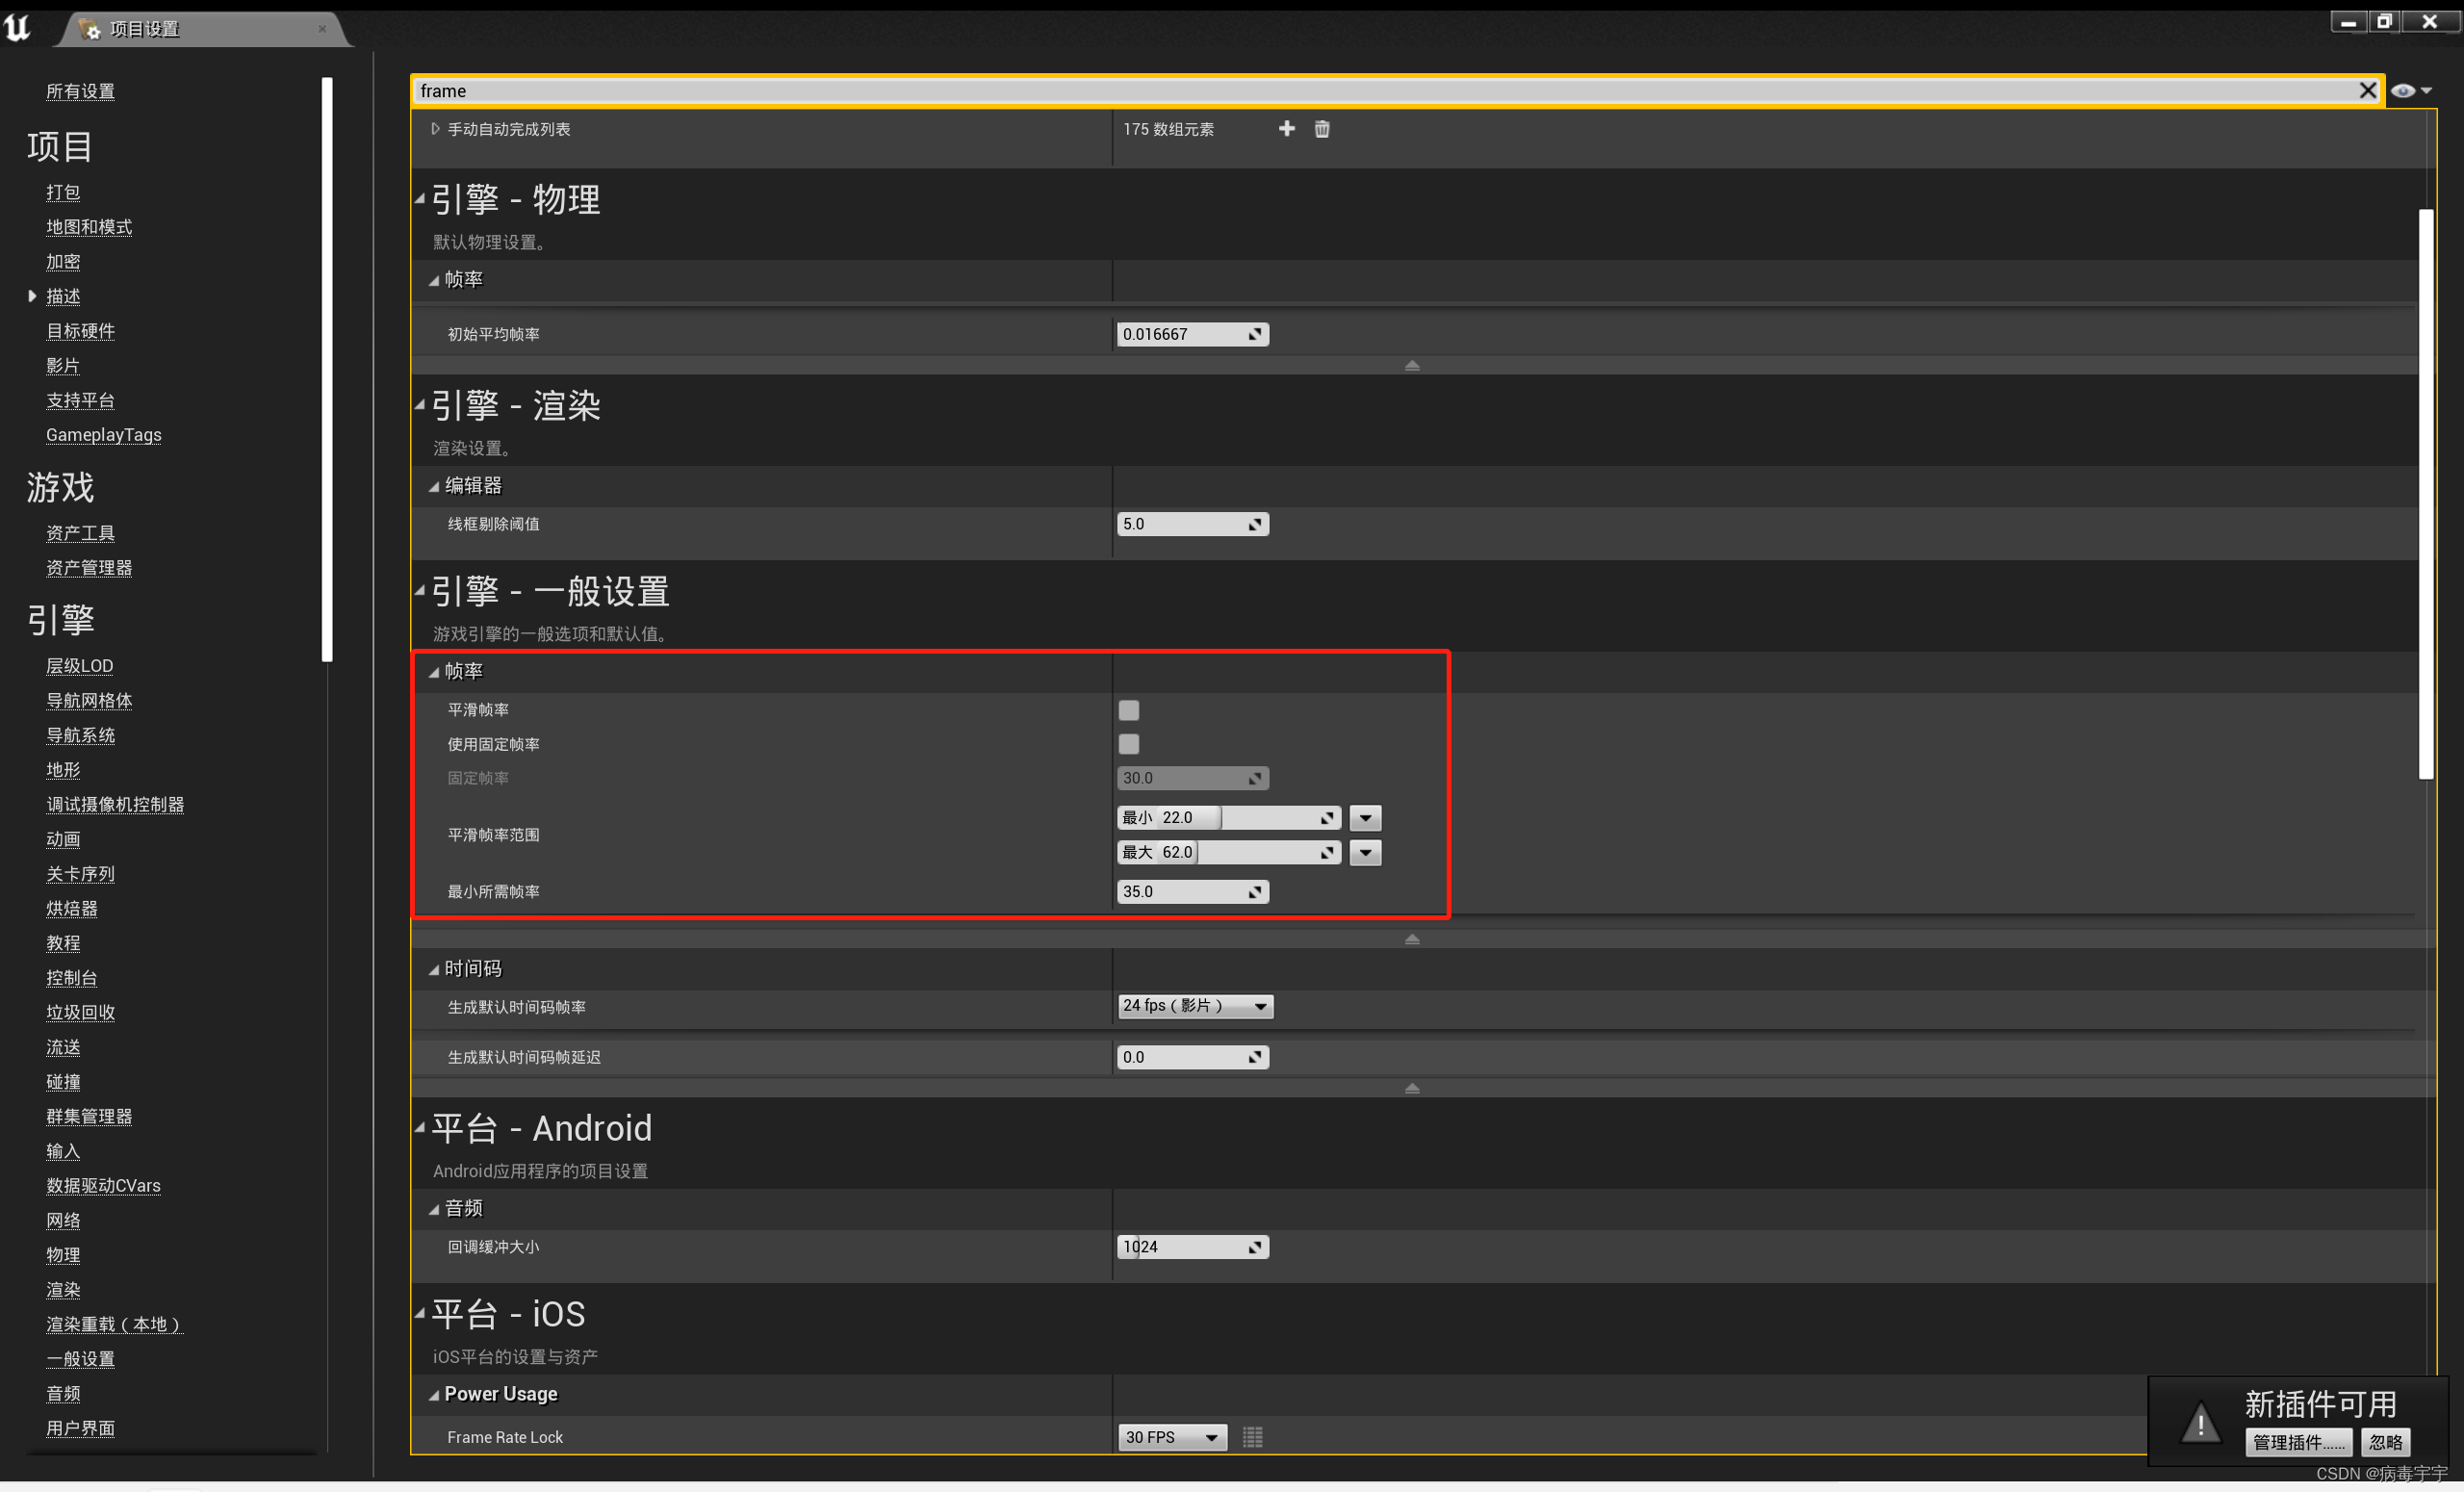
Search for frame in the project settings, where "Engine - General Settings" is configured as shown below
Search for touch in the project settings, select [Clear] for the default controller, and remove the default android controller

Open "Plugins"
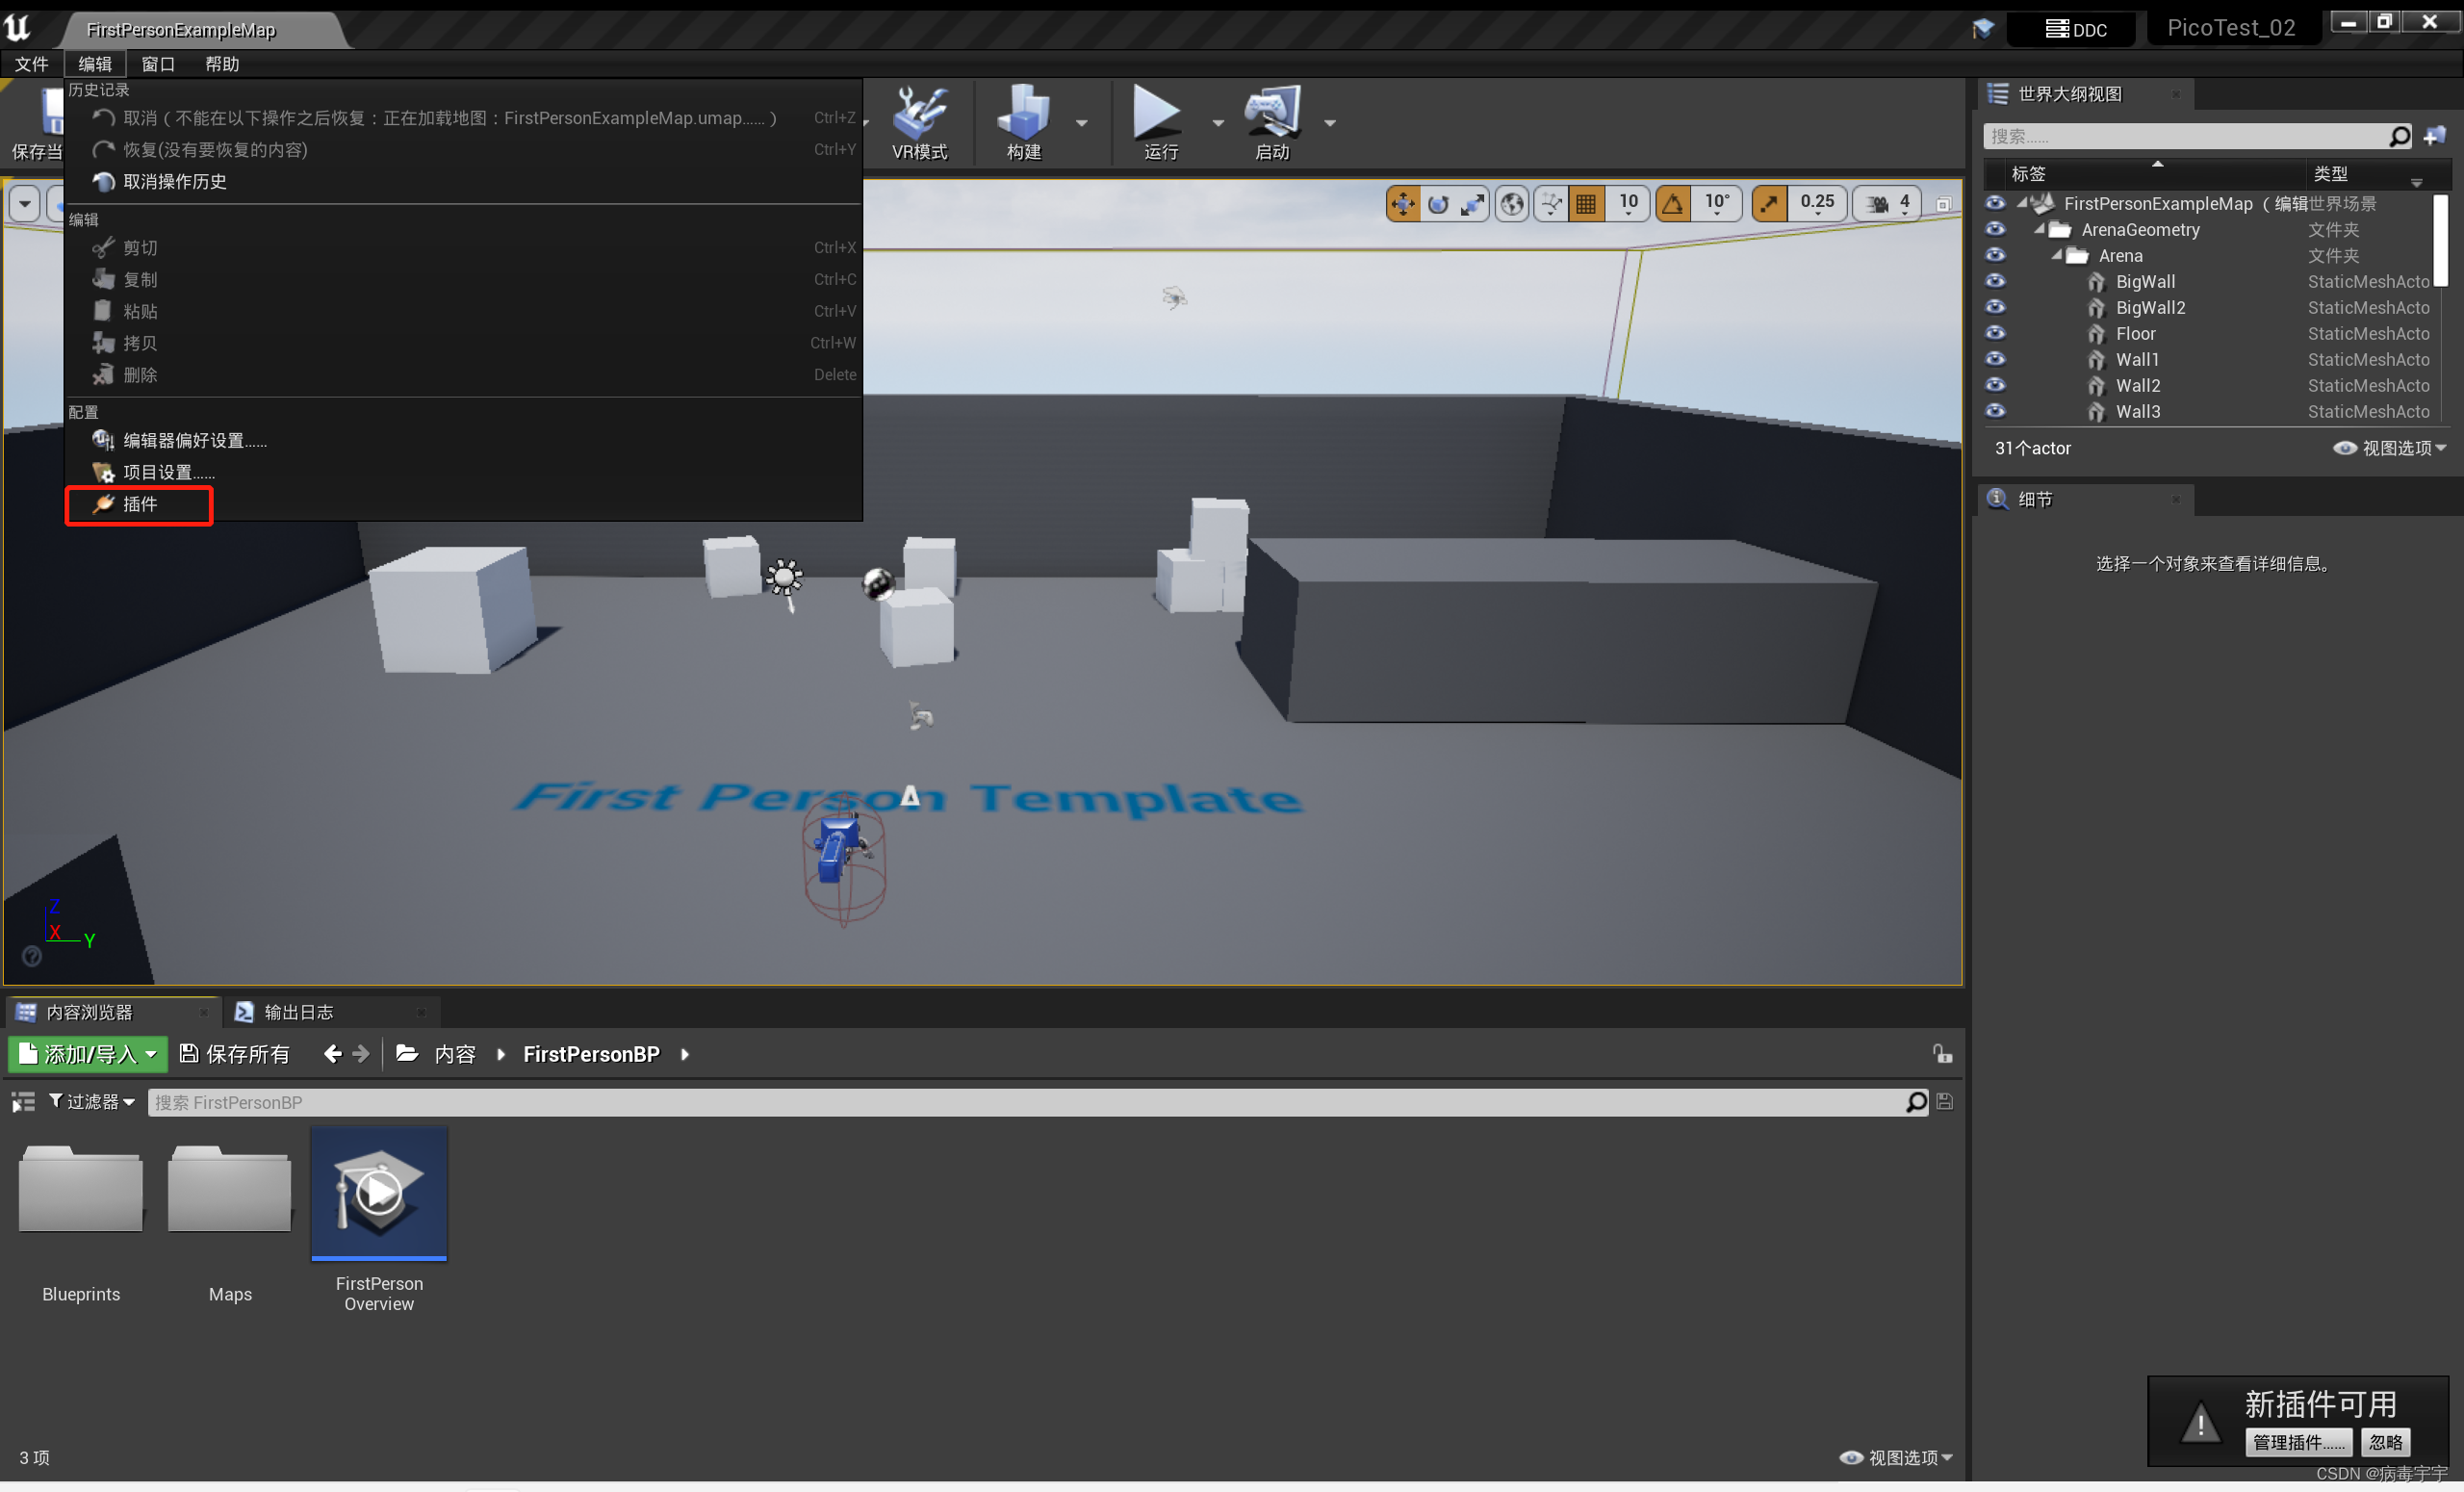
You can see the pico plugin you just installed. It is the Plugins plug-in that is moved to the project directory
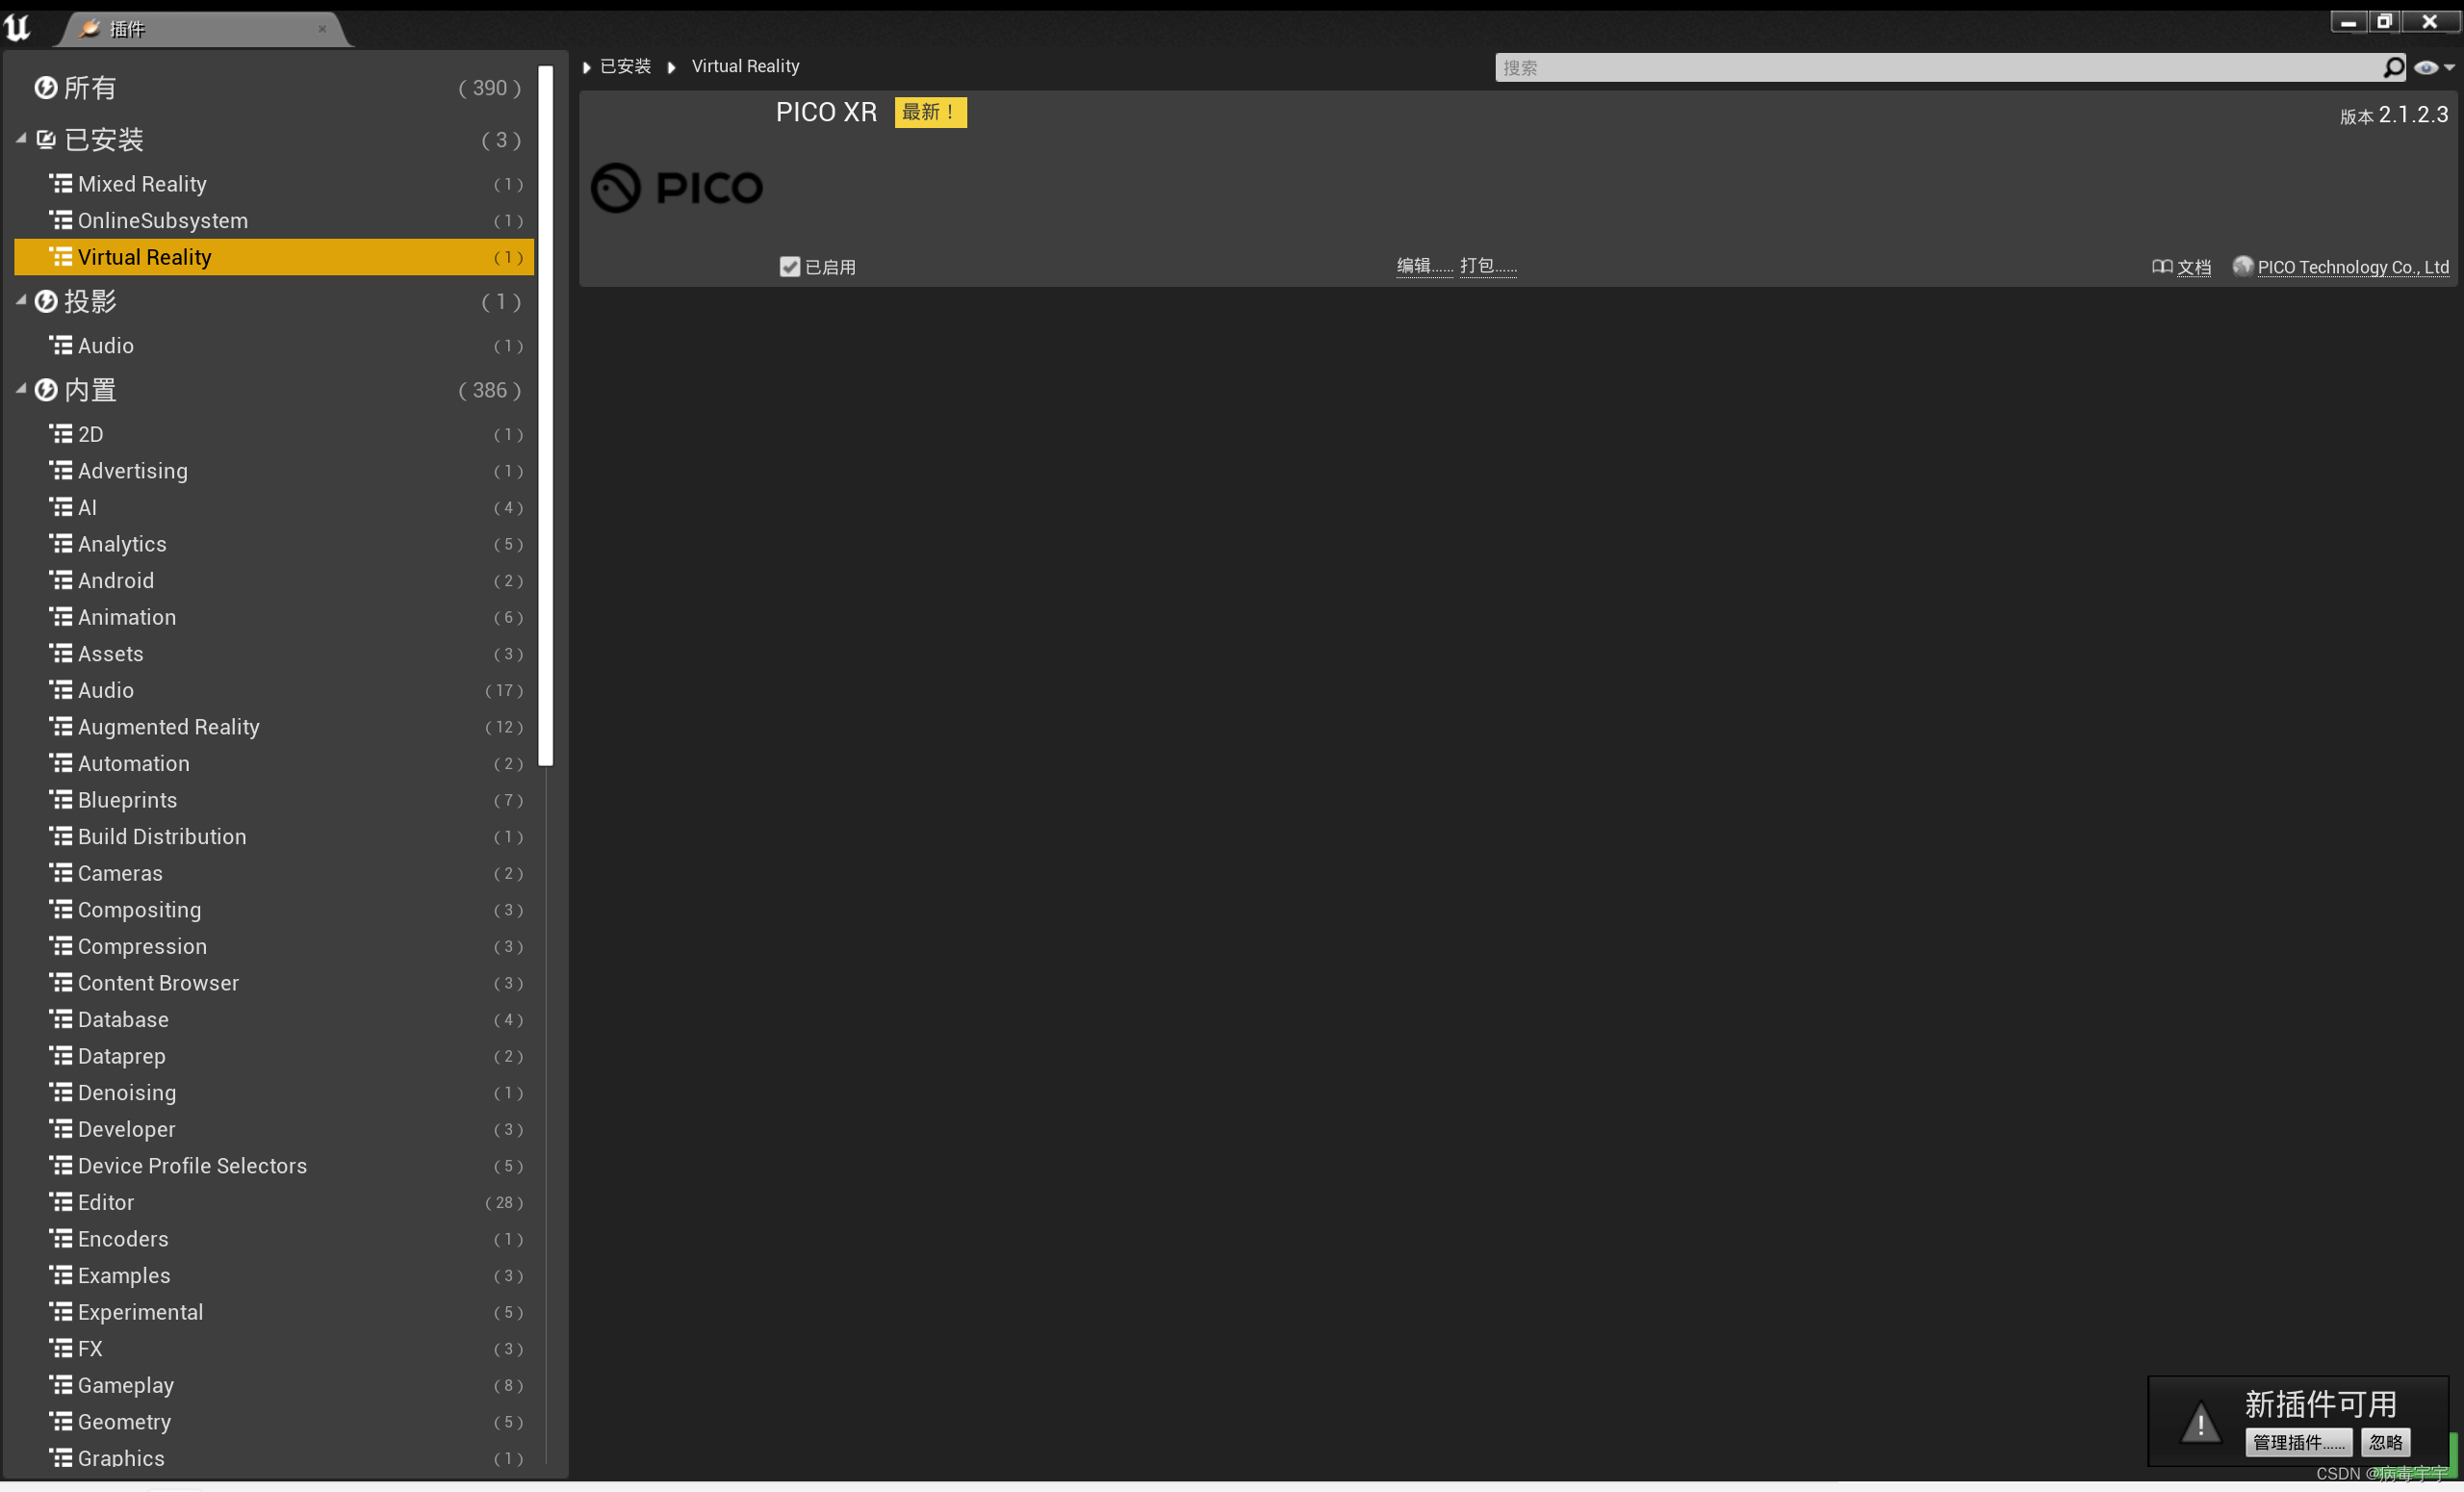
Click [virtual reality] on the left column, and select all VR plug-ins on the right to disable them. This is to avoid conflict with pico vr

After closing, ue4 will prompt to restart. Next, let's solve the problem of lighting

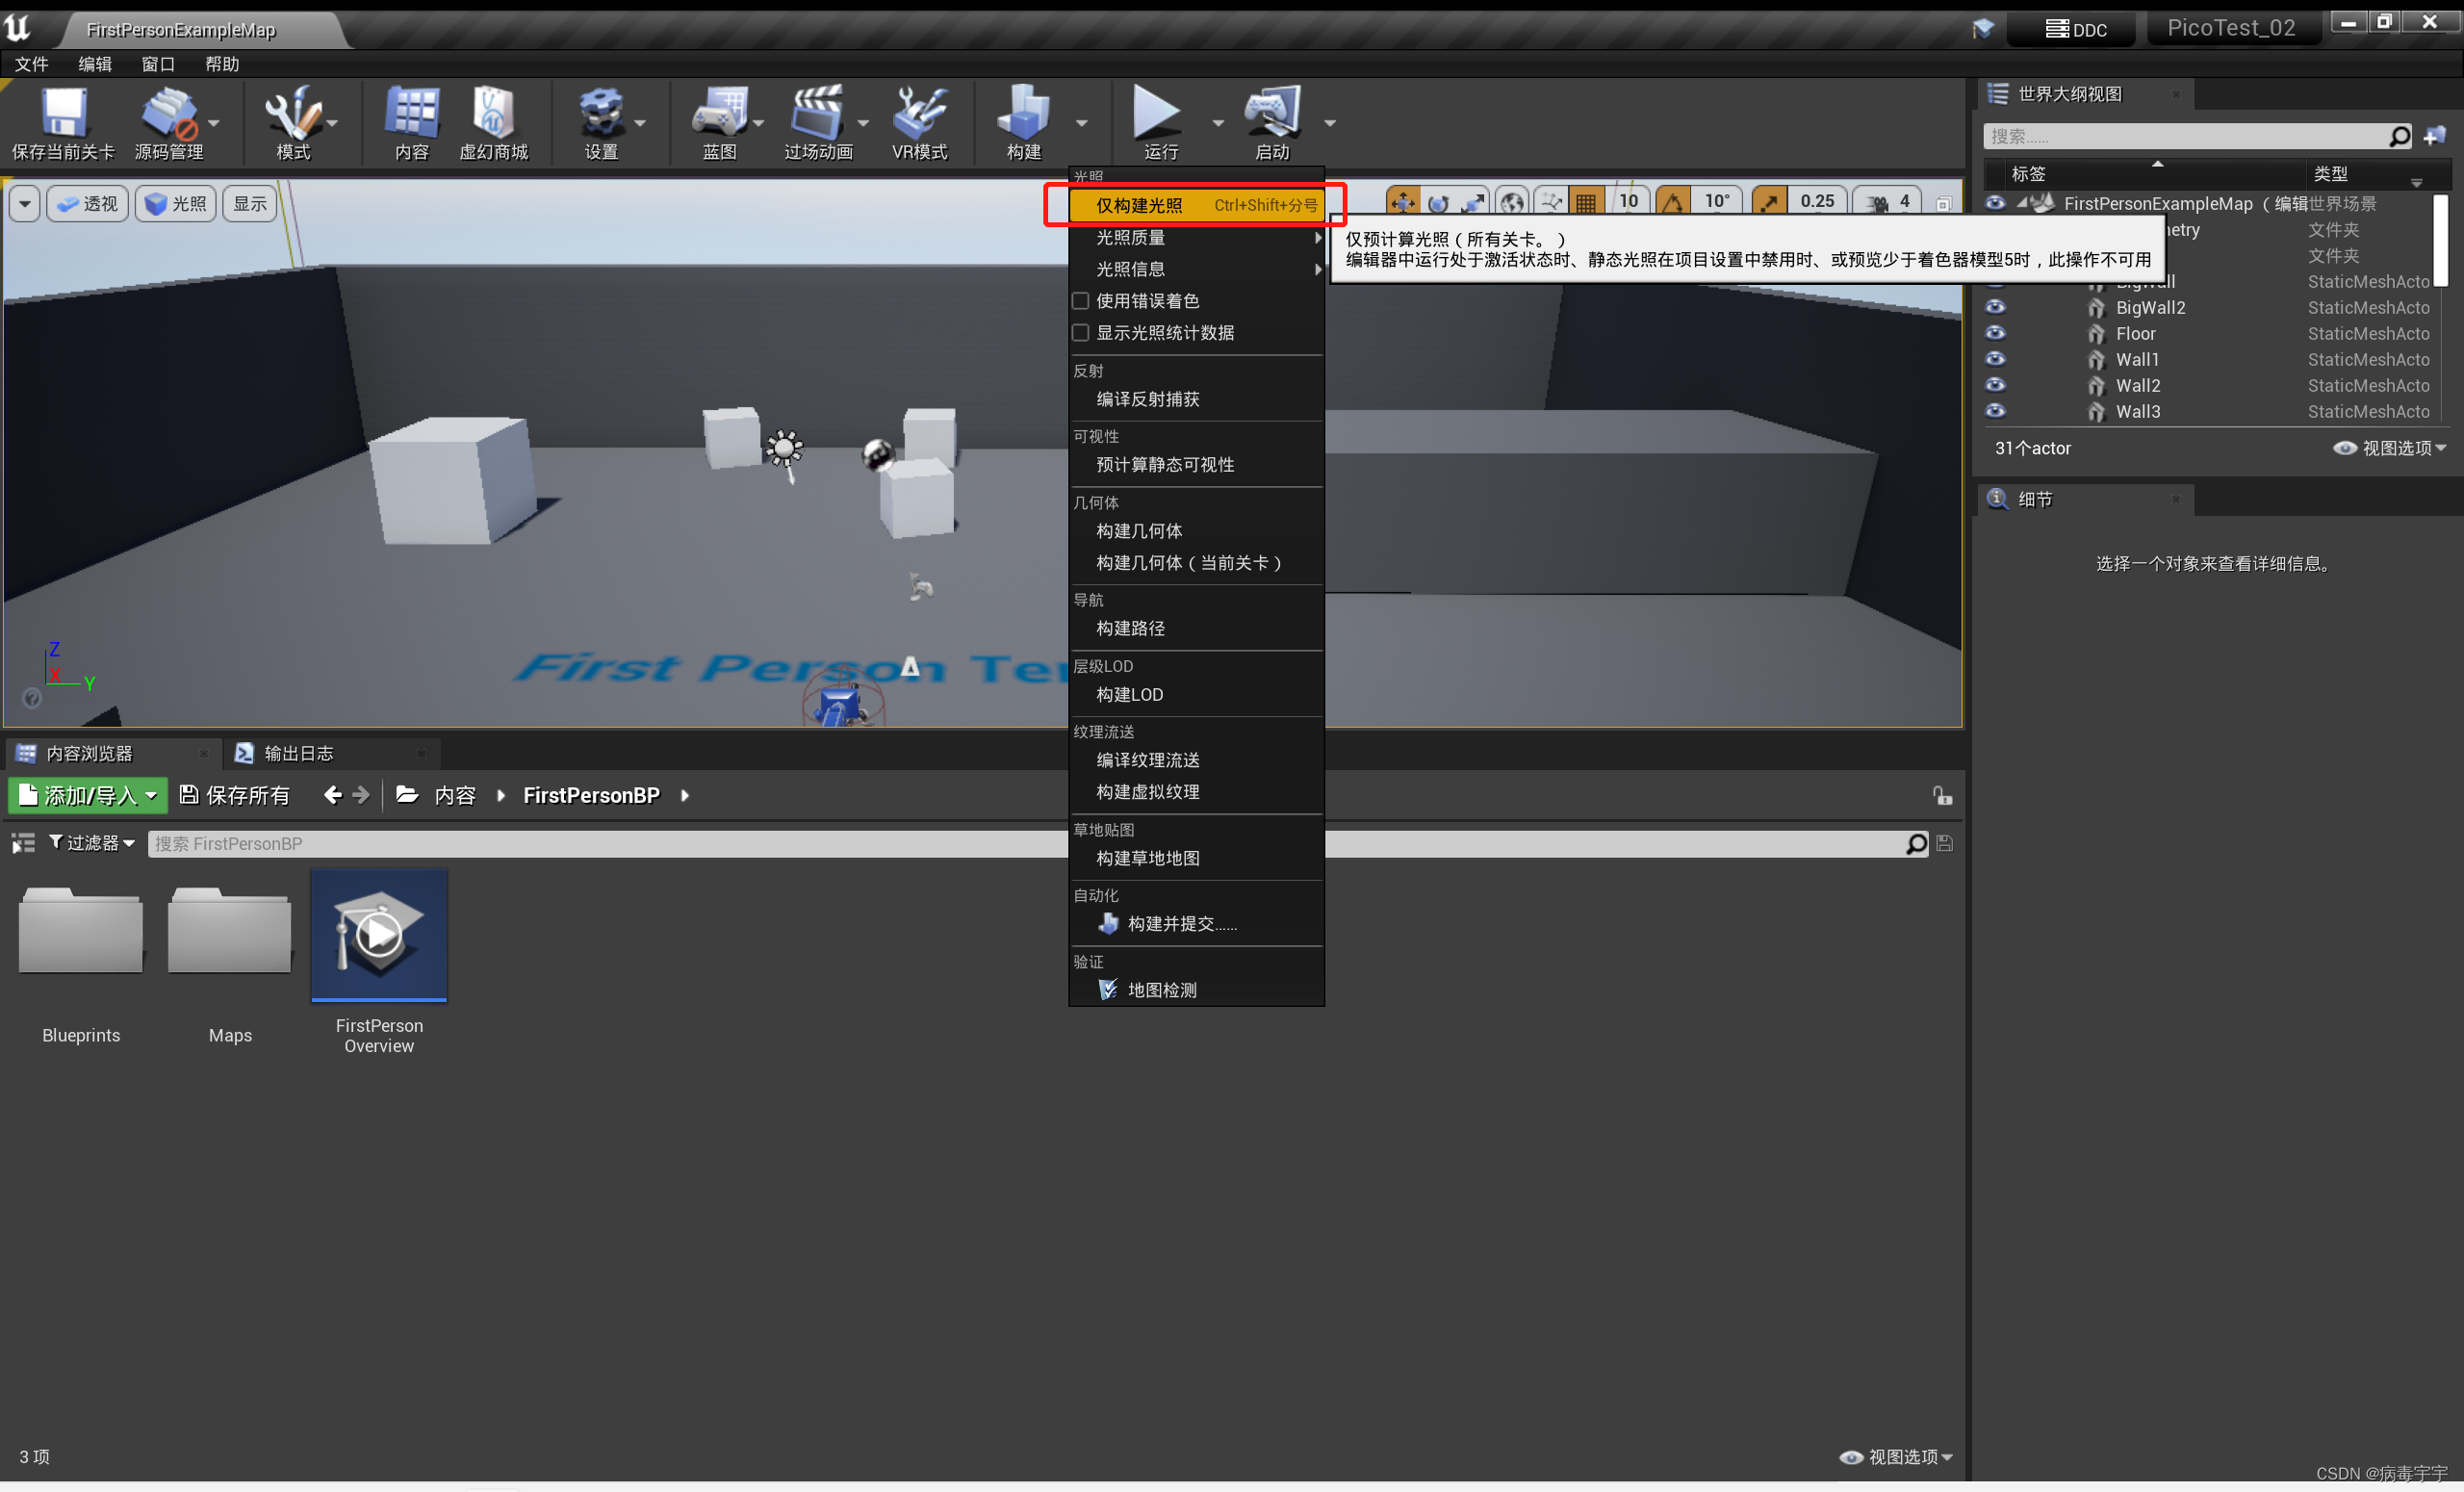
Light quality selection product level

Select "Build Lighting Only"
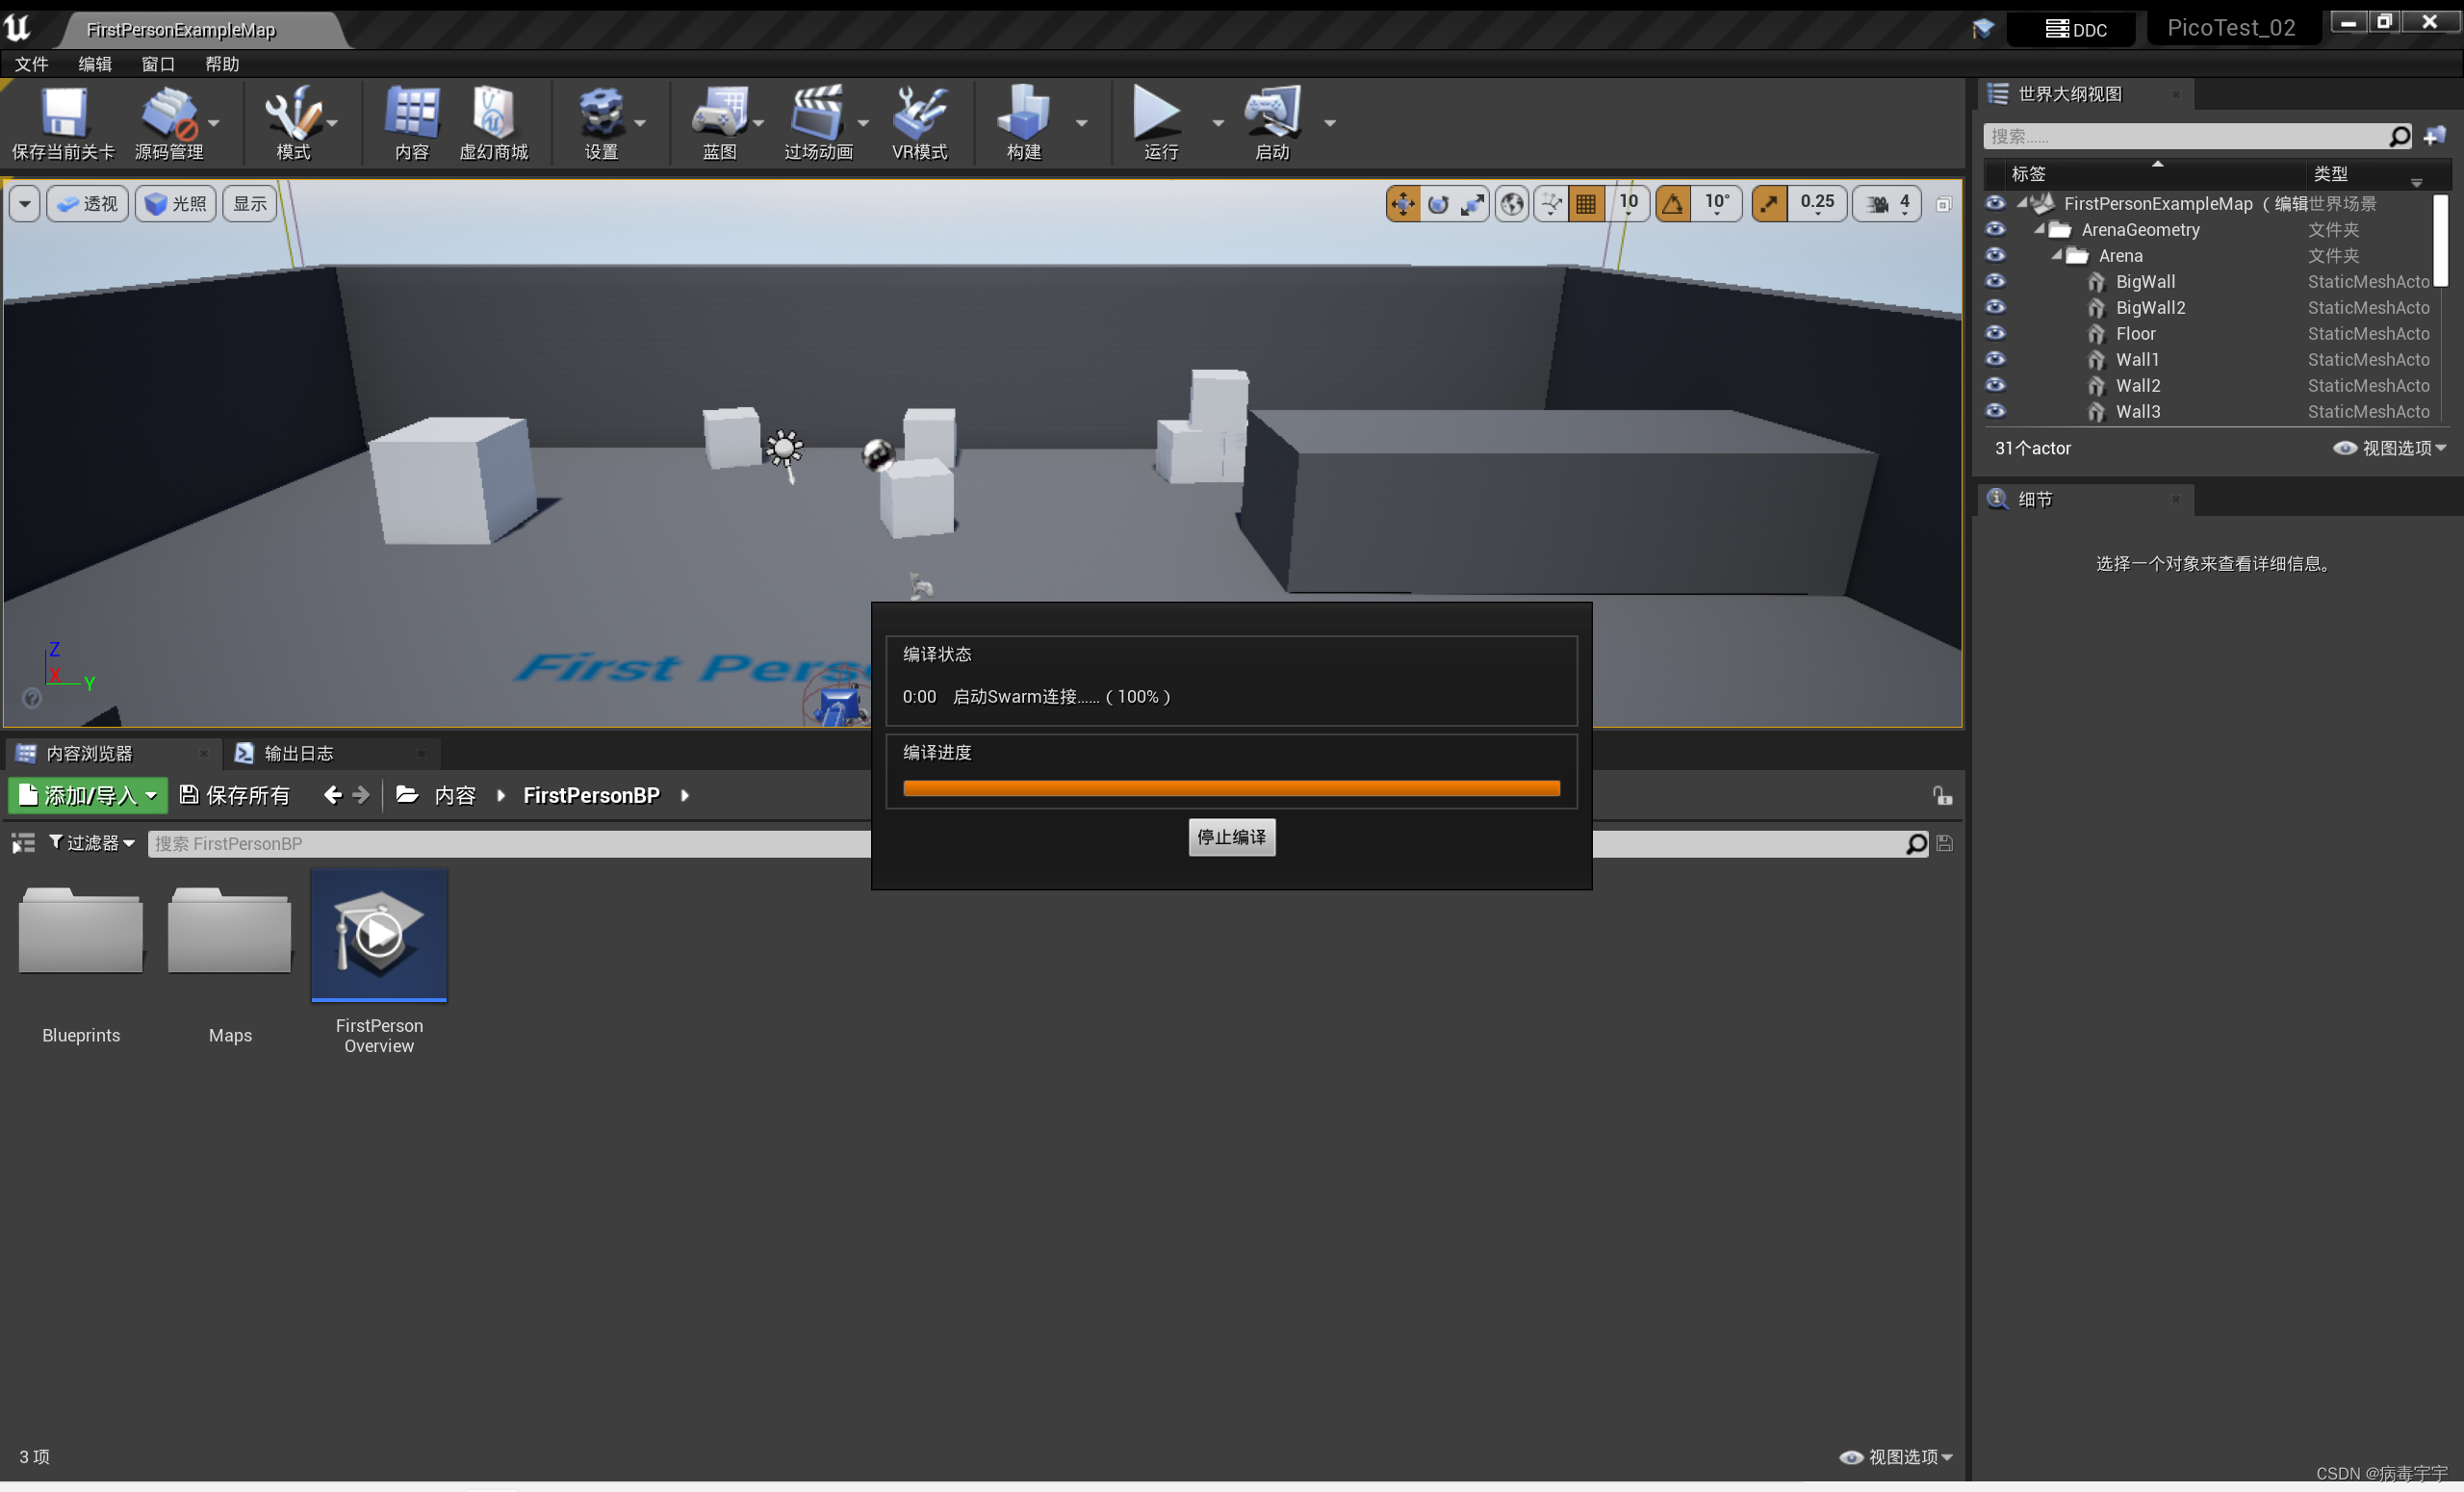
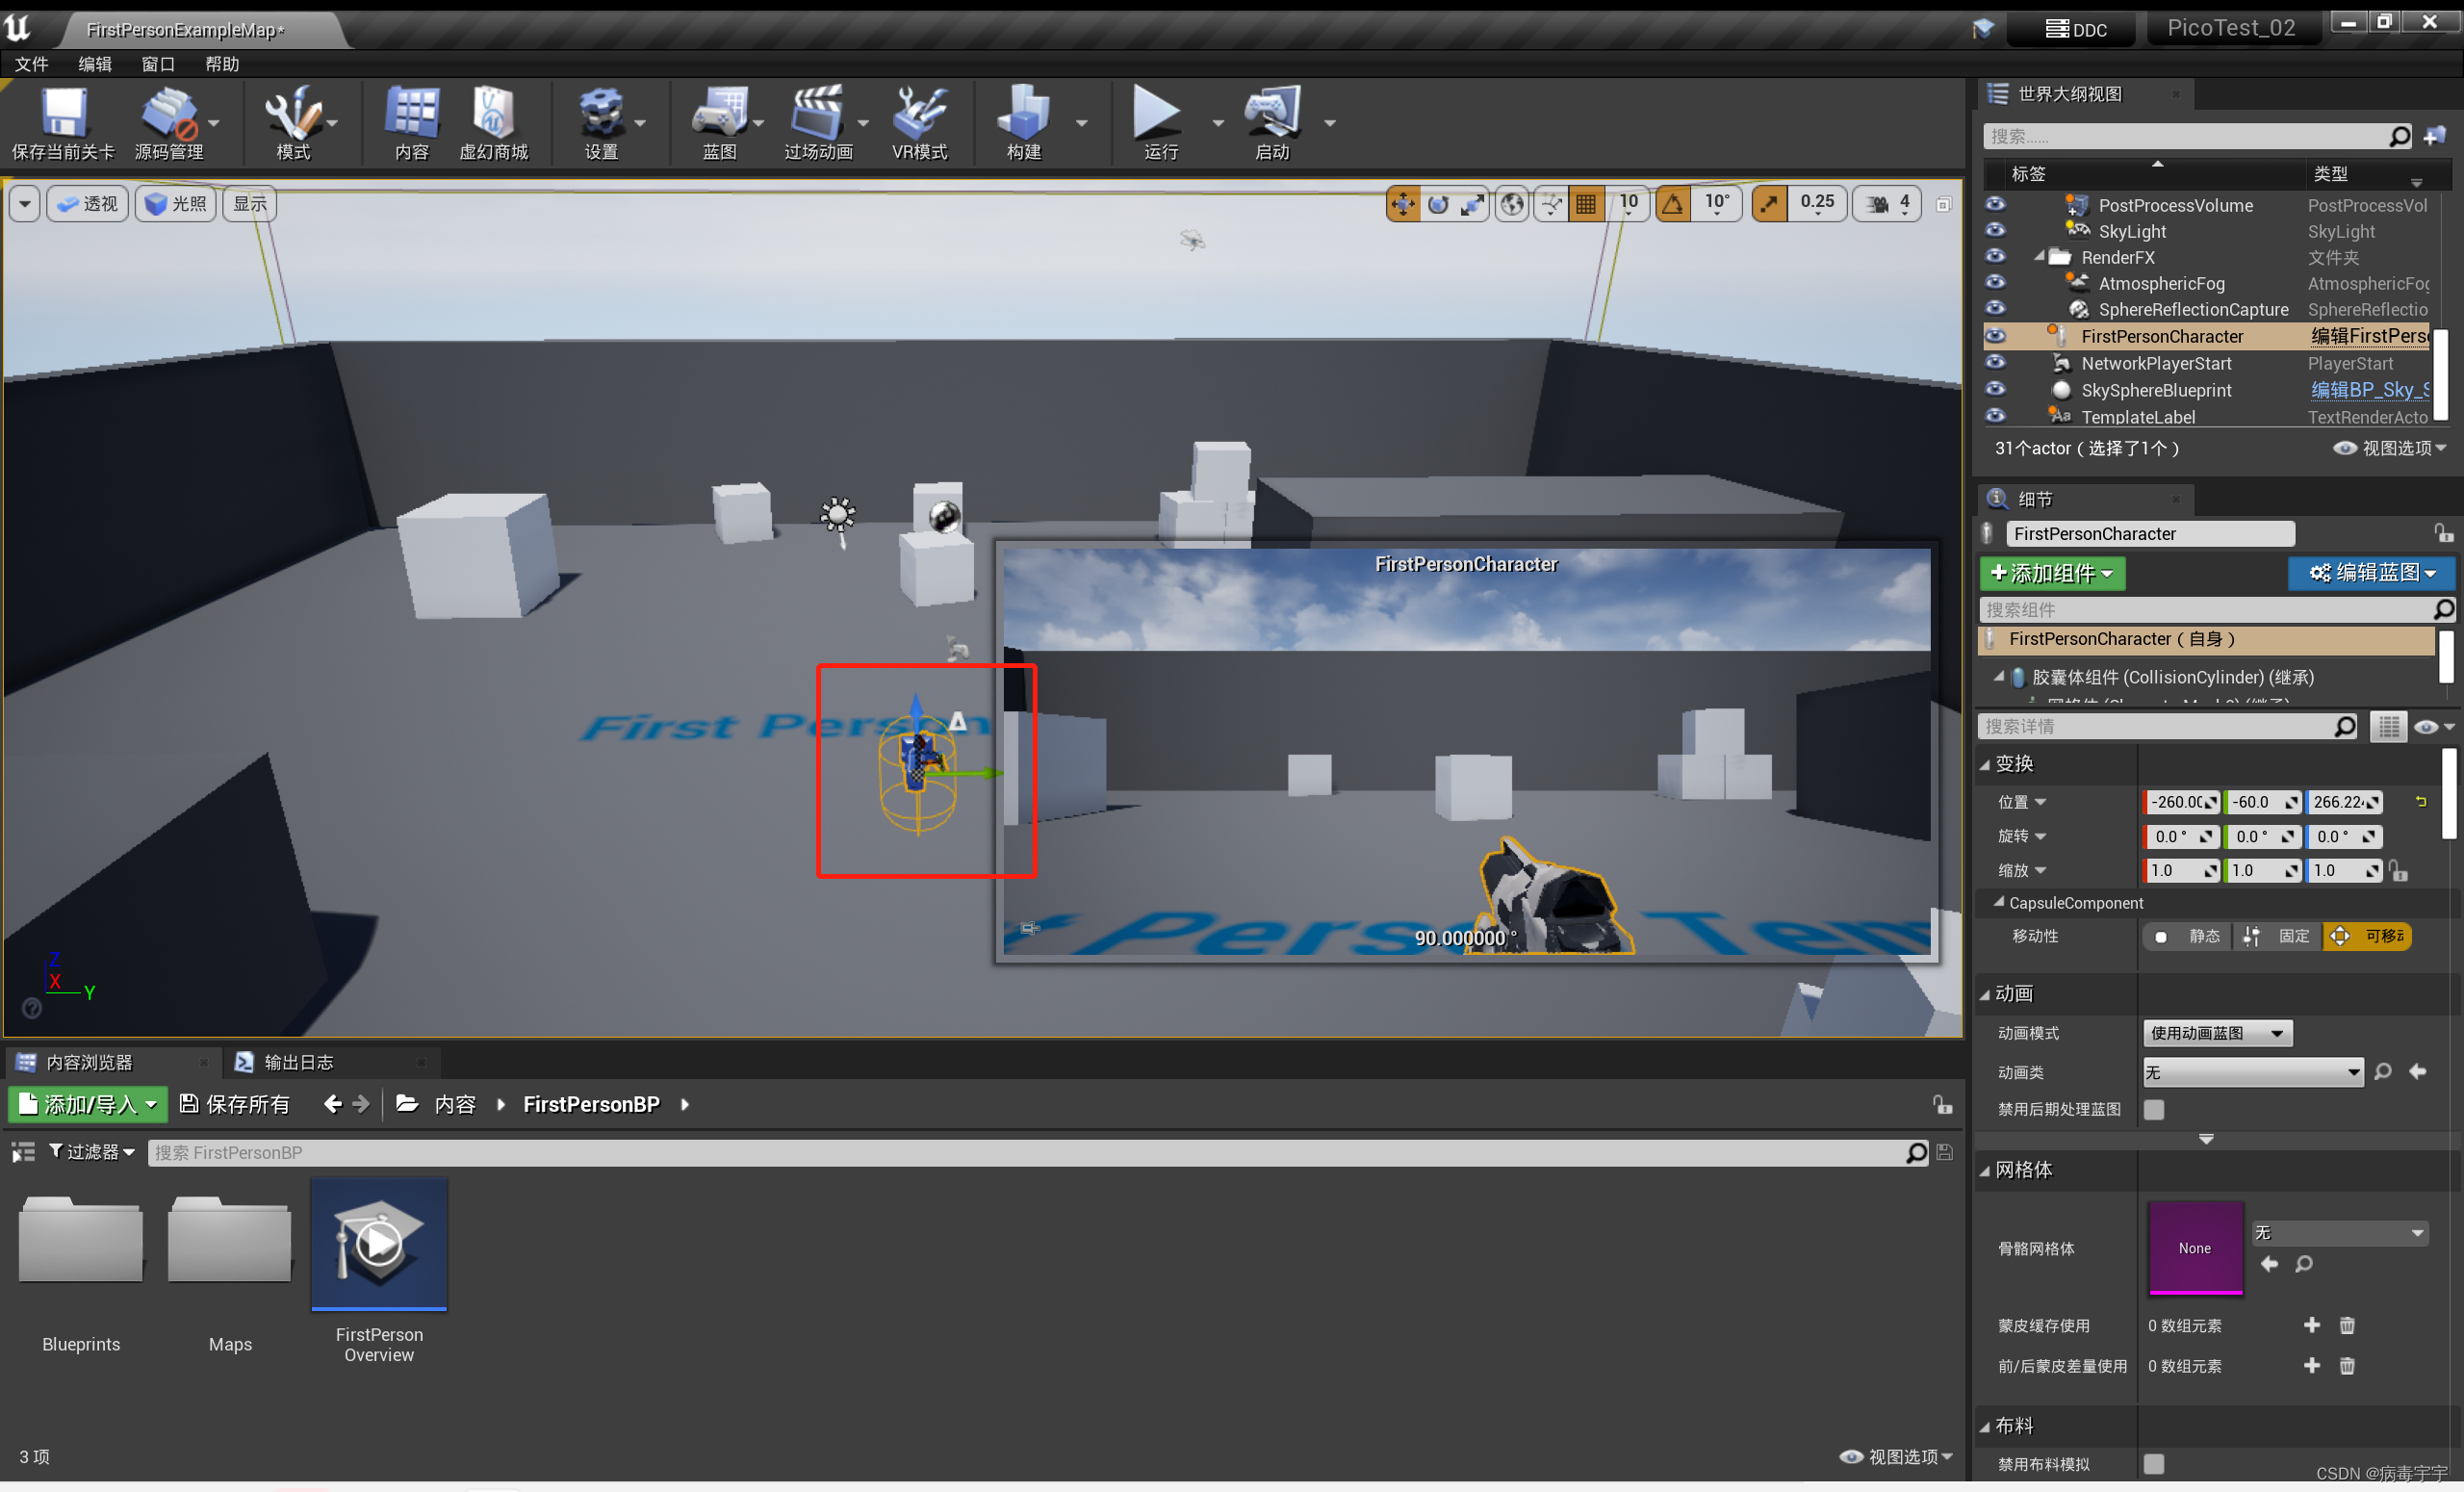
The build is rather lengthy. After the construction is complete, click on the reconstructed camera in the viewport, and you will see a gun attached to the camera. Press the delete key to delete this
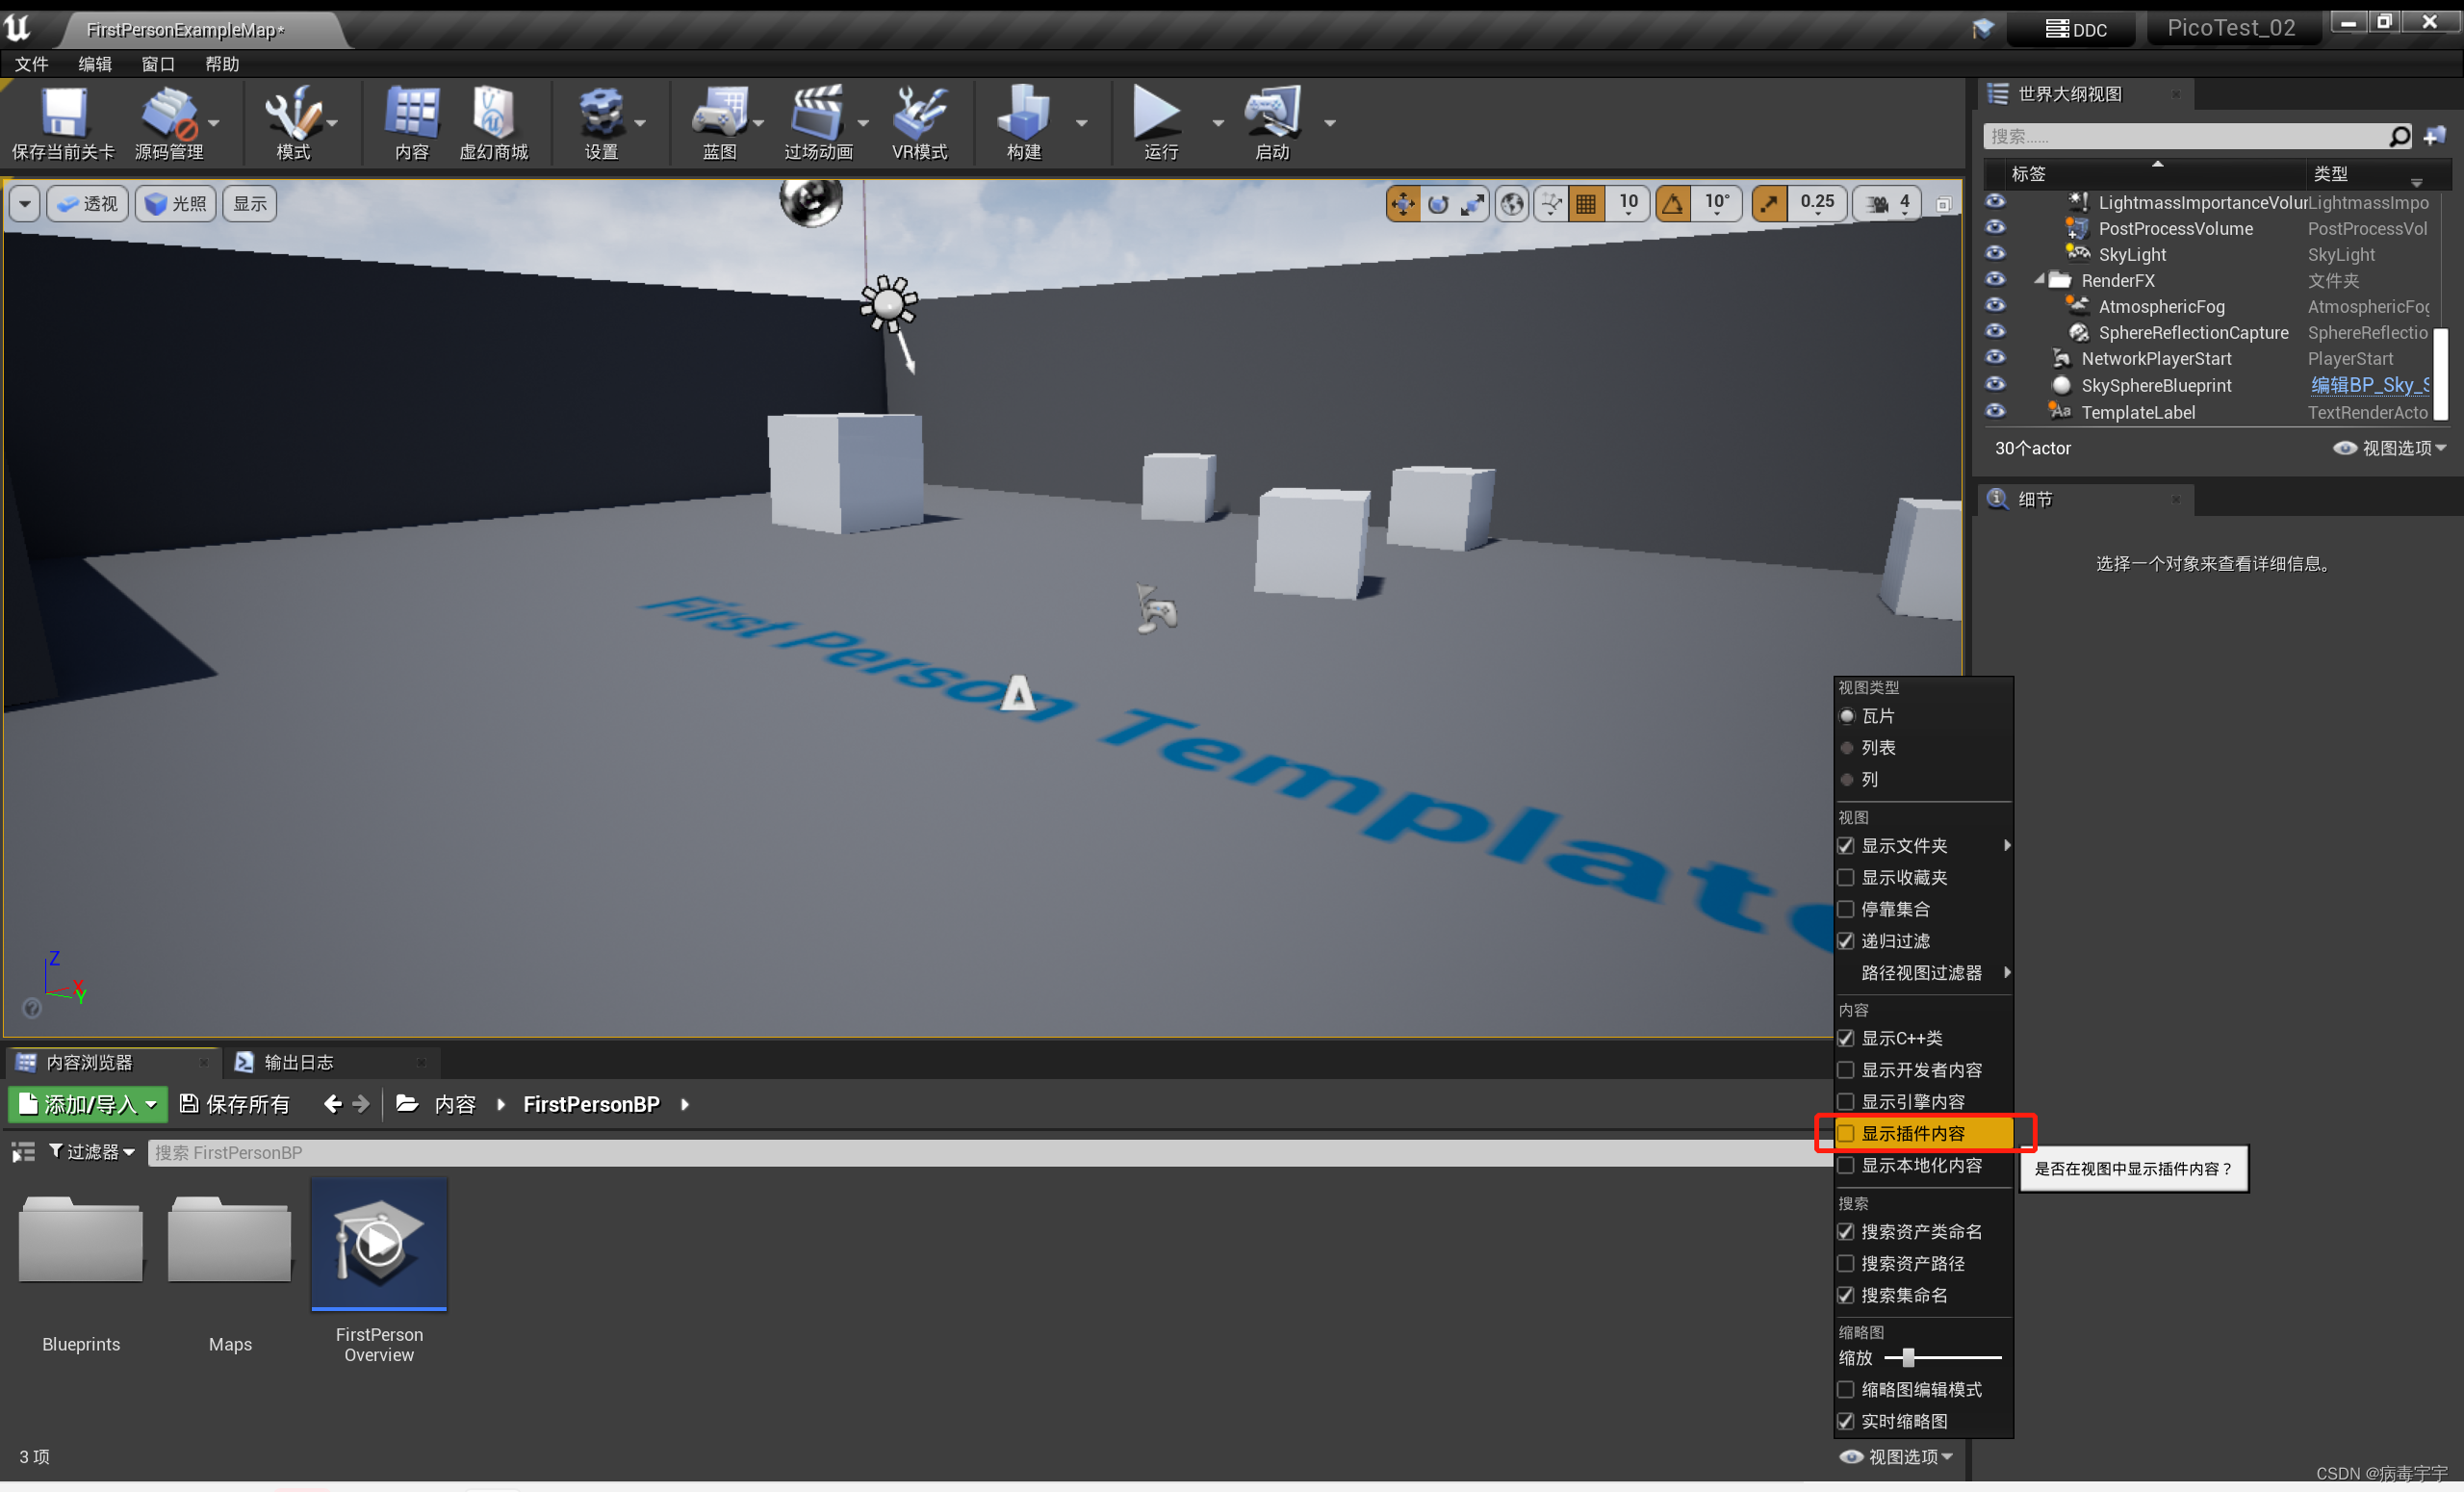
Click [View Options] in the lower right corner and turn on "Show Plugin Contents"
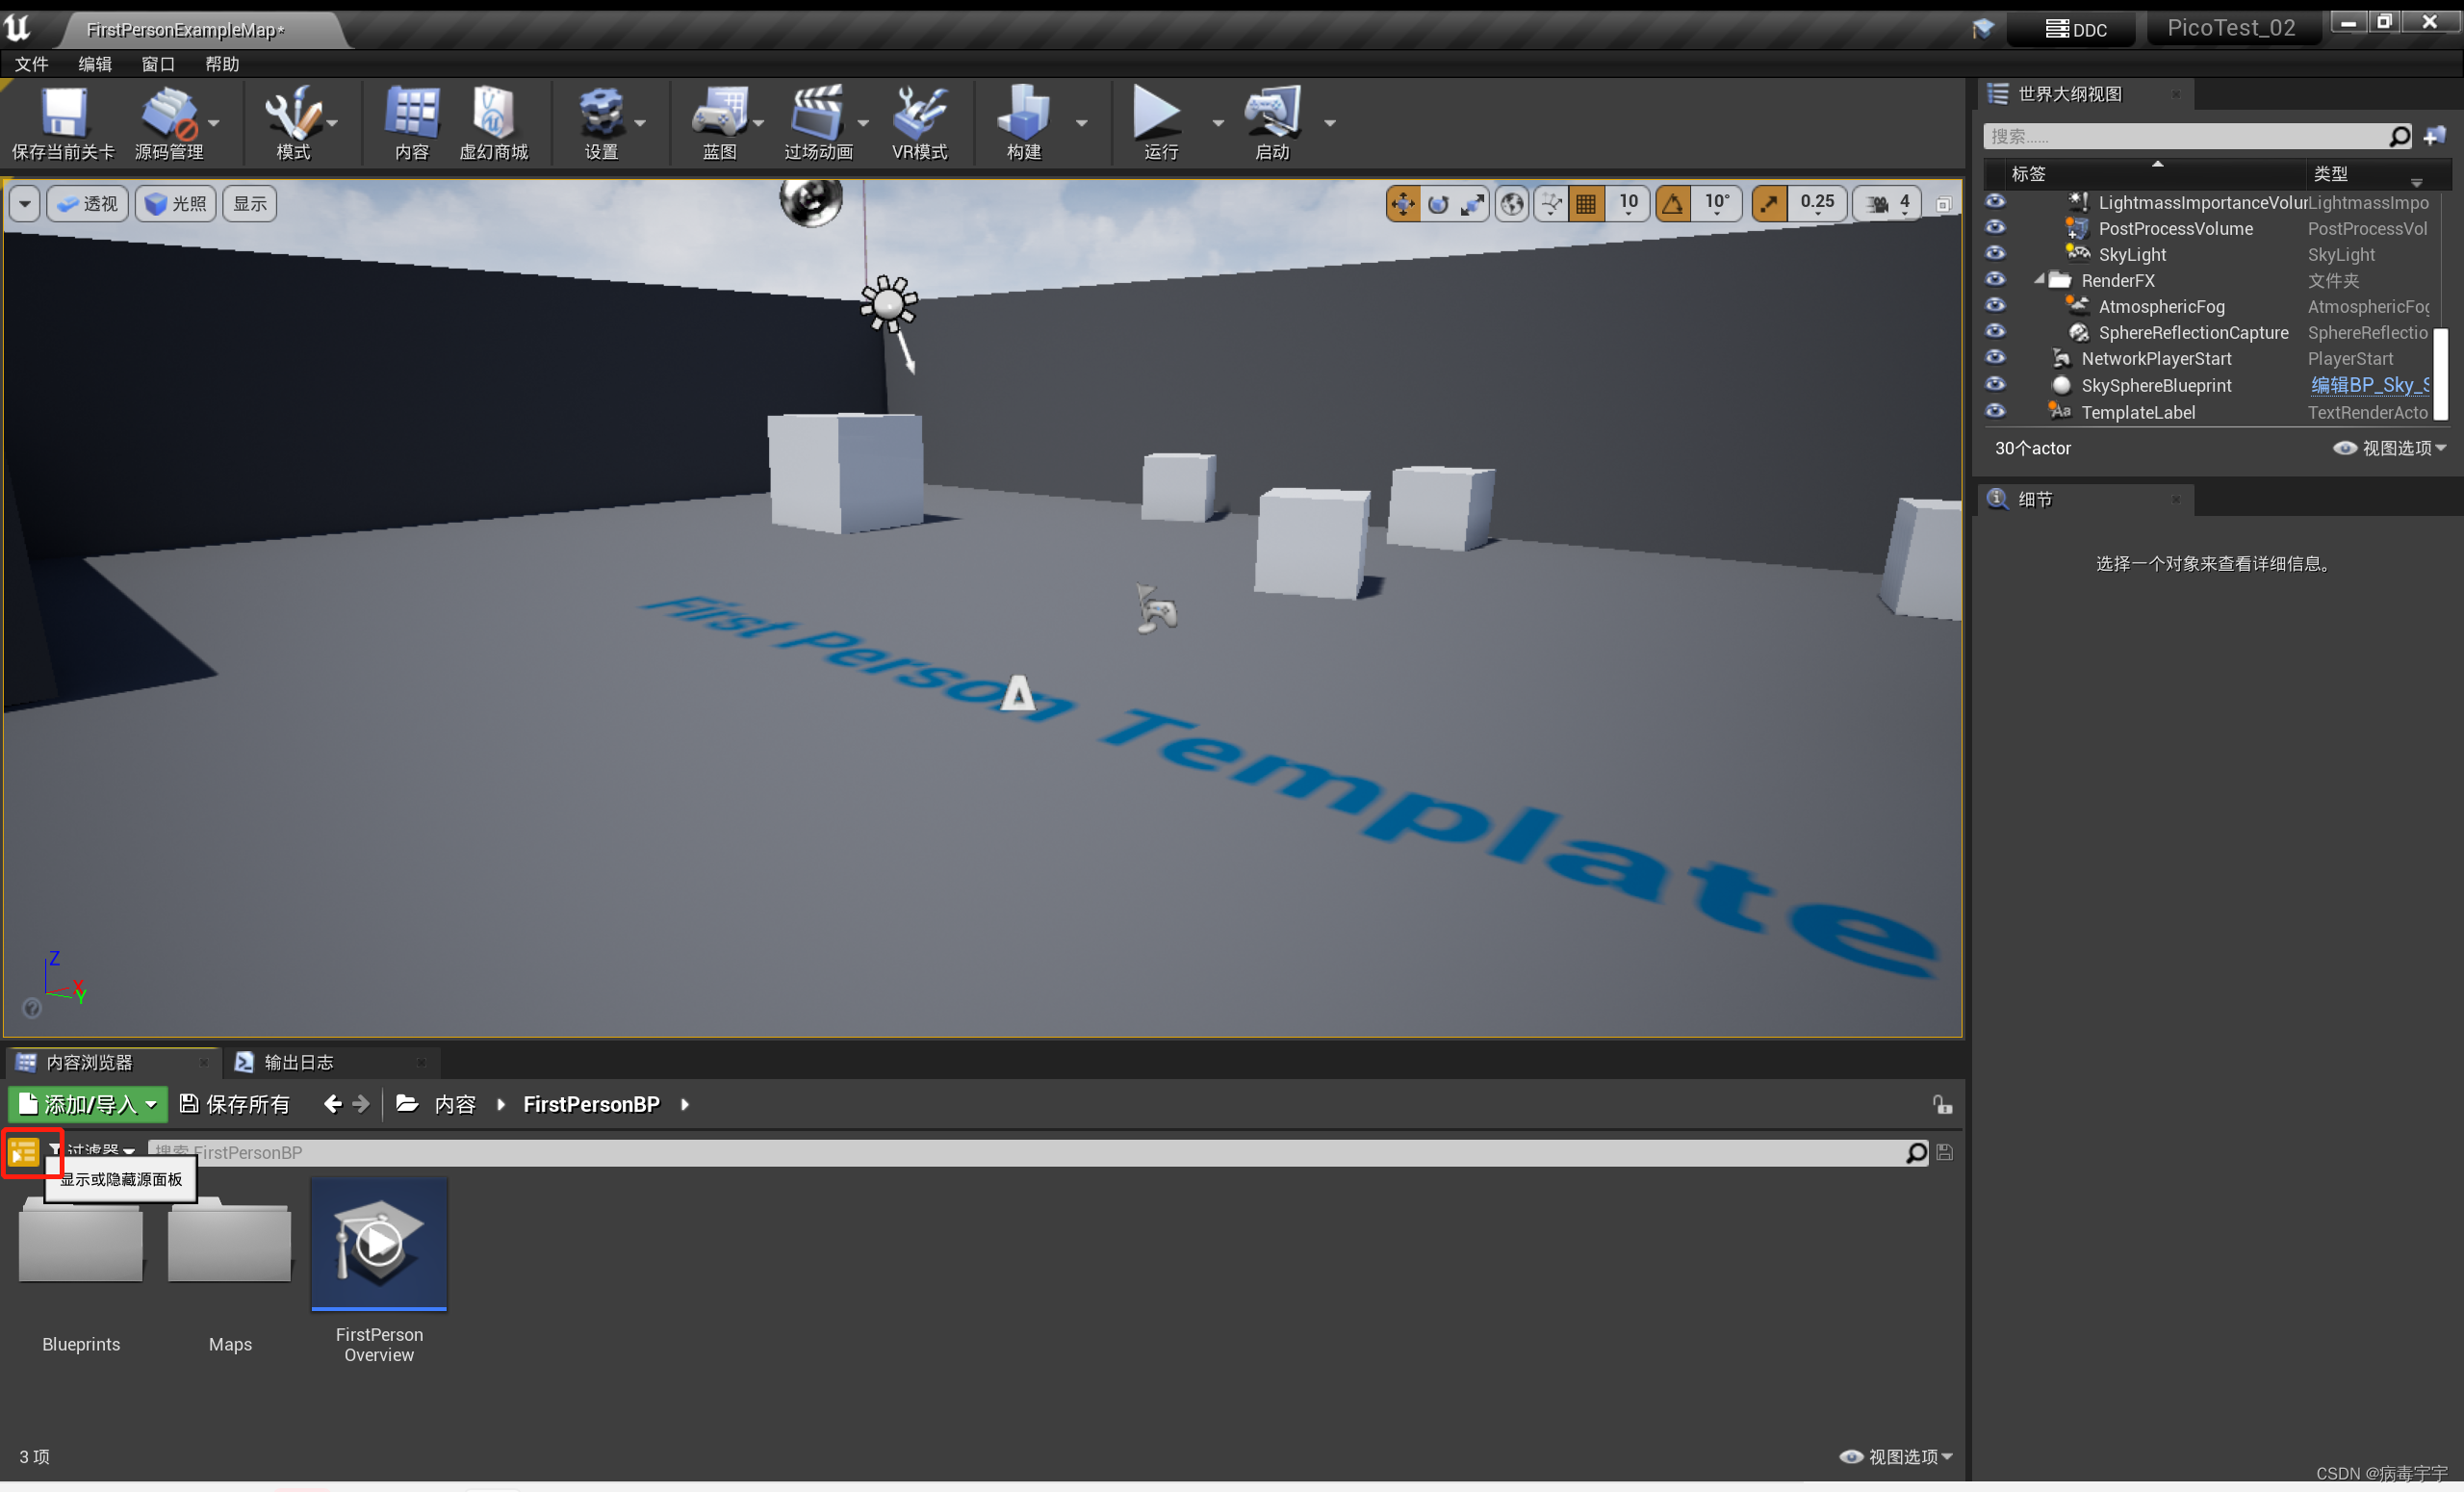
Click "Show or hide the source panel" on the left
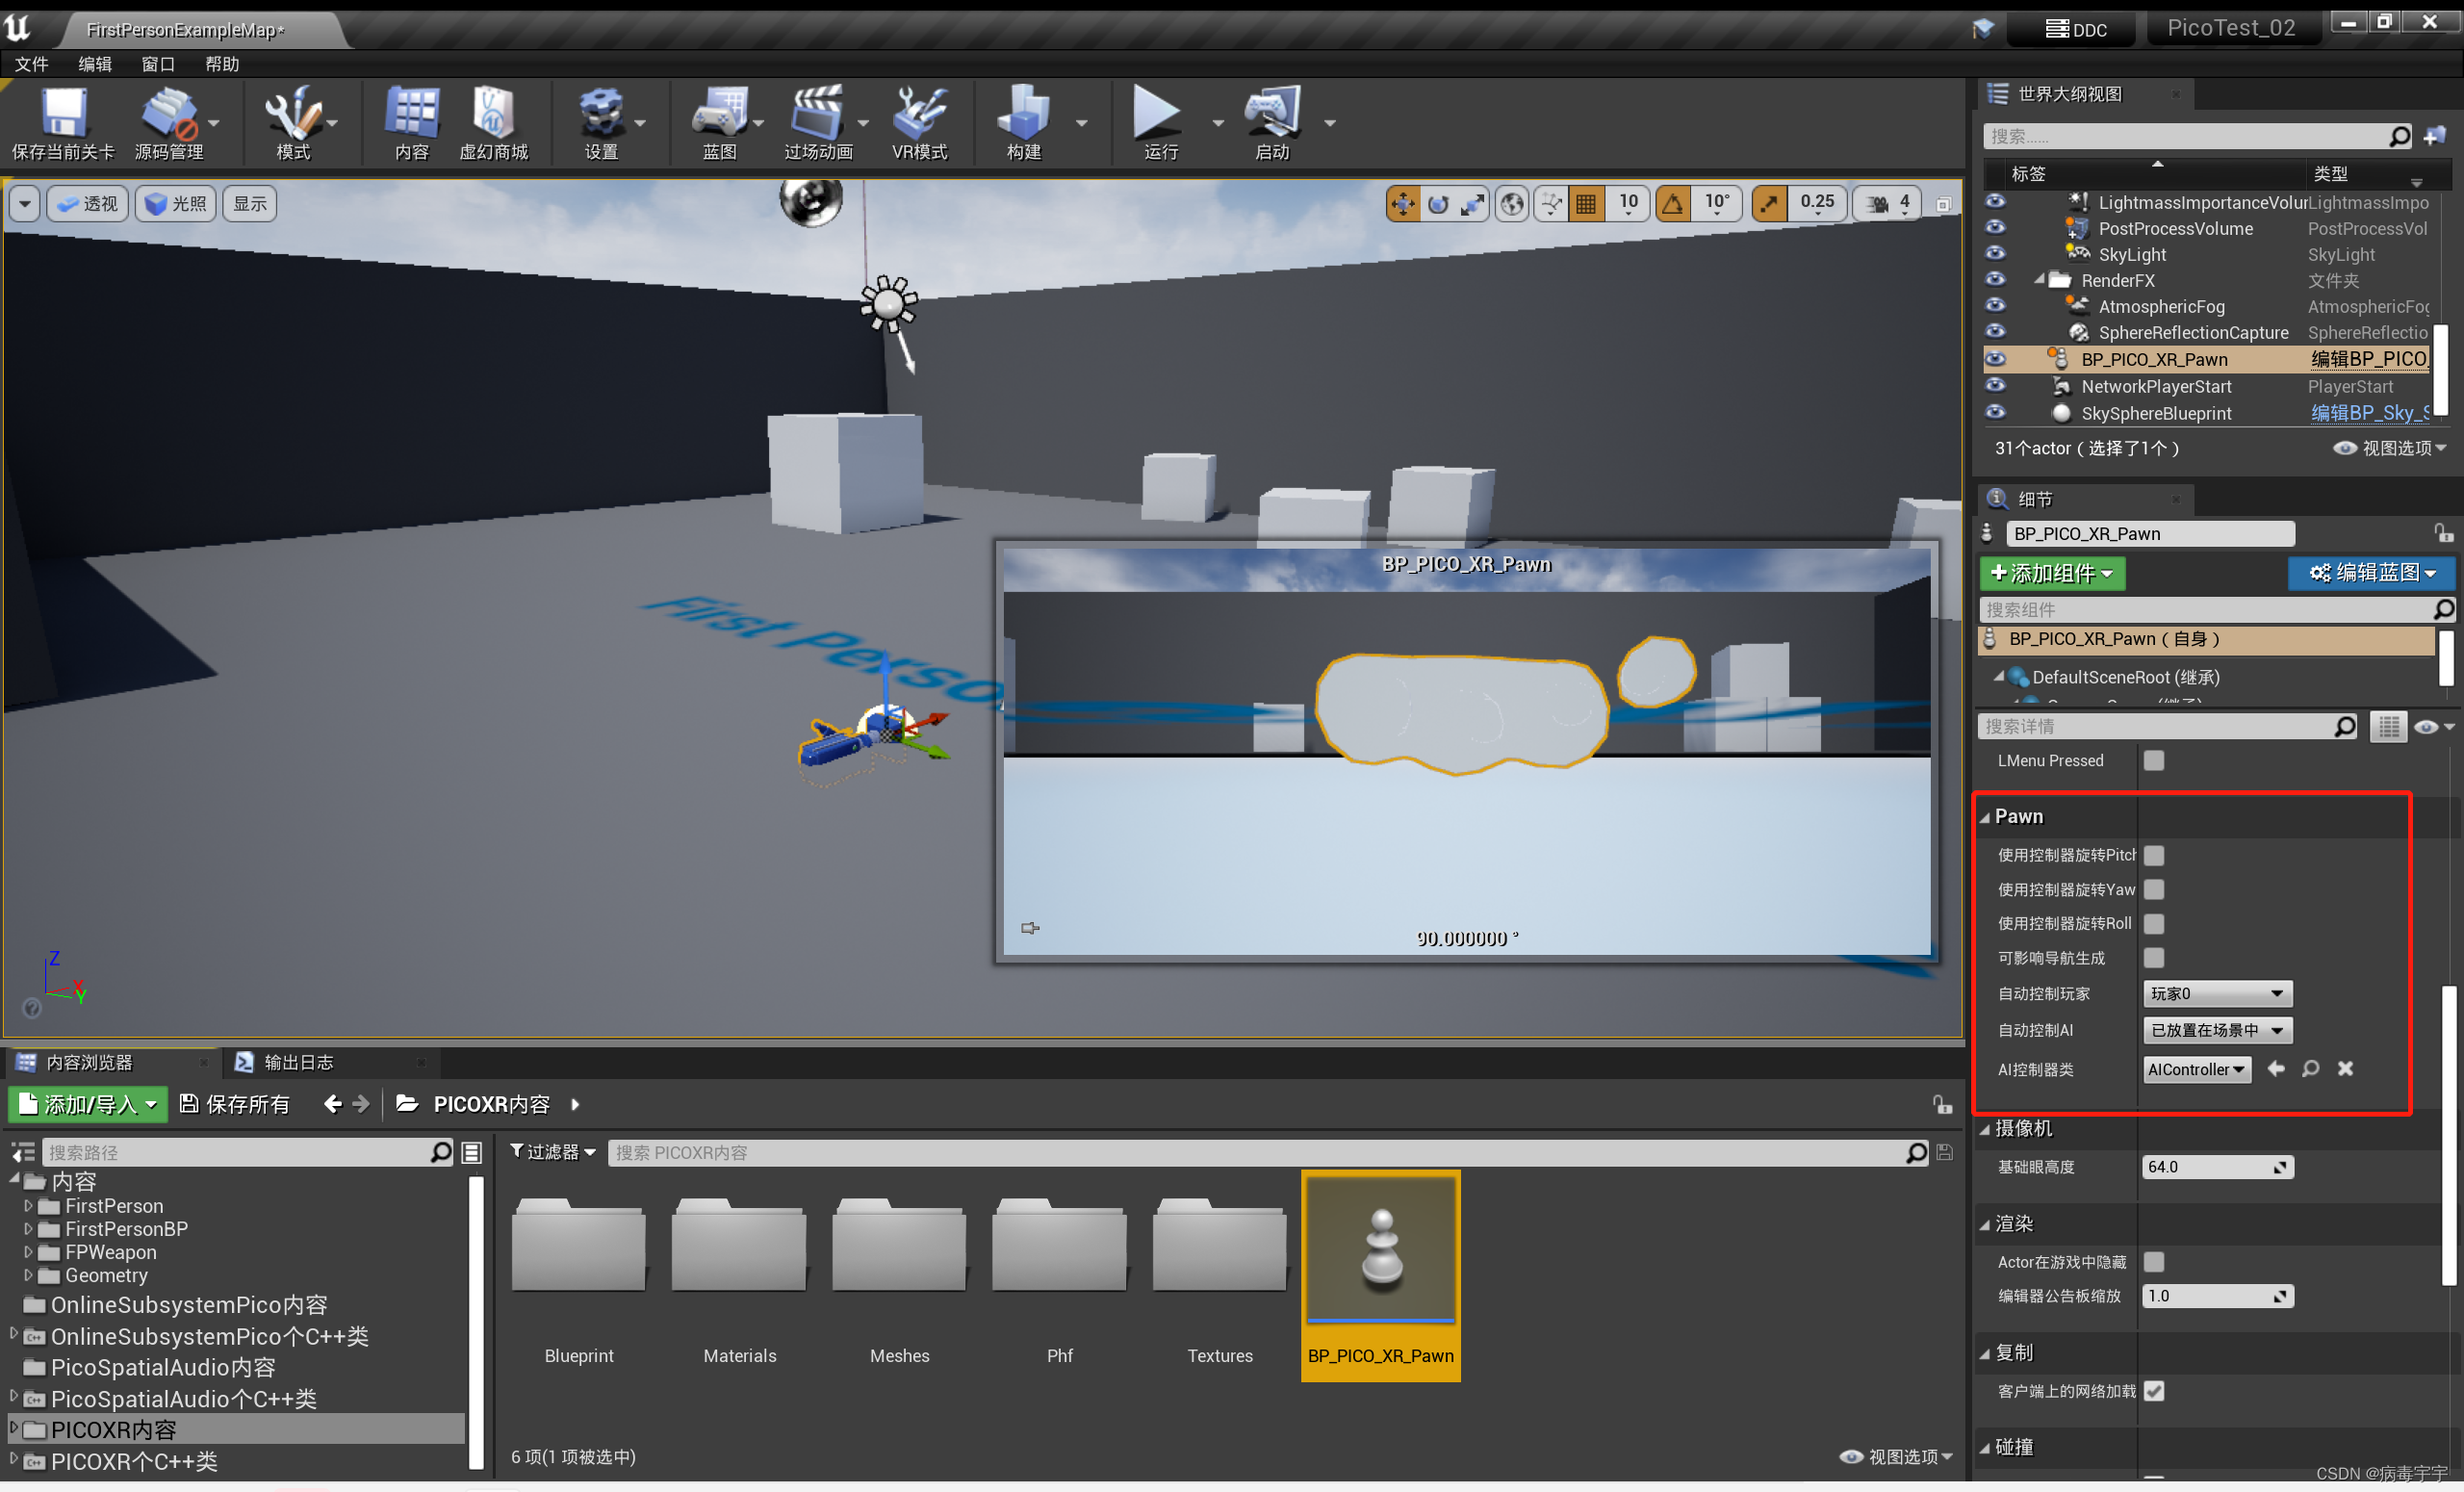
Drag BP_PICO_XR_Pawn from the pico XR content directory into the scene, and notice that the pawn genus of BP_PICO_XR_Pawn is the same as the picture below
pack next
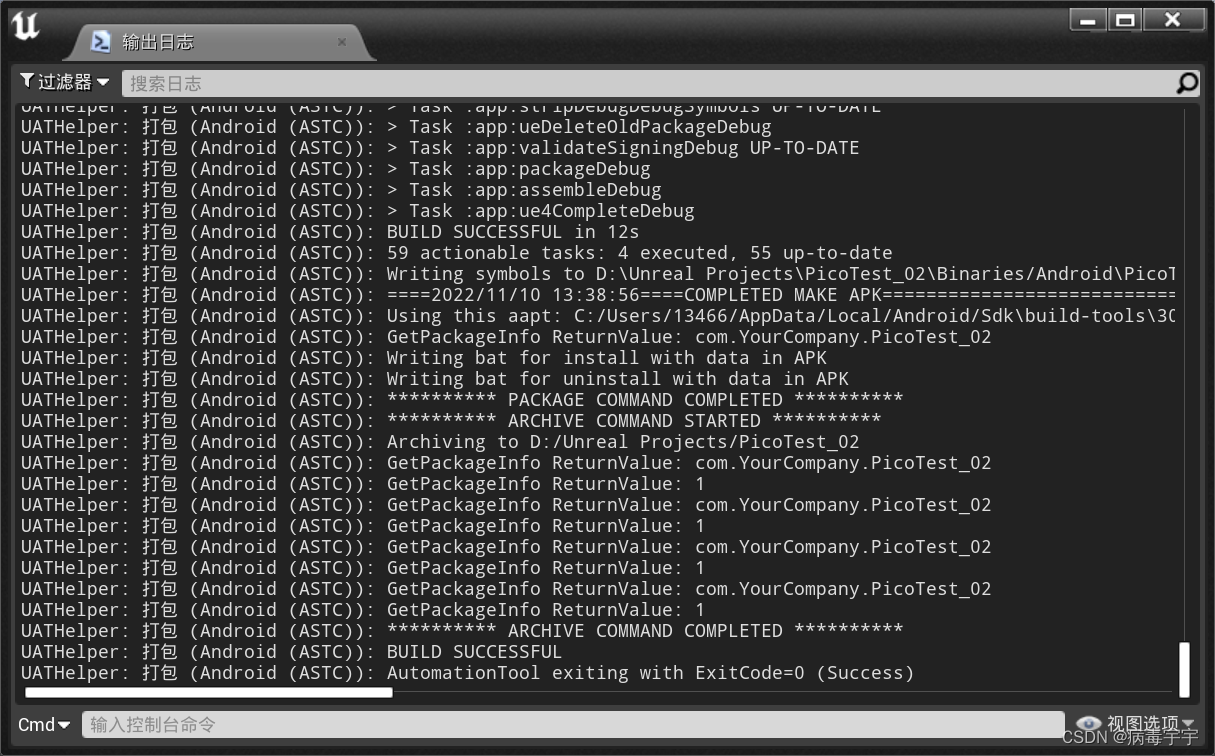
The packaging log keeps scrolling, and there is no red fatal error

Successfully packaged
Execute the installation of the install******.bat file in the directory

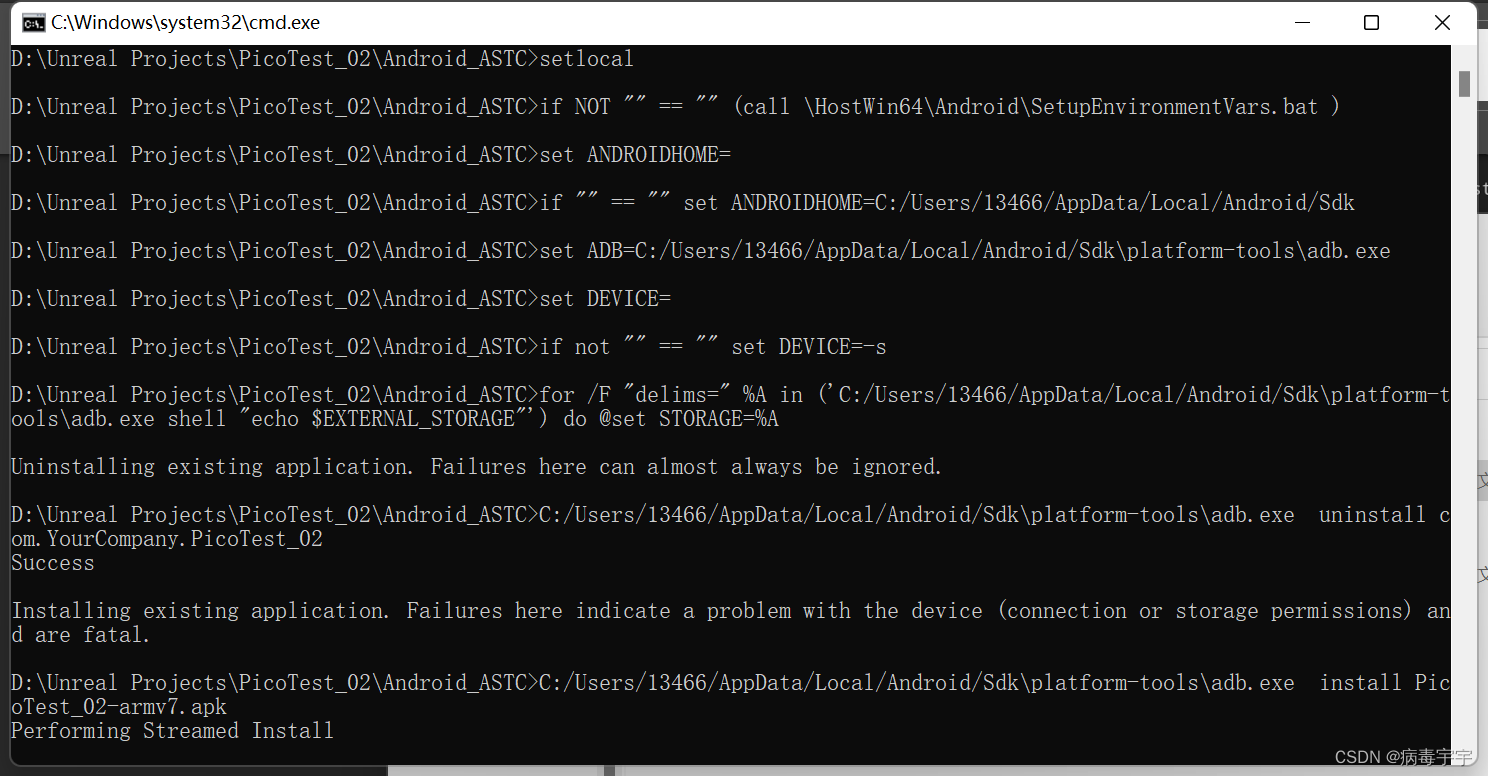
After the installation is complete, you can run it in pico vr.