Those who have never made a UI interface will imagine that UI production is very mysterious. At the beginning, I also felt that it was very mysterious, very complicated, and I had no way to start. However, after actually making an interface, I found that it was not as imagined. It is so difficult, and the sense of accomplishment brought by the visualization is beyond the code itself; but the whole process is not smooth, the Internet is full of scattered content, and many of them require my own common sense to get what I want , so I am going to open a column to give you the whole set of PyQT5 UI implementation methods, hoping to help those in need.

Environment build
1. Library installation
1. Install PyQT5
pip installation: pip3 install PyQt5 -i https://pypi.douban.com/simple
Install directly through pip install, the installation is complete, please copy the complete path (everything after the colon)
The installation process is as follows:

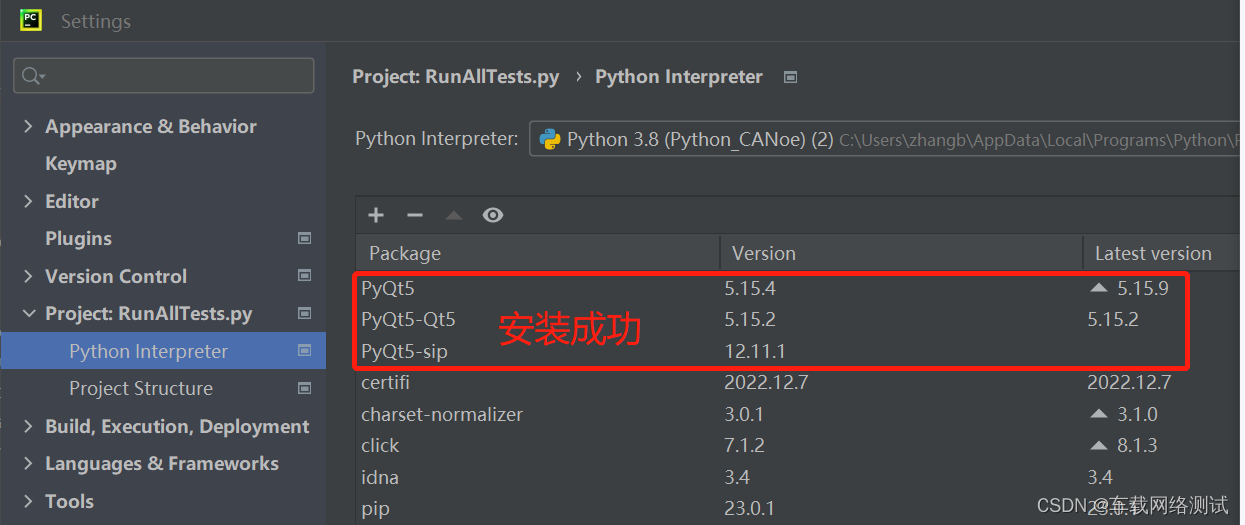
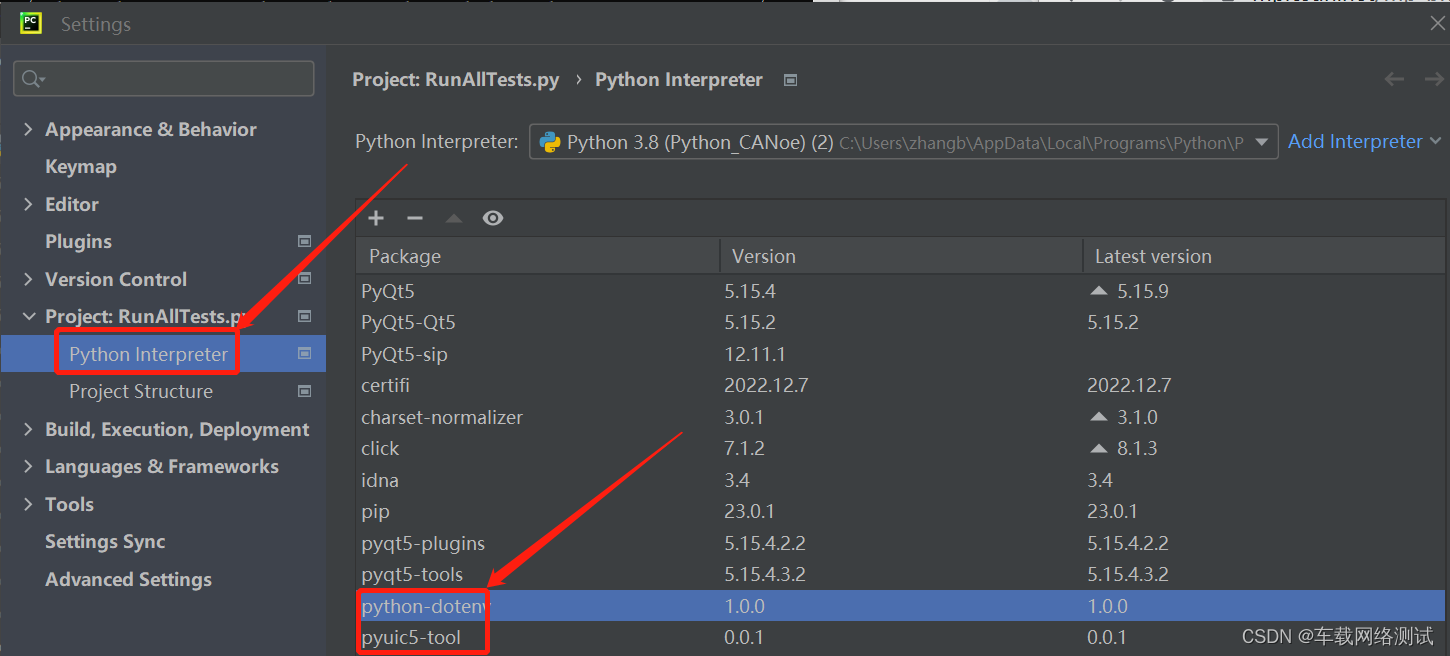
You can check whether the installation is successful in pycharm: File -> settting -> Project -> Python Interpreter
2. Install the interface design plug-in designer.exe
pip installation: pip3 install PyQt5-tools -i https://pypi.douban.com/simple
Install directly through pip install, the installation is complete, please copy the complete path (everything after the colon)
The installation process is as follows:

Installation result query:
3. Install pyuic5-tool (UI interface converted to .py file)
pip installation: pip install pyuic5-tool
Install directly through pip install, the installation is complete, please copy the complete path (everything after the colon)
Since I closed the window it currently only shows as being installed:

Installation result query:
Two, Pycharm environment configuration UI tool
1. Configure the UI design tool to Pycharm
File -> setting -> Tools -> External Tools -> add
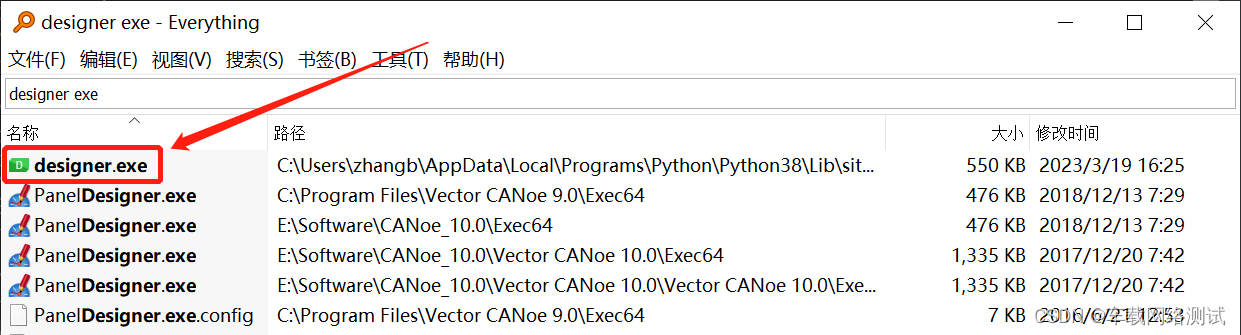
Step 4: You can search for designer.exe through the everything tool, then directly choose to copy the full path and file name, and finally paste it behind Program.
Step 5: Fixed format $FileDir$


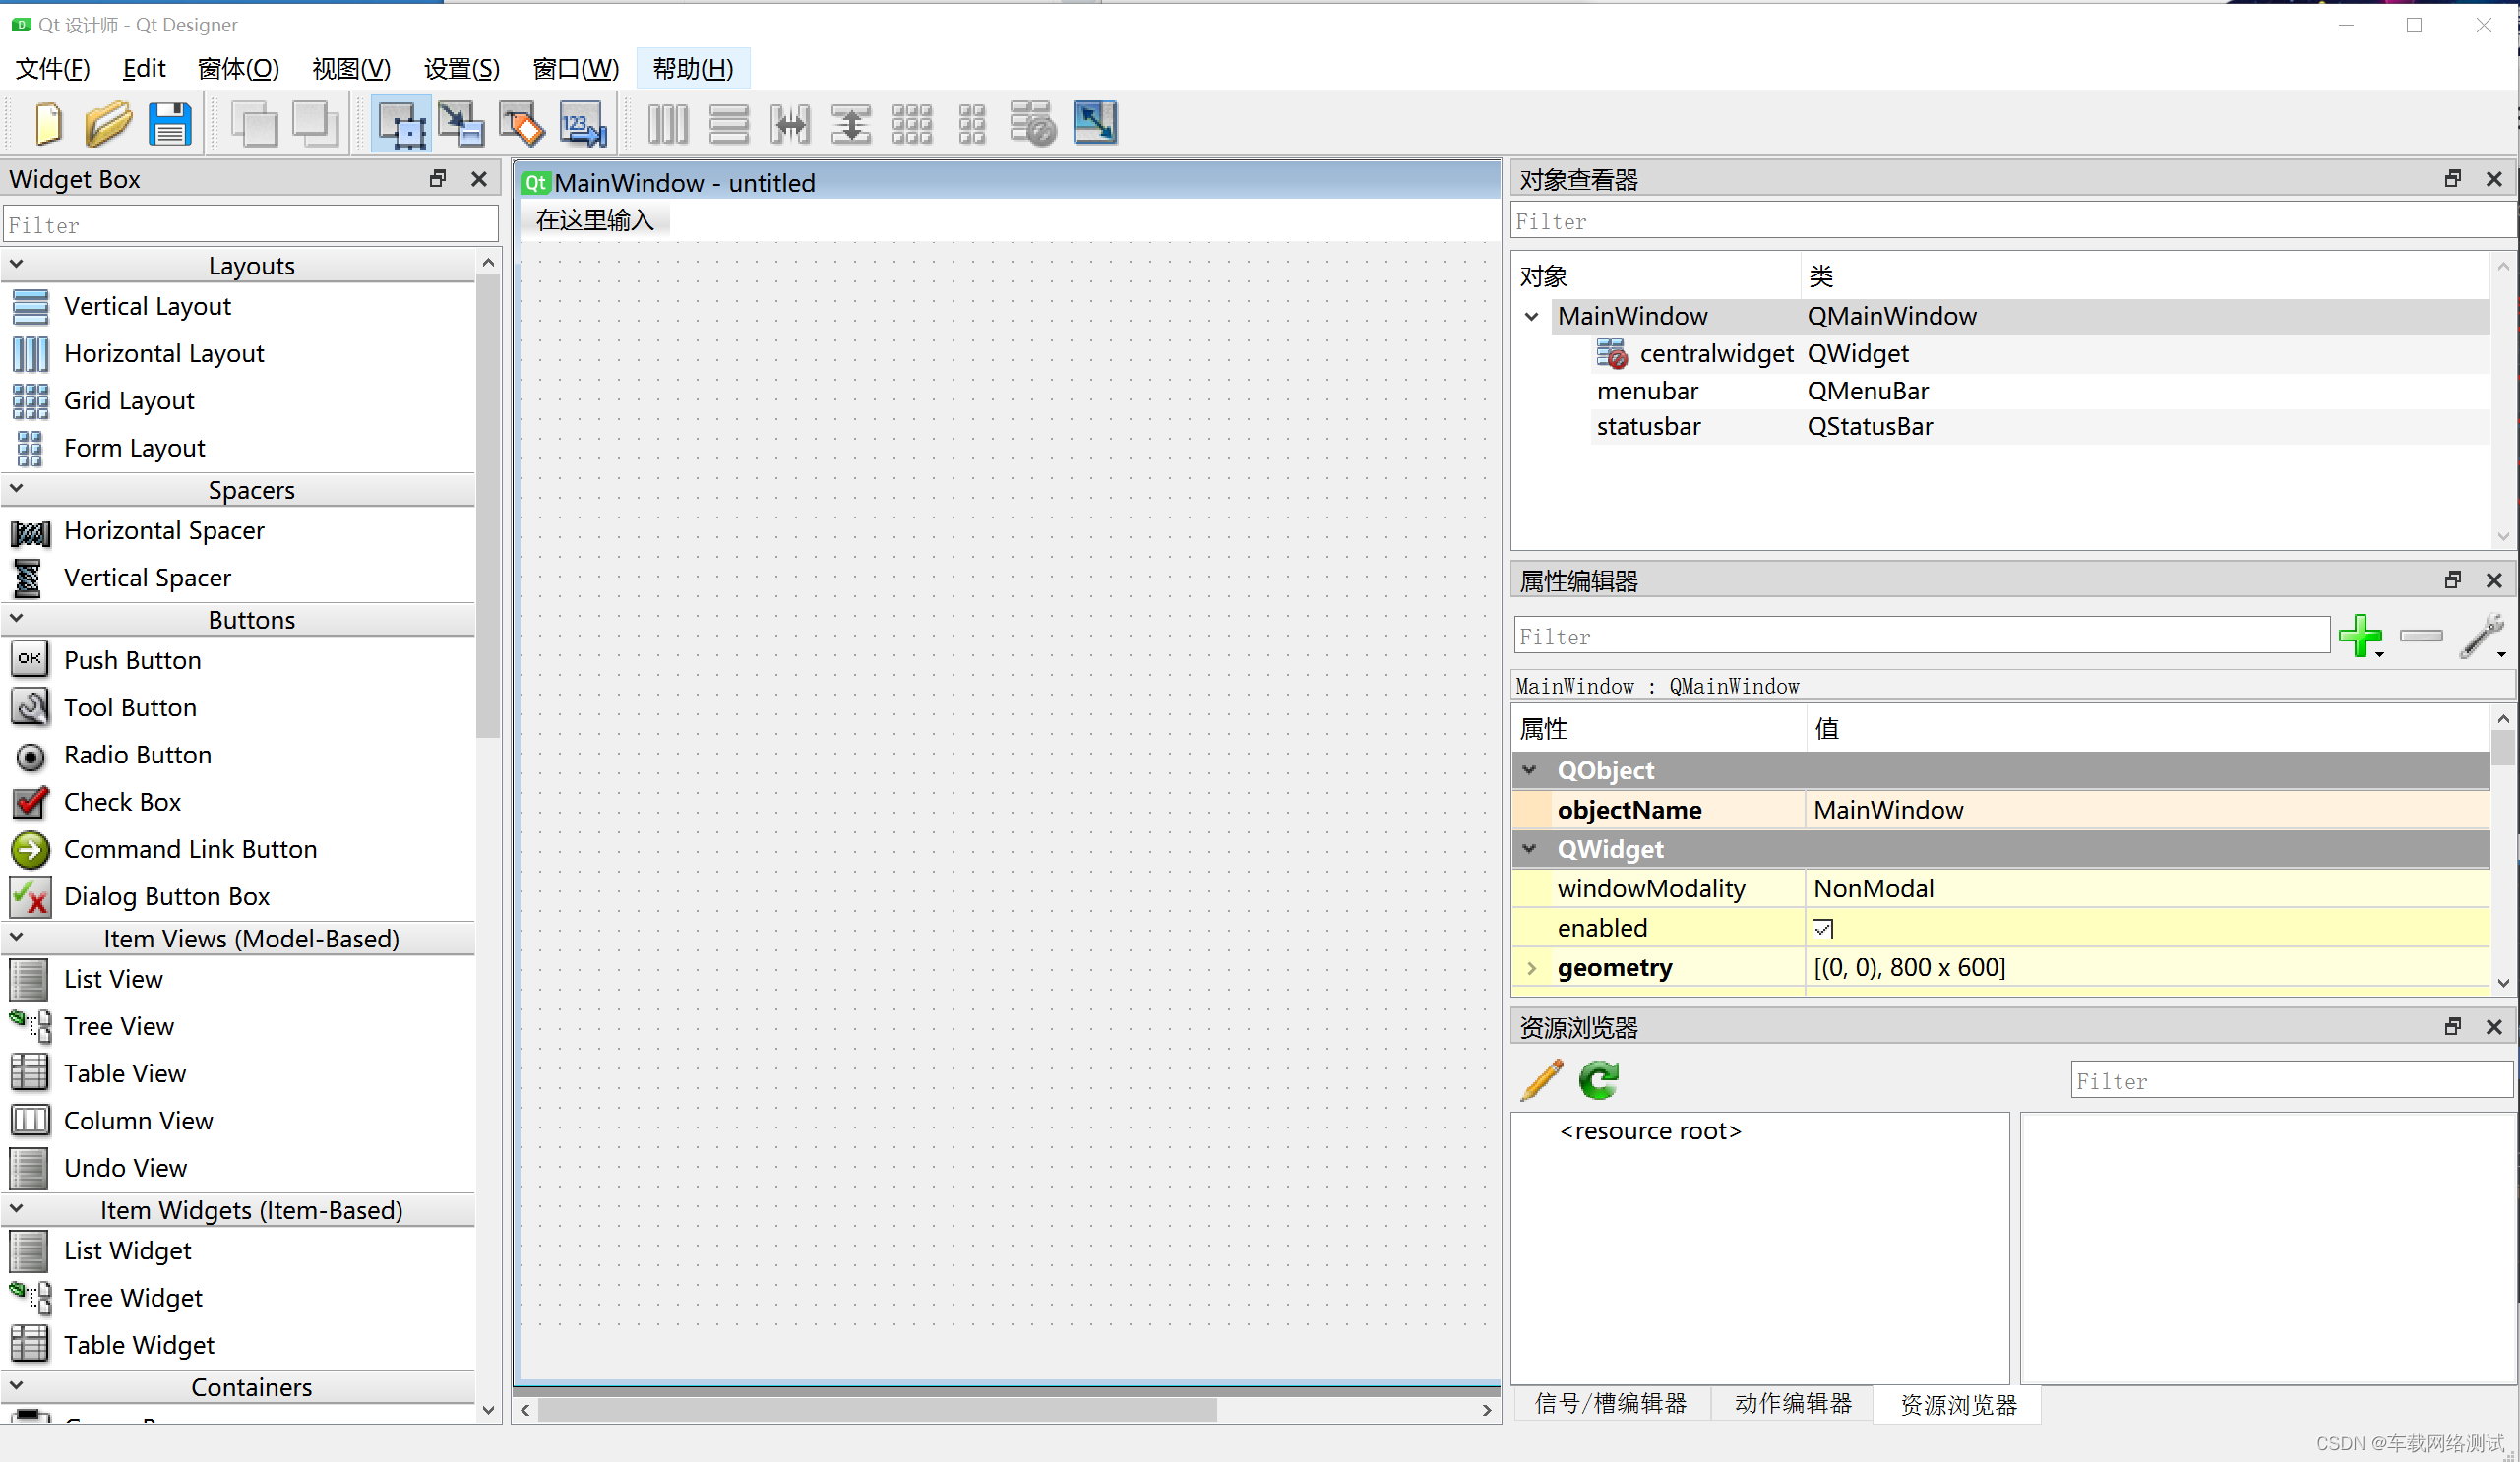
打开即为如下界面,我们就可以在这里面进行界面设计:
2、添加UI转py文件工具
File -> setting -> Tools -> External Tools -> add
Program:可以通过everything工具搜索pyuic5.exe,然后直接选择复制完整路径和文件名,最后粘贴在Program后面。
Arguments:固定格式写死即可:$FileName$ -o $FileNameWithoutExtension$.py
Working directory:固定格式:$FileDir$

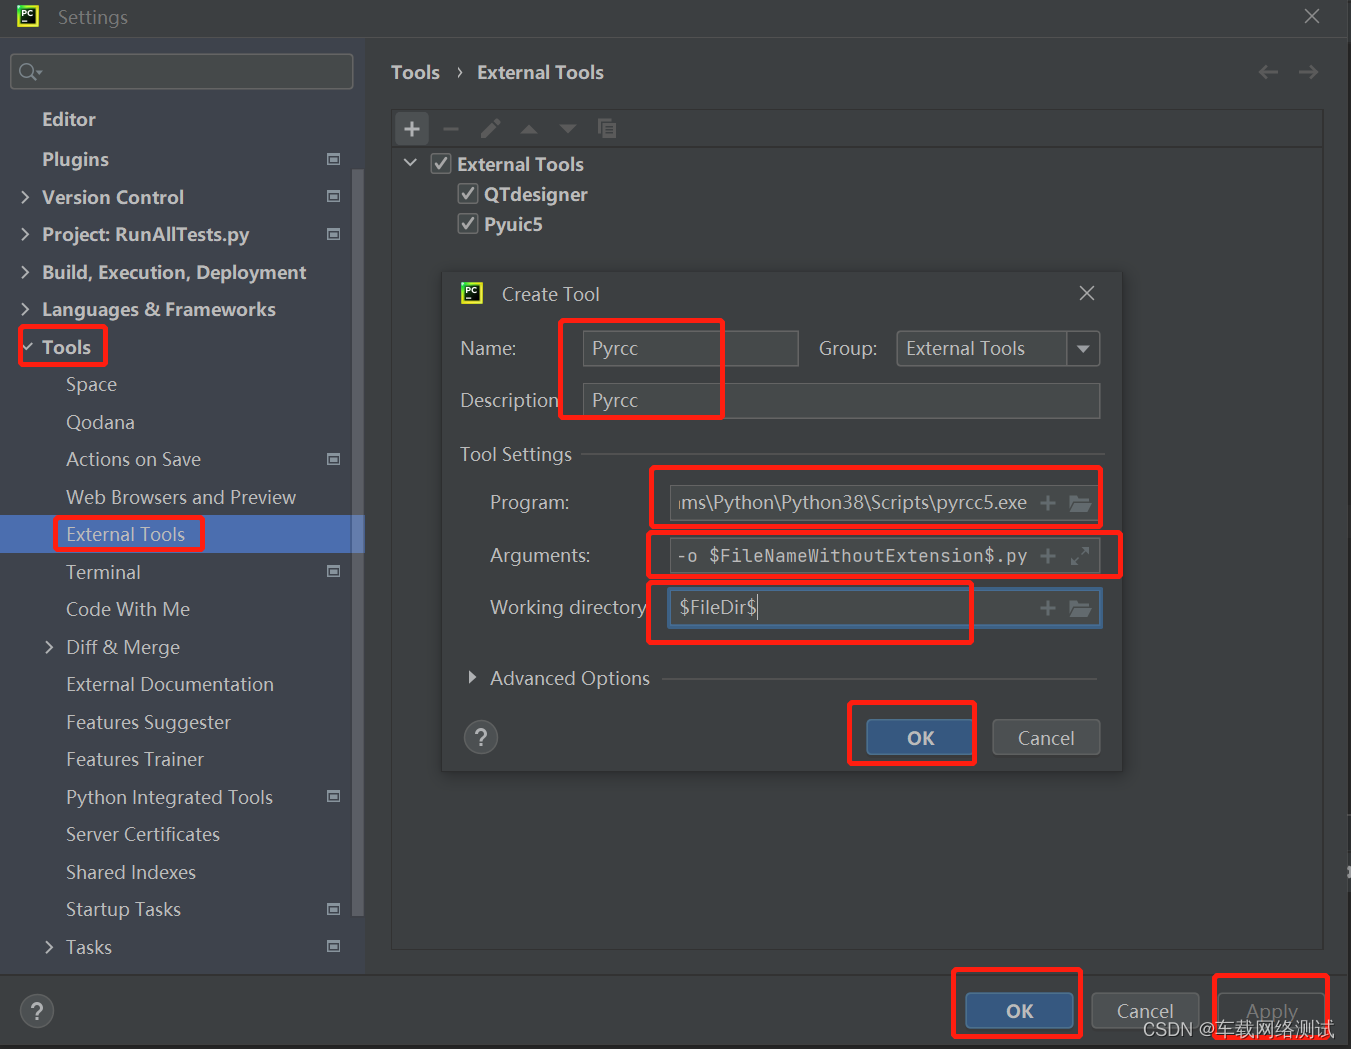
3、添加外部工具pyrcc
File -> setting -> Tools -> External Tools -> add
Program:可以通过everything工具搜索pyrcc.exe,然后直接选择复制完整路径和文件名,最后粘贴在Program后面。
Arguments:固定格式写死即可:$FileName$ -o $FileNameWithoutExtension$.py
Working directory:固定格式:$FileDir$
确认外部插件添加成功:

以上完成后PyQt5的Pycharm环境就全部配置完成了,下一步我们就能够添加对应的UI插件进行编辑了。