content
gitee creates code repository
1. Download and install git
Domestic mirror download address
https://registry.npmmirror.com/binary.html?path=git-for-windows/
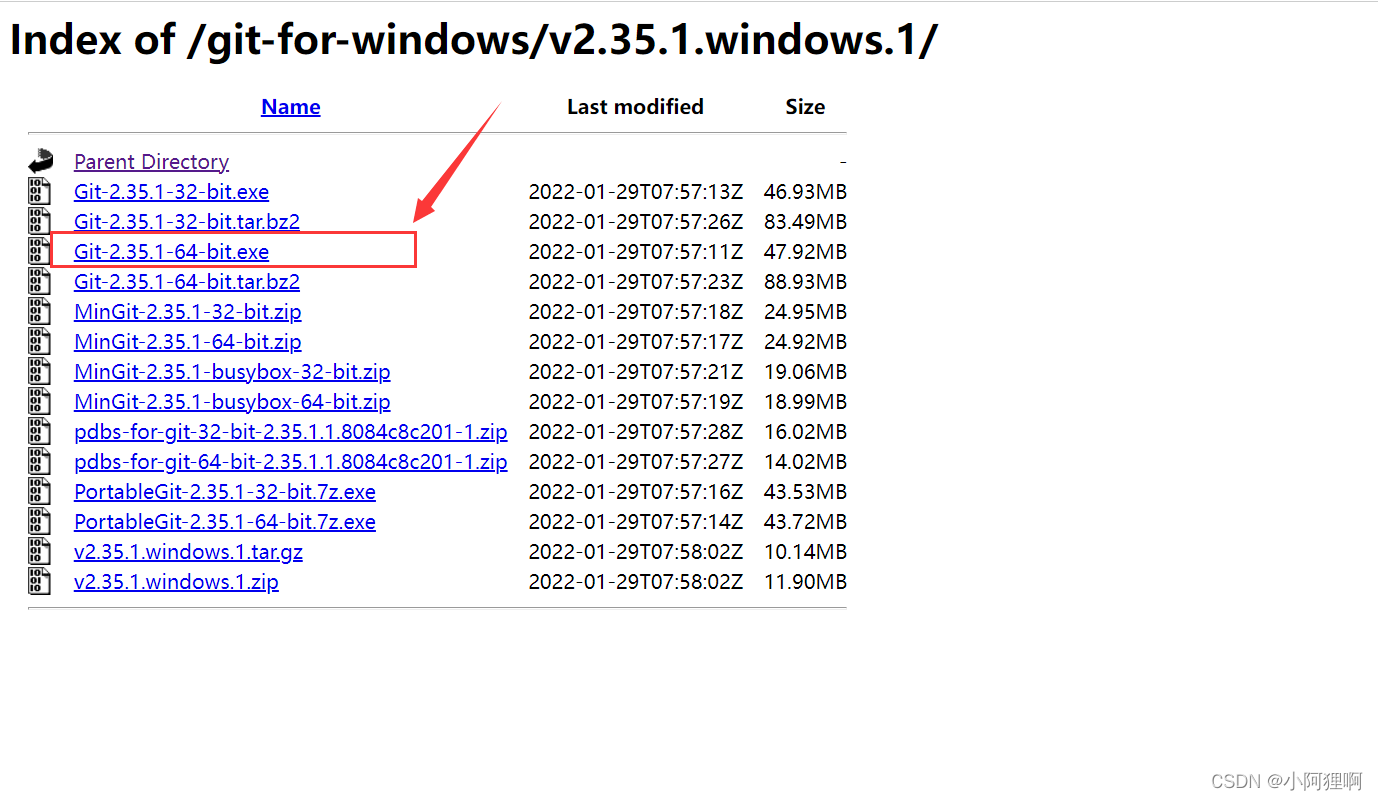
Choose a newer download

Here we download the executable file of .exe, click to download
2. Install git
1. Double-click the downloaded installation executable program to install

2. Click next

3. Select the installation path here
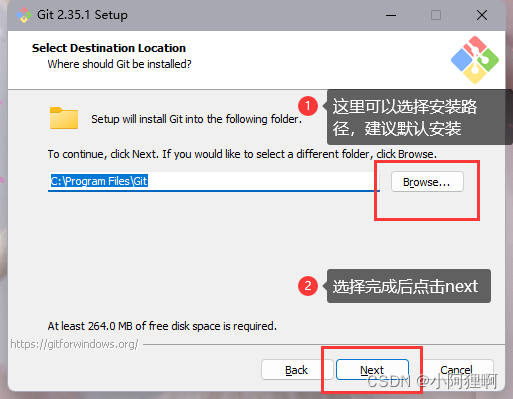
4. The following is all next. Then install, click finish to complete the installation

After the installation is complete, right-click in the folder in win10, and right-click in win11 to display more options, and there will be two more options. Git GUI Here and Git Bash Here
win11 right click to show more options
Git GUI Here is a graphical operation of git
Git Bash Here is to use linux commands to operate git

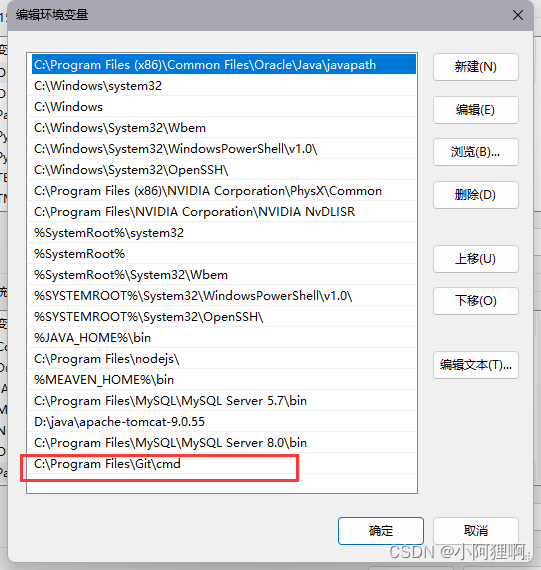
The environment variables of git will also be generated in the environment variables of your computer, so that we can use git globally
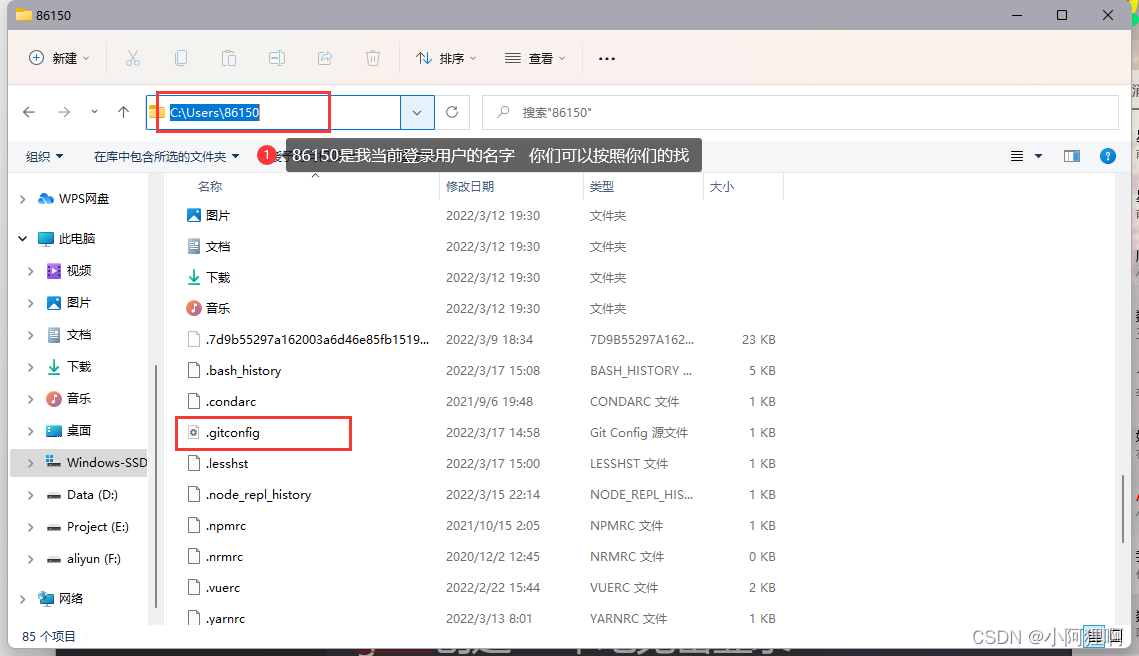
Configure your own user information. Find the .gitconfig file, open Notepad, this is your own name and email

gitee creates ssh local password-free login
1. Register and log in to 'Code Cloud' to improve personal information
Code cloud website: https://gitee.com/
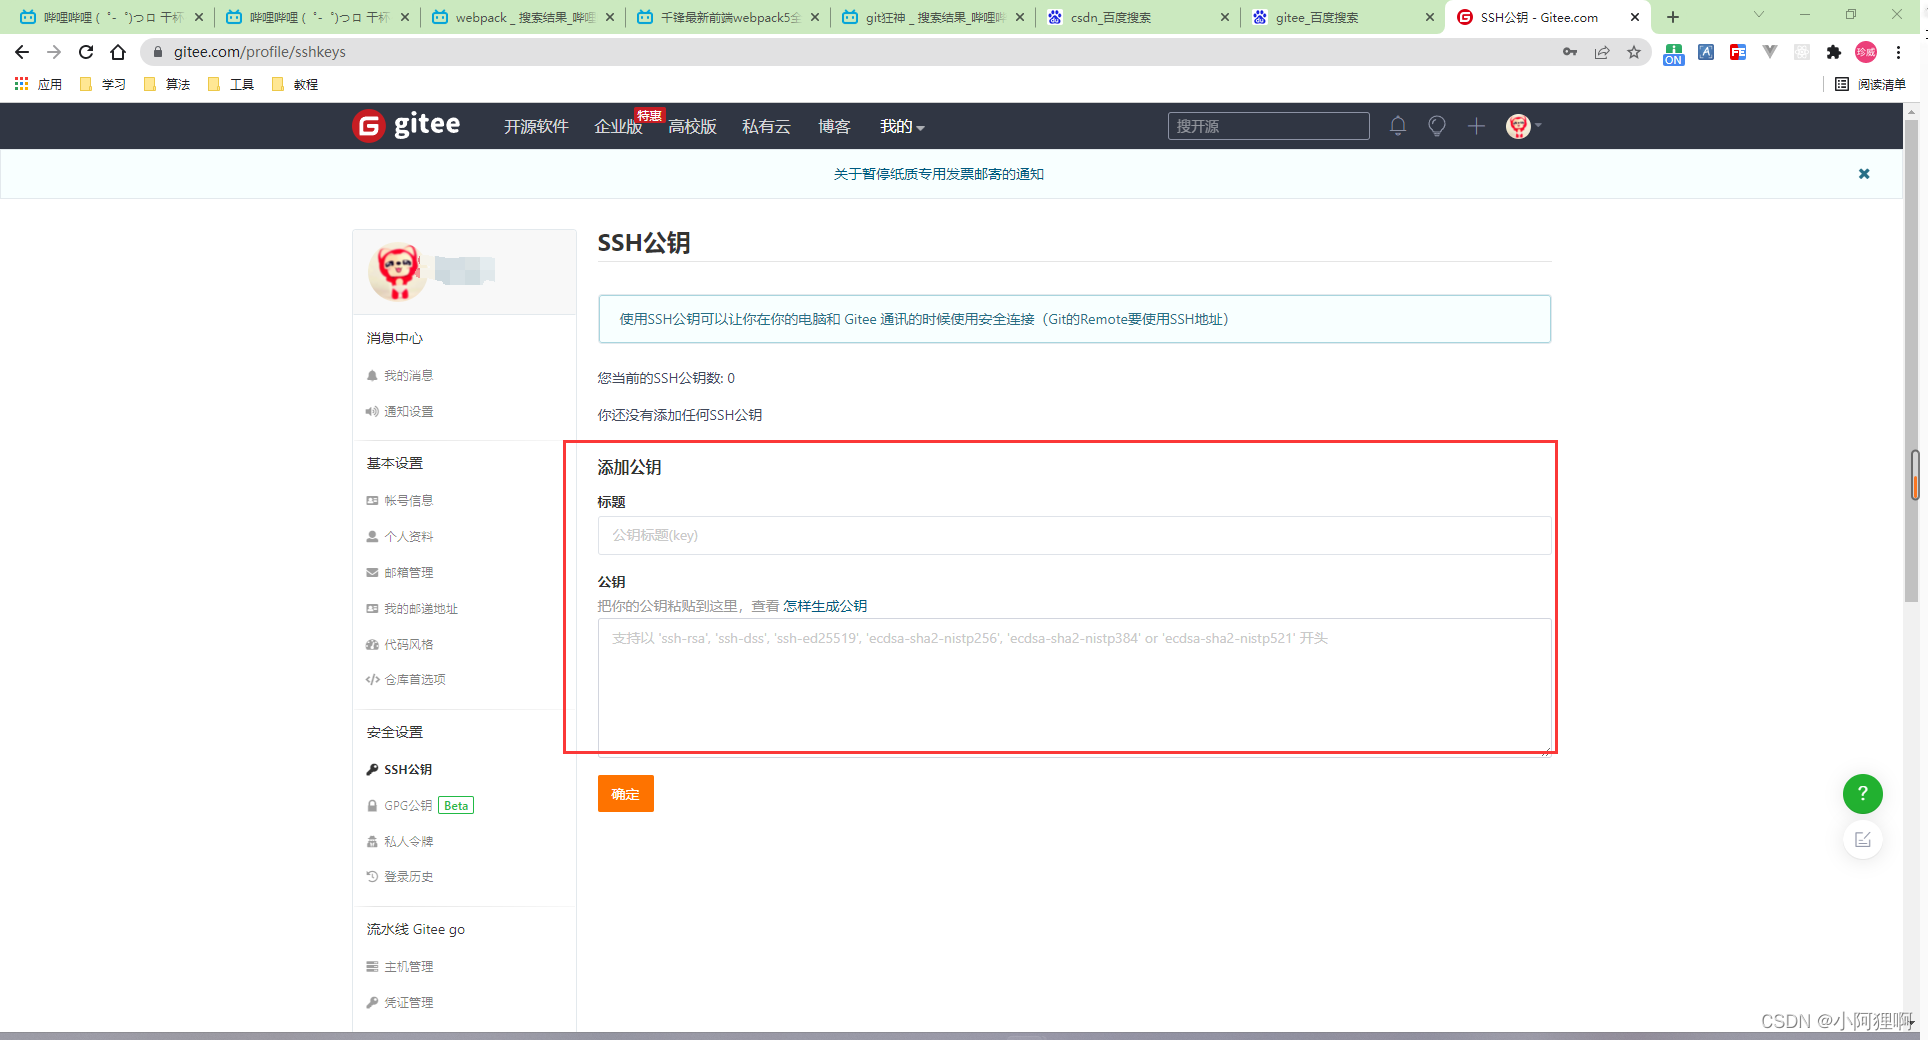
2. Set the SSH public key to achieve password-free login
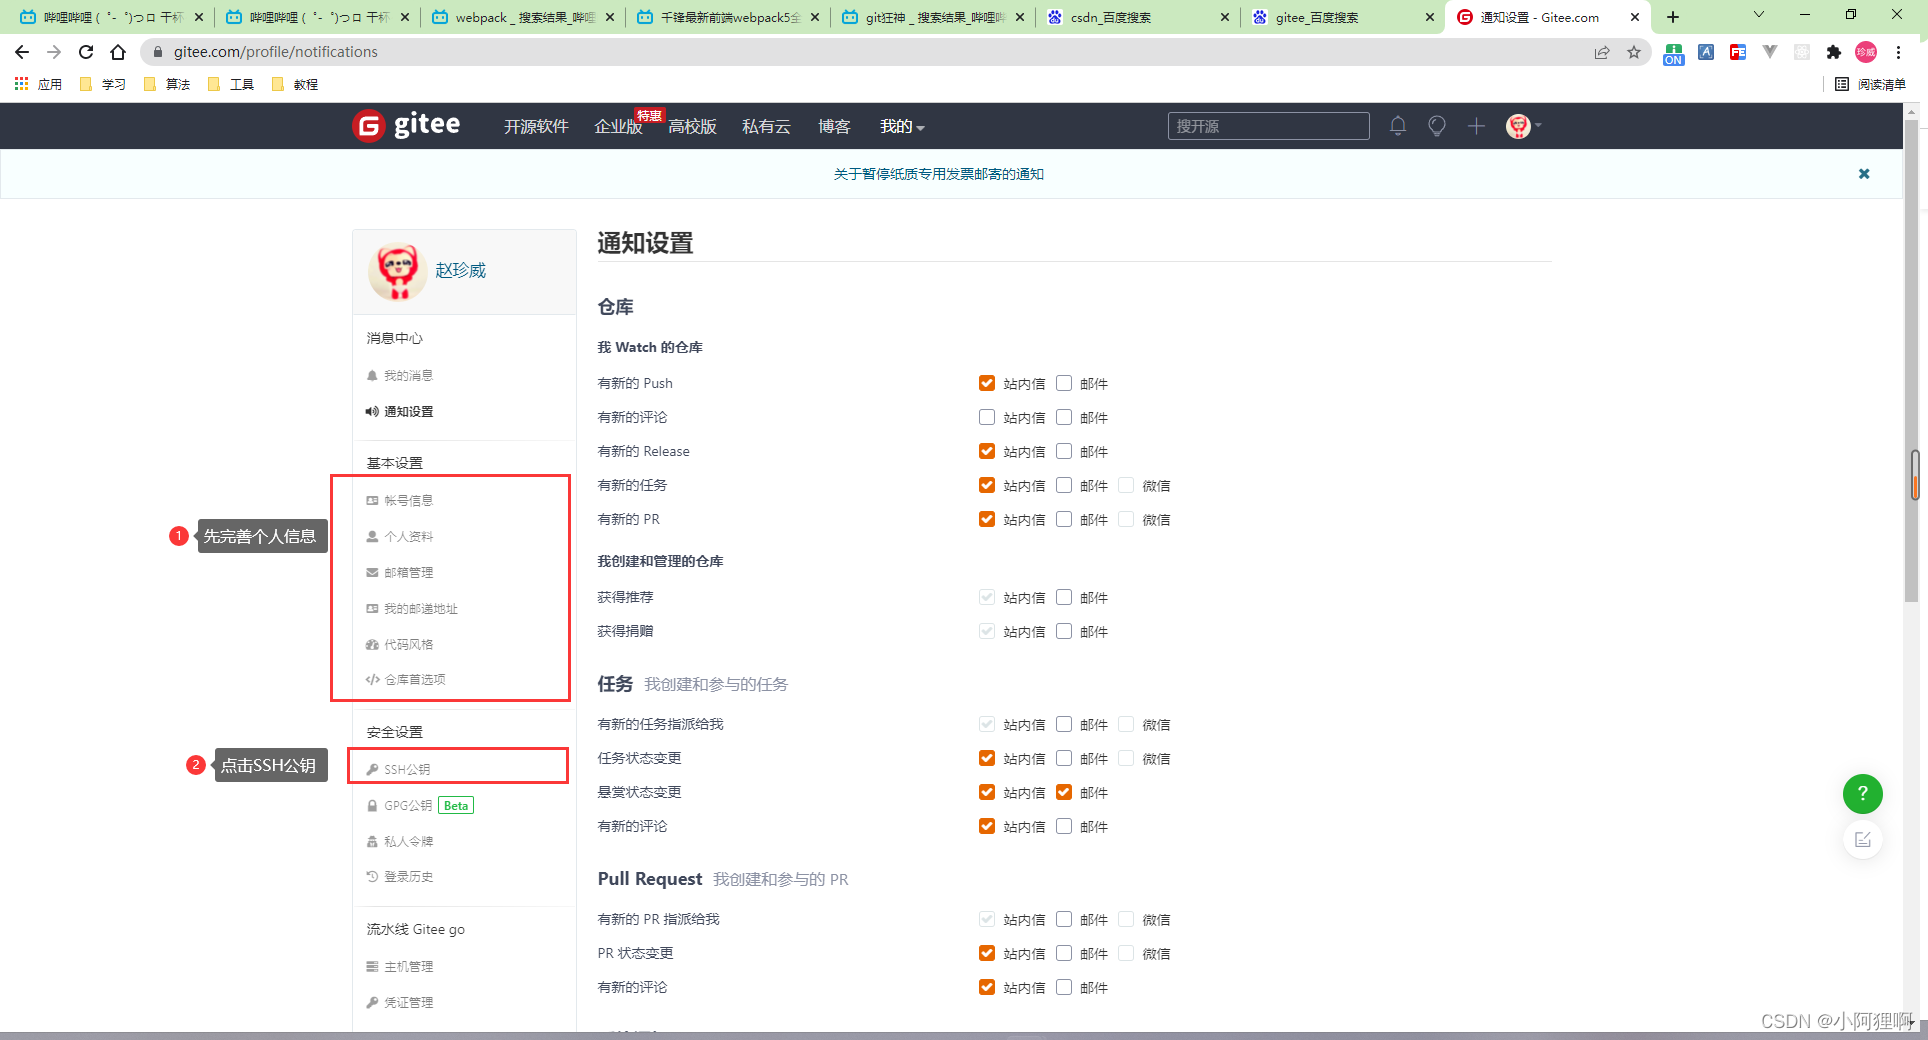
1. After registration, place the mouse on your avatar and click Settings

2. Complete your information first, then click the SSH public key
3. Here we need to generate the public key first
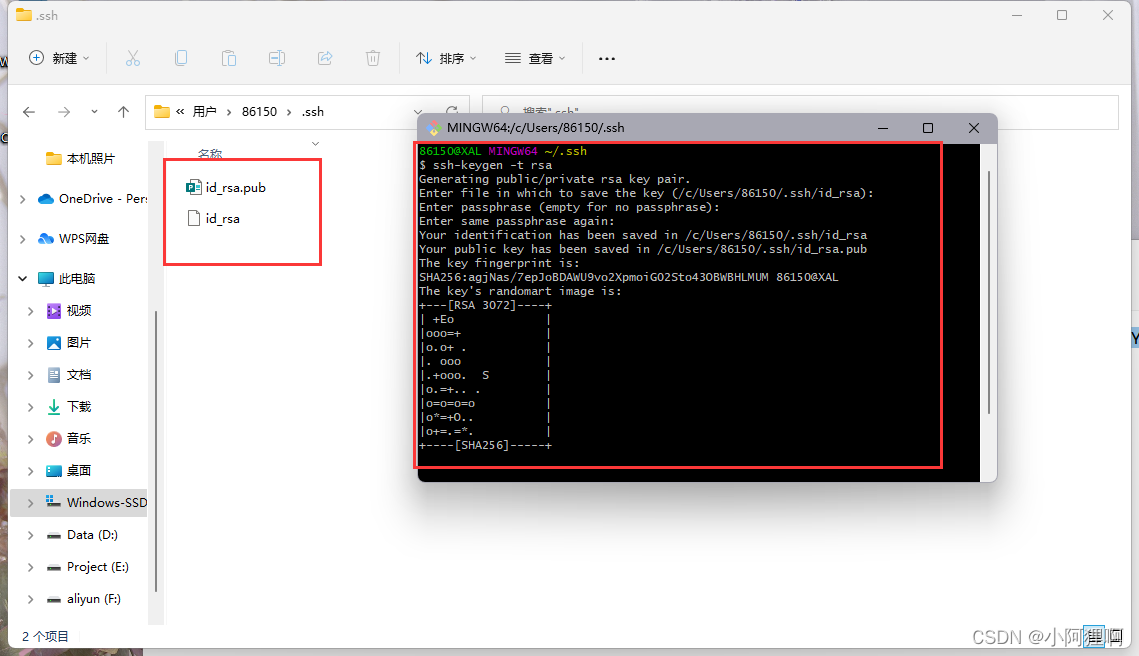
4. Find C:\Users\86150.ssh, if it has not been generated, it should be empty, delete the generated one, or go directly to step 6
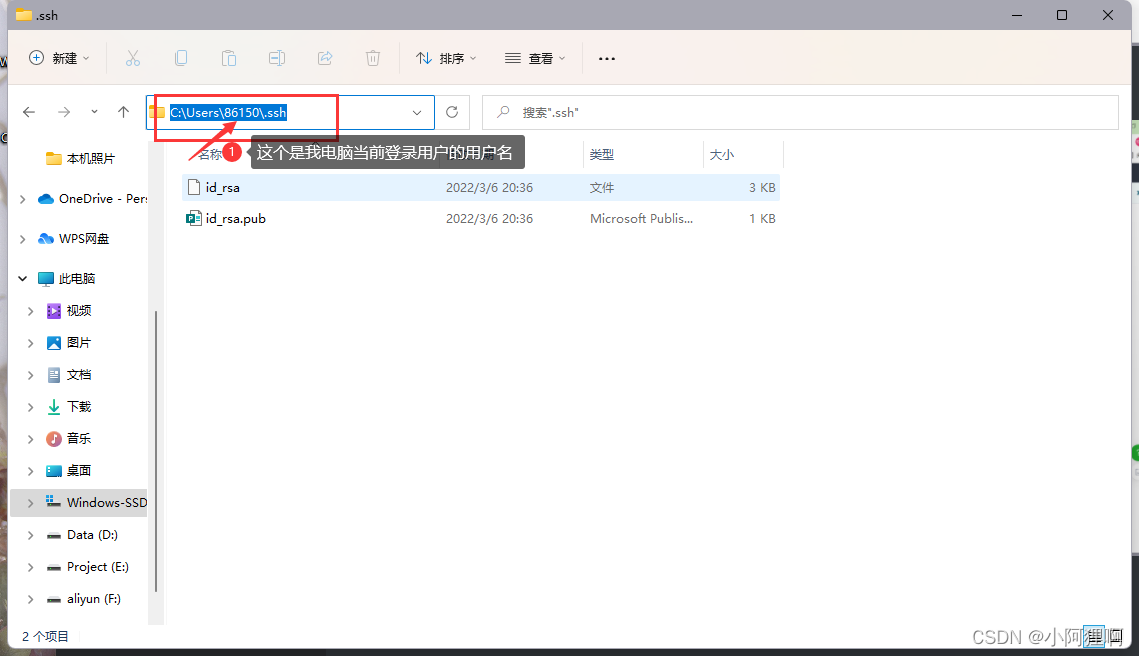
5. Open the Git Bash here window under the current folder, enter ssh-keygen -t rsa and press Enter to generate two files
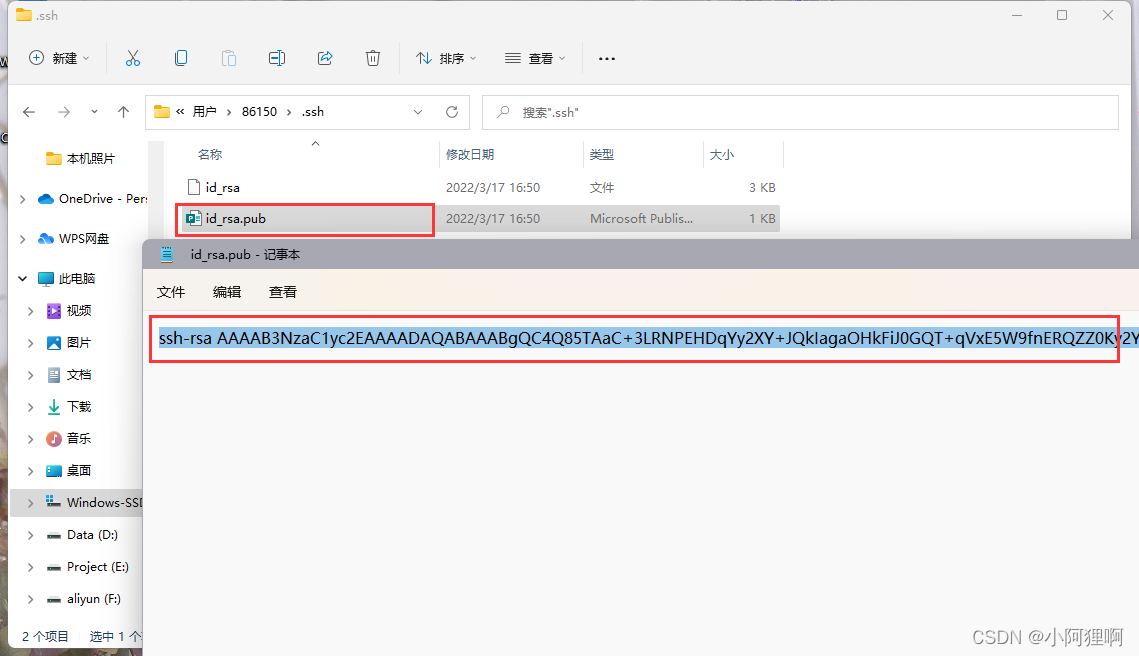
6. Open the generated id_rsa.pub file and copy the public key generated in it
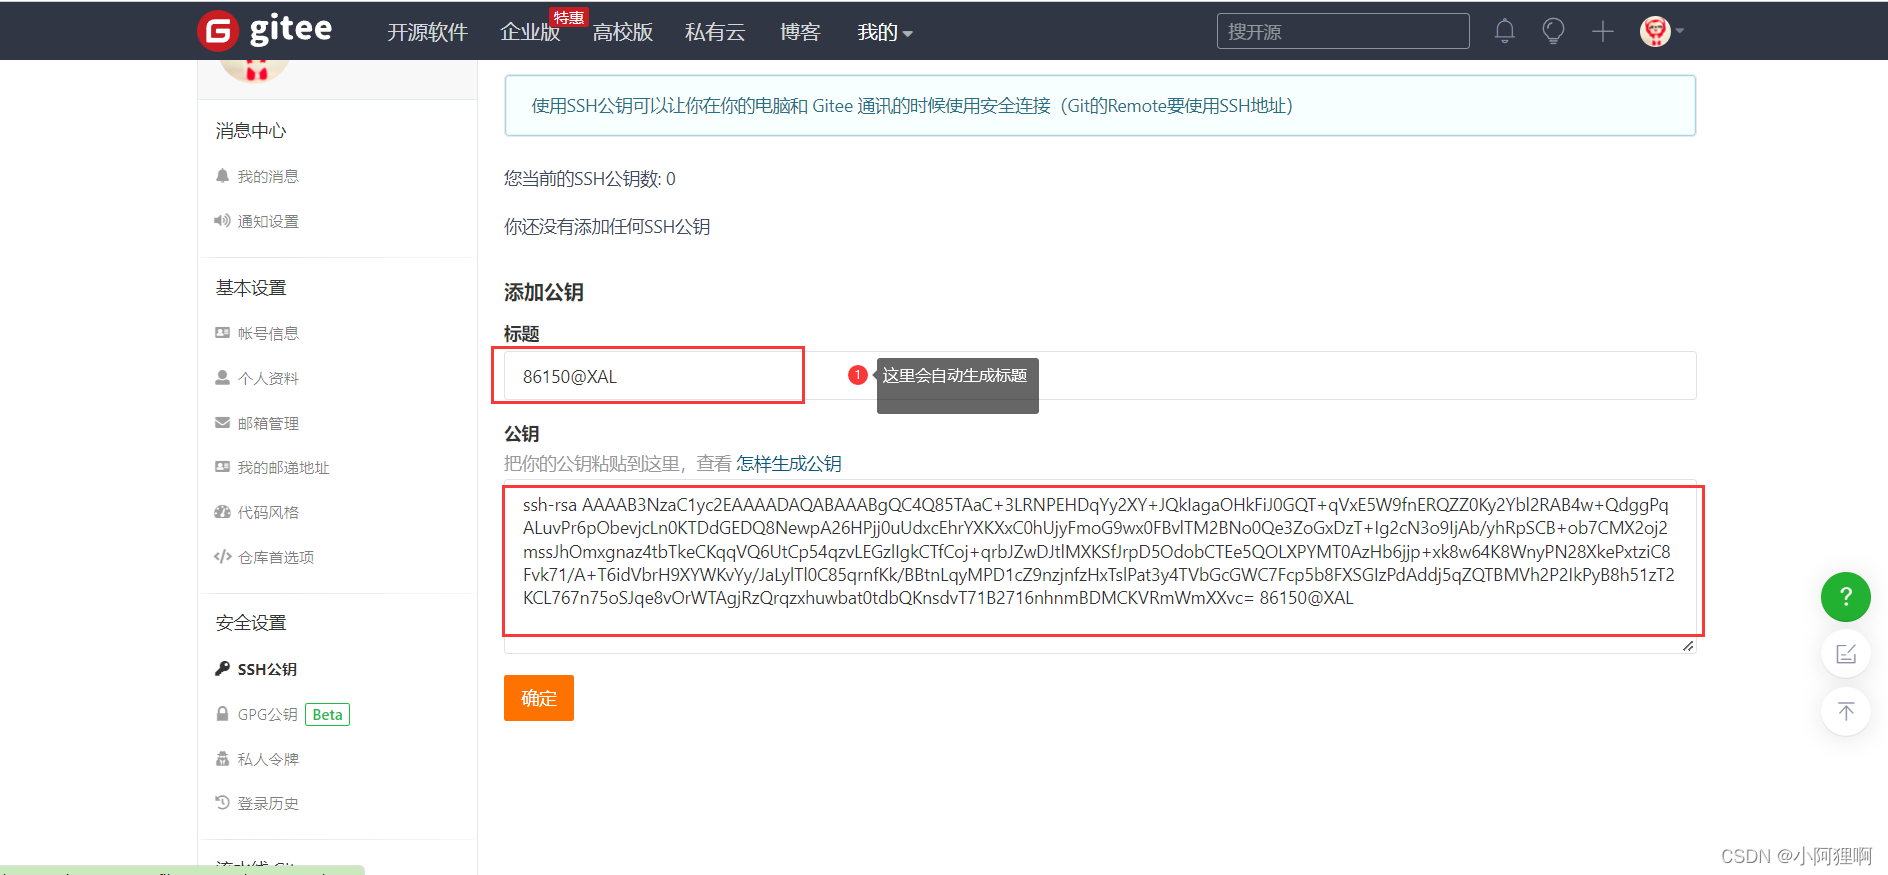
7. Paste the generated public key on the code cloud, click Add, and enter the password to add it.

Create a git repository
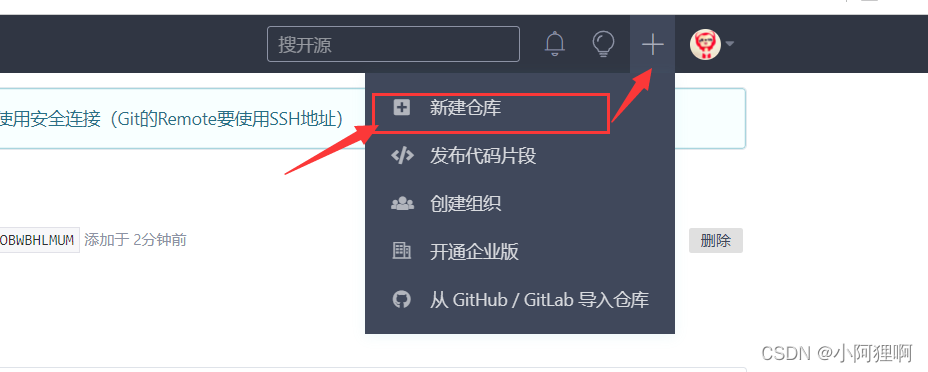
1. Click the plus sign, then click New Warehouse
2. Create settings just follow me, click Create

3. So we have successfully created a warehouse
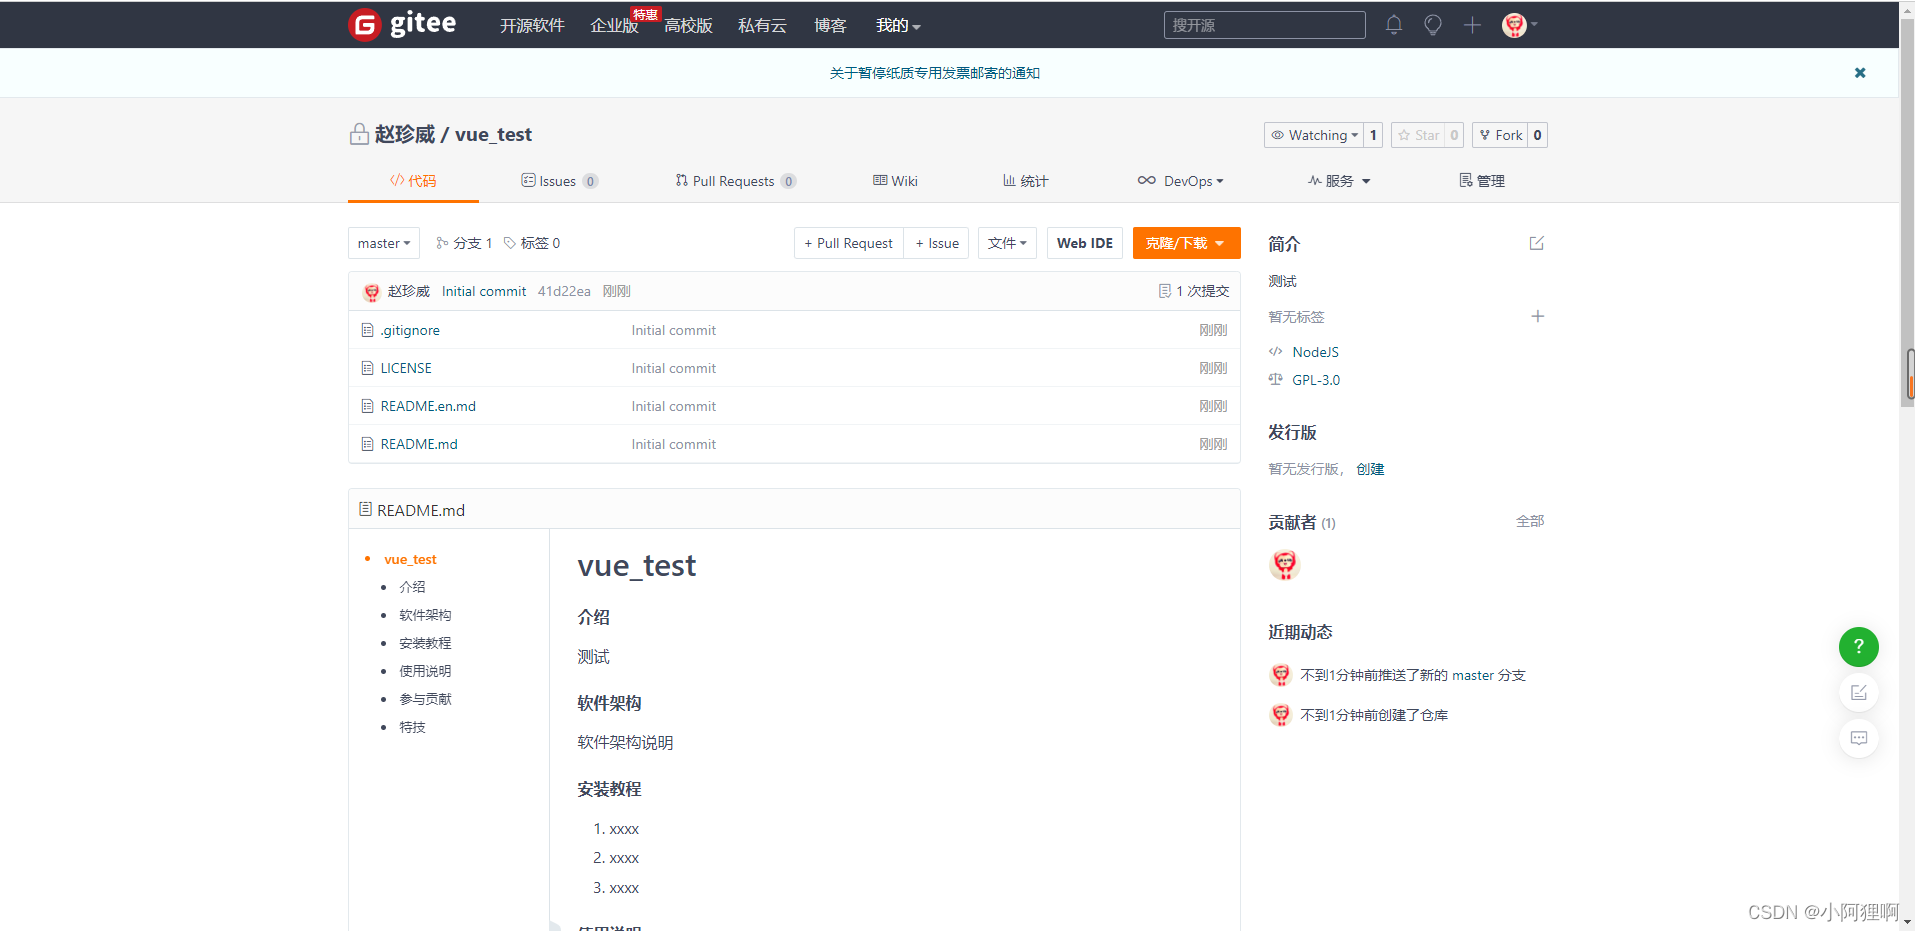
How to upload files to the repository
1. Clone or download the Chuangku git configuration file
1. Because we have already used git, let's talk about cloning first
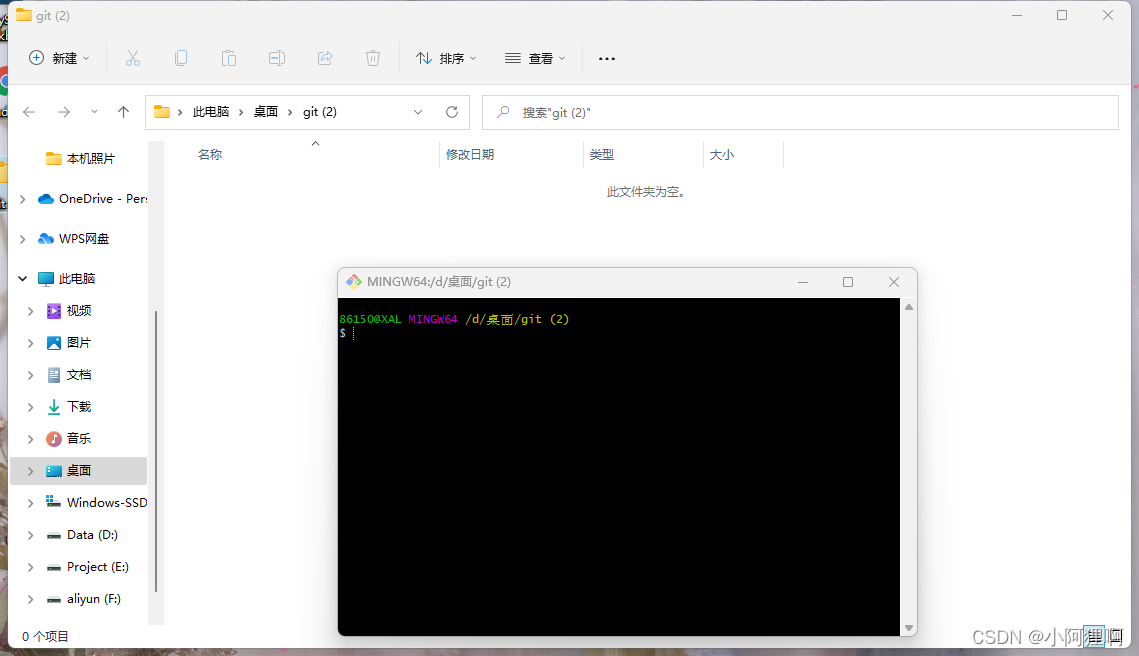
Open an empty folder and check Show hidden files, otherwise you will not see the .git file

2. Open Git Bash Here in an empty folder
3. Copy the Https address of the warehouse and click Copy
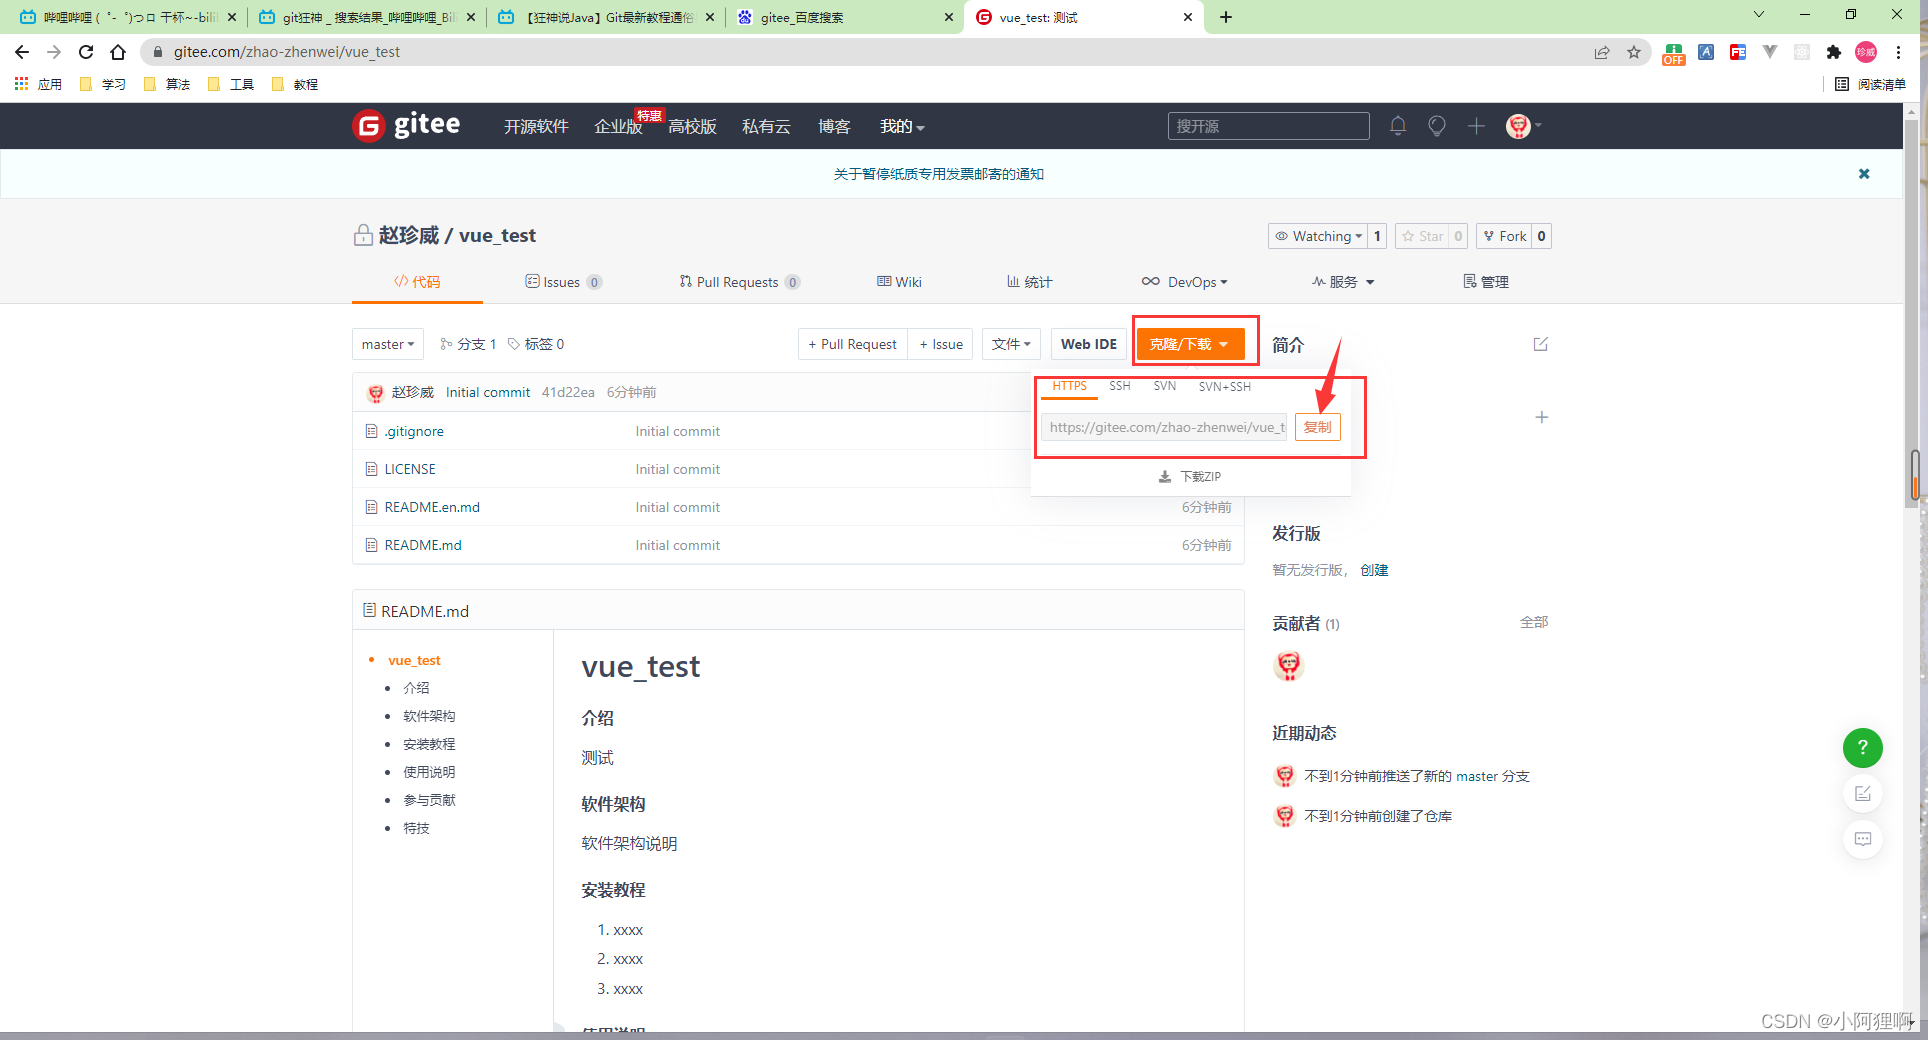
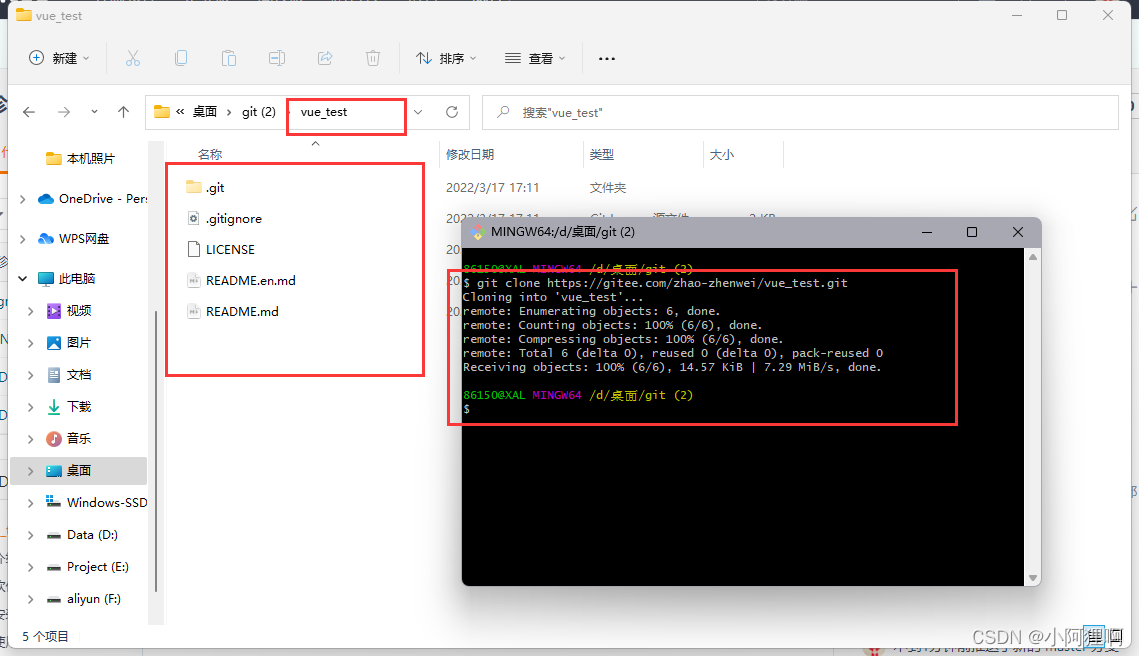
- Enter the git clone address in Git Base Here, and we can download the files on the code cloud
How to manage git with vscode
1. Open the cloned file with vscode
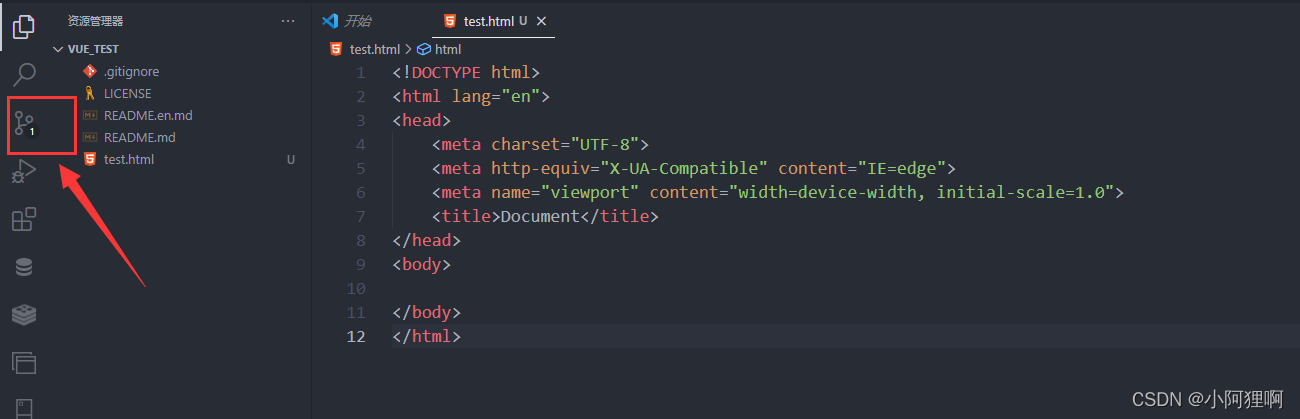
2. Create a new file, we can see that git is already monitoring the changes of our file, which is a built-in function of vscode
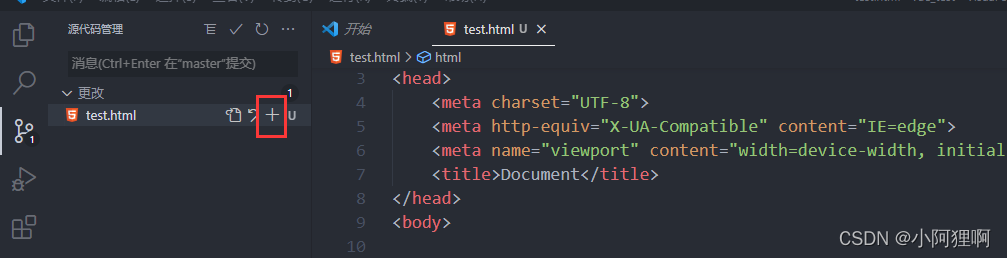
3. Click to see that a change has been monitored. Click the plus sign to save our changes. Click the return sign on the left to abandon the change.
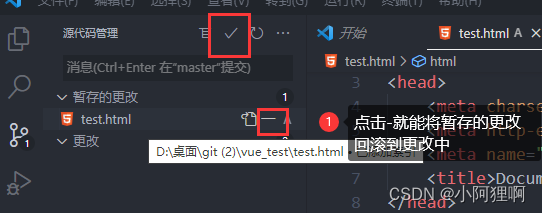
4. Click - to roll back the temporary file to the changes, and with a click, we can submit it to the local repository
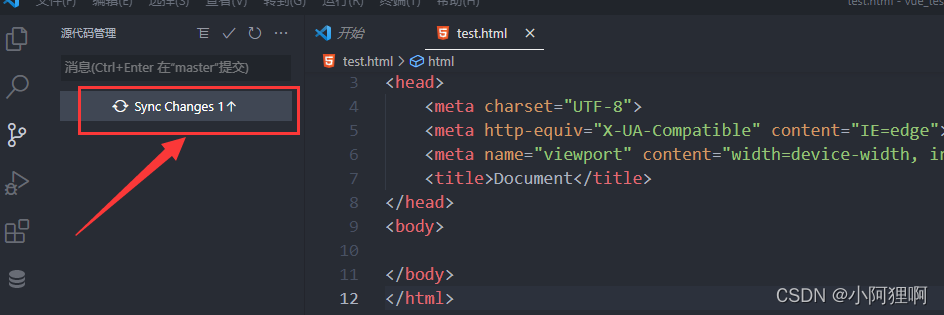
5. After clicking the tick, you will be prompted to enter information, here we can write the change information for the project

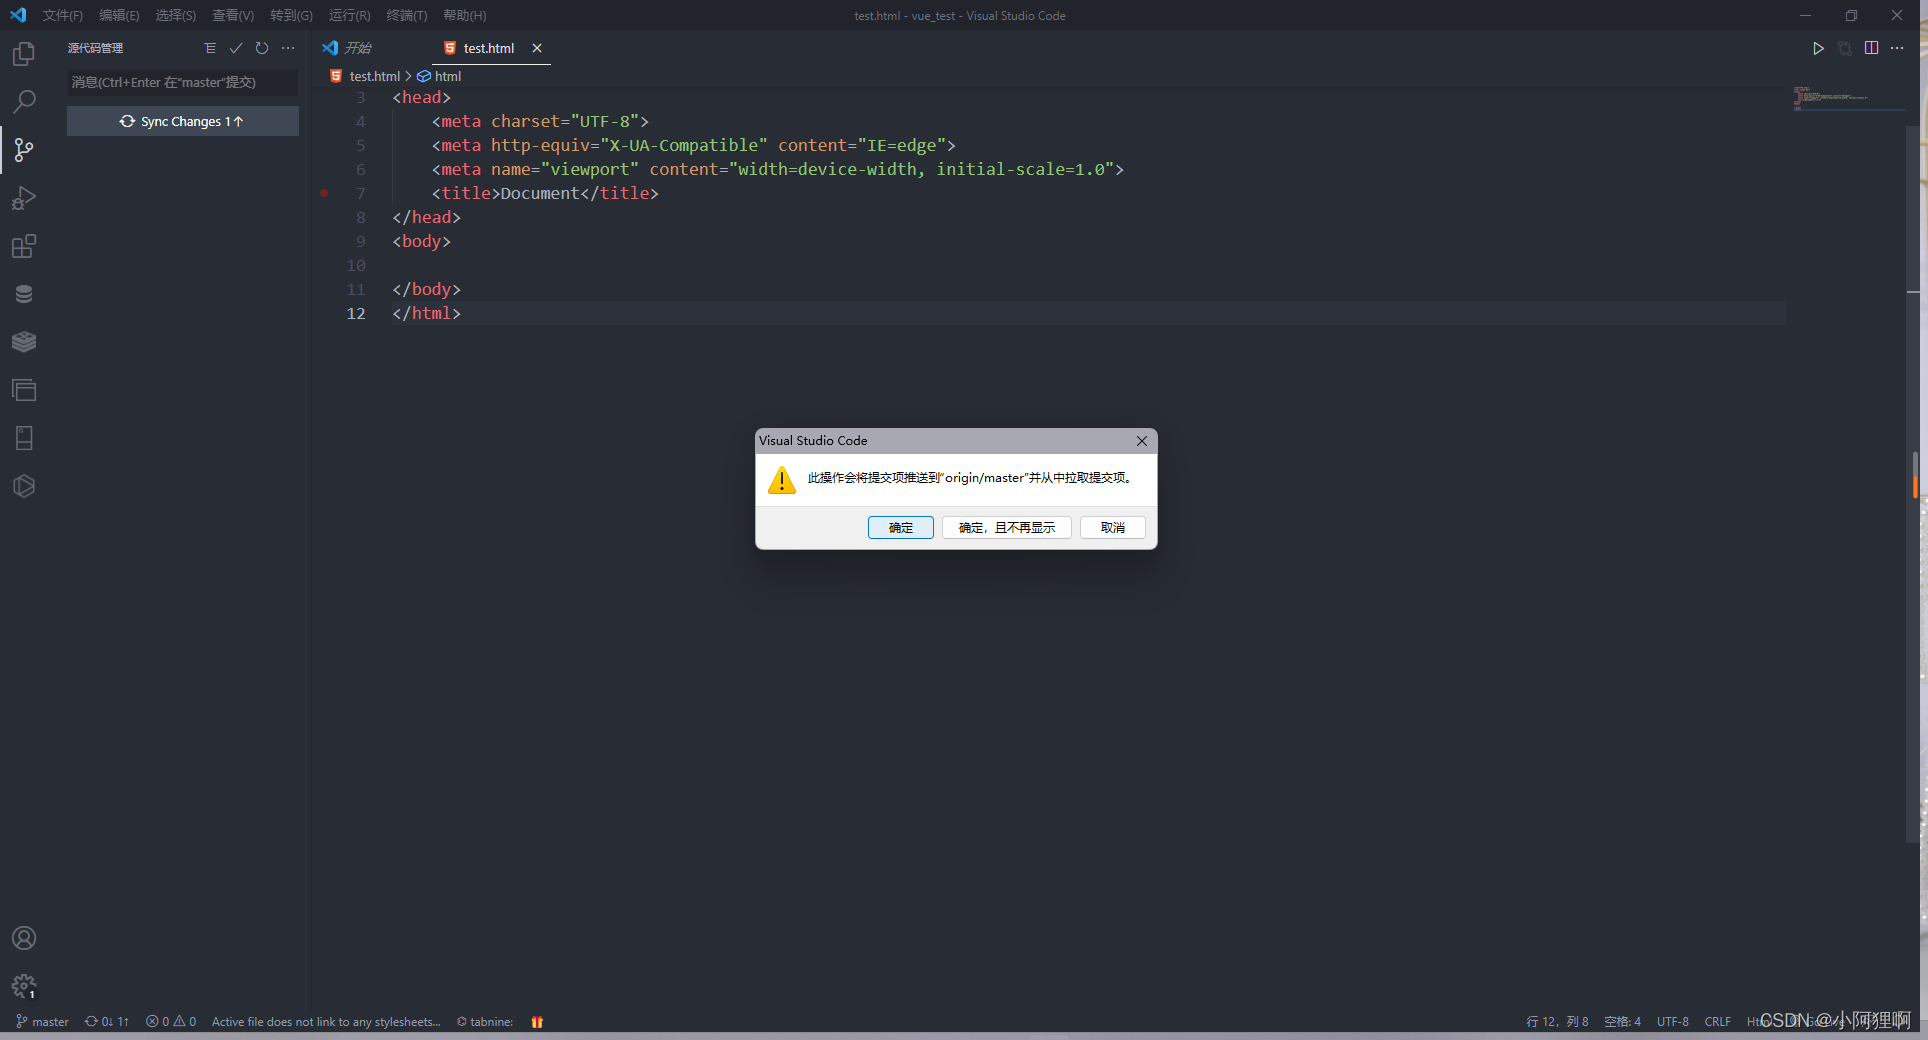
6. After entering Enter, we can click Sync changes to submit our changes to the code cloud, and we will use the prompt to confirm.
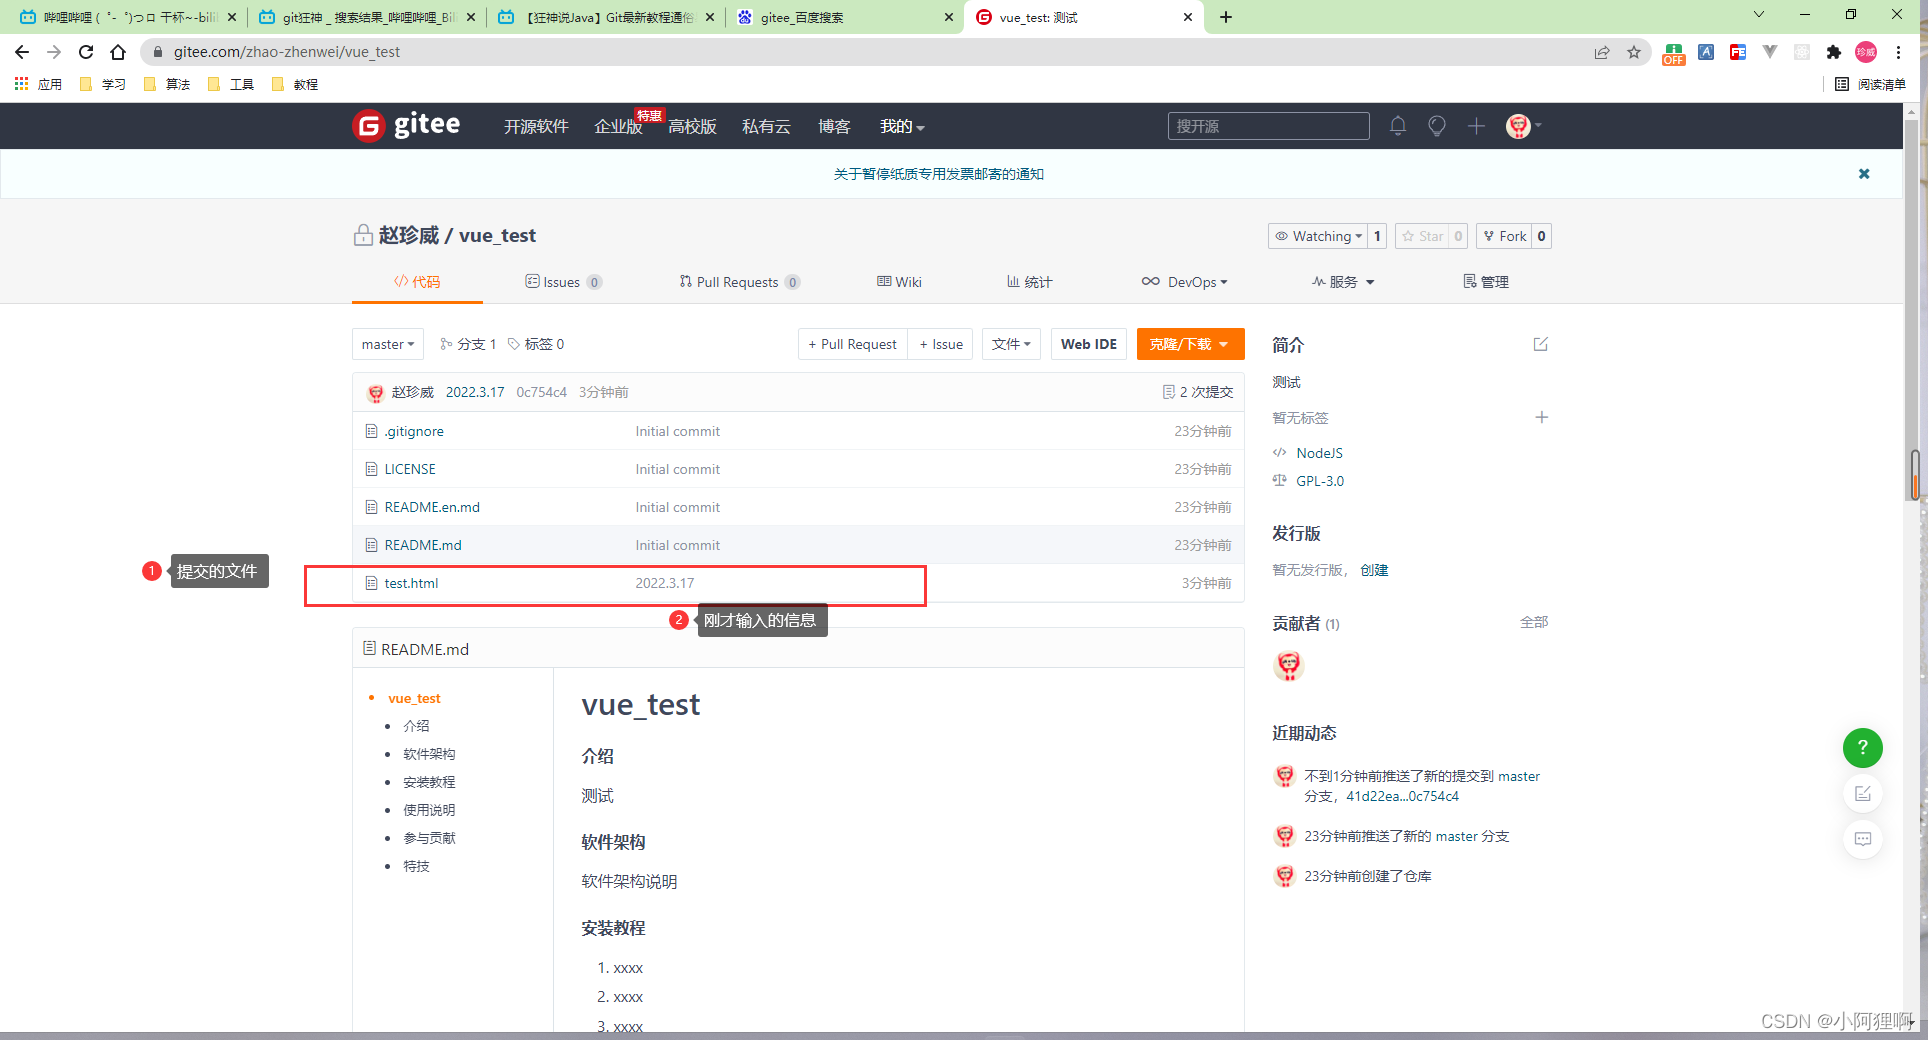
7. We can see the changes we just made when we go back to Jack Ma
How to operate git with webStorm
1. Similarly, we will open the cloned project folder with webStorm
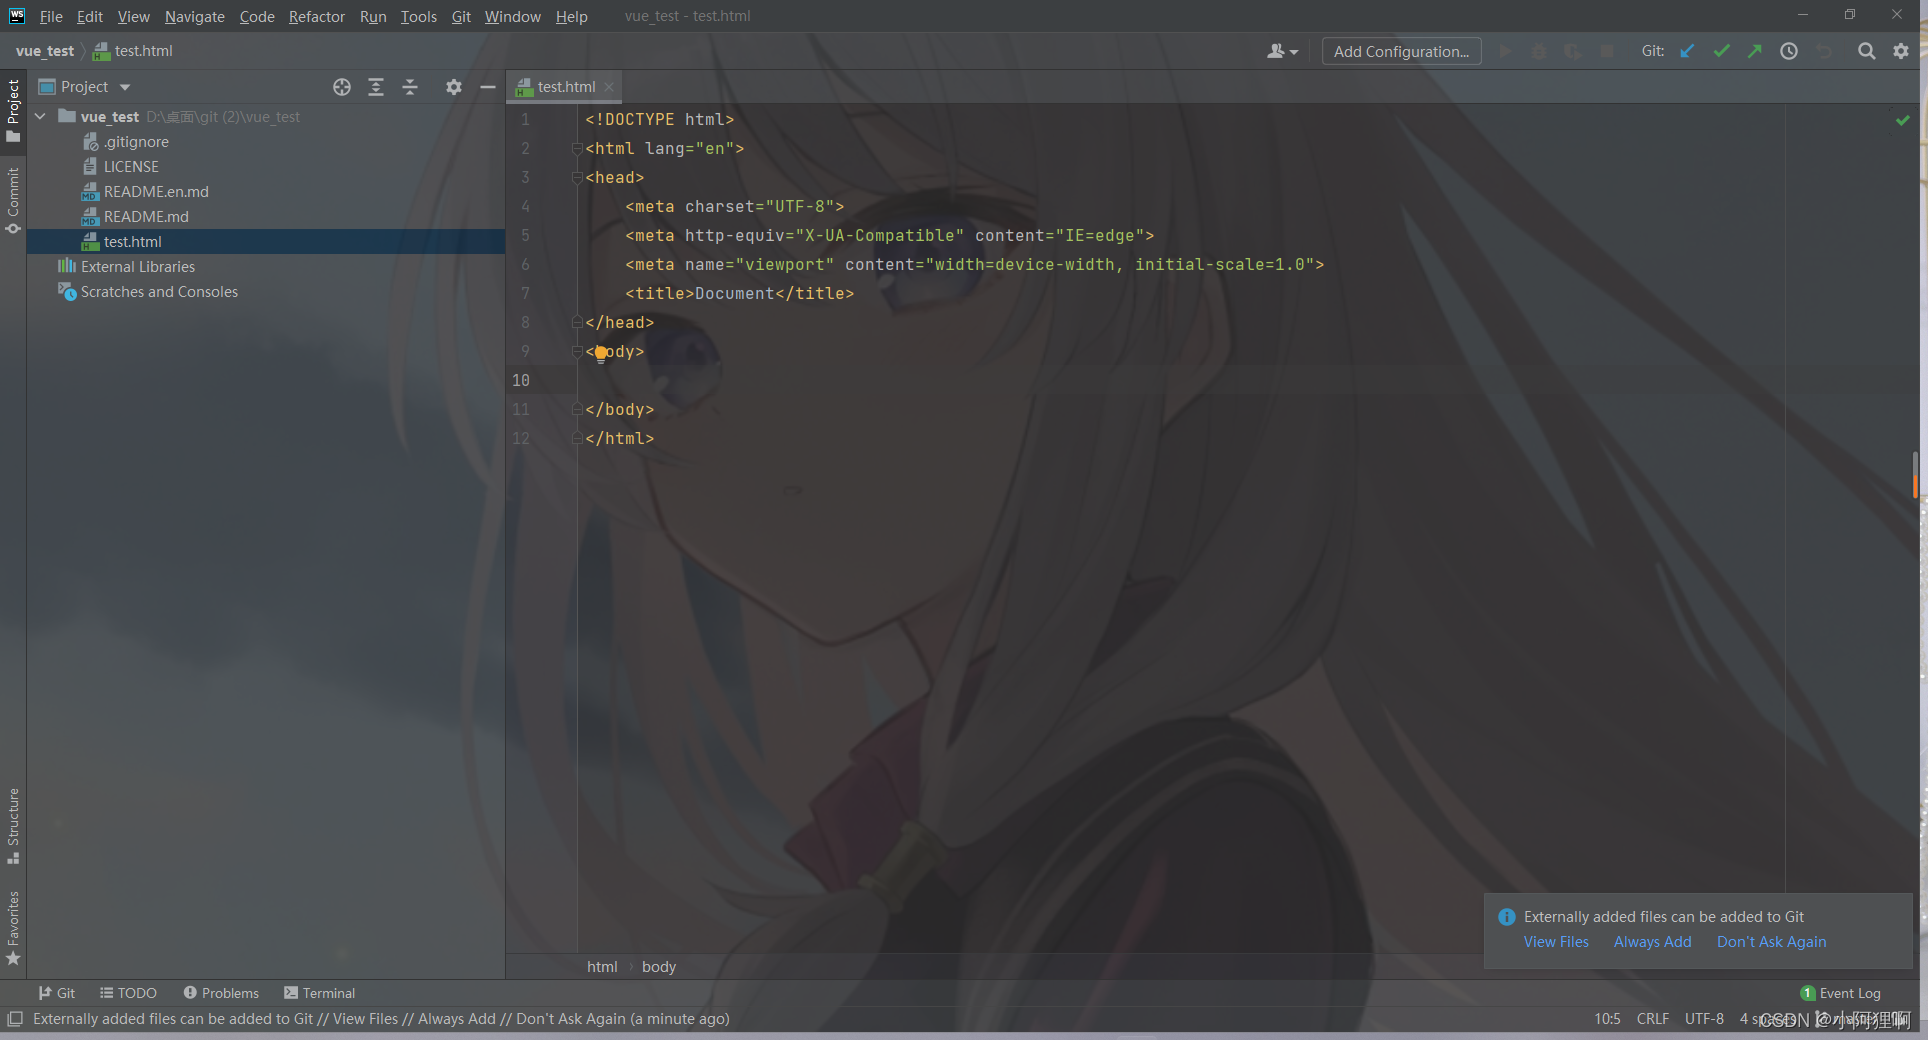
2. Click the test.html file we just created to modify it, and then click commit, you will see that the file we modified has been monitored
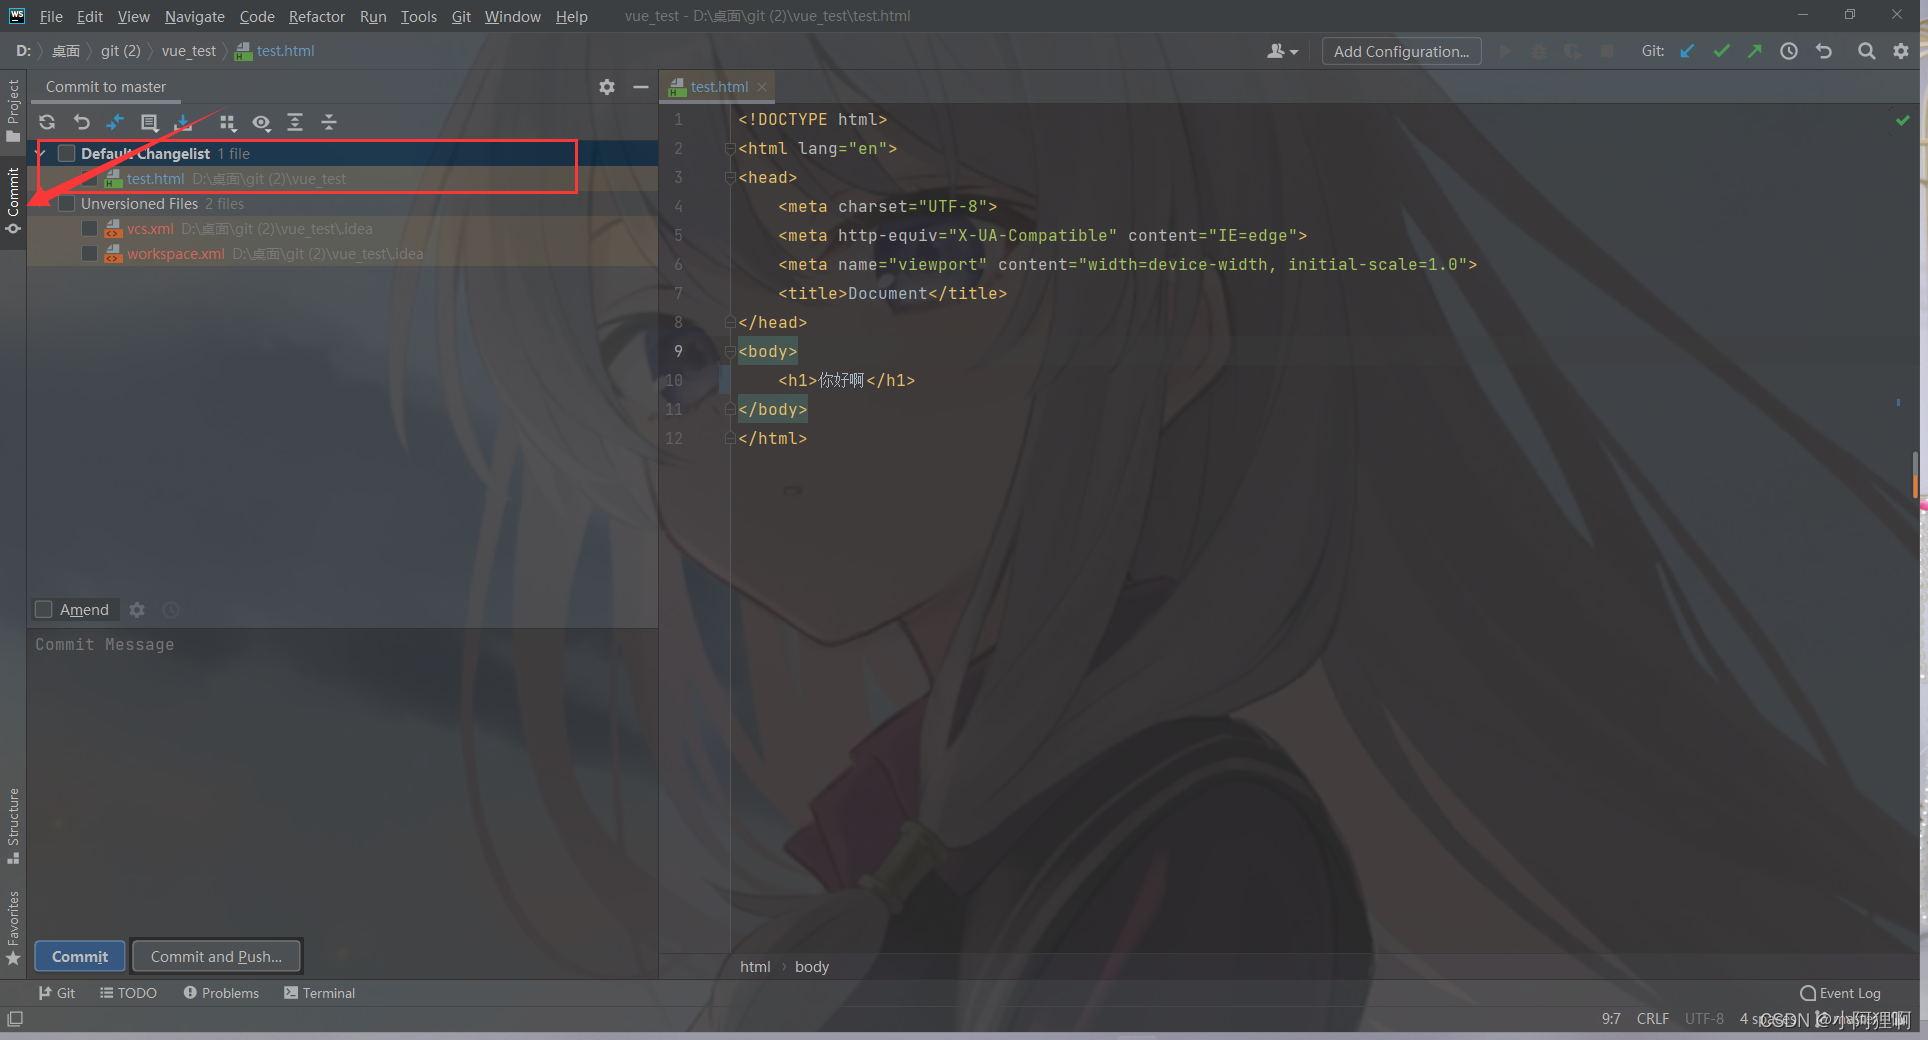
3. Select the file we changed, select Amend, enter the modification information, and click commit. You can also directly click commit and push to upload directly to the code cloud.
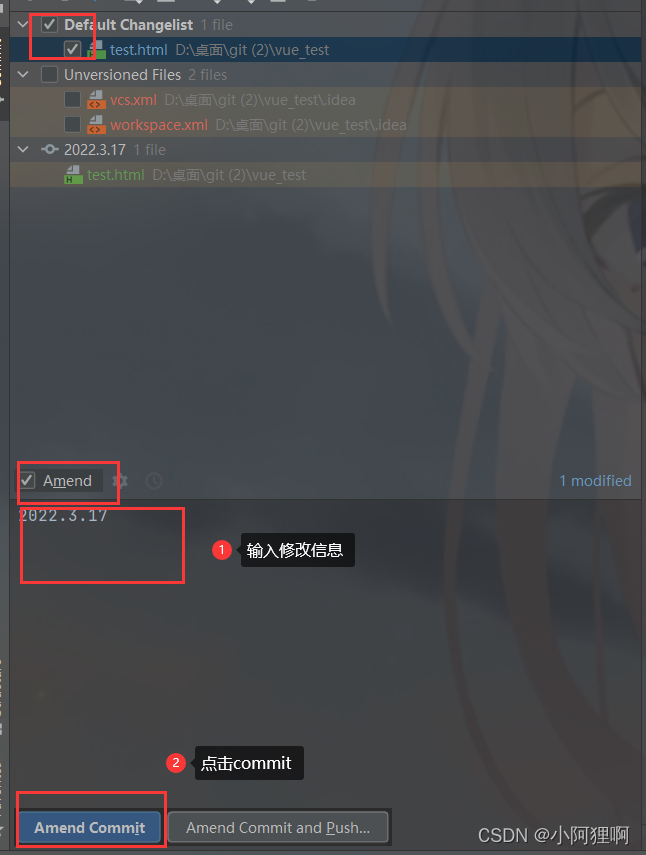
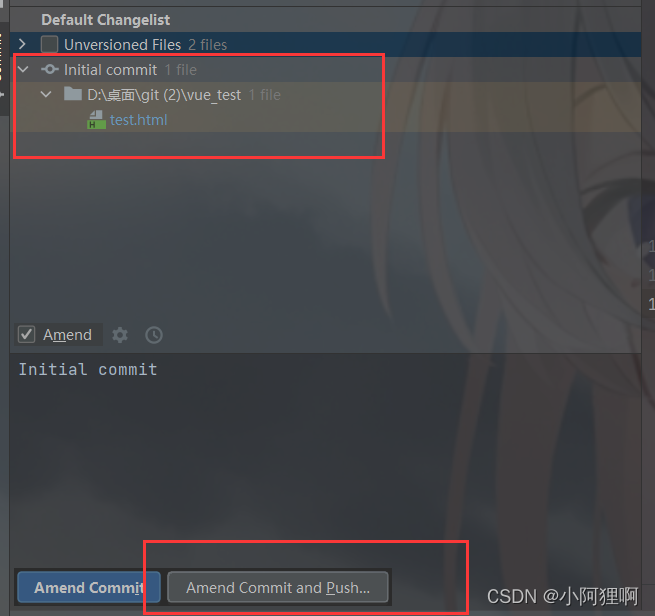
4. Click git again and we can see our upload record and file status

5. Select Amend, click commit and push, and then click push

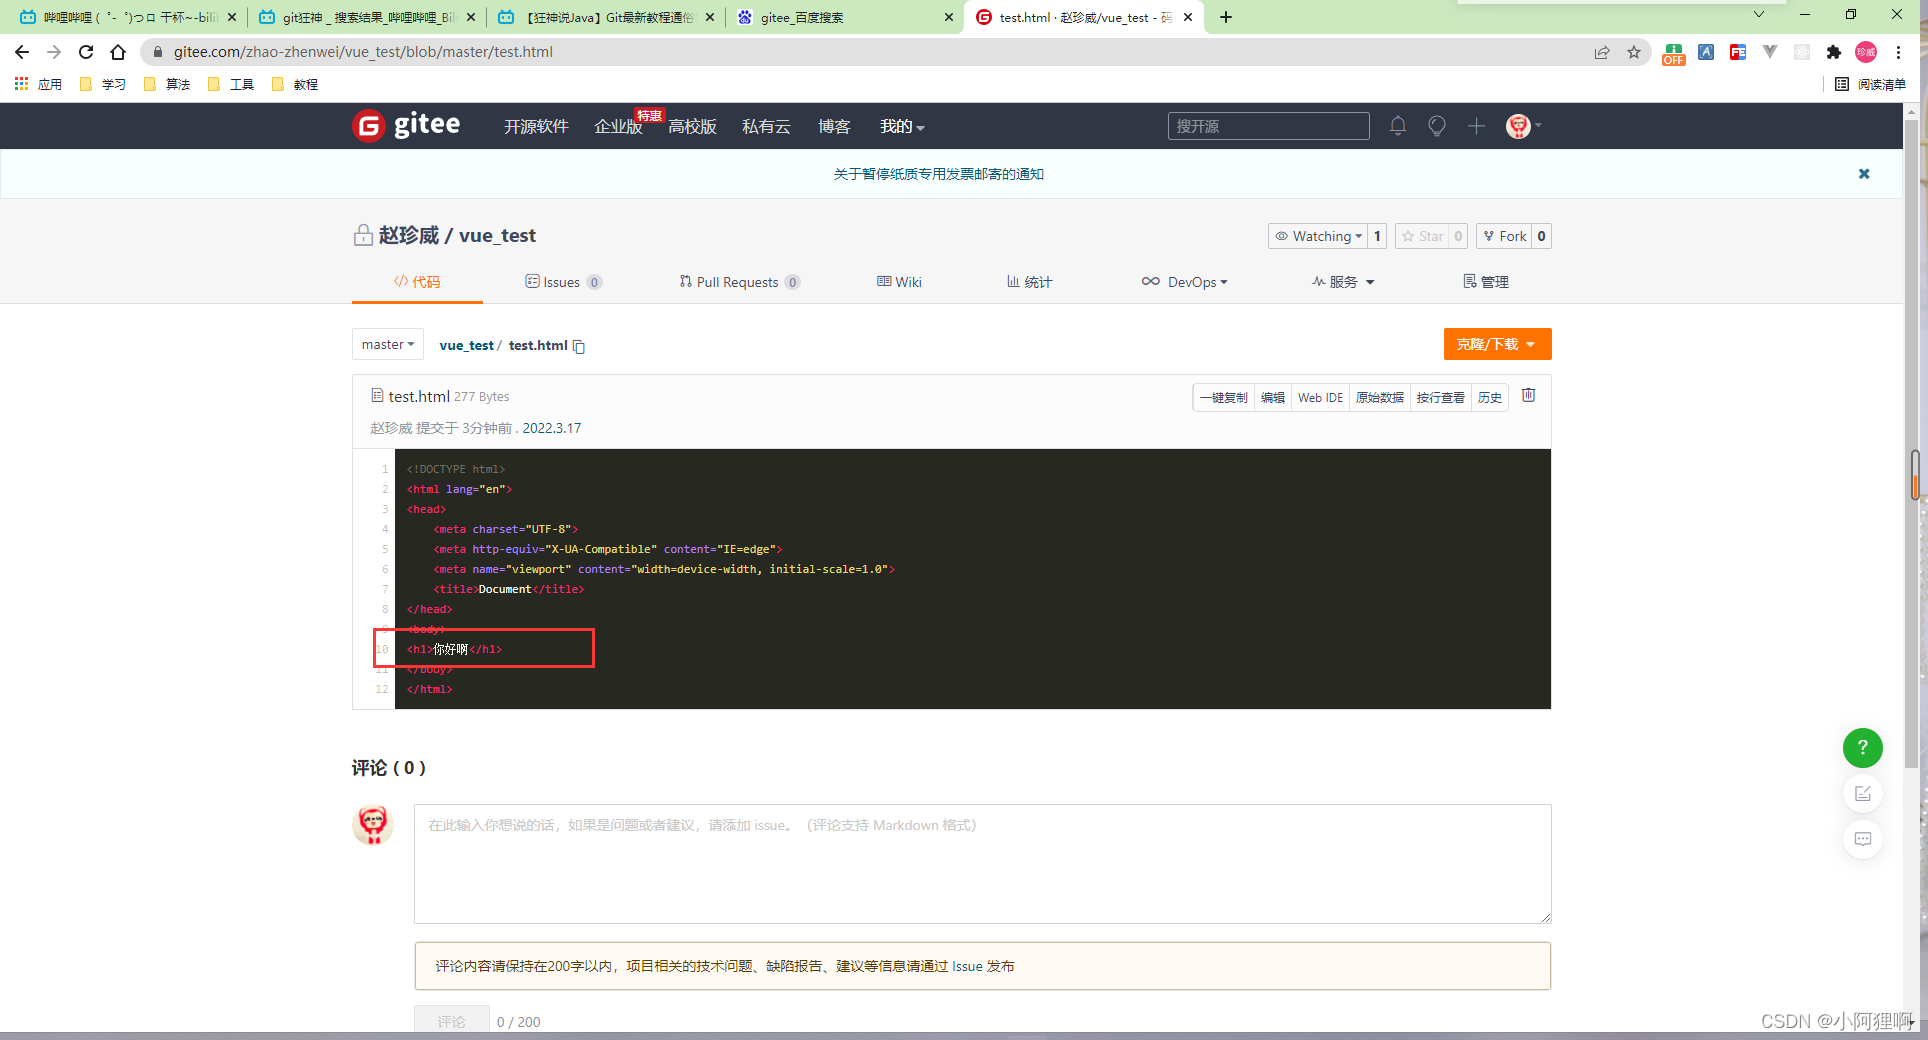
6. We can see our changes in the code cloud
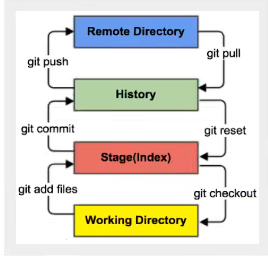
git common commands
1.git add . //添加所有文件到暂存区
2.git commit -m "消息内容" //提交暂存区文件到本地仓库
3.git push //将本地仓库中的文件上传到码云仓库
4.克隆 git clone 地址 //克隆项目到本地
git workflow