Use NATAPP for WeChat third-party login local test
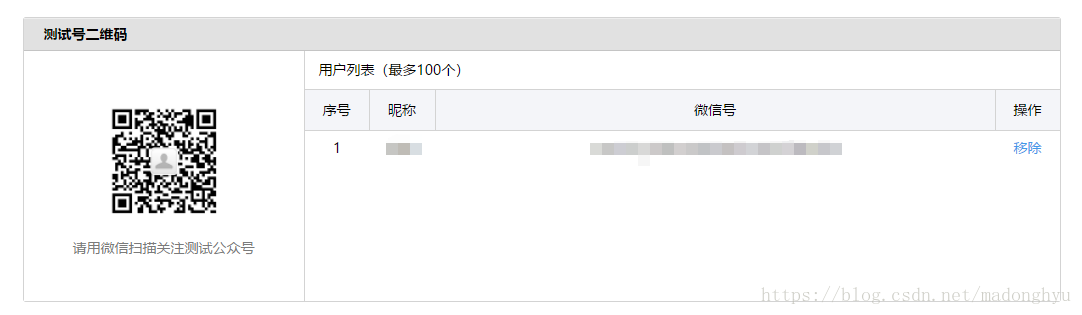
Here, the test account of the WeChat public platform is used for testing. Each WeChat account can be tested
. NATAPP official website
WeChat public platform
WeChat web test tool (32-bit windows version, 64-bit is not stable)
Rough process:
By using the client provided by NATAPP, users can run their projects locally under port 80. After opening the client, the local project will be automatically mapped to a domain name, which is the tester who can go to the public platform. Add the domain name to the account, and finally use the WeChat official web debugging tool, manually enter the login url, and then you can test the login
specific process:
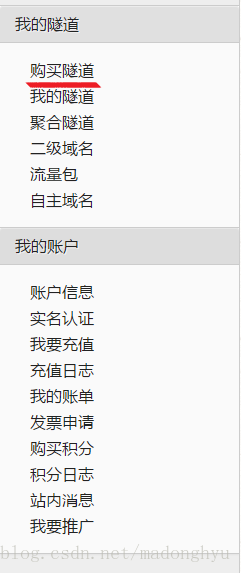
1. After registering an account in NATAPP, choose to buy a tunnel to buy a free tunnel: 2. Then download the client of
NATAPP. Here is a supplement for the use of the client. There must be a configuration file config.ini in the same directory of the client , otherwise each time To run, you have to manually enter the authtoken , config.ini :
#将本文件放置于natapp同级目录 程序将读取 [default] 段
#在命令行参数模式如 natapp -authtoken=xxx 等相同参数将会覆盖掉此配置
#命令行参数 -config= 可以指定任意config.ini文件
[default]
authtoken=               #对应一条隧道的authtoken
clienttoken=             #对应客户端的clienttoken,将会忽略authtoken,若无请留空,
log=none                 #log 日志文件,可指定本地文件, none=不做记录,stdout=直接屏幕输出 ,默认为none
loglevel=ERROR           #日志等级 DEBUG, INFO, WARNING, ERROR 默认为 DEBUG
http_proxy=              #代理设置 如 http://10.123.10.10:3128 非代理上网用户请务必留空
3. NATAPP tests the tutorial that comes with WeChat login.
Here, the blogger adds the vagueness of the tutorial.
After the project is running, run the client. If you only want to test locally, please ignore the nginx configuration tutorial
. After the domain name is configured,
first configure the token to verify
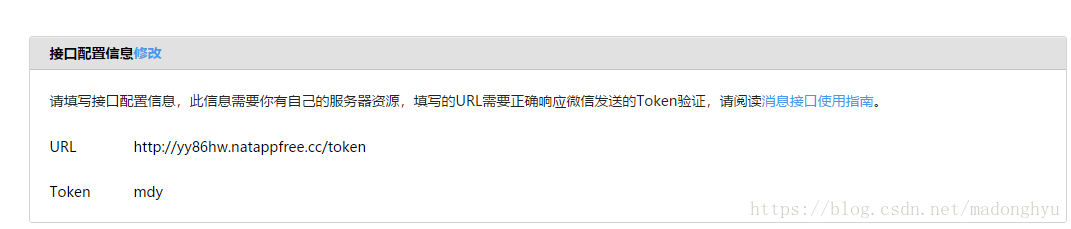
the code of the JAVA server (regardless of security issues, directly put the token back)
    /**
     * 验证测试平台的token
     */
    @RequestMapping(value = "token",method = RequestMethod.GET)
    public void token(HttpServletRequest request, HttpServletResponse response) throws IOException {
        String echostr = request.getParameter("echostr");
        PrintWriter print = response.getWriter();
        print.write(echostr);
        print.flush();
    }
Then open the WeChat web test tool

and finally fill in the url in the address bar https://open.weixin.qq.com/connect/oauth2/authorize?appid=wx71d5dc42891ada11&redirect_uri=http://yy86hw.natappfree.cc/weixinLogin&response_type=code&scope=snsapi_userinfo&state=1
. The redirect_uri is determined according to the domain name obtained by you and the url of the server you built yourself.
Note that a test account must be added to use the login test