Introduction
Nginx is a very good open source server. It is a very good choice to use it as a hls or rtmp streaming media server. I have sorted out the installation process on the Internet, shared it with everyone and made a note.
steps to install
1. Install Homebrow
Homebrew, referred to as brew, is a package management tool on Mac OSX. It can easily install or uninstall software on Mac. It can be said that Homebrew is the apt-get and yum artifact under mac.
/usr/bin/ruby -e "$(curl -fsSL https://raw.githubusercontent.com/Homebrew/install/master/install)"
If you have already installed and want to uninstall:
/usr/bin/ruby -e "$(curl -fsSL https://raw.githubusercontent.com/Homebrew/install/master/uninstall)"
2. Install Nginx server
Increase nginx the extension of the pair; that is, download from github, the extension of home-brew to ngixnx
brew tap homebrew/nginx
3. Install Nginx server and rtmp module
brew install nginx-full --with-rtmp-module
This installation takes a relatively long time. By operating the above steps, the nginx and rtmp modules are installed. Let's start to configure the nginx rtmp module.
First, let's take a look at where our nginx is installed
brew info nginx-full
After executing the above command we can see the information
- nginx安装所在位置 /usr/local/Cellar/nginx-full/1.10.1/bin/nginx
- nginx配置文件所在位置 /usr/local/etc/nginx/nginx.conf
- nginx服务器根目录所在位置 /usr/local/var/www
执行命令 ,测试下是否能成功启动nginx服务
nginx
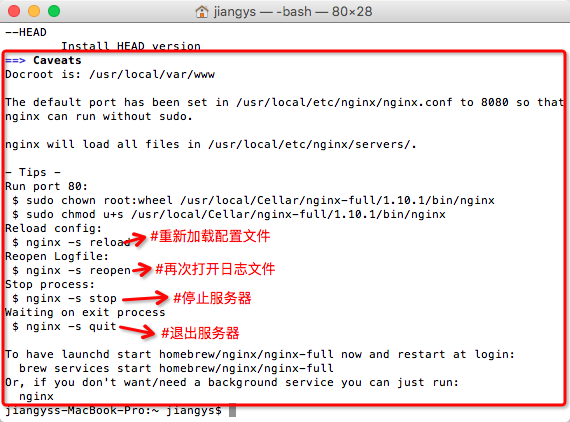
命令行如下图所示

在浏览器地址栏输入:http://localhost:8080 (直接点击)
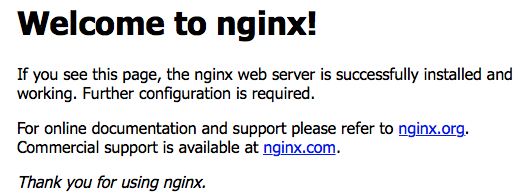
出现Welcome to nginx ,代表nginx安装成功了。
4、配置rtmp
用Xcode打开nginx.conf, 找到/usr/local/etc/nginx/nginx.conf 文件,拖入到Dock中的Xcode,就可以打开.
或者打开Finder Shift + command + G前往,用记事本工具打开nginx.conf.

http {
    ……
}
#在http节点下面(也就是文件的尾部)加上rtmp配置:
rtmp {
    server {
        listen 1935;
        application zbcs {
            live on;
            record off;
        }
    }
}
说明:
- rtmp是协议名称
- server 说明内部中是服务器相关配置
- listen 监听的端口号, rtmp协议的默认端口号是1935
- application 访问的应用路径是 zbcs
- live on; 开启实时
- record off; 不记录数据
5. 保存文件后,重新加载nginx的配置文件(这一步很重要)
nginx -s reload
6. 安装ffmepg工具
brew install ffmpeg
安装这个需要等一段时间, 这时你可以准备一个视频文件作为来推流,然后安装一个支持rtmp协议的视频播放器.Mac下可以用 VLC(点击下载)
7、通过ffmepg命令进行推流
ffmpeg -re -i 你的视频文件的绝对路径(如/Users/lideshan/Downloads/Demo.mp4)  -vcodec copy -f flv rtmp://localhost:1935/zbcs/room
// 如:ffmpeg -re -i /Users/jiangys/Documents/Document/demo.mp4  -vcodec copy -f flv rtmp://localhost:1935/zbcs/room
这里zbcs是上面的配置文件中,配置的应用的路径名称;后面的room可以随便写。
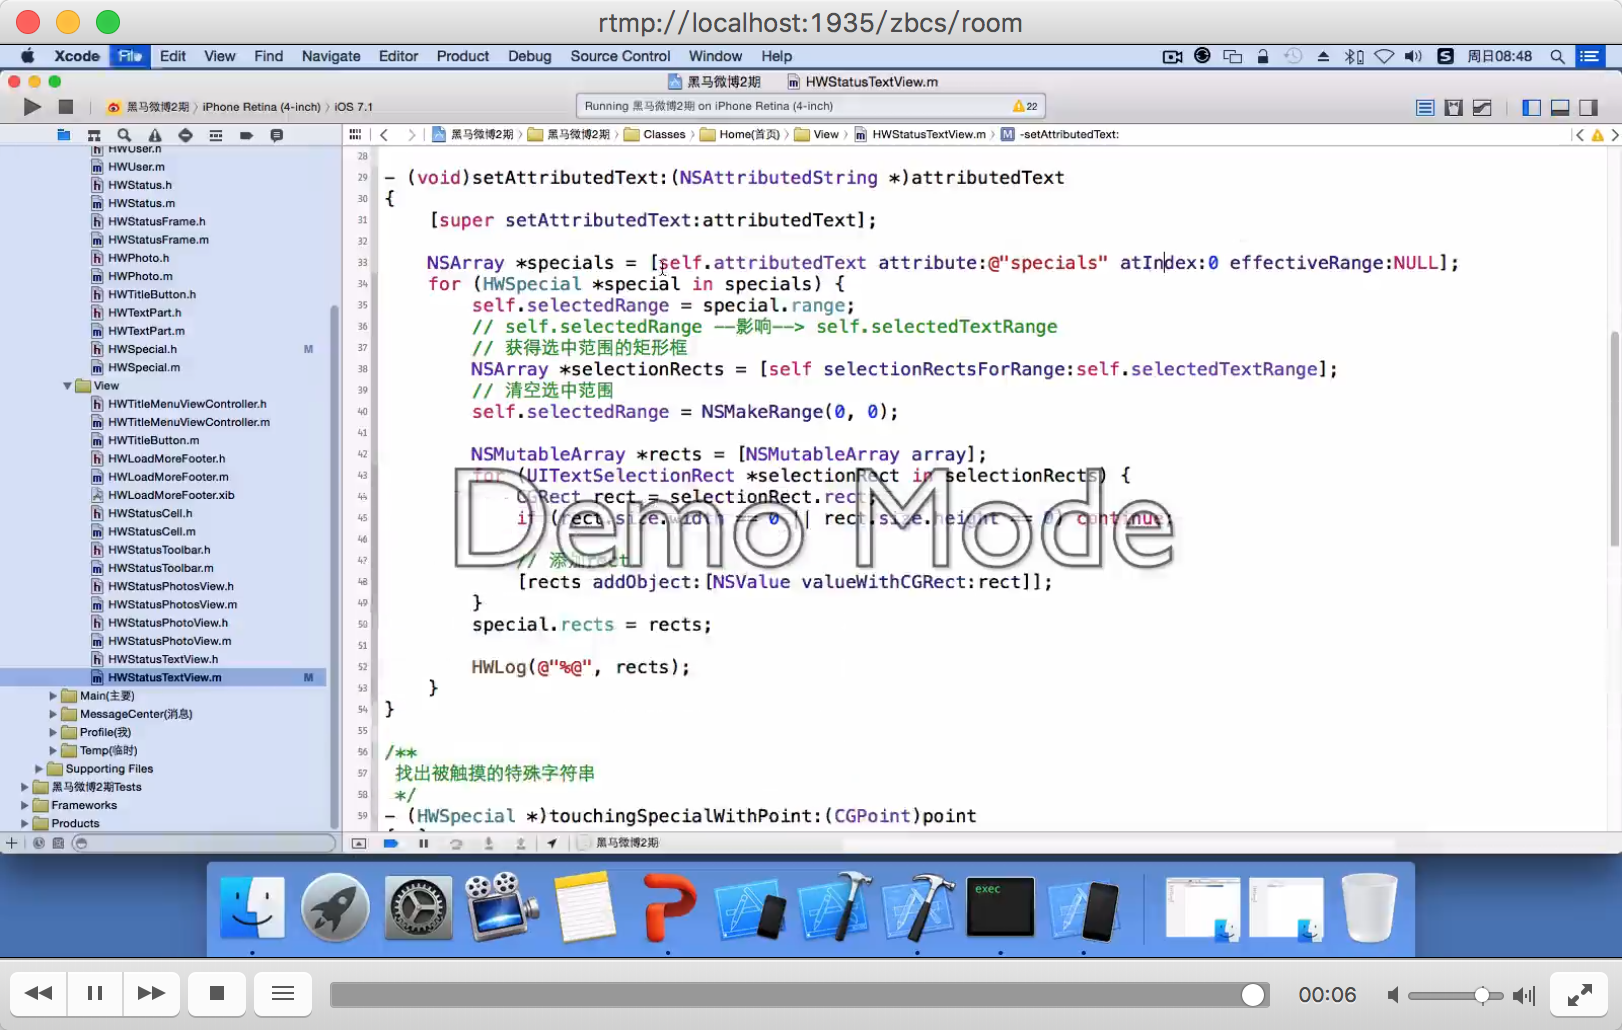
推流界面:

8. 验证视频
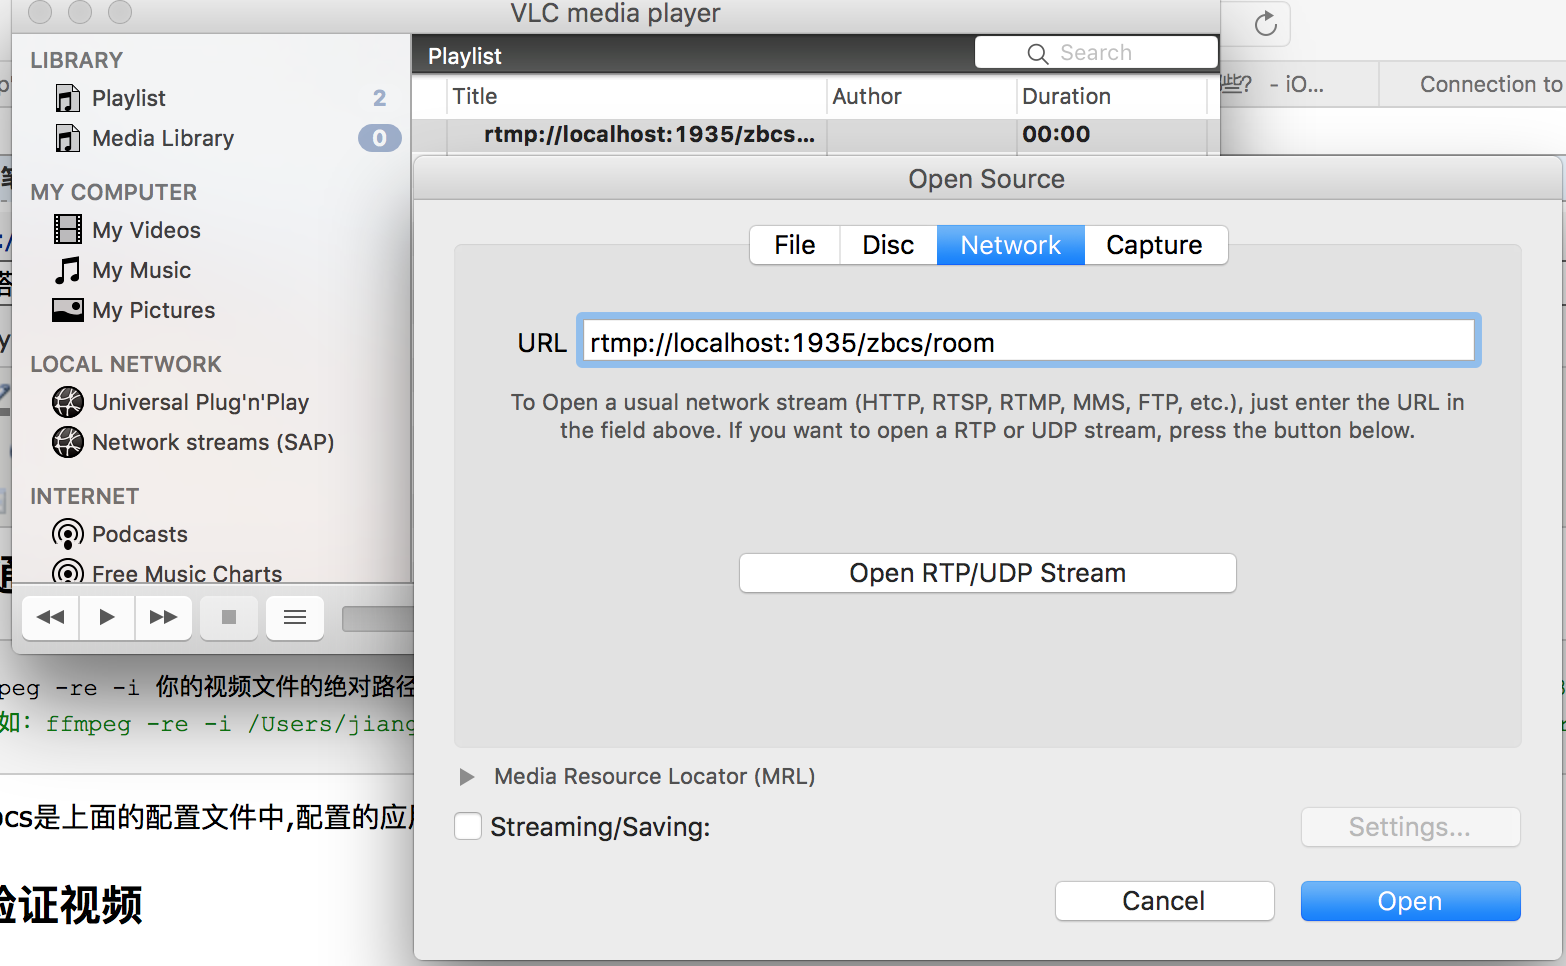
然后电脑上打开vlc这个播放器软件 点击File---->Open Network 在弹出来的框中选择Network然后输入URL:
rtmp://localhost:1935/zbcs/room
双击播放
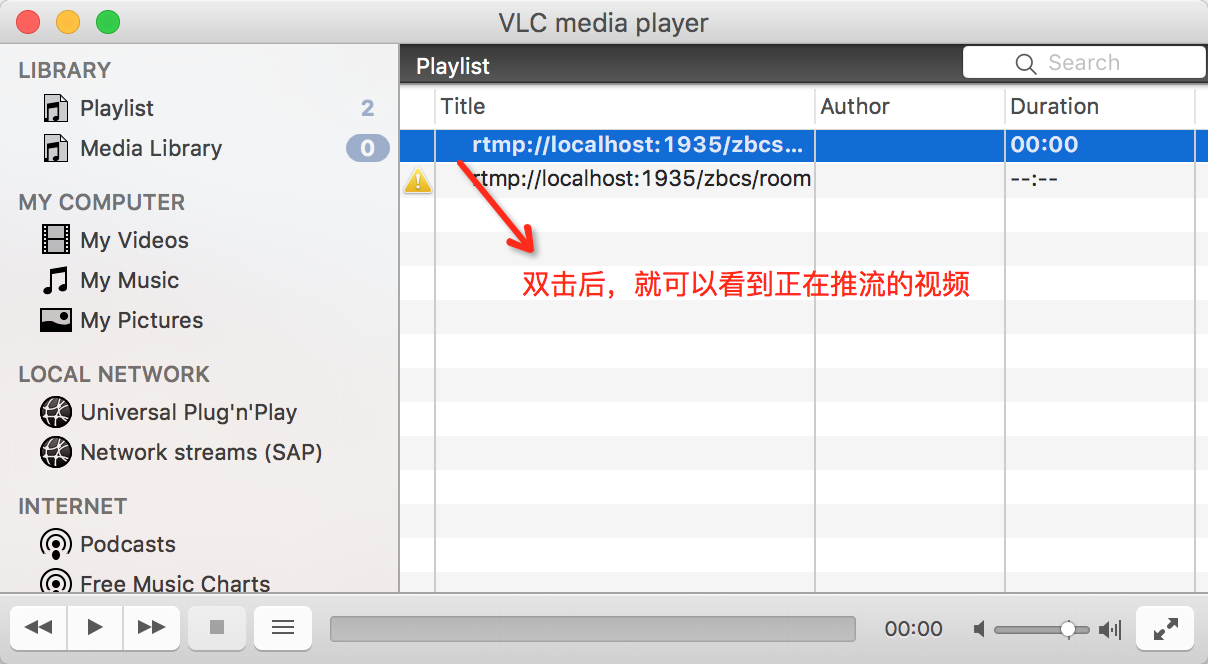
播放界面
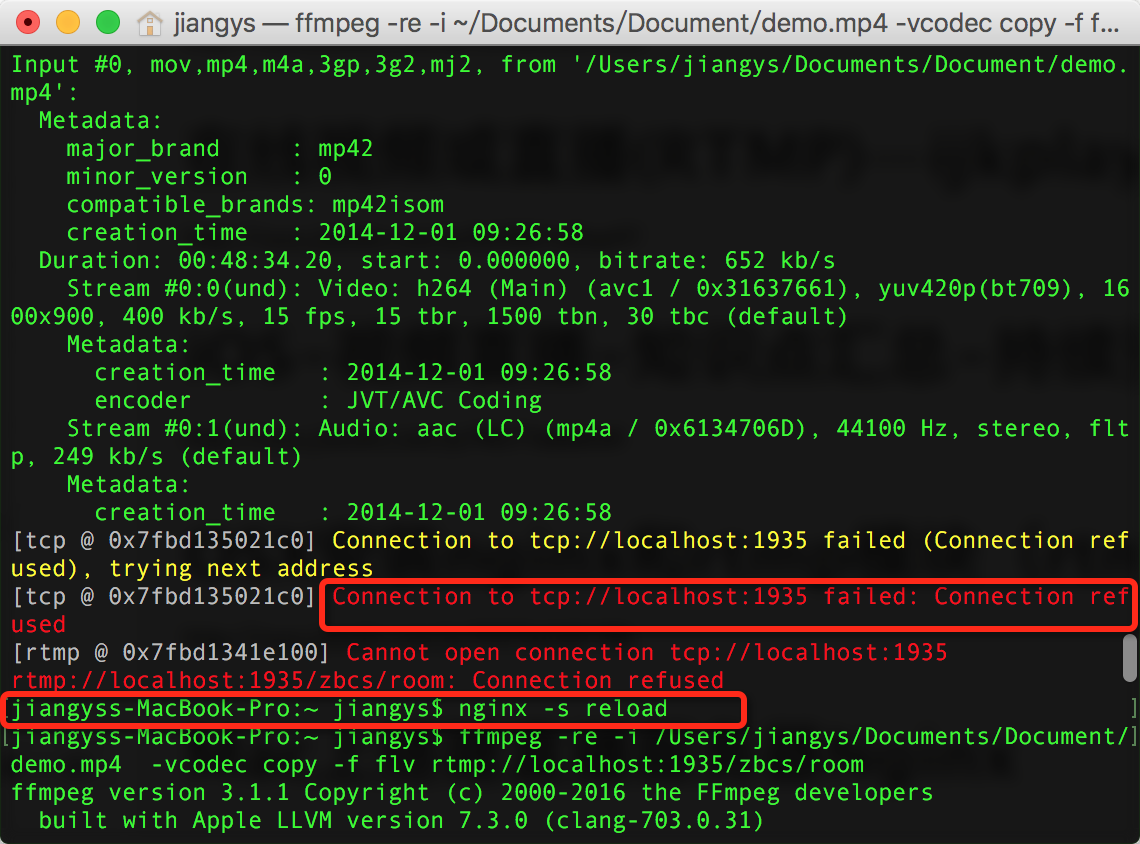
报错处理
1.ffmepg命令推流的时候,提示连接失败。[tcp @ 0x7ff162504b60] Connection to tcp://localhost:1935 failed (Connection refused), trying next address
出现这个错,是因为配置了nginx.conf后,需要重启nginx。输入命令重启后就没有问题了
nginx -s reload
2.安装完nginx后,在浏览器地址栏输入:http://localhost:8080 显示打不开网页
解决方式:由于安装后nginx服务器,有时需要等上几分钟才生效。如果还不生效,测试下是否能成功启动nginx服务,命令
nginx
具体请参考“步骤安装”第三点。
另:当前只支持rtmp拉流,如果想要支持HLS ,请参考下一篇文章: