1. Use PuTTY to connect to Linux remotely
1.下载PuTTY.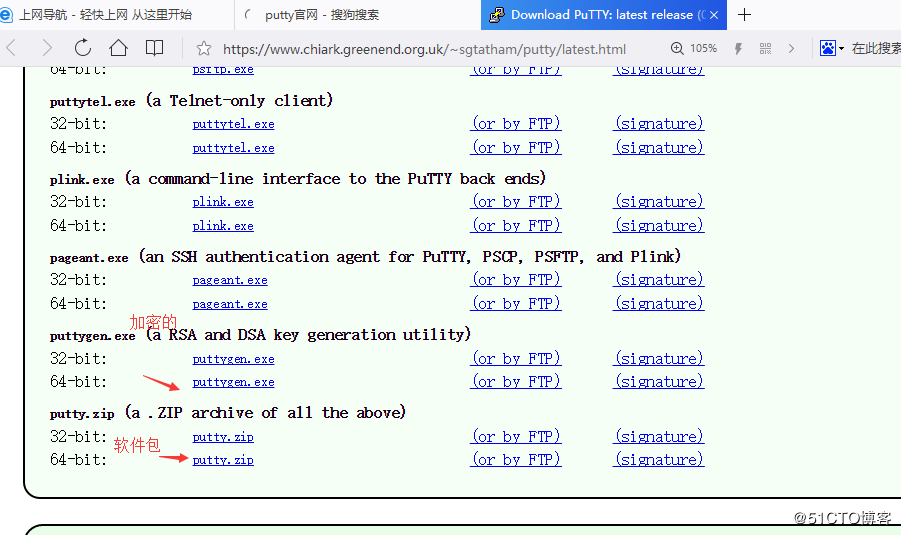
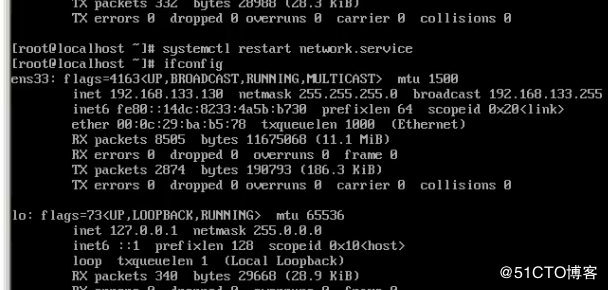
2.在虚拟机上查看IP地址,使用ifconfig命令。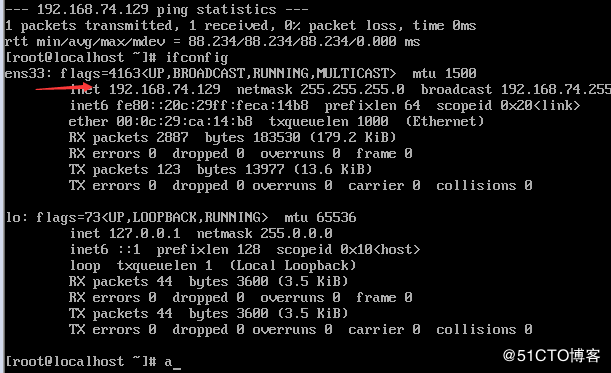
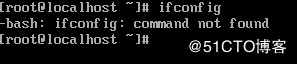
3. If you are on a virtual machine and you type the ifconfig command, nothing happens. then use
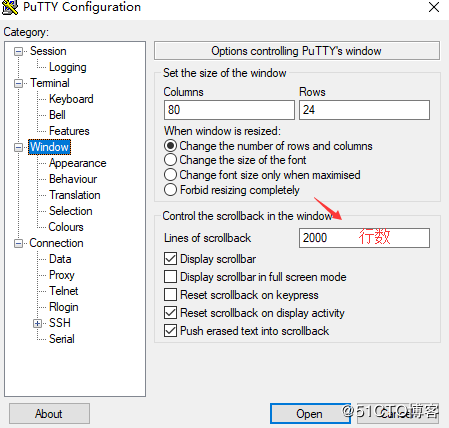
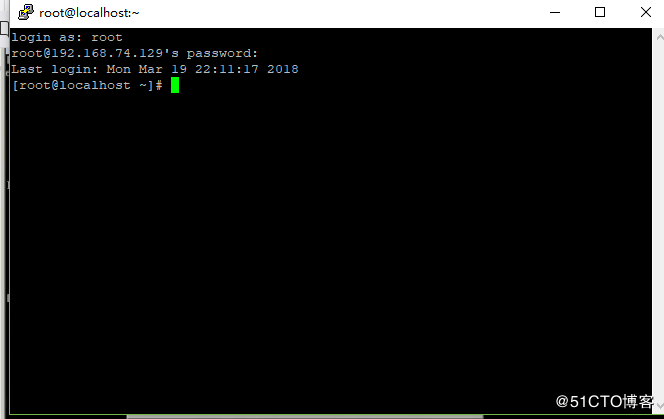
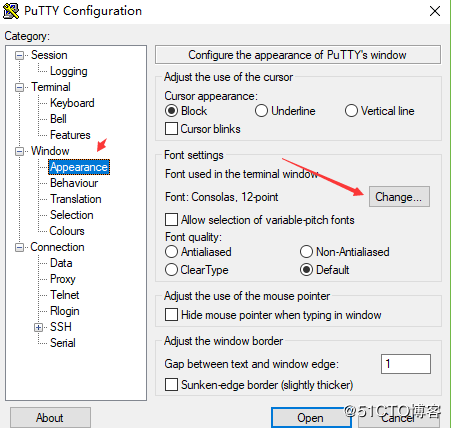
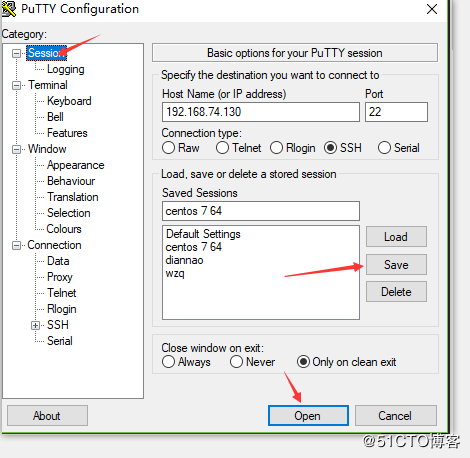
4.配置Putty,配置完成后,点击open按钮。最后一张是设置成功图。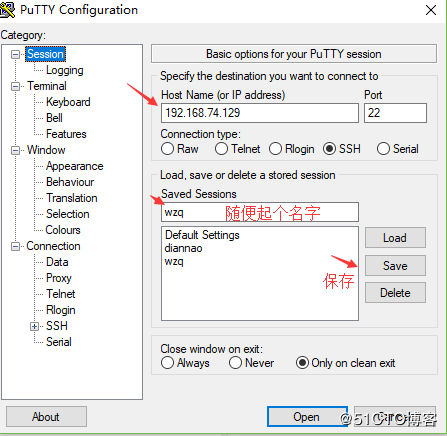
The protocol used is SSH,

5.如果没有成功,重启一下网络服务。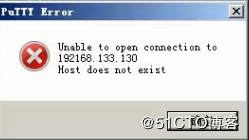
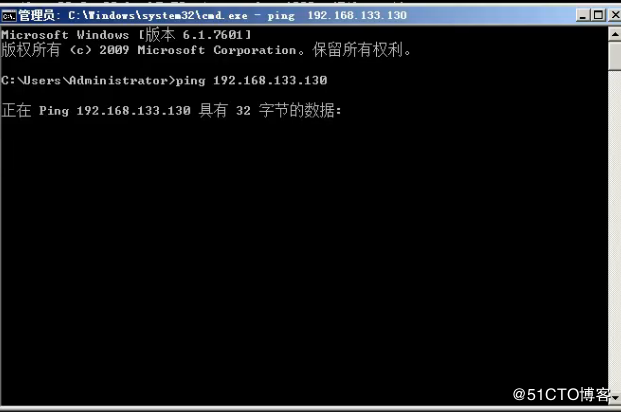
(1) Press the windows+R key, enter cmd, and then ping the IP address of the virtual machine. See if you can't ping.
(2) On the virtual machine, restart the network service.
(3) Putty is reconfigured above, as in the above steps.
Note: To copy something on Putty, select it first, then right-click.
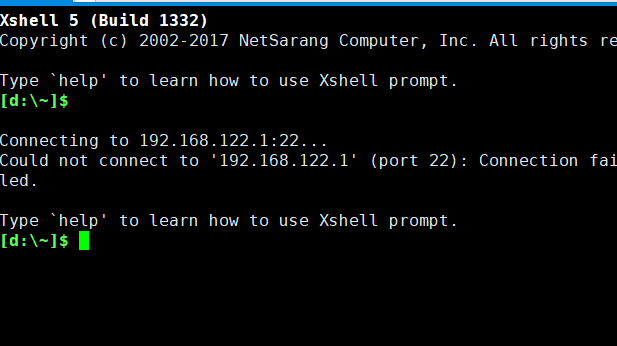
2. Use xshell to connect to Linux
Xshell setup auto reconnect
method/step
-
Turn on the computer and run the Xshell tool

-
Click the open session window delivered by the file, or use the alt+Q shortcut to open the session window
-
In the session window, select the linux connection session that you need to set up to automatically reconnect
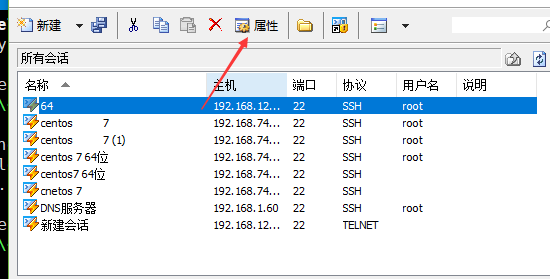
-
After selecting, click the "Properties" button in the session window menu to enter the property configuration interface

-
Select the "connection" menu in the category on the left side of the properties (the content of the connection menu is displayed by default), you will see that there is a "connect automatically after the connection is abnormally closed" under the "reconnection" that can be checked.
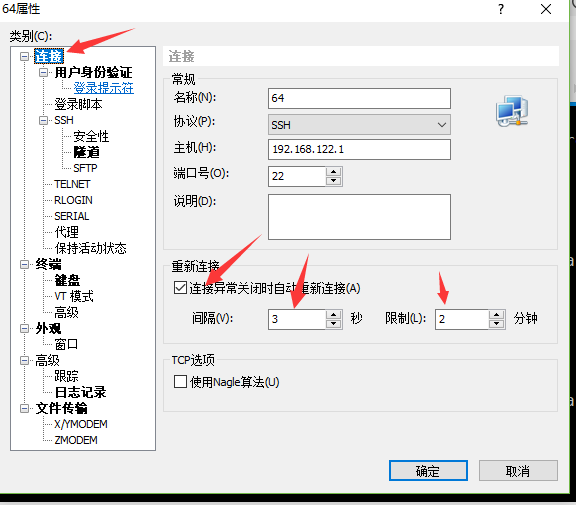
-
Check "Connect automatically after connection is closed abnormally", select the number of seconds and limit the number of minutes to try to reconnect, and click the "Confirm" button to configure this server connection session to automatically connect successfully.
END
Shortcuts:
Switch windows: alt+1, alt+2
Full screen: alt+Enter
Suspend vim (pause): ctrl+z, you can perform other shell operations after suspending , and then switch back to the vim interface through the fg command to continue editing
:MR: View historical file records (Note: MR is capitalized)
When you use a remote tool to link linux, you suddenly find that typing any command does not work , you can use ctrl+q
:sp Switch the interface window horizontally
:vsp Vertically switch the interface window to facilitate multi-file comparison coding (as shown below:) emacs /etc/bubby.txt Edit the file /etc/bubby.txt with emacs
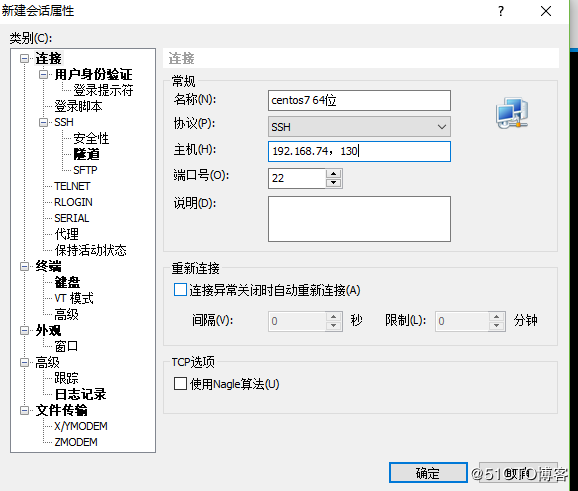
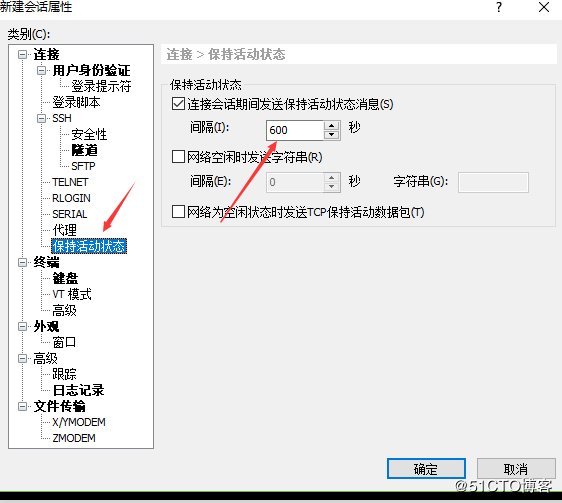
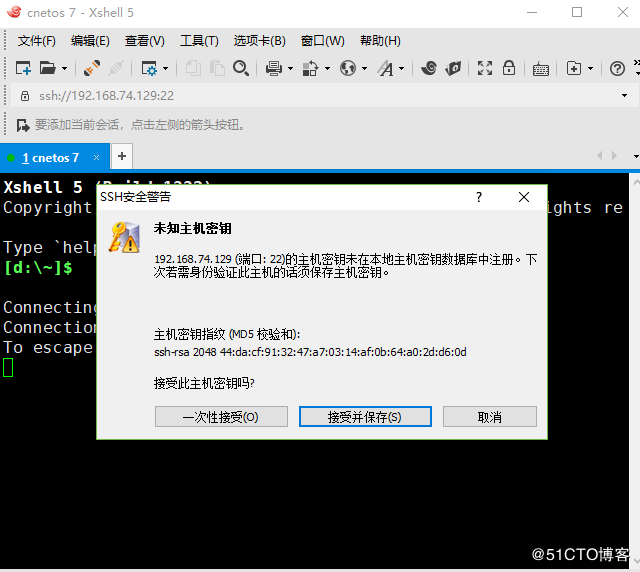
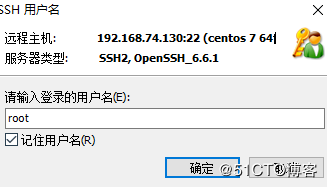
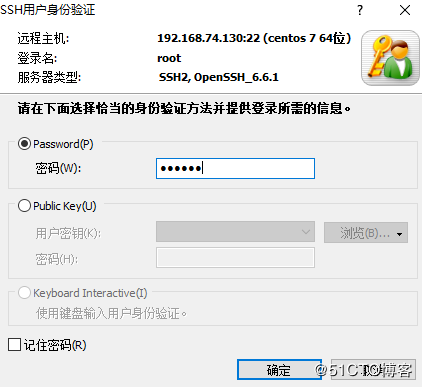
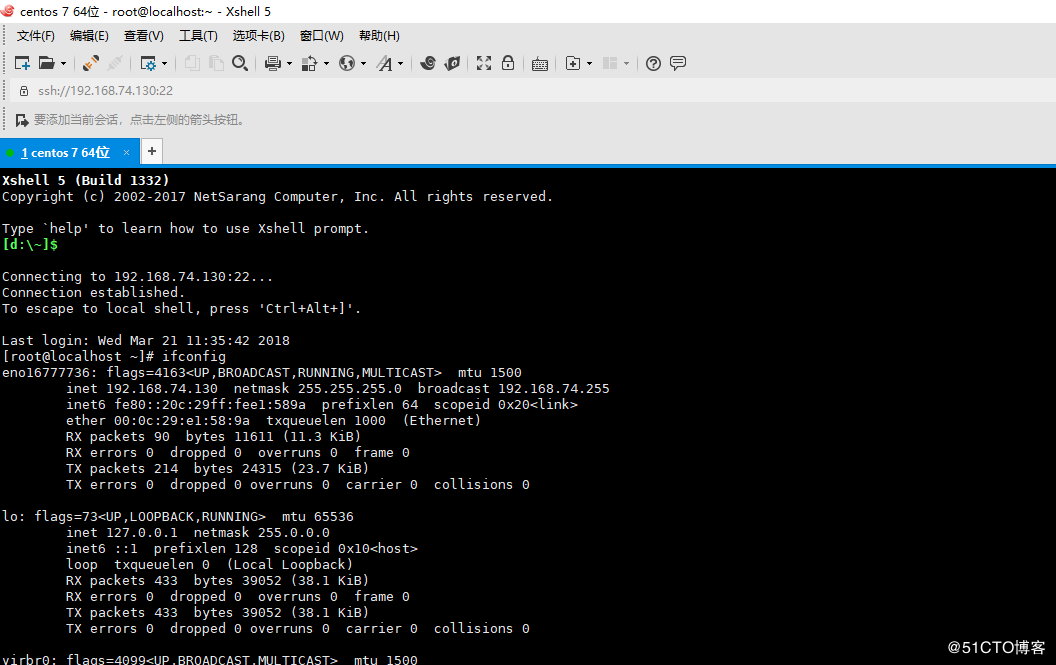
1.使用sxhell连接虚拟机,打开xshell,会出现以下情况,然后点击“新建”。编辑用户身份验证。在操作的过程中可能会因为其他的事中断操作。导致无法操作。这时我们把间隔时间变成600秒。完成以下操作后,点击完成。然后输入用户名和密码,最后一张是连接成功图。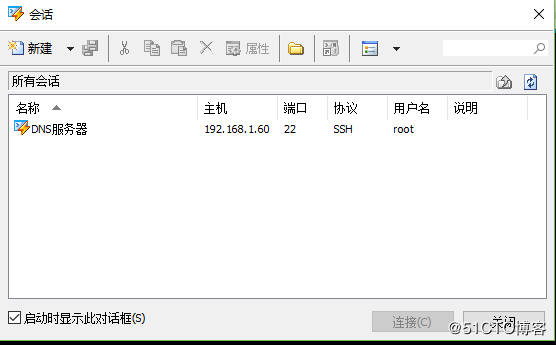
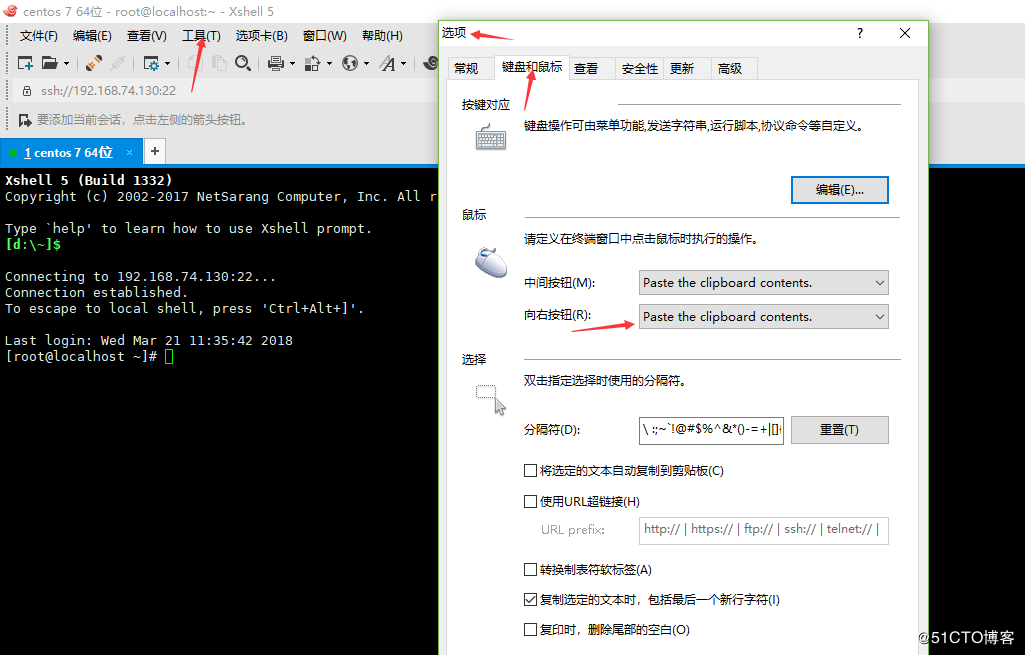
2. Add copy function in xshell. Click Tools, Options, Keyboard, Right Button, set to "Paste the clipboard contents"
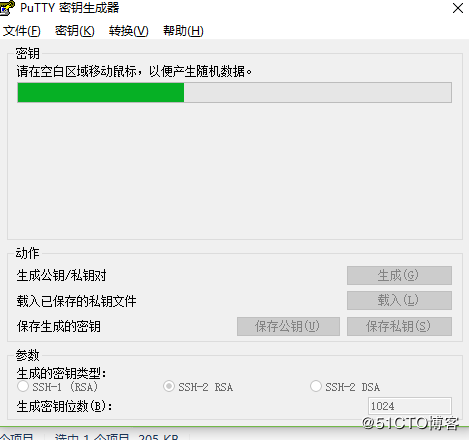
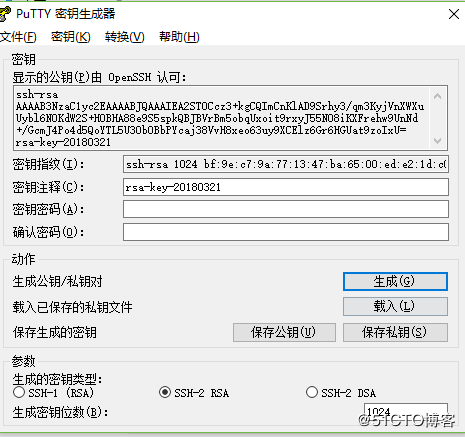
1.11 PuTTY key authentication
1.打开,putty ,点击生成,在空白区,划动鼠标,开始生成密钥。第一张是英语版的,安装图。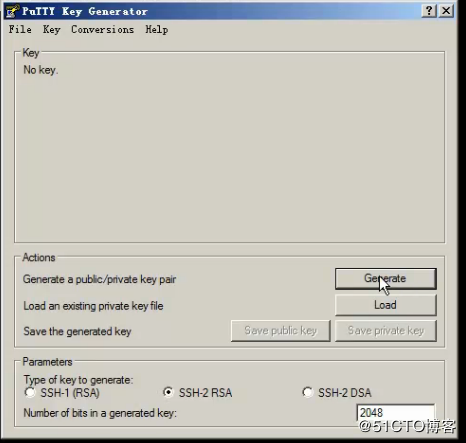
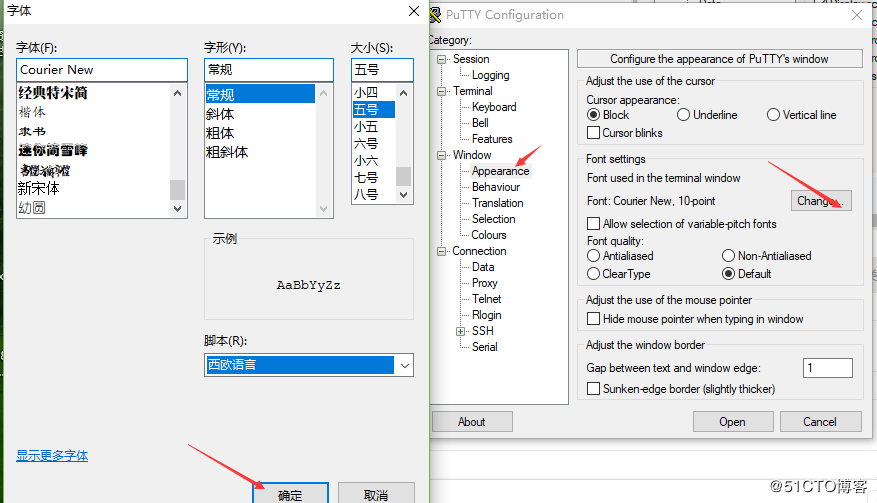
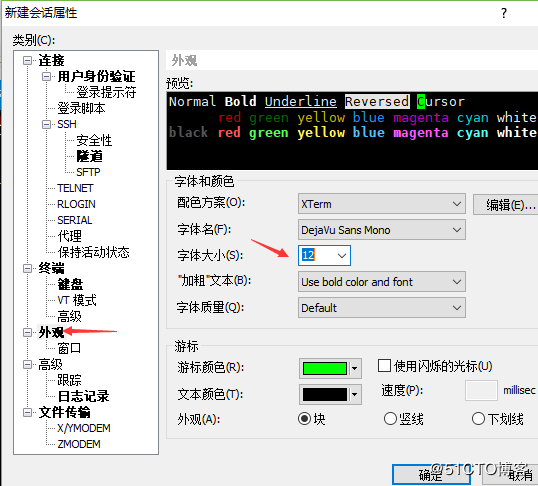
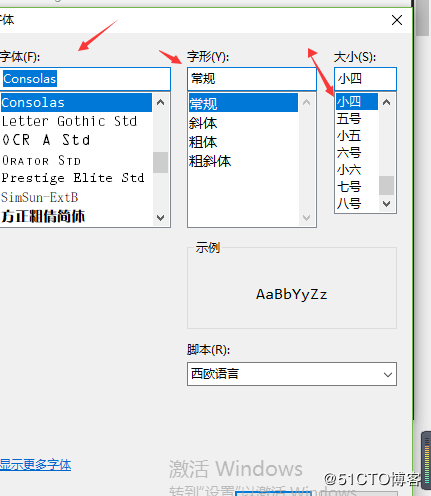
2.然后打开putty,选中,点击Loud;点击window下的Appearance的change,设置字体大小,回到session,点击Save,再点击Open。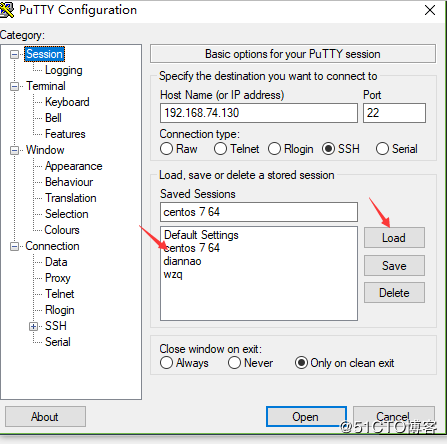
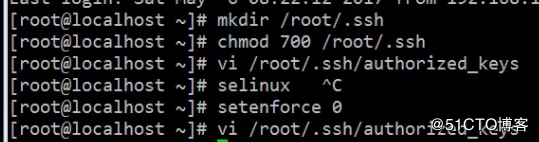
3.在putty中创建空文件,给予她权限,并保存在/root/.ssh/autorized_keys。用vi进入把刚刚复制的密钥粘贴进去。

4.关闭selinux,防火墙。按ctrl+D或者exit退出。
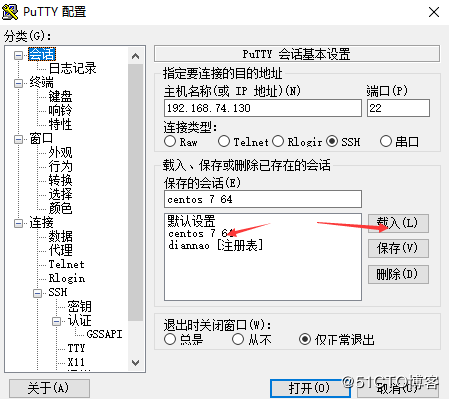
3. Add the key, after using the exit command, open putty, select the session, add it, load it, and click the authentication in SSH. Be sure to save at the end.
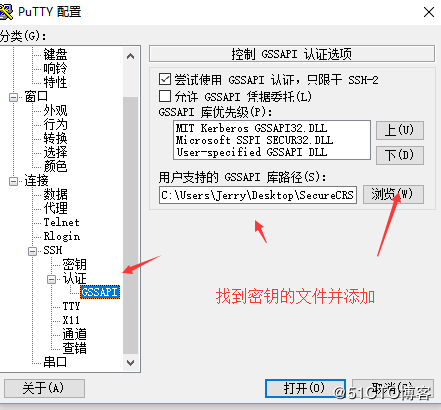

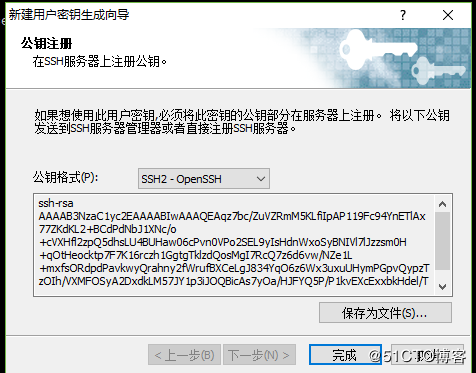
1.12 xshell key authentication
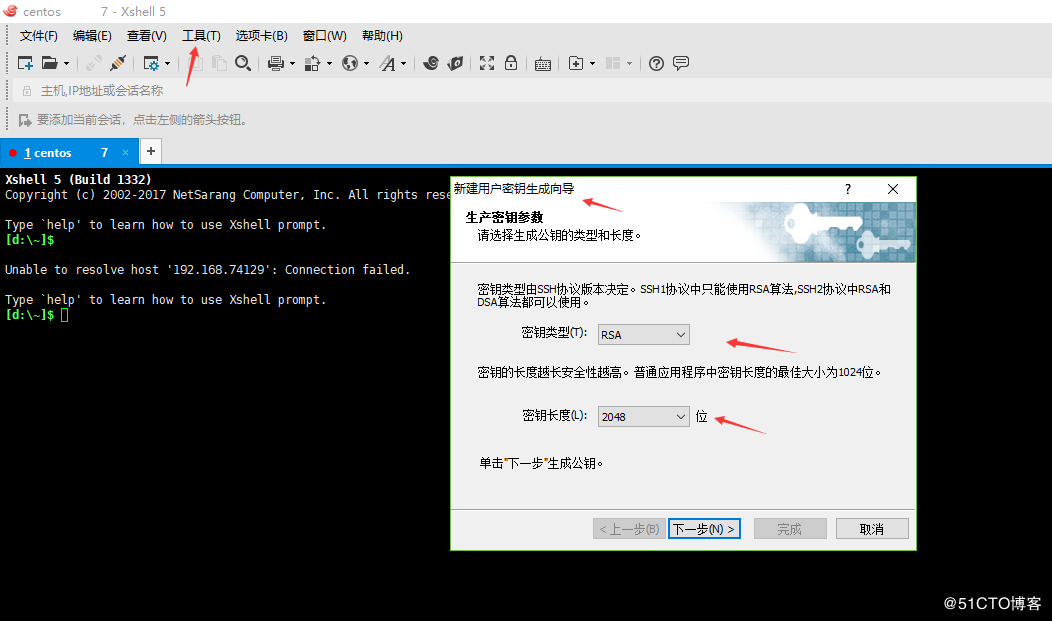
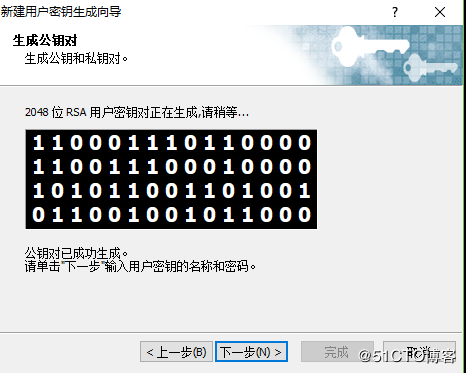
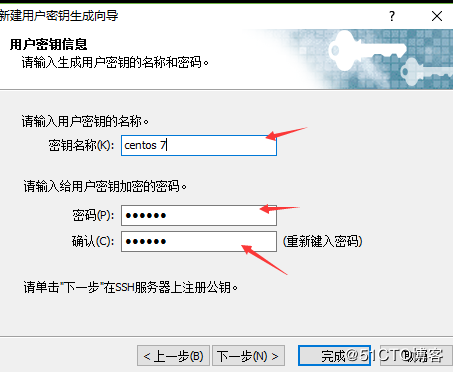
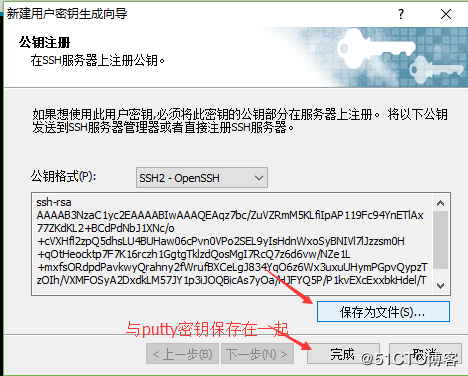
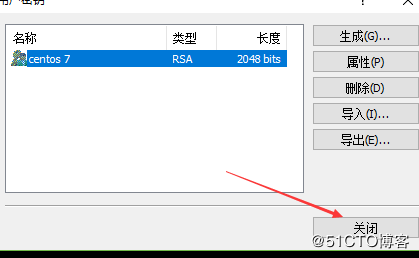
1. Open xshell, click Tools, create a new user, and in the next step, in the "Generate Key Pair", move the mouse and install it according to the picture. The last two steps, enter putty, execute "vi /root/.ssh/autorized_keys", put the xshell key under the putty key, then press ESC, then press shift+:, enter wq, and save.

2. Also add the same steps as putty in xshell. as follows. To add keys in "vi /root/.ssh/autorized_keys"
3. Add the key to xshell. The last note was added successfully, and no password and verification are required to log in to xshell in the future.


common problem:
1.

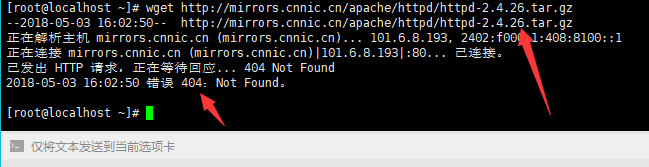
Description did not press wget software
Answer: Install with yum install -y wget
2. The installed software version does not exist. A 404 error occurs.