Raspberry Pi 4B installs OpenCV3.4.0 face detection and recognition - access control "environmental construction"
foreword
In the previous post , the painless installation of OpenCV+python3 on Raspberry Pi 4 , I introduced the installation and configuration tutorial of the Raspberry Pi NOOBS system from scratch in detail . From this article, I will explain in detail how to build a face recognition access control The required environment, this part is the key part of whether to implement OpenCV face detection and recognition. Many people encounter many problems of false death and memory explosion after compiling OpenCV after building the environment . Here I will introduce in detail step by step explanation we may encounter I will try my best to enumerate and solve the bugs I encounter so that future generations can see that I am repeatedly rubbed by these bugs when I am new.
1. Preparation
Raspberry Pi 4 ( slightly worn )
monitor (Mico HDIM)
PS: Here we strongly recommend that you prepare the monitor, in some unexpected situations (suddenly unstable LAN) will cause VNC disconnection, suspended animation, no response, etc.
PC software
putty

VNC Viewer (recommended to use remote desktop software to facilitate later compilation and viewing)

FileZila (easy to transfer files with Raspberry Pi)

Second, build the Raspberry Pi environment
Expand TF memory card
Warning: To build an OpenCV environment, the Raspberry Pi must have at least 16GTF card, and the storage space of TF needs to be expanded to the entire TF card space
View the current Raspberry Pi space allocation
df -h #查看当前树莓派空间分配
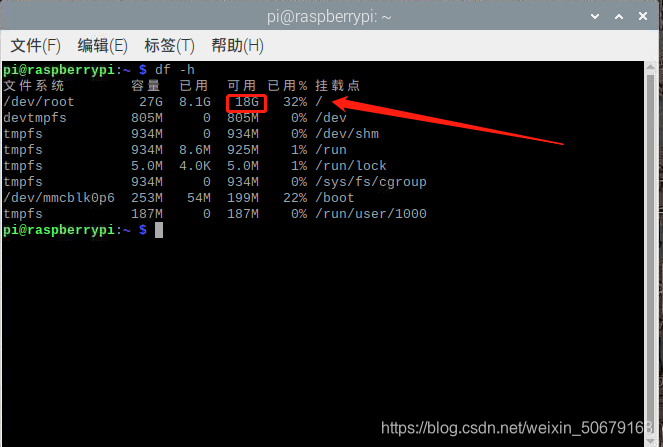
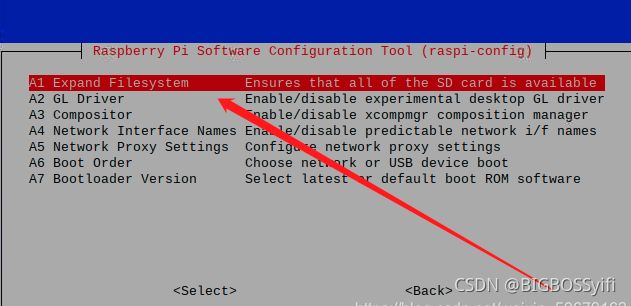
keep typing
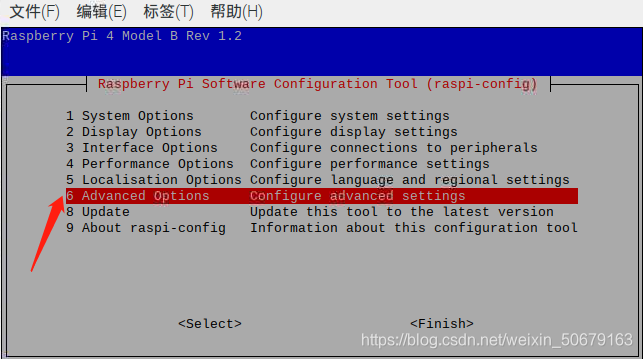
sudo raspi-config
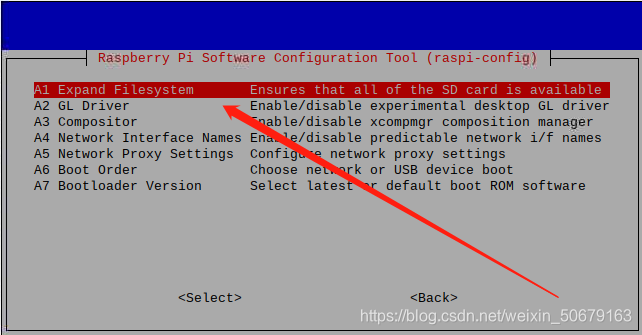
OK - finish save and press ENTER (Raspberry Pi will restart)
sudo reboot #也可以手动重启
Tips: If this happens:

your partition layout tool is not currently supported, you may be using NOOBS, in which case your root filesystem has been extended.
Tips: Change the source (python software source)
Although the source of the previous article has been changed (Tsinghua University), in order to be more stable in the process of building the environment, it is not for us to change the source again, but this time only the Python software source can be changed.
pip config set global.index-url https://pypi.tuna.tsinghua.edu.cn/simple #清华源
pip install pip -U
sudo reboot #重启树莓派

The source change is over, and now I get to the topic:
Here I will install the OpenCV3 environment of Python3
Modify the Raspberry default Python version
Open our terminal and enter
python
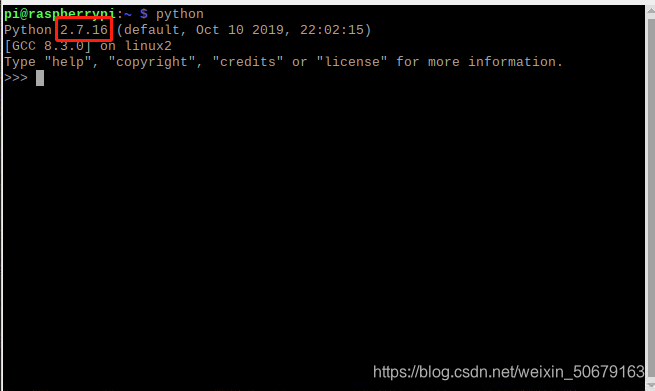
I found that the default version is Python2.7.16 (enter Ctrl+Z to exit the python environment)
continue typing
python3

The python3 version is 3.7.3 **, so modify the default version (python) to python3.7 and
enter sudo update-alternatives --install /usr/bin/python python /usr/bin/python2 100
Keep goingsudo update-alternatives --install /usr/bin/python python /usr/bin/python3 150

. Enter here and pythonfind that modifying the default version is successful
Expand the interactive space
Installing OpenCV3 and compiling is the most troublesome part. The Up master himself will get stuck at about 40% and hang at about 40% during the compilation, and then report an error. Part of the reason for the error may be caused by the lack of interaction space. I tried it on the Raspberry Pi 3B before. It hangs in suspended animation many times (the memory is too small), here we first increase the Swap interaction space
and enter in the terminal
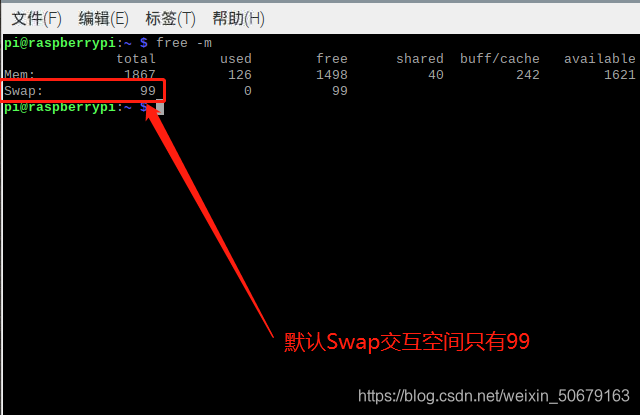
free -m #查看当前内存
keep typing
sudo nano /etc/dphys-swapfile
Change CONF_SWAPSIZE = to 1024
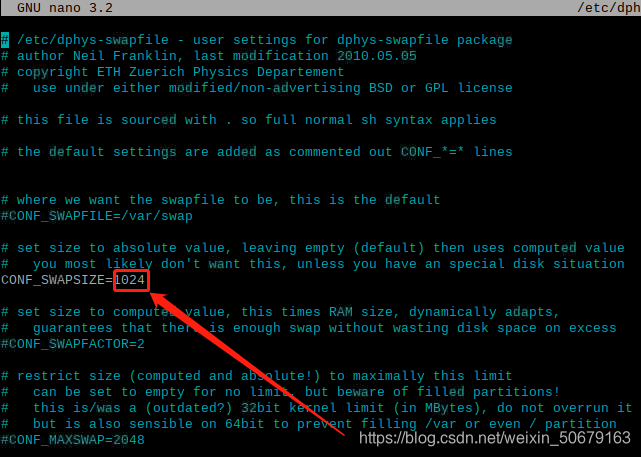
Ctrl + O then Enter and then Ctrl + X to save and exit
Continue typing
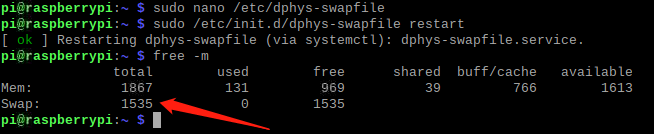
sudo /etc/init.d/dphys-swapfile restart

OK, the Swap interaction space was successfully increased
. The Raspberry Pi 4 (2GB) used this time was changed to 1024+512 for convenience. You can further modify it according to your own configuration.
"Attack" kits
You need to install and download the following toolkits: libjpeg-dev libatlas-base-dev libjpeg-dev libtiff5-dev libpng12-dev libqtgui4 libqt4-test libjasper-
dev
OpenCV compilation tool
sudo apt install build-essential
sudo apt install cmake
sudo apt install git
sudo apt install pkg-config
OpenCV image package
sudo apt-get install libtiff5-dev #tif格式图像工具包
sudo apt-get install libjasper-dev #JPEG-2000图像工具包
sudo apt-get install libjpeg8-dev #jpeg格式图像工具包
sudo apt-get install libpng12-dev #png图像工具包
OpenCV video I/O package
sudo apt-get install libavcodec-dev
sudo apt-get install libv4l-dev
sudo apt-get install libavformat-dev
sudo apt-get install libswscale-dev
OpenCV-gtk2.0
sudo apt-get install libgtk2.0-dev #安装gtk2.0
optimization function package
sudo apt-get install libatlas-base-dev gfortran #安装优化函数包
After the above dependent environment packages are installed, start preparing to configure Cmake
parameters
Compiling the Cmake part (suffering start)
Create a new directory to clone OpenCV and OpenCV contrib libraries from Github
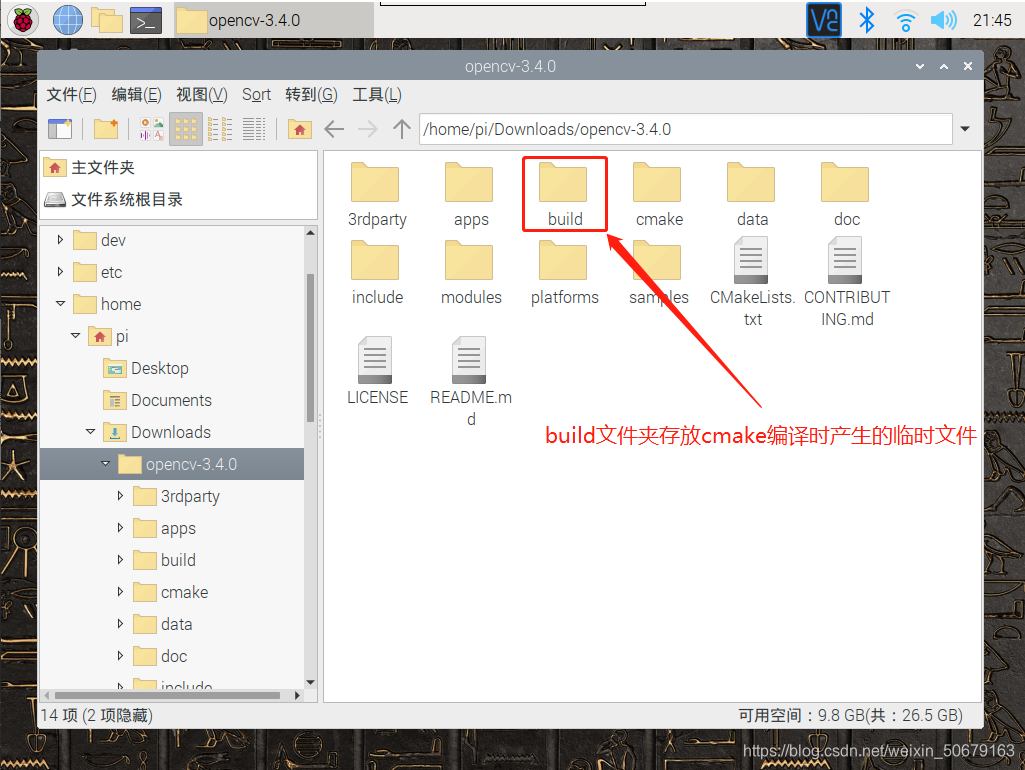
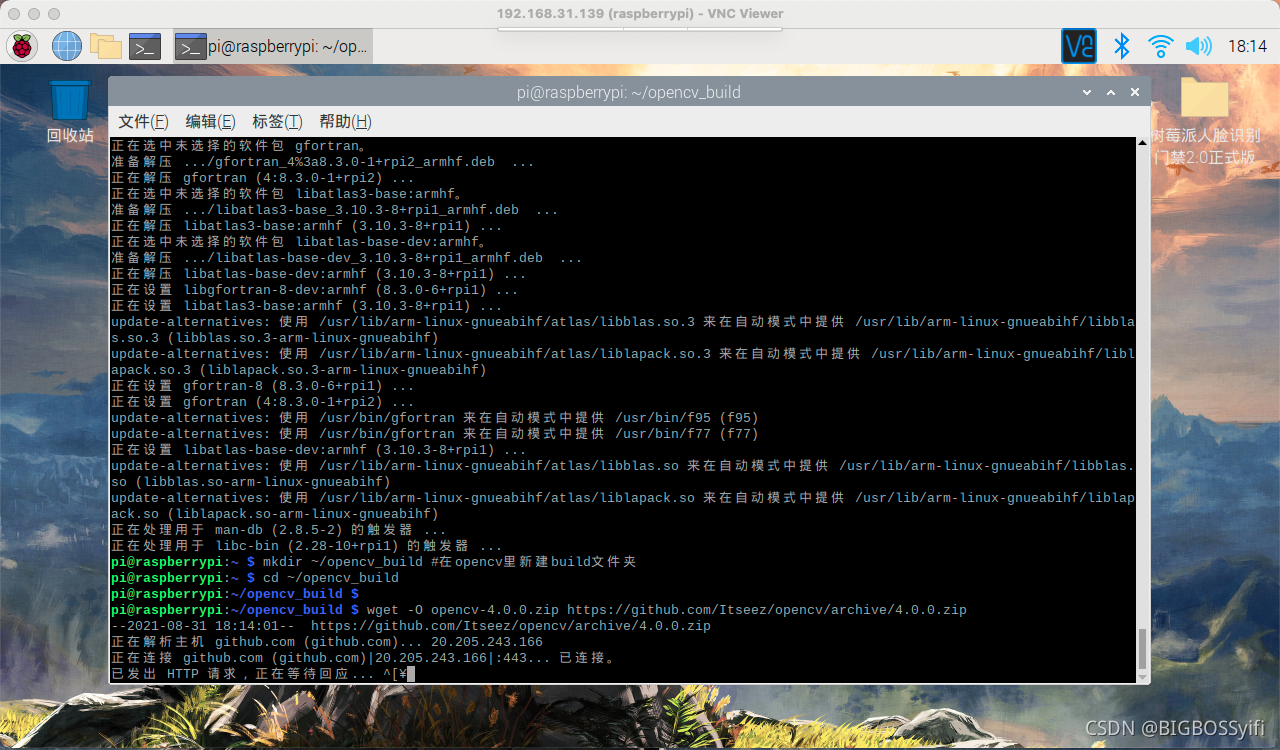
mkdir ~/opencv_build #在opencv里新建build文件夹
cd ~/opencv_build
The newly built folder stores the temporary data generated when cmake is compiled, and
then git clone
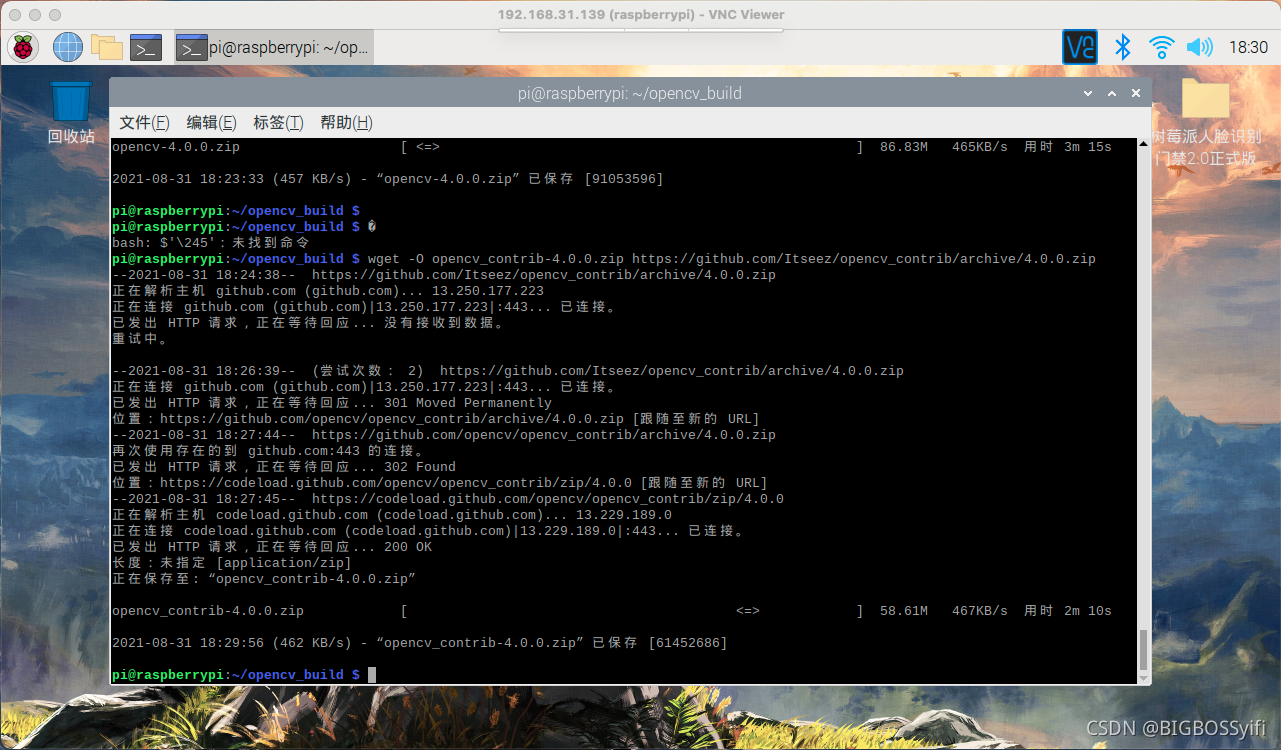
wget -O opencv-4.0.0.zip https://github.com/Itseez/opencv/archive/4.0.0.zip
#下载opencv 4.0.0包
The download here is very slow, after all, it is a foreign website, and it is normal to report errors in the download (it is useless to change the source ) and wait patiently for the http response.
Personally, I suggest that you use magic as much as possible.
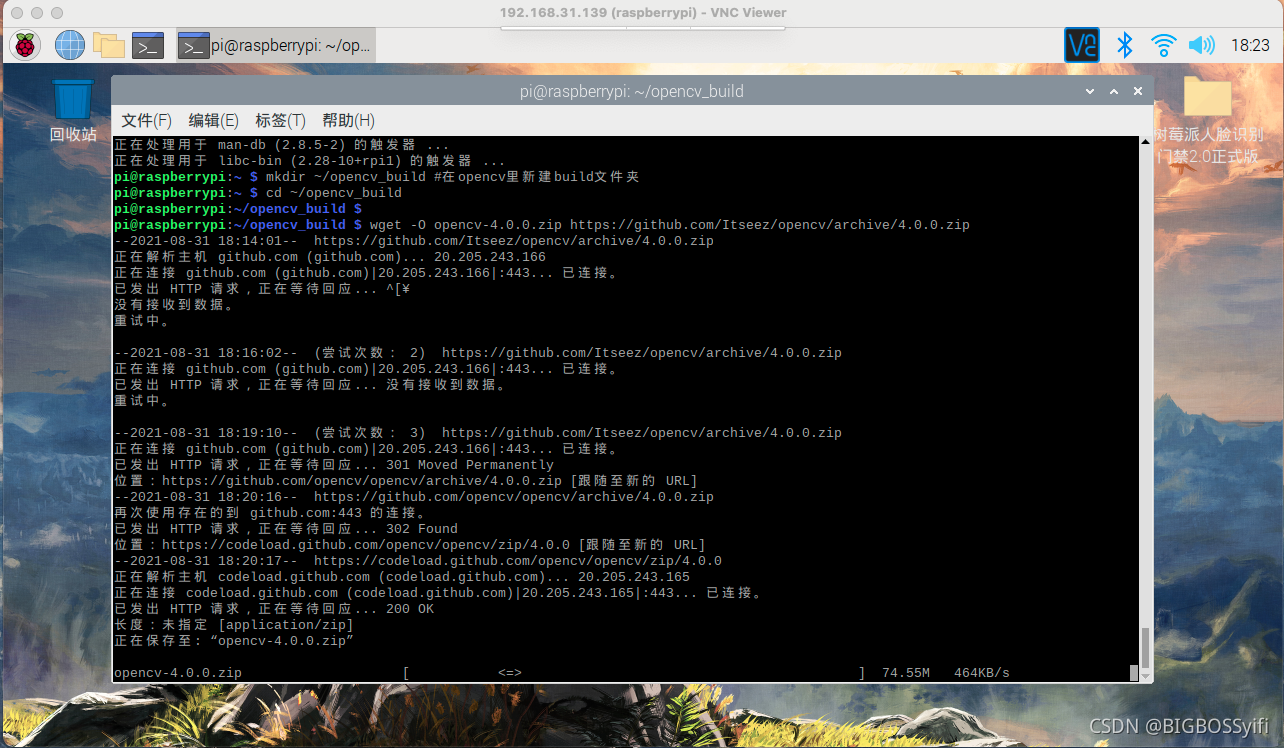
Finally, the installation and download are like this
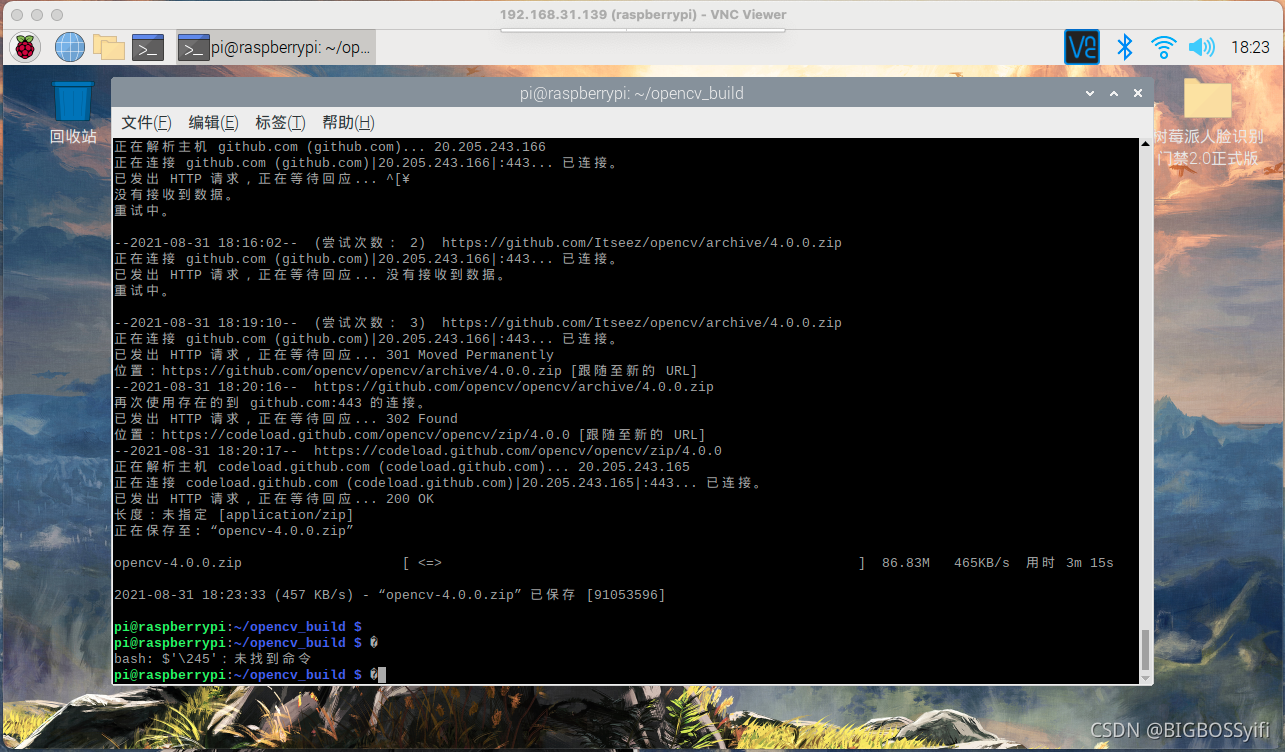
Then you need to download the opencv-contrib package file
wget -O opencv_contrib-4.0.0.zip https://github.com/Itseez/opencv_contrib/archive/4.0.0.zip #下载opencv包
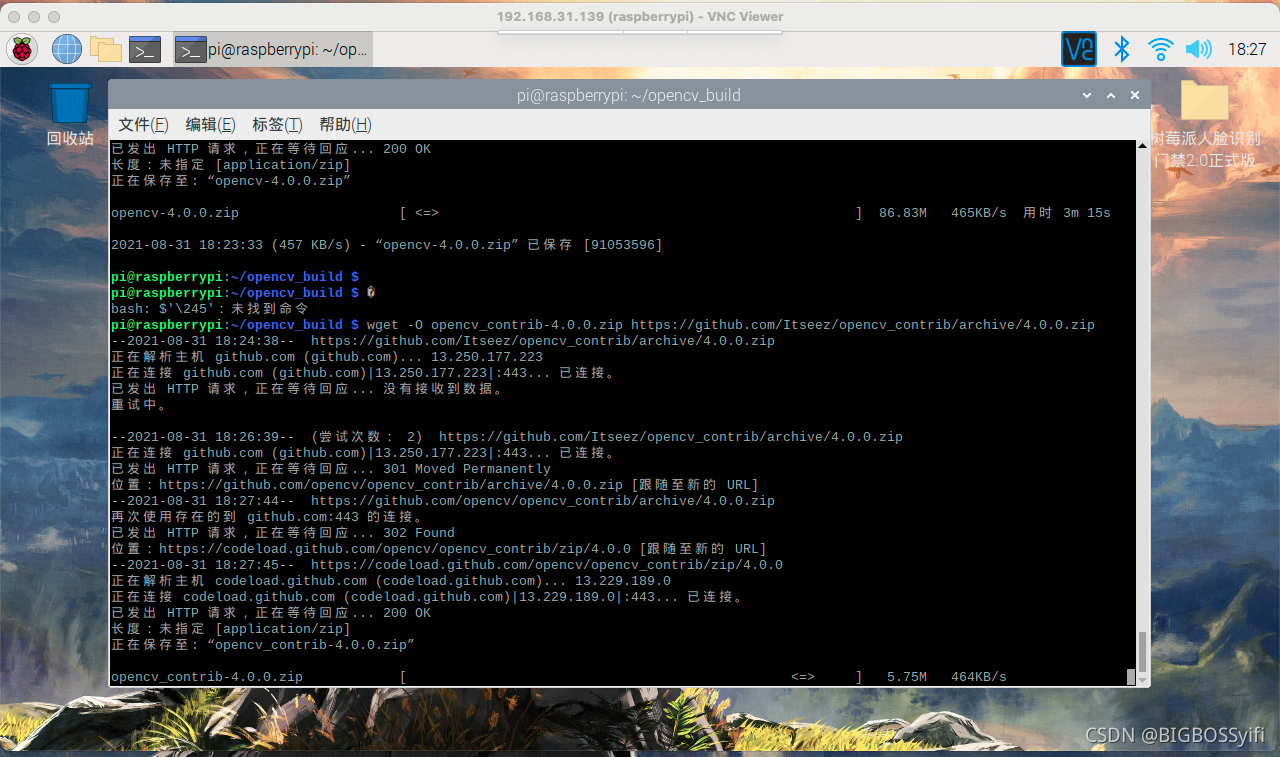
The final download is complete...
I provide a complete resource download for those who have a bad network here (including opencv4.0.0, opencv_contrib-4.0.0) OpenCV4.0.0 installation environment
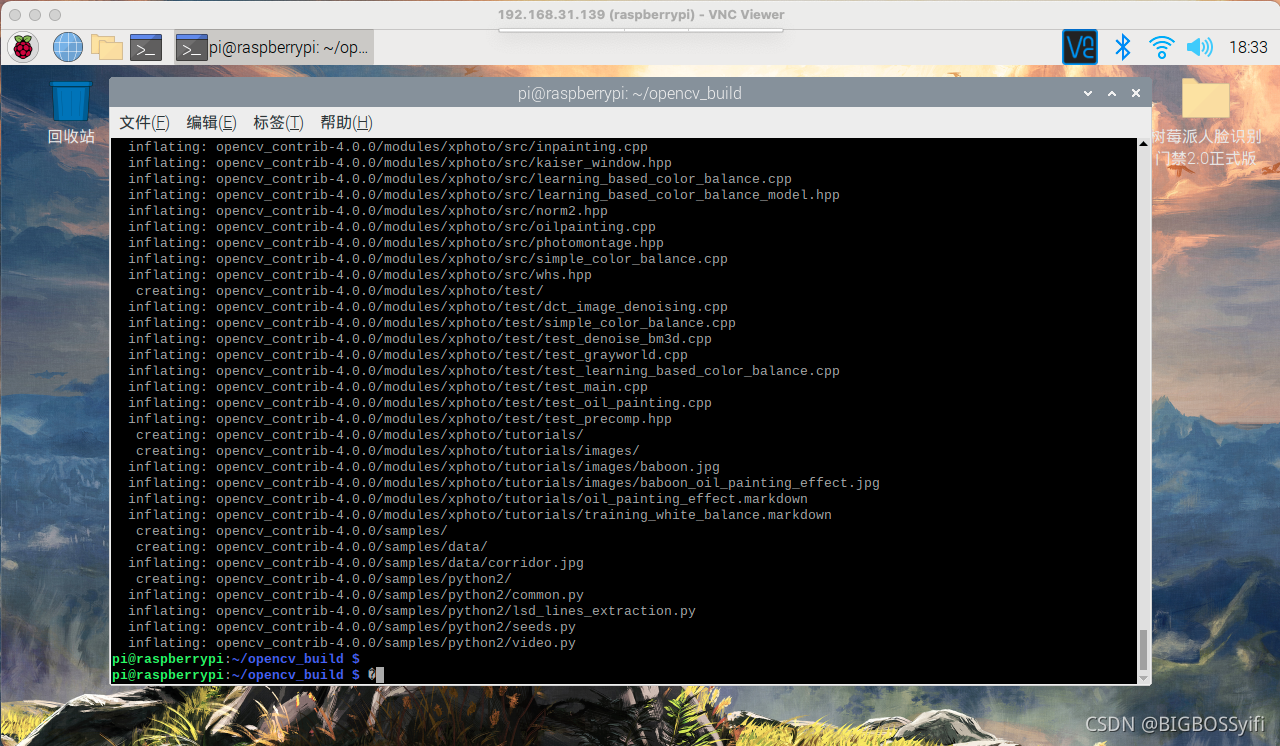
unzip opencv-4.0.0.zip
unzip opencv_contrib-4.0.0.zip
#解压文件
Set compile parameters
After the file is decompressed, make sure there is no problem with the file path: I have a structure like this: /opencv4.0.0/build/ The following operations need to be performed in this folder of build
: Next, prepare to set the compilation parameters, the compiled statement is safe to add sudo
sudo cmake -D CMAKE_BUILD_TYPE=RELEASE \
    -D CMAKE_INSTALL_PREFIX=/usr/local \
    -D OPENCV_EXTRA_MODULES_PATH=/home/pi/opencv/opencv_contrib-4.0.0/modules \
    	#根据自己contrib中modules文件夹的地址进行配置
    -D INSTALL_PYTHON_EXAMPLES=ON \
    -D INSTALL_CXX_EXAMPLES=ON \
	-D OPENCV_GENERATE_PKGCONFIG=ON \
    -D BUILD_EXAMPLES=ON ..
Here is the detail of the compiled code
CMAKE_BUILD_TYPE #编译方式
CMAKE_INSTALL_PREFIX #安装目录
OPENCV_EXTRA_MODULES_PATH #加载额外模块
INSTALL_PYTHON_EXAMPLES #安装官方python例程
BUILD_EXAMPLES #编译例程
OPENCV_GENERATE_PKGCONFIG : #配置pkg-config , OpenCV 4 默认下生成”opencv4.pc“
-D INSTALL_C_EXAMPLES=ON	#如果需要C语言的编程案例在末尾加上
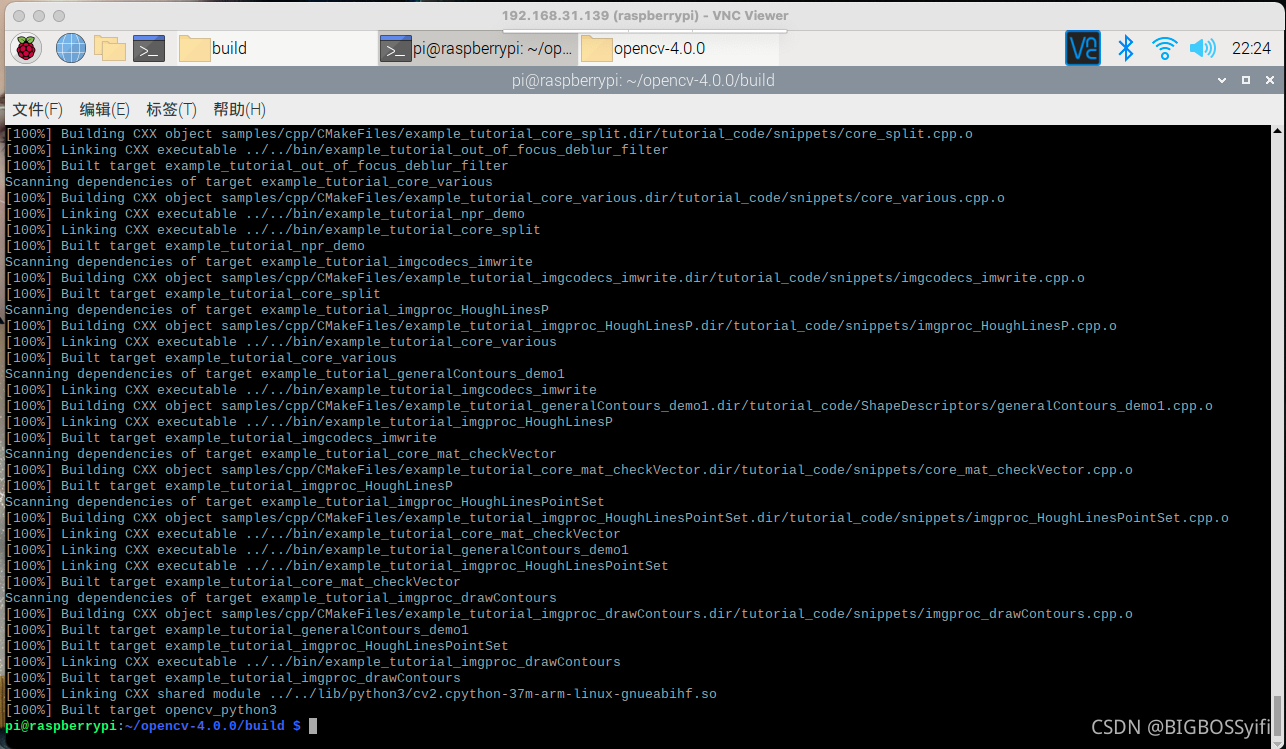
Start compiling:

set the compilation parameters and see the end like this, when there is no error and all are done , the compilation part ends

. Here, it is recommended to make a backup of the compiled folder in the case of successful compilation: ( /build )
cd ..
cp -r build ./buildres  #在当前目录备份build为buildres文件夹
The first pit you may encounter
But... In this step, there may be an error: in

this case, there is an error in the compilation of the file, and the first compilation of my own has always failed
. Possible reasons:
1. The downloaded opencv and opencv-contrib files are incomplete, especially It is the file under git clone. It may be lost and it is
recommended to download it again
. 2. When compiling, " sudo " is not added. In Linux, sudo is a high-privilege instruction.
Try to add sudo and delete the original compiled build folder. Recompile after all files
prepare, compile
Once compiled to here is really NB! ! ! (Anyway, I have installed opencv almost 4 times, and none of them can be successfully compiled at one time.)

Normally, I am a little pale, and a complete compilation is successful! ! ! Queshi Ouhuang
(the important reason for a successful compilation is that your opencv and opencv-contrib files are complete, that is, your connection to GitHub is good, or which file you downloaded is more complete)
Otherwise... basically it will be compiled , it will report an error about missing files
Then let's take a look at the various errors and important
not enough space
Change to 32GB, if 16GB may be less, it is very dangerous to compile Sparrow, 32GB is the safest
**Important Note: **The memory card must check whether it has been expanded to the entire disk:
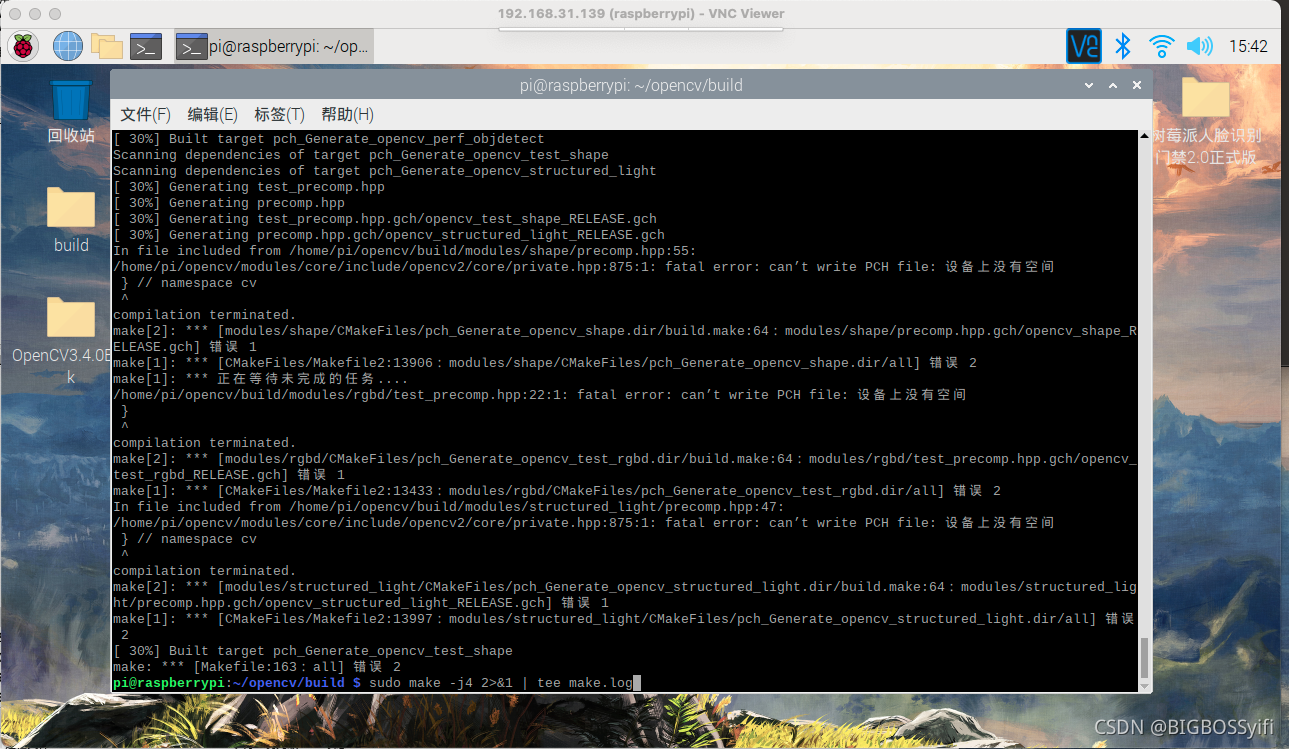
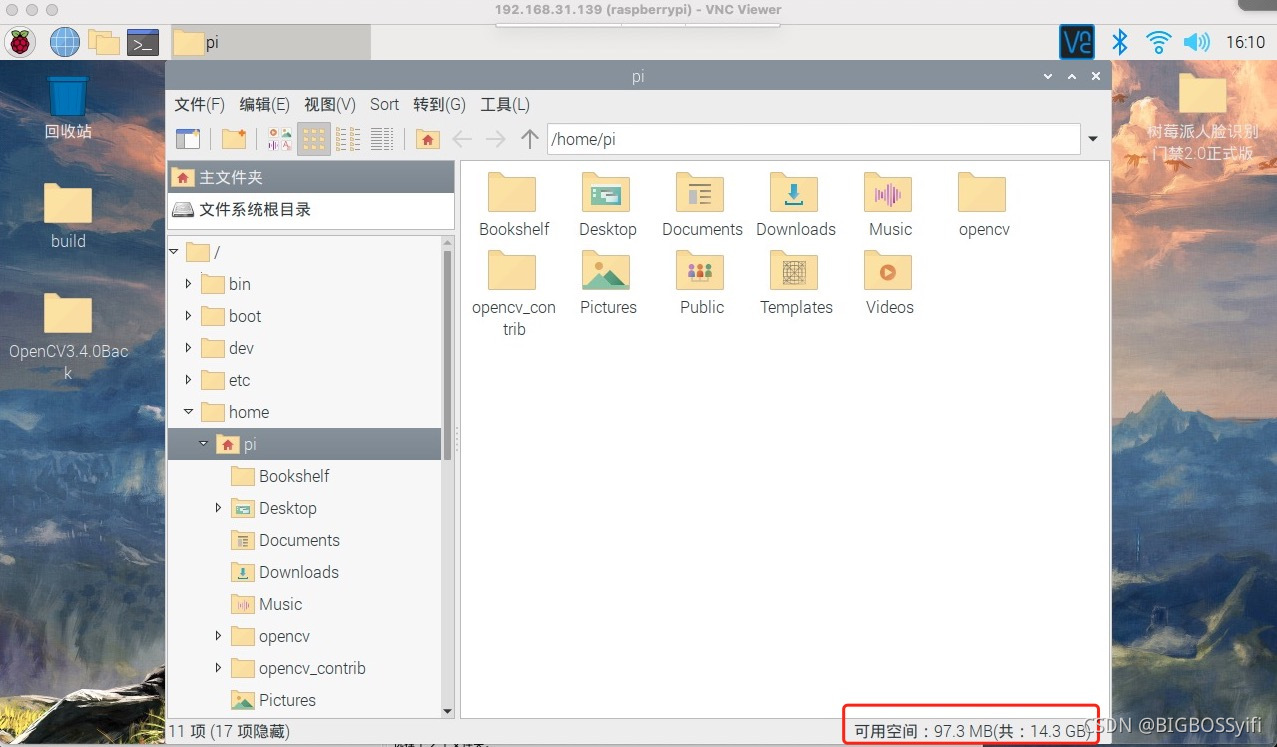
this is a 32GB card, in the first The second compilation is not expanded to the entire disk, resulting in insufficient space.
The method of expanding the disk: mentioned at the beginning of the article
Missing file type error
This error is very common. The reason is also mentioned above, that is, the two files of opencv and opencv-contrib are incomplete.
The specific performance is:
the following files are missing:

what is missing, what to download, here is the complete package of the above files—— Download
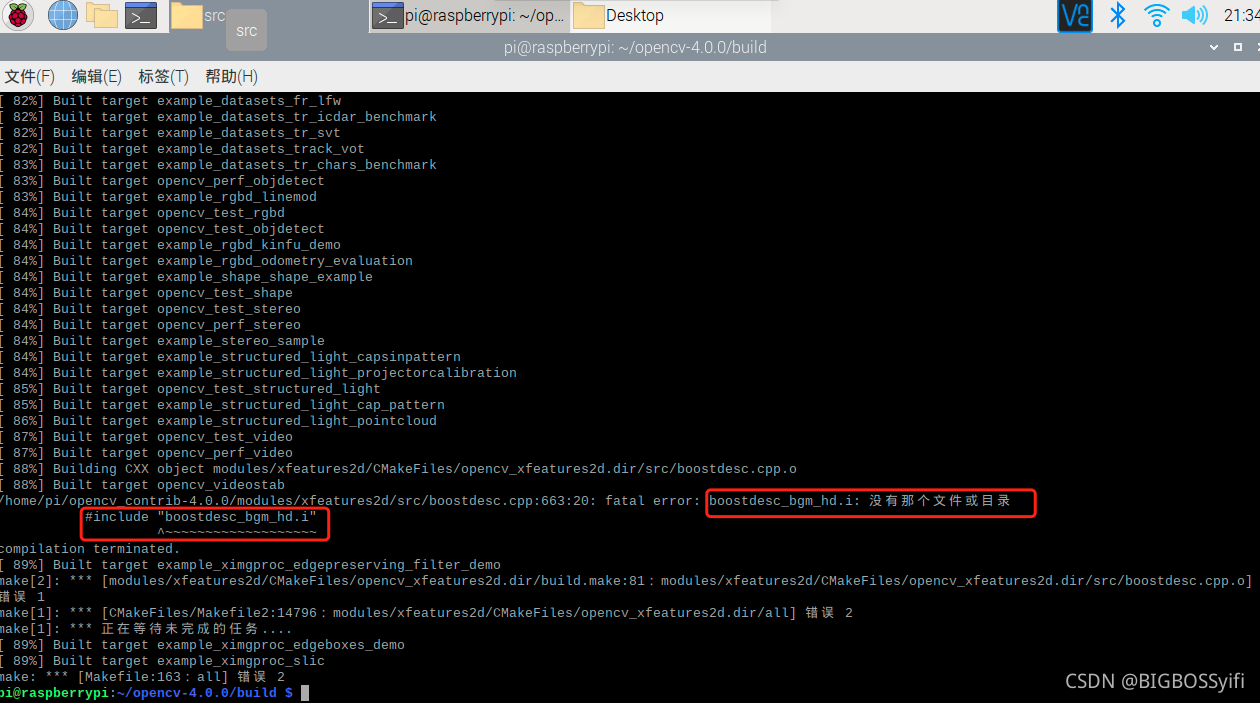
the same error as the above picture, put the missing files in
opencv_contrib/modules/xfeatures2d/src/ (remember it is in the opencv-contrib folder)
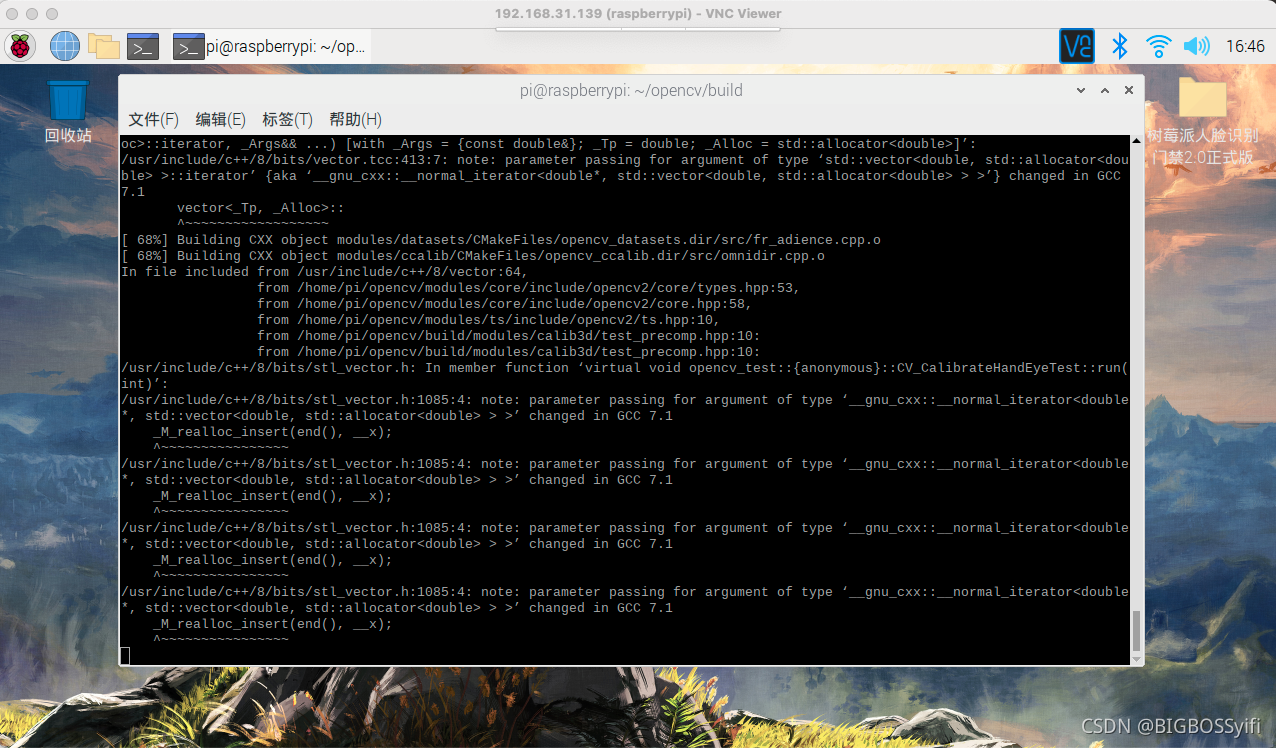
Modify library files
This is a time when I installed opencv with a broken mind.
After compiling to 99%, I reported an error and directly exploded in place
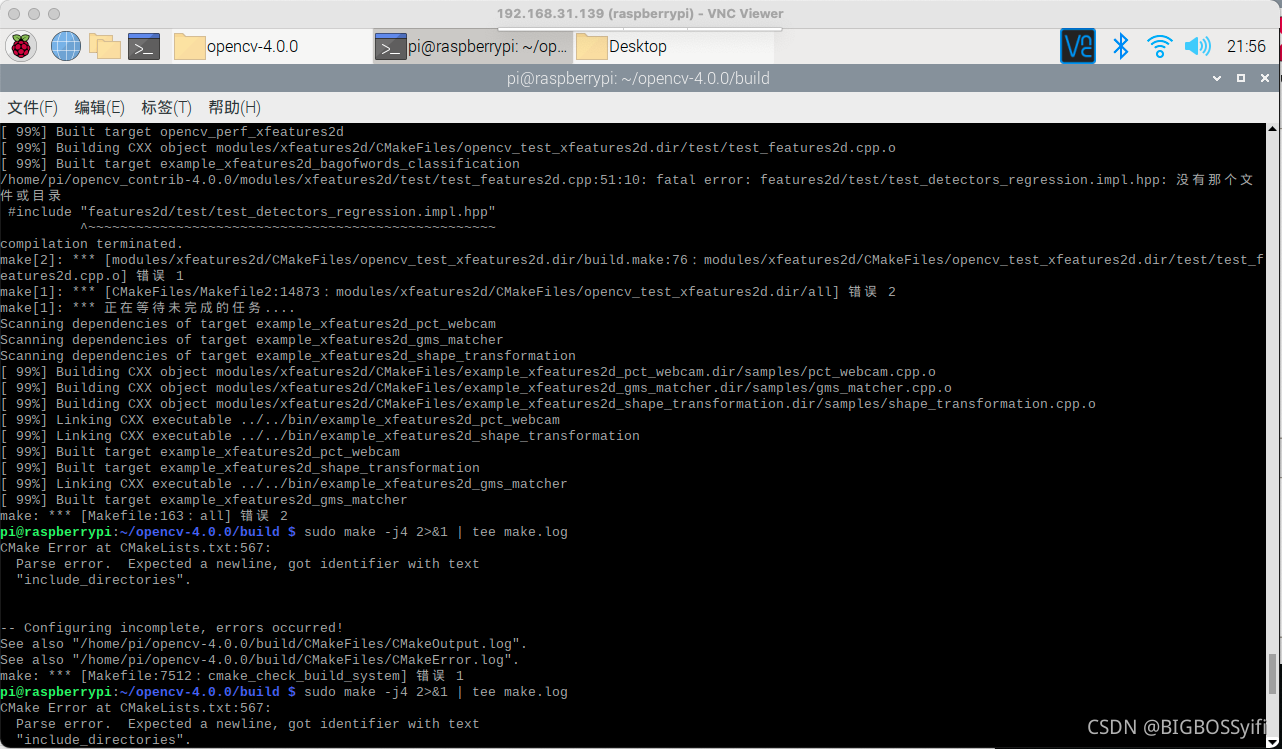
. Pay attention to this:
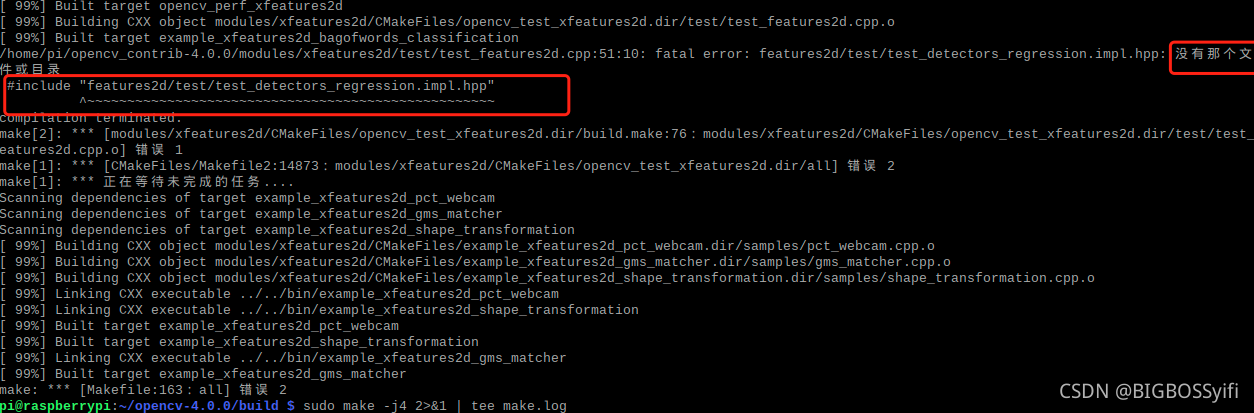
it means that we are missing this file " test_detectors_regression.impl.hpp ".
To solve this problem, we must first see if we have this file.
type in the terminal
find -name test_detectors_regression.impl.hpp
or go to this path
/Users/bigboss/Documents/CodeHouse/OpenCV4.0.0/OpenCV4.0.0/opencv-4.0.0/modules/features2d/test/test_descriptors_regression.impl.hpp
See if this file exists.
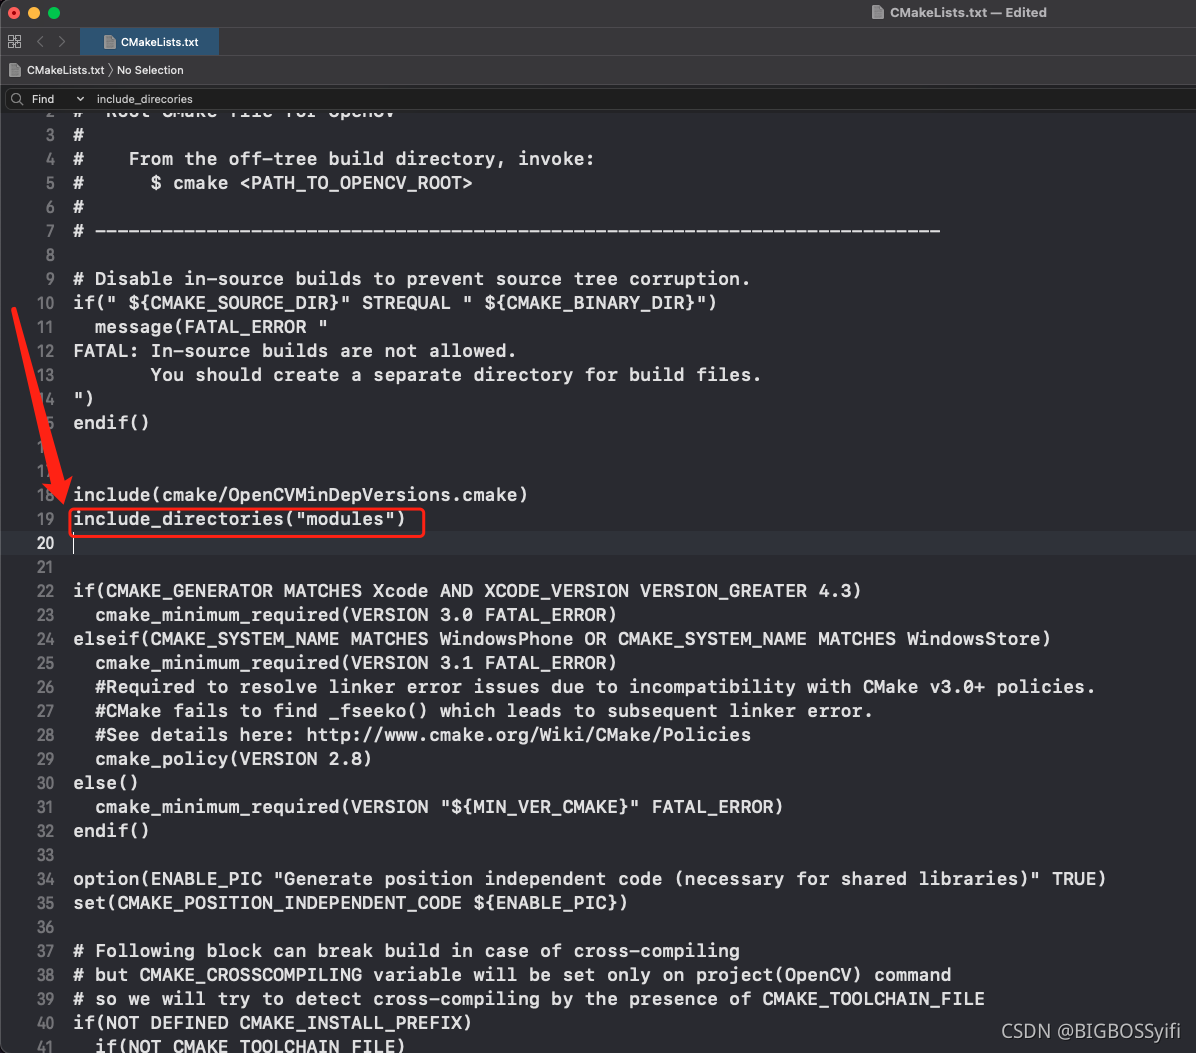
If there is this file, open the opencv/CmakeLists.txt file and insert
include_directories("modules")
As for the insertion position, the position is just before the construction, for example
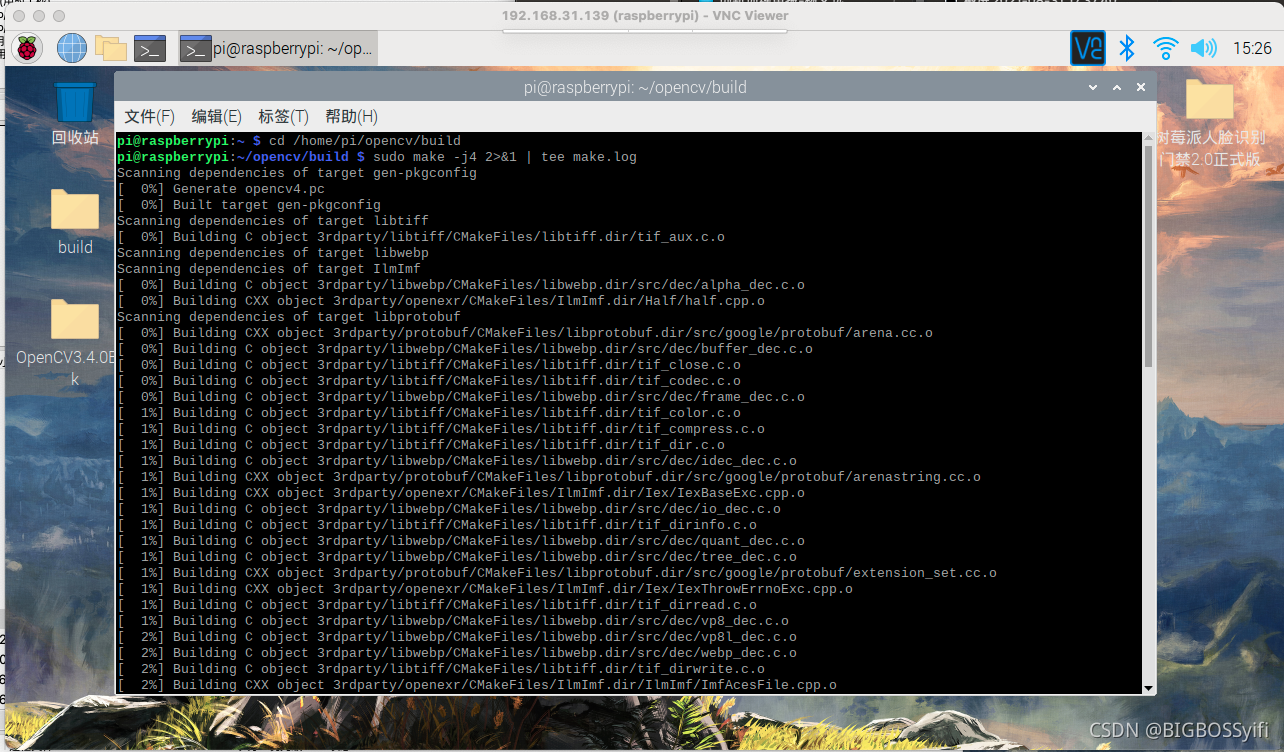
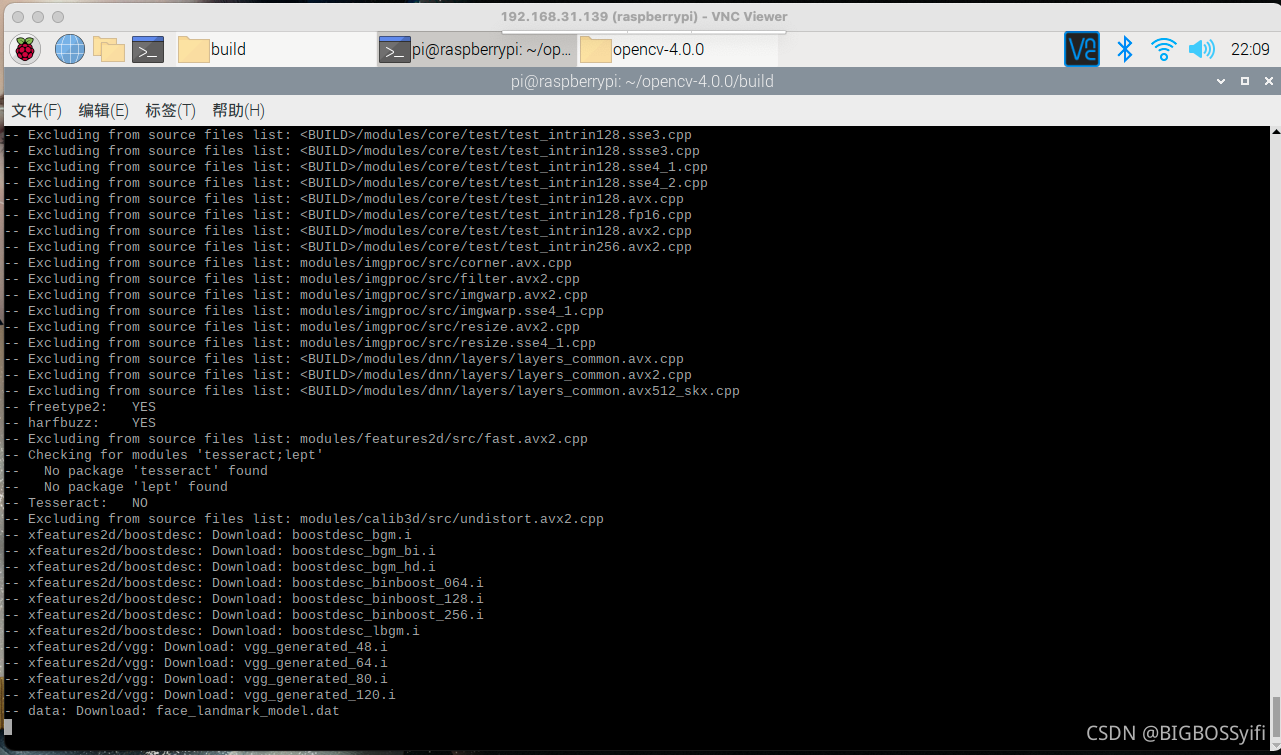
final compilation
implement
sudo make -j4 2>&1 | tee make.log
pass! ! !
Then execute
sudo make install
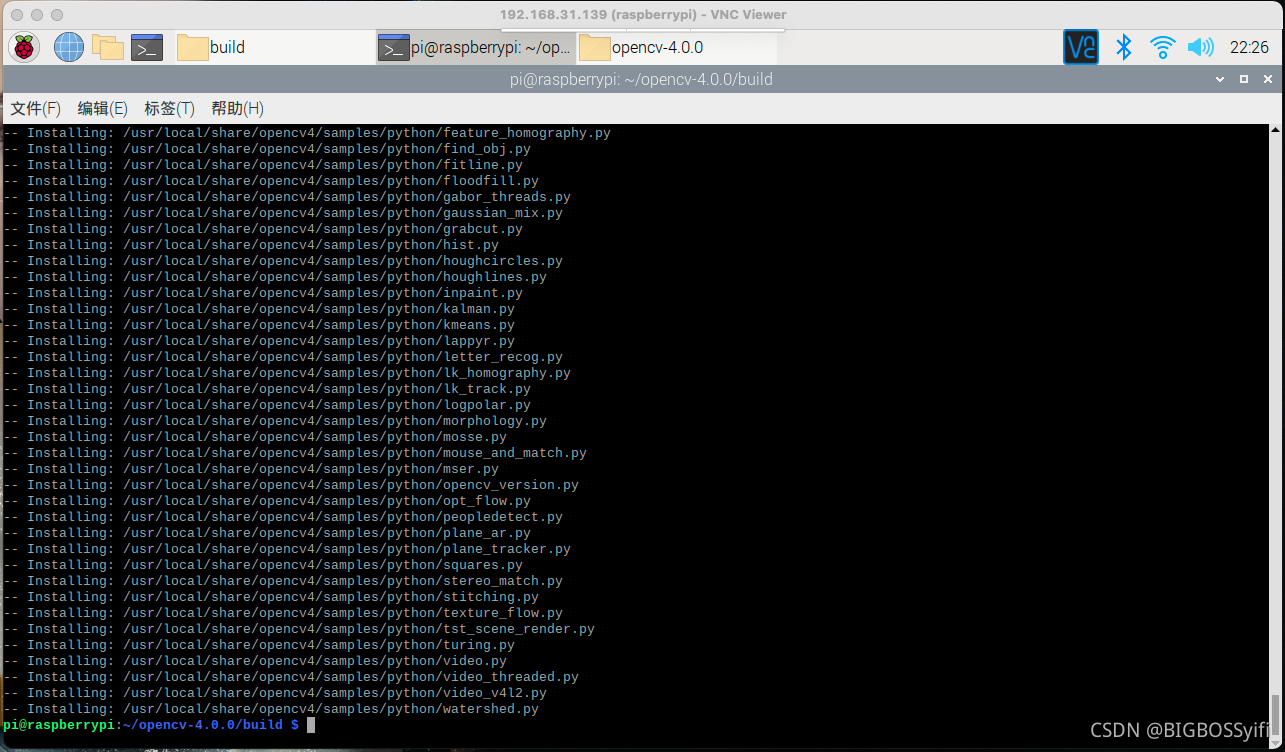
finally finally successfully installed! ! ! !
Configure OpenCV to Python environment variables
After installing the OpenCV environment, open the terminal for testing
Input: PythonEnter the Python operating environment
Input import cv2If there is no error, it means that the opencv environment can be run normally.
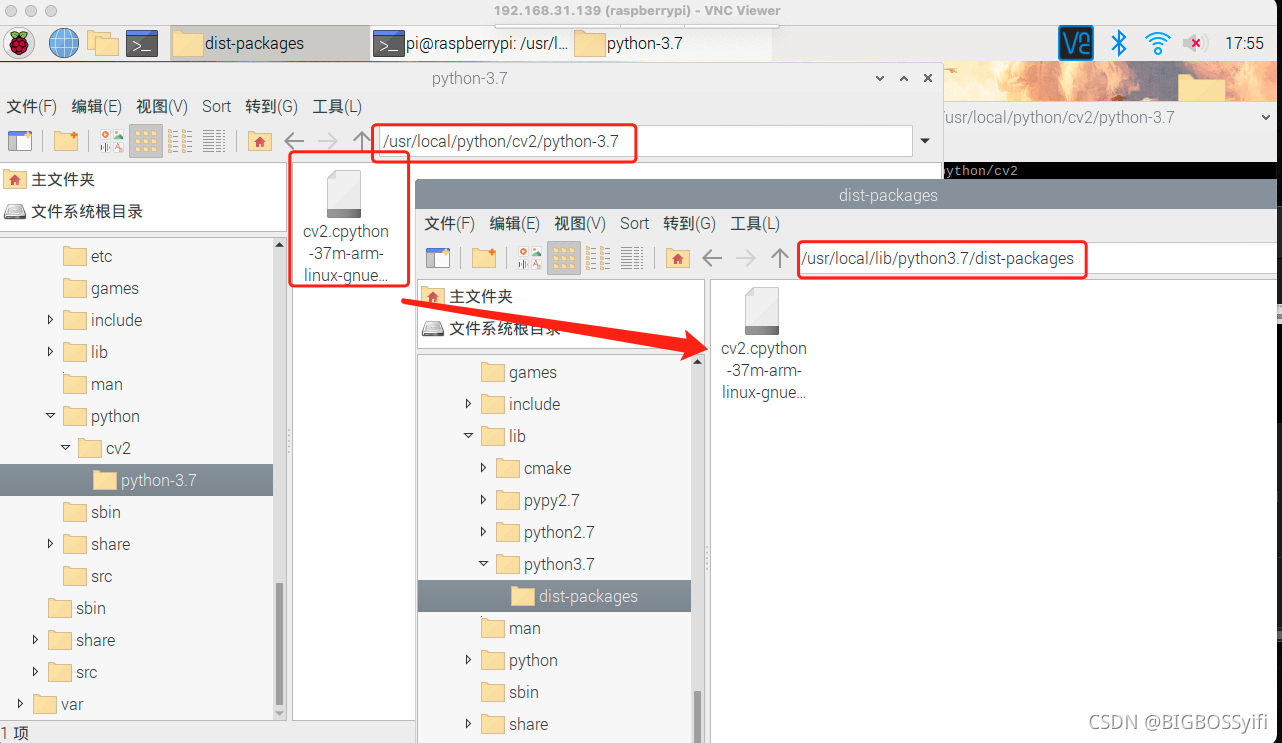
Exit the Python environment and type in the terminal
cd /usr/local/python/cv2
Go to the file of Python cv2, continue to input to lsview the files in the current folder

There is a folder that is Python-3.7, enter this folder /usr/local/python/cv2/python-3.7 (According to your own file version Adjustment)

There is a file cv2.cpython-37m-arm-linux-gnueabihf.so in this folder, copy this file to this path **/usr/local/lib/python3.7/dist-packages**
sudo cp cv2.cpython-37m-arm-linux-gnueabihf.so /usr/local/lib/python3.7/dist-packages
Update environment variables
sudo ldconfig
Open the bash.bashrc configuration file
sudo nano /etc/bash.bashrc
Once in, add at the end:
PKG_CONFIG_PATH=$PKG_CONFIG_PATH:/usr/local/lib/pkgconfig
export PKG_CONFIG_PATH
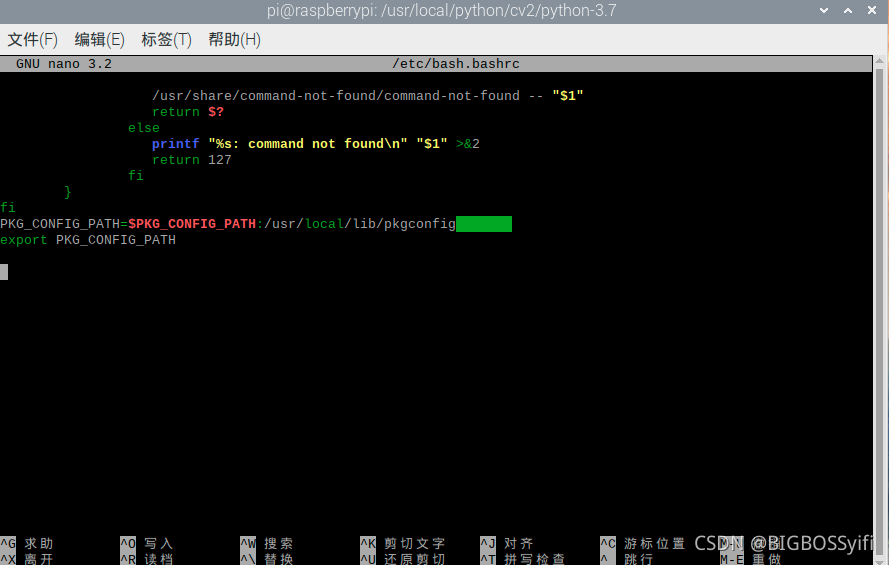
Reboot the Raspberry Pi sudo reboot nowEnd! ! !
Finally check the

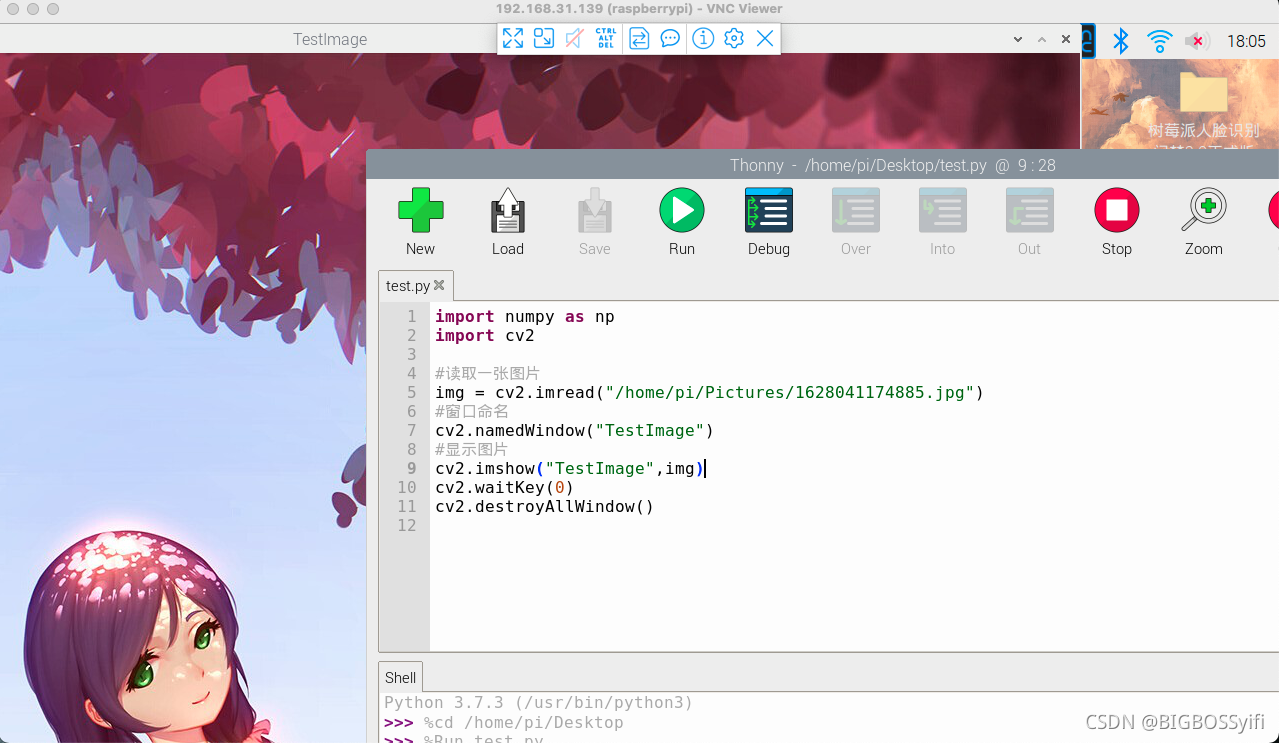
test code
import cv2
import numpy as np

img = cv2.imread(“你测试的图片路径”)
cv2.namedWindows(“TestImage”)
cv2.imshow("TestImage",img)
cv2.waitKey(0)
cv2.destoryAllWindow()
Test success! ! !
Thank you for watching now. This article was written a year ago. At that time, I knew nothing about OpenCV. I was a beginner in the Raspberry Pi Linux system. Now I have only learned a little bit of fur. I stepped on too many pits in the middle, and I wanted to give up at one point. At that time, I finally persevered and installed the entire OpenCV completely. Because the problems encountered at that time were not summarized in time, my article was broken halfway through. Now I'm looking for a new memory card, start all over again, and repeat step by step, I hope my installation this time will be helpful to you, thank you for seeing this, and good luck! ! !