JDK:
1. Download the required version, double-click to install, open the terminal and enter java -version to see if the output is correct. For example, java version "1.8.0_144"
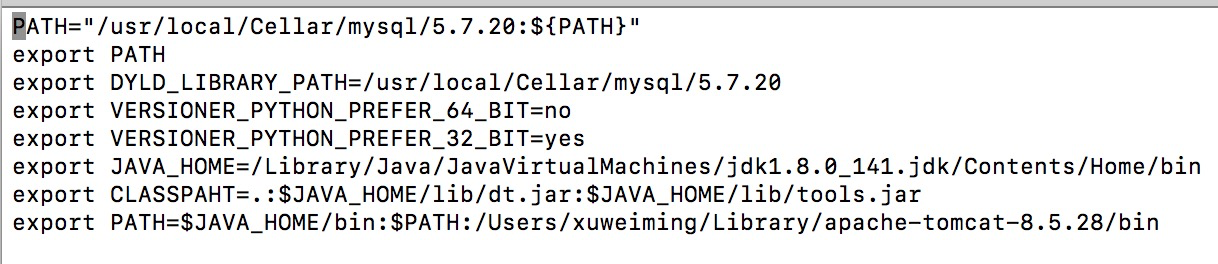
2. Configure environment variables Enter sudo vi ~/.bash_profile in the terminal, enter the current user password, and then press i to enter the editing
Add: export JAVA_HOME=/Library/Java/JavaVirtualMachines/jdk1.8/Contents/Home (fill in according to your own path)
添加:export CLASSPAHT=.:$JAVA_HOME/lib/dt.jar:$JAVA_HOME/lib/tools.jar
3. Press Esc when finished, enter :wq! to exit edit mode and save.
4. Remember to take effect immediately after saving the source ~/.bash_profile
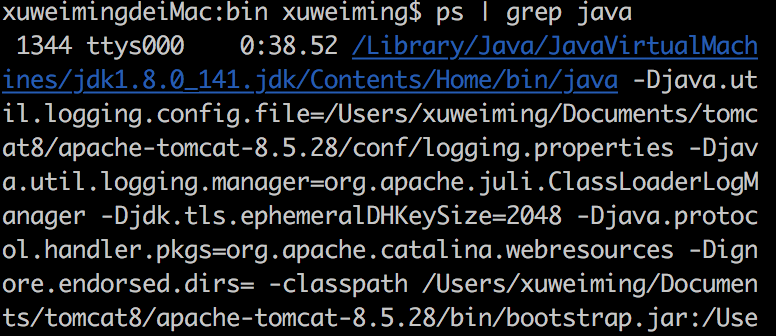
ps | grep java
Tomcat:
1. Download the required version and unzip it. You can put the file anywhere. Here I put it under /Users/Users/Library.
2. For the convenience of operation, put the /bin path of Tomcat into the environment variable, enter sudo vi ~/.bash_profile in the terminal, enter the current user password, and then press i to enter the editing (if vim is not good, use sudo open ~/ .bash_profile)
Add: export PATH=$JAVA_HOME/bin:$PATH:/Users/Users/Library/Tomcat8/bin
After modification, source ~/.bash_profile
3. In order to avoid permission problems, enter the command in the terminal to assign permissions sudo chmod 755 your Tomcat path /bin/*.sh Enter the password and press Enter
4. Enter startup.sh in the terminal to start Tomcat, open the browser and enter http://localhost:8080 , if successful, the page shown below will appear.

Jenkins:
1. Download the required version of the war package and put it in the /webapps folder under the previous Tomcat folder.
2. Open the browser and enter http://localhost:8080 /jenkins
3. If the loading is successful, the password will be entered. The password is in the red path file in the figure.
创建job执行shell命令
gem install fastlane
That's it.
Summary of other uses:
brew:
If you have installed it before, update it first and enter brew update in the terminal
Super simple terminal output a line of command ruby -e "$(curl -fsSL https://raw.githubusercontent.com/Homebrew/install/master/install)"
During the installation process, you need to press Enter to confirm. After the installation is complete, there may be missing components. It doesn't matter. The official website has prepared instructions. Just enter brew install wget in the terminal.
Git:
1. Install one using the brew command, enter brew install git in the terminal, and wait for the installation to complete
2. Under normal circumstances, the computer that has installed xcode has its own git. Open the terminal and enter git --version to check the version number. If the latest version of git you just installed is not the same version, try the following method.
Backup old GIT directory
cd /usr/local/bin
ls git*mkdirbackup-git
mv git* ./backup-git/
to the new git directory. cd /usr/local/Cellar/git/2.14.1 to see that git has been installed successfully
cd ~
Enter sudo vi ~/.bash_profile in the terminal, enter the current user password, and then press i to enter the editing (vim is not good, use sudo open ~/.bash_profile directly)
Add: export GIT=/usr/local/Cellar/git/2.14.1
Add: export PATH=$GIT/bin:$PATH
After modification, source ~/.bash_profile
Check the version git --version should be the latest version now
Configuration ios packaging reference: https://www.jianshu.com/p/897b9a8fb210