1. Install the Maven plugin
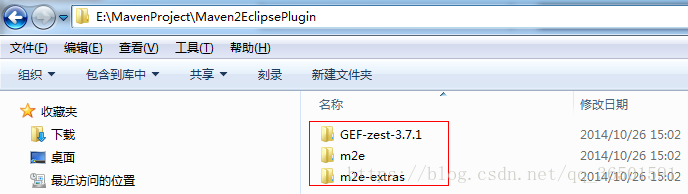
The downloaded maven plugin is shown in the following figure: The path where the plugin is stored is: E:/MavenProject/Maven2EclipsePlugin
- Go to the dropins directory in eclipse and create three txt files ( zest.txt, m2e.txt, m2e-extras.txt ). As shown below:

The content of the m2e.txt t file is as follows: path=E:/MavenProject/Maven2EclipsePlugin/m2e
The content of the m2e-extras.txt file is as follows: path=E:/MavenProject/Maven2EclipsePlugin/m2e-extras
The content of the zest.txt file is as follows: path=E:/MavenProject/Maven2EclipsePlugin/GEF-zest-3.7.1
The value of the path path is the path address stored by the plug-in on the local machine
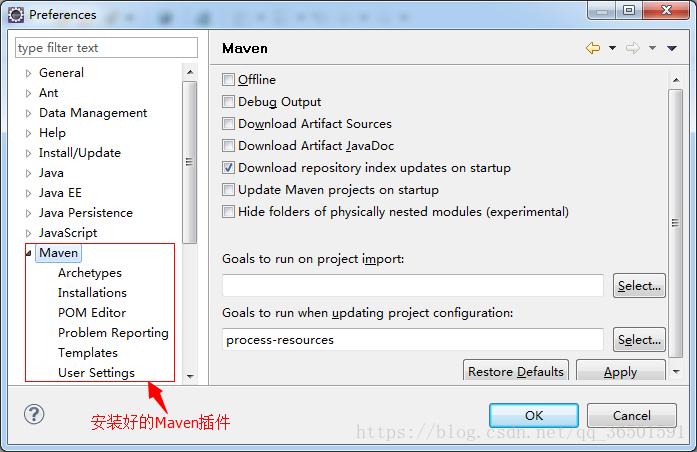
Restart eclipse, click windows → preferences, after the Maven plugin is installed successfully, you will see the following screen:
Second, configure the Maven plugin
2.1, configure the Maven used
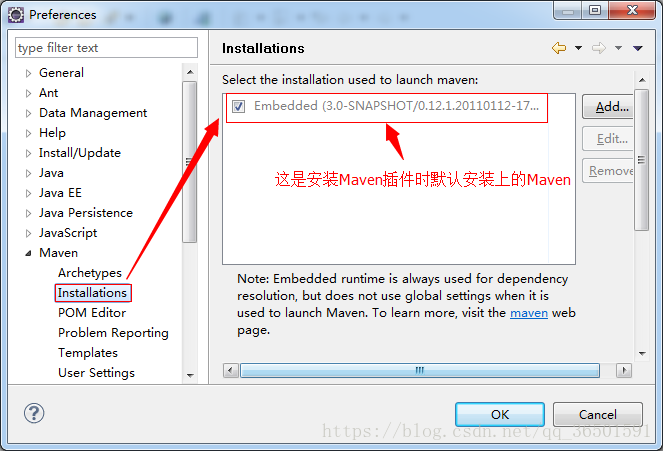
We do not use the Maven installed by default, and configure the Maven that we downloaded and installed by ourselves, as shown in the following figure:


2.2. Configure User Settings
The default configuration of User Settings is shown in the following figure:

When installing and configuring Maven before, I have set the location of Maven's local repository to the "E:\repository" directory, so I need to change "C:\Users\gacl\.m2\repository" to "E:\repository" "
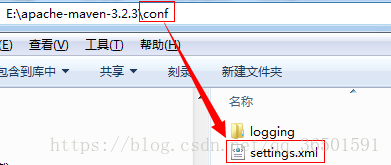
First find the settings.xml file in the conf directory under the Maven installation directory, as shown in the following figure:
Copy the settings.xml file in the conf directory to the "E:\repository" directory of the Maven local repository, as shown in the following figure:


After the above two steps, the Maven plugin is set up.
2.3. Configure the JDK used by Maven when compiling
Because Maven must be JDK1.6 or above to run normally, you need to configure the JDK used by Eclipse.
Enter the window->preferences window, select java->Installed JREs, and add jdk to the corresponding path through the add button, otherwise an error will be reported when compiling:
No compiler is provided in this environment. Perhaps you are running on a JRE rather than a JDK?

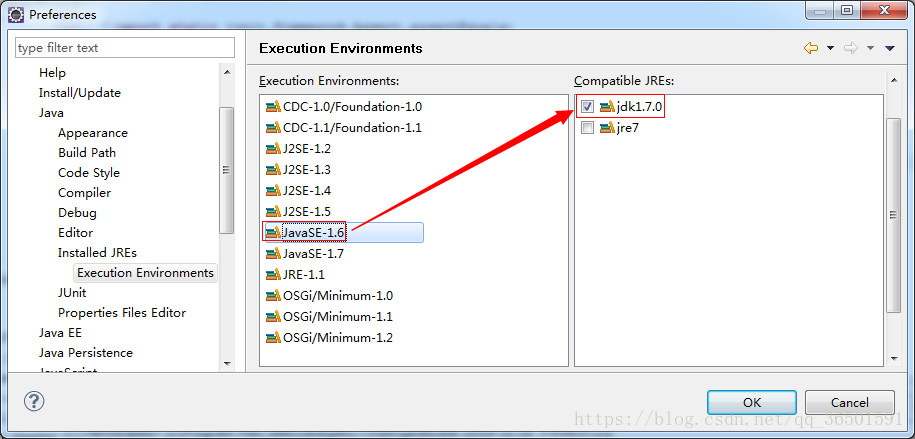
Next, enter the Execute Environment sub-item of Installed JREs: select JavaSE-1.5, JavaSE-1.6, JavaSE-1.7 on the left, and select the jdk version used for compilation on the right, as shown in the following figure:


3. Using the Maven plugin in Eclipse
3.1, import Maven project
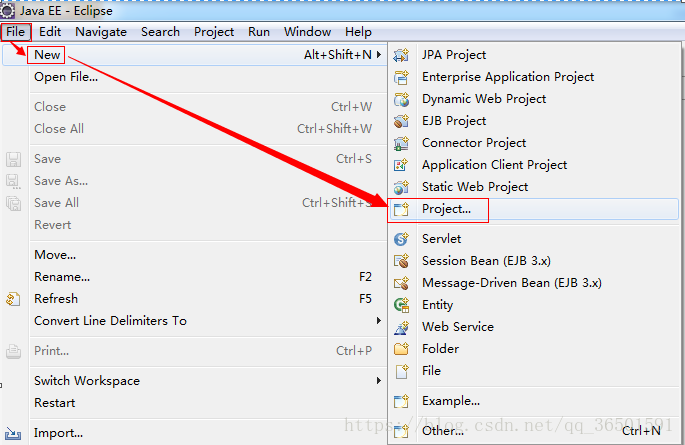
File→import


Click the [Finish] button to complete the import of the project, as shown in the following figure:
3.2, create a new Maven project
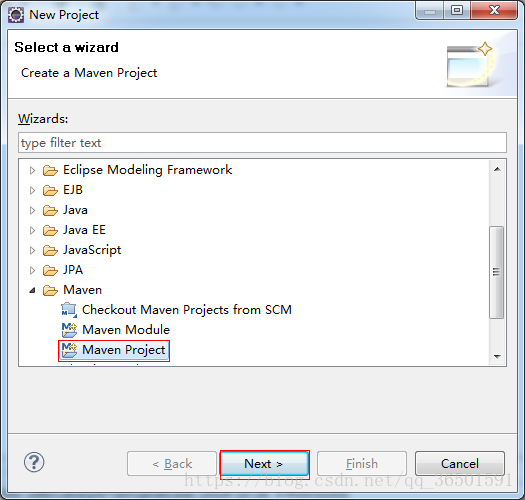
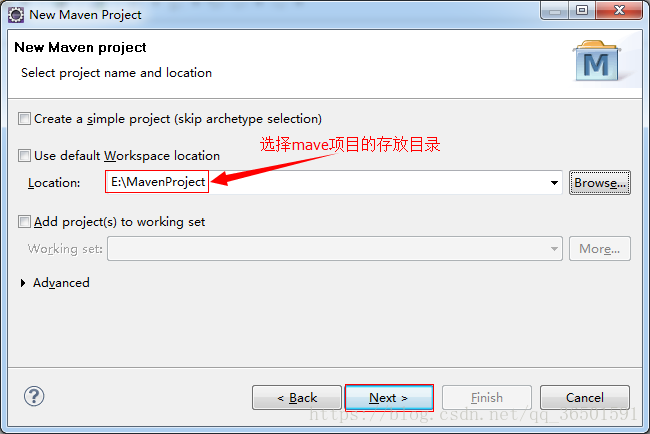
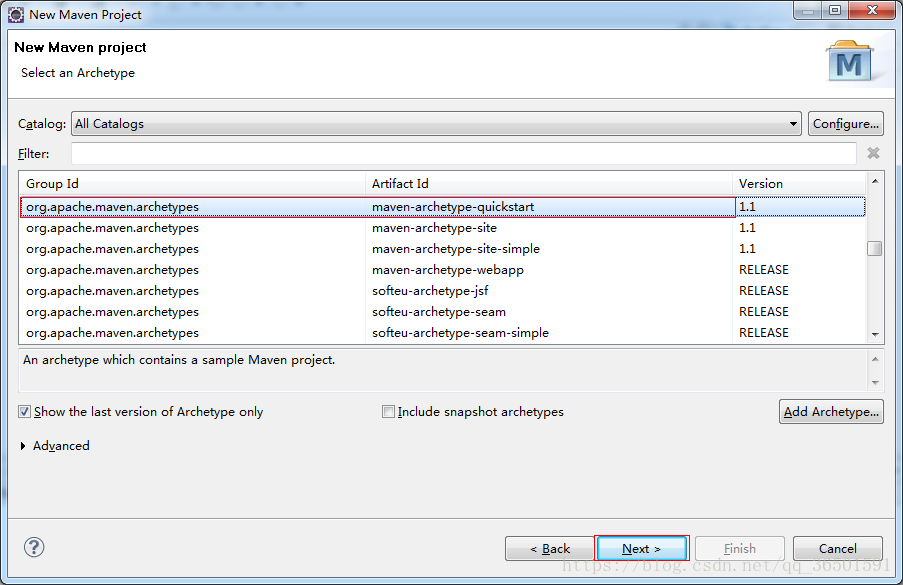

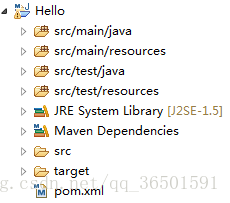
Click the [Finish] button to complete the creation of the project. The created project is shown in the following figure:

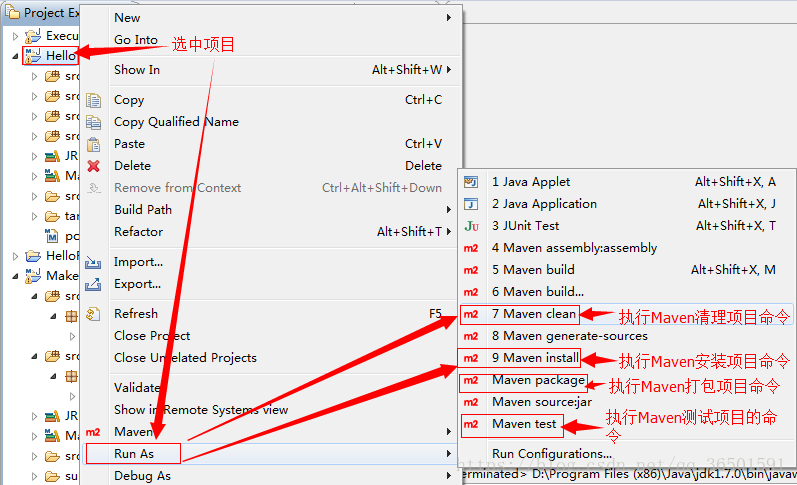
3.3. Execute the mvn command in Eclipse
Select the project, click the right mouse button → [Run As] or [Debug As] → select the corresponding Maven command to execute, as shown in the following figure:
这种方式每次只能执行一个Maven命令,如果想像在cmd命令行那样使用组合命令,那么可以这样做

此时会弹出如下所示的对话框

在Goals输入框中输入要执行的组合命令,如下图所示:

以上就是Maven与Eclipse整合使用的内容。