Nginx+Tomcat+keepalived
Nginx+Tomcat
1. Introduction to Nginx
Supports responses of up to 50,000 concurrent connections.
Has strong static resource processing capabilities
. Stable operation
. System resource consumption such as memory and CPU is very low.
At present, many large websites use Nginx server as a reverse proxy and load balancer for back-end website programs to improve Load concurrency of the entire site
2.Nginx dynamic and static separation principle
Match through the location field.
If it is a file ending in .html, it will be sent to local processing.
If it is ending in .jsp, it will be sent to tomcat.
3.Tomcat important directory
| table of Contents | effect |
|---|---|
| bin | Store startup and shutdown Tomcat scripts |
| conf | Store different configuration files of Tomcat |
| doc | Store Tomcat documents |
| lib | Store the library files needed for Tomcat to run |
| logs | Store the log file when Tomcat is executed |
| src | Store the source code of Tomcat |
| webapps | Tomcat's main web publishing directory |
| work | Store the class files generated after jsp compilation |
NFS storage server deployment
1. Install nfs-utils, rpcbind software package
yum -y install nfs-utils rpcbind
2. Create a shared directory
mkdir /opt/tomcat1
mkdir /opt/tomcat2
Edit a javascript test page and upload pictures
vim /opt/tomcat1/index.jsp
<%@ page language="java" import="java.util.*" pageEncoding="UTF-8"%>
<html>
<head>
<title>JSP web1 test</title>
</head>
<body>
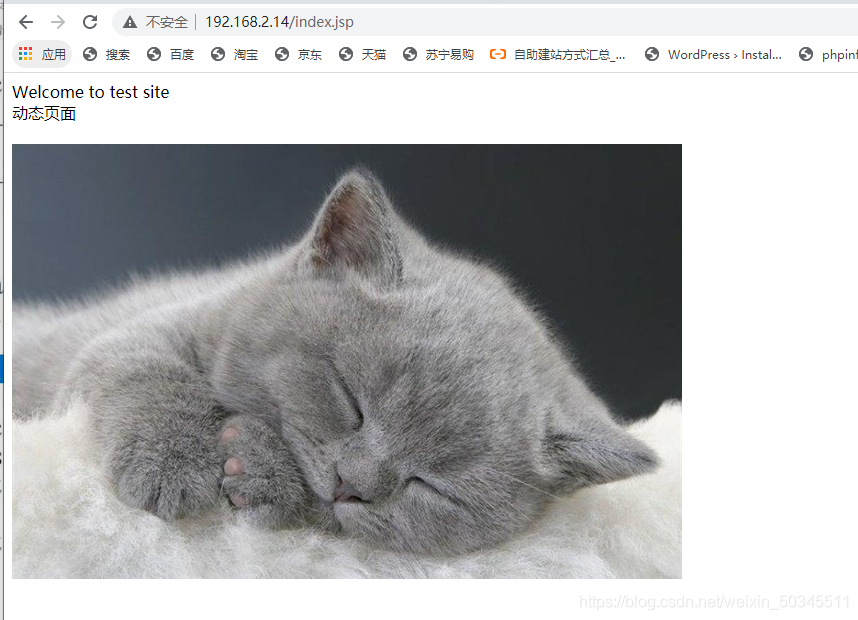
<% out.println("Welcome to test site");%>
<div>动态页面</div><br/><img src="web1.jpg" />
</body>
</html>
vim /opt/tomcat2/index.jsp
<%@ page language="java" import="java.util.*" pageEncoding="UTF-8"%>
<html>
<head>
<title>JSP web2 test</title>
</head>
<body>
<% out.println("Welcome to test2 site");%>
<div>动态页面</div><br/><img src="web2.jpg" />
</body>
</html>
3. Shared directory
vi /etc/exports
/opt/tomcat1 192.168.2.16(ro)
/opt/tomcat2 192.168.2.17(ro)
View mount
showmount -e

web cluster
Configure Java environment variables
1.xftp upload two files,

decompress and move
tar xf jdk-8u91-linux-x64.tar.gz
mv jdk1.8.0_91/ /usr/local/java
2. Configure environment variables
vi /etc/profile
Add to
export JAVA_HOME=/usr/local/java
export JAVA_JRE=/usr/local/java/jre
export PATH=$PATH:$JAVA_HOME/bin:$JAVA_HOME/lib:$JAVA_JRE/bin:$JAVA_JRE/lib
Execute and view
source /etc/profile
echo $PATH


test
View version
java -version


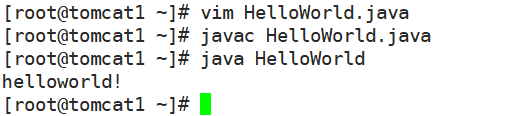
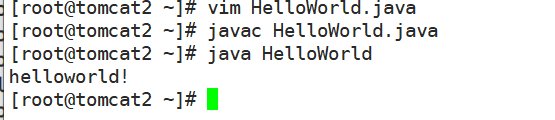
Edit a .java file to test
vim HelloWorld.java
public class HelloWorld {


        public static void main (String[] args) {


                System.out.println("helloworld!");
        }
}
javac HelloWorld.java
java HelloWorld
Deploy Tomcat
1. Unzip, move
tar xf apache-tomcat-8.5.16.tar.gz
mv apache-tomcat-8.5.16 /usr/local/tomcat8
2. Establish a soft connection
ln -s /usr/local/tomcat8/bin/startup.sh /usr/bin/tomcatup
ln -s /usr/local/tomcat8/bin/shutdown.sh /usr/bin/tomcatdown
ln -s /usr/local/tomcat8/conf/server.xml /etc/tomcat.xml
After linking
tomcatup: Turn on tomcat
tomcatdown: Turn off tomcat
/etc/tomcat.xml: Configuration file
Open tomcat
tomcatup


Check if it's on
netstat -anpt | grep java


Test tomcat
1. Create a web directory
mkdir -p /tomcat/web
2. Mount nfs to a local directory
tomcat1
mount 192.168.2.18:/opt/tomcat1 /tomcat/web
tomcat2
mount 192.168.2.18:/opt/tomcat2 /tomcat/web
Check the mounting situation


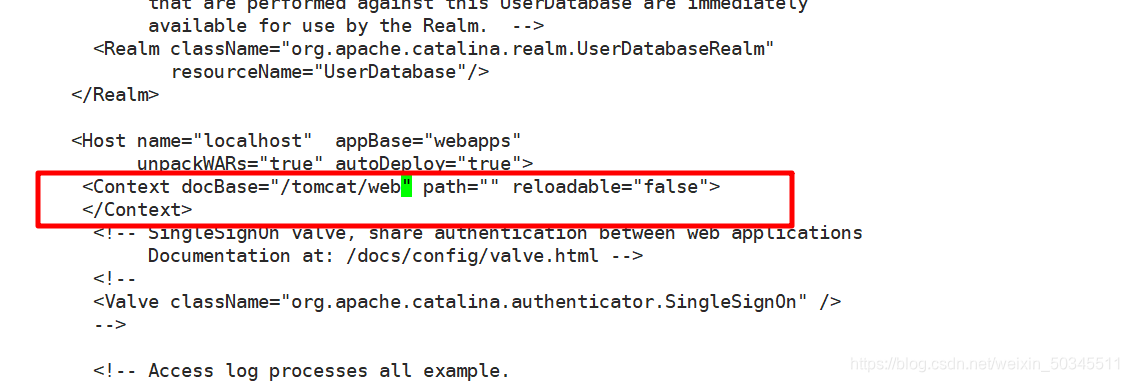
3. Set the website root directory
Edit configuration file
vi /etc/tomcat.xml
   <Context docBase="/tomcat/web" path="" reloadable="false">
      </Context>
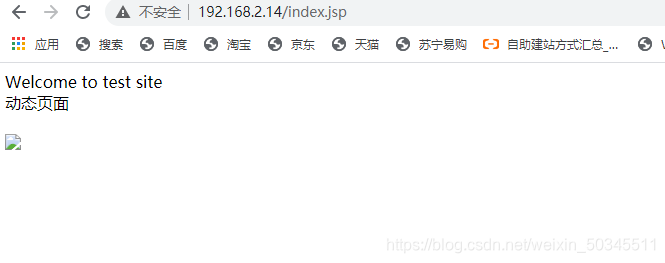
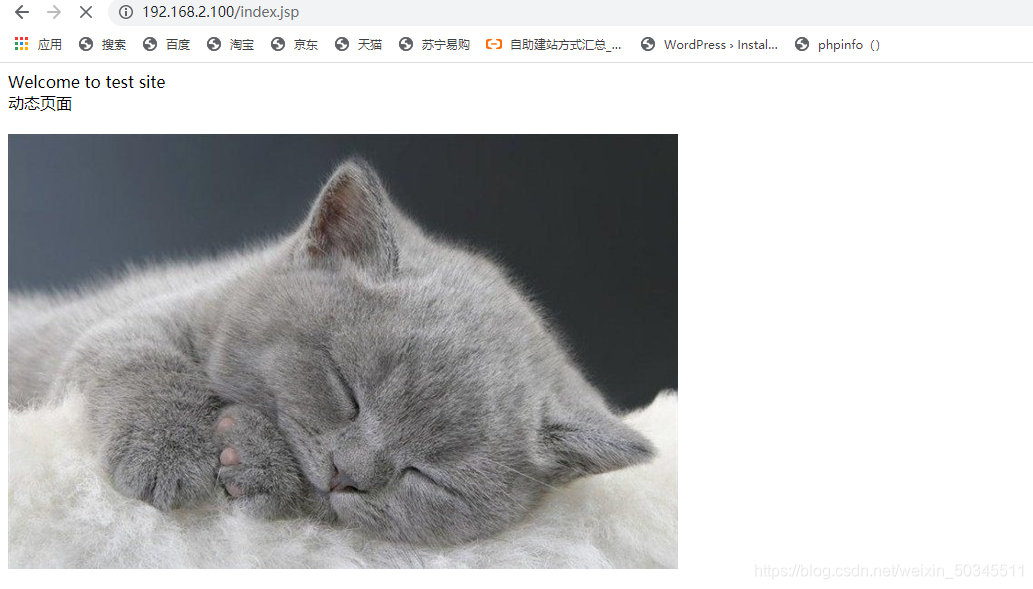
4. Access test
Reboot
curl http://localhost:8080


scheduler
Upload nginx-1.12.2.tar.gz, keepalived-2.0.13.tar.gz
Compile and install nginx
yum install dependencies
yum -y install gcc gcc-c++ make pcre pcre-devel zlib zlib-devel
Create a non-loginable account for ngxin to use
useradd -M -s /sbin/nologin nginx
Unzip
tar xf nginx-1.12.2.tar.gz
cd nginx-1.12.2/
Configuration content
 ./configure \
--prefix=/usr/local/nginx \
--user=nginx \
--group=nginx \
--with-http_stub_status_module
Compile and install
make && make install -j 8
Establish nginx soft connection
ln -s /usr/local/nginx/sbin/nginx /usr/local/sbin/
Nginx configuration file soft connection
ln -s /usr/local/nginx/conf/nginx.conf /etc/
Check that nginx can run normally
nginx -t


View nginx status
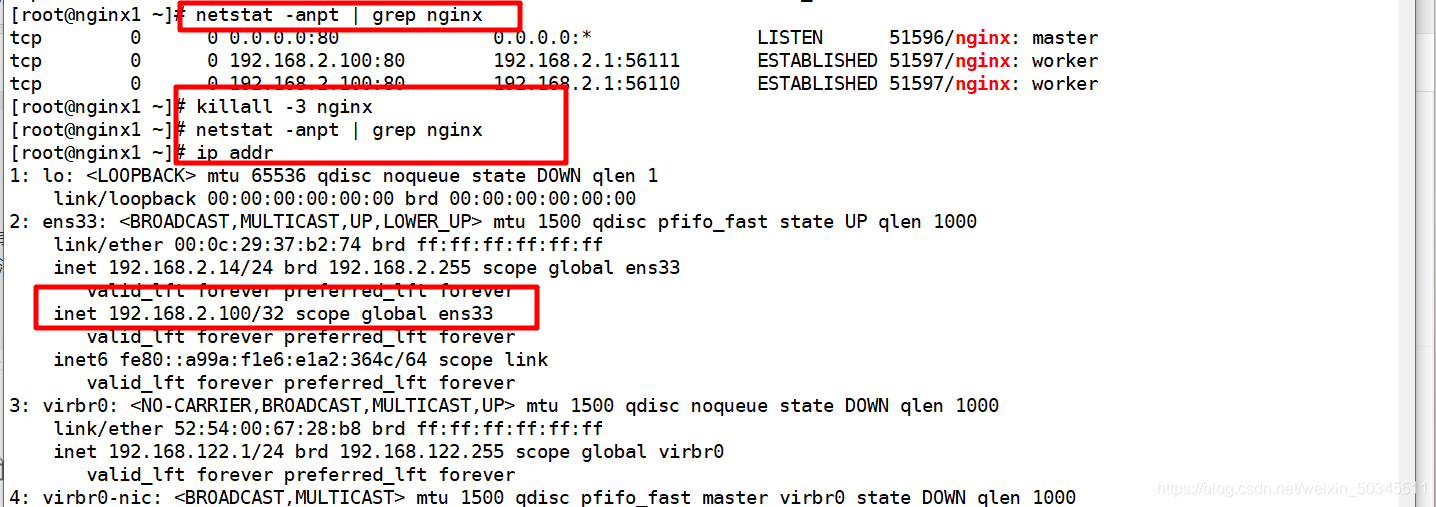
netstat -anpt | grep nginx

No prompt is not started
Start nginx
nginx
Restart nginx
killall -1 nginx
Close nginx
killall -3 nginx
Add to
upstream服务池
upstream tomcat_server {
            server 192.168.2.16:8080 weight=1;
             节点      ip地址  端口号  权重
            server 192.168.2.17:8080 weight=1;
}

       location ~ \.jsp$ {
            proxy_pass http://tomcat_server;
}                                          服务地址池名
The pictures linked in jsp should be uploaded to the nginx root directory. If the pictures are not uploaded, they will not be loaded.

Install keepalived
xftp upload keepalived file, unzip
tar xf keepalived-2.0.13.tar.gz
Install compilation tools and plugins
yum -y install gcc gcc-c++ make popt-devel kernel-devel openssl-devel
Switch directory, compile and install
cd keepalived-2.0.13/
./configure --prefix=/
make && make install
Join the system management service, set it to start automatically after booting
cp keepalived/etc/init.d/keepalived /etc/init.d/
systemctl enable keepalived.service
Edit the main scheduler configuration file
vi /etc/keepalived/keepalived.conf
! Configuration File for keepalived
global_defs {
router_id Nginx_01
}
vrrp_instance VI_1 {
state MASTER
interface ens33
virtual_router_id 51
priority 150
advert_int 1
authentication {
auth_type PASS
auth_pass 1111
}
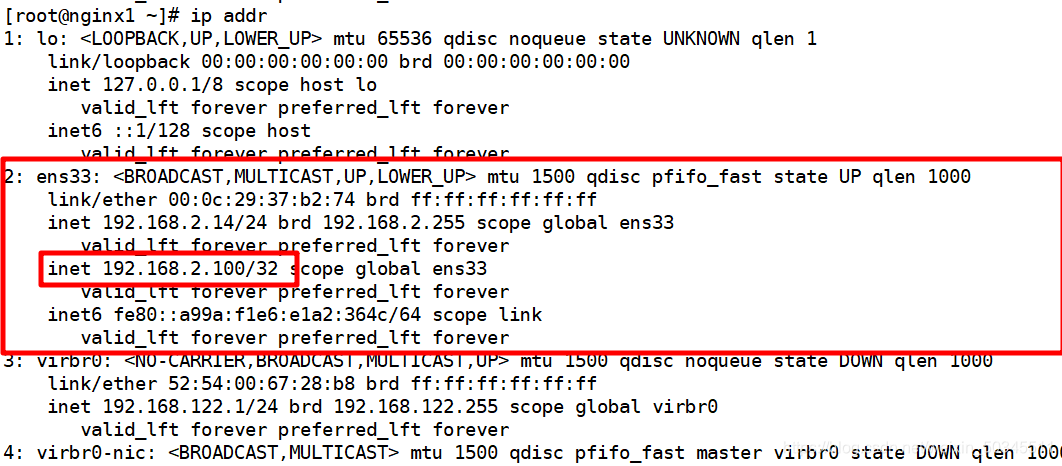
virtual_ipaddress {
192.168.2.100
}
}
}
Edit alternate scheduler configuration file
vi /etc/keepalived/keepalived.conf
! Configuration File for keepalived

global_defs {
   router_id Nginx_02
   }

vrrp_instance VI_1 {
    state BACKUP
    interface ens33
    virtual_router_id 51
    priority 140
    advert_int 1
    authentication {
        auth_type PASS
        auth_pass 1111
    }
    virtual_ipaddress {
        192.168.2.100
    }
}
Reboot
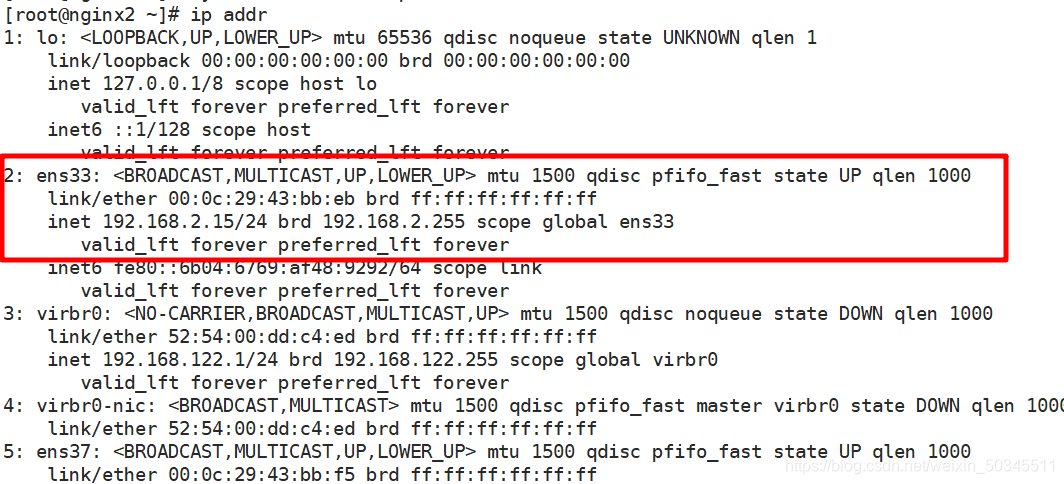
test
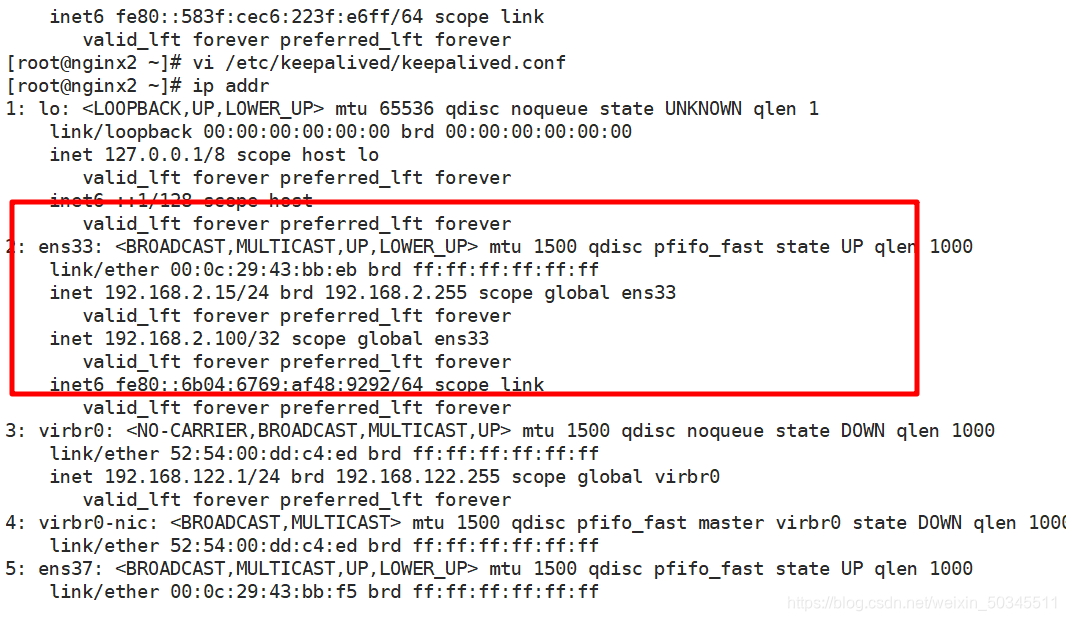
ip addr test the
main route scheduler failure test, disable the network card, or disable keepalived
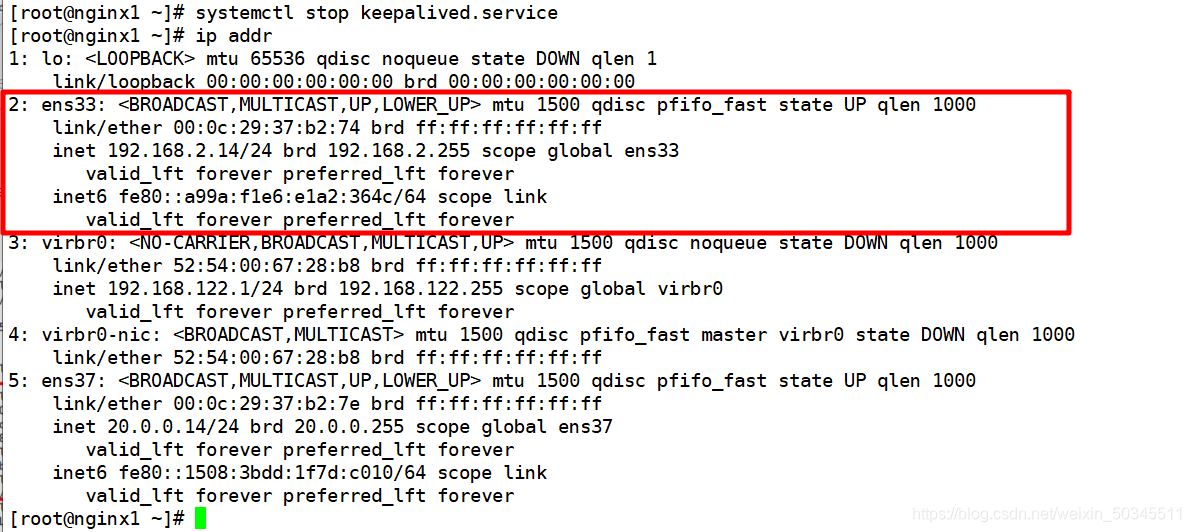

Restart keepalived
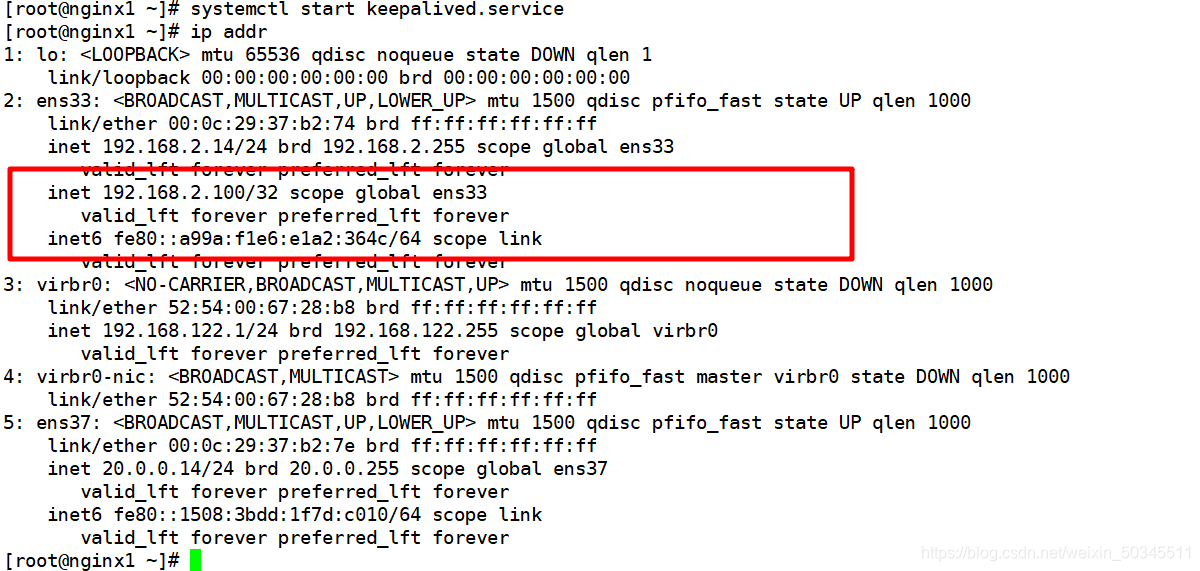
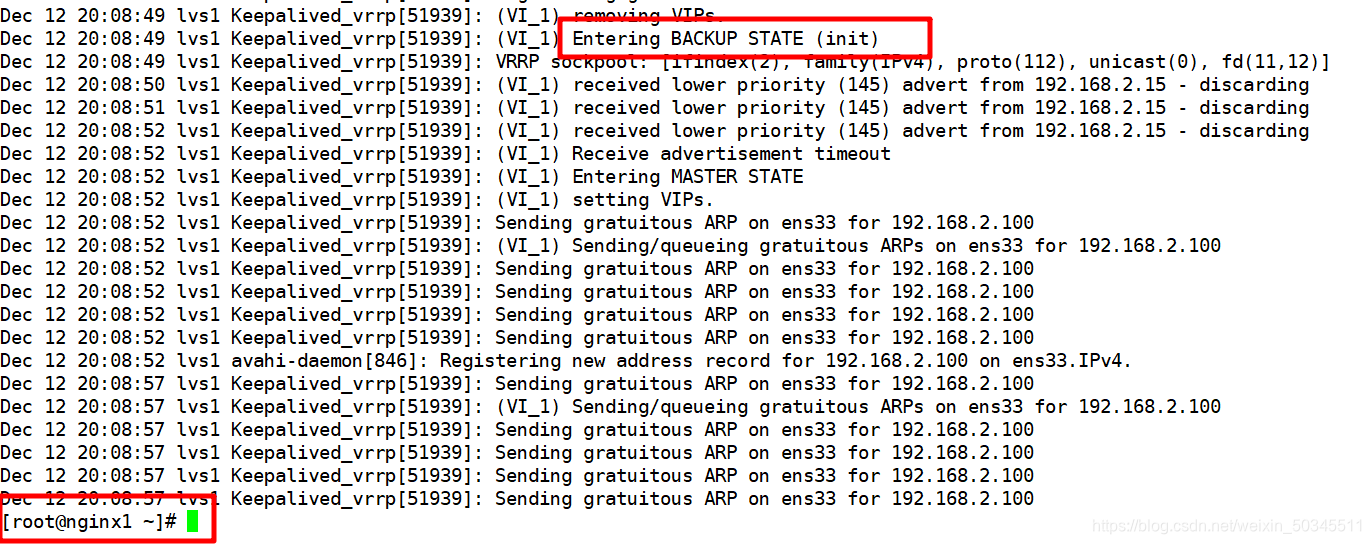
Nginx monitoring script
The role of the script is to turn off keepalived when there is a problem with the nginx service.
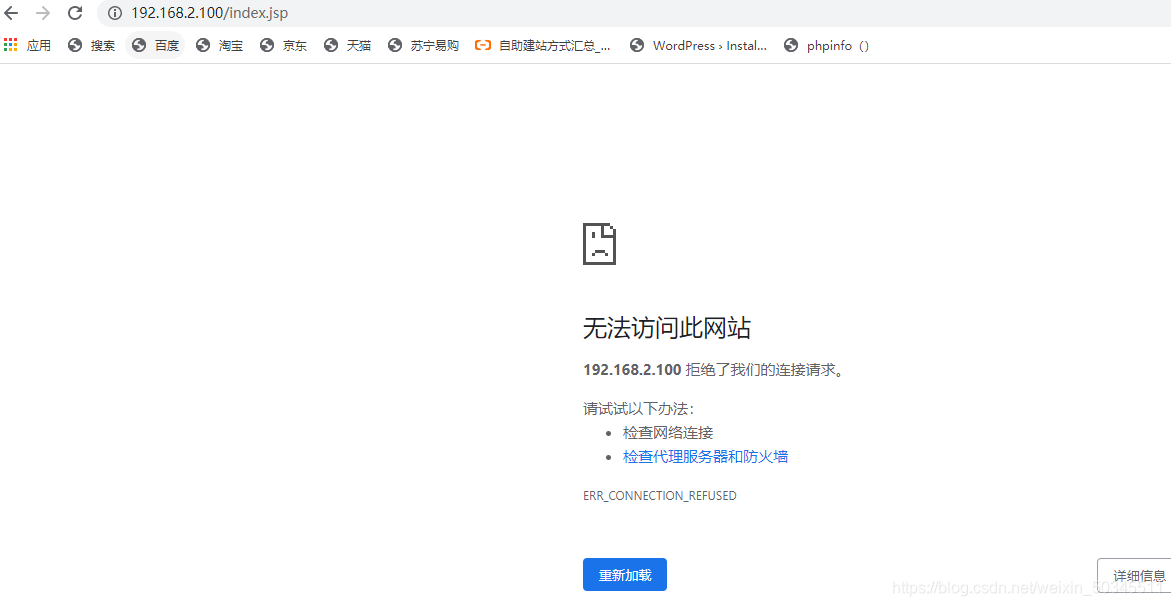
Assuming that the main scheduler is only a problem with the Nginx service, and everything else (keepalived) is normal, then the VIP will not jump to the backup scheduler, and the backup scheduler cannot be enabled. , The following situation will appear
Edit the keepalived configuration file and add the following content
! Configuration File for keepalived

global_defs {
   router_id Nginx_01
   }

vrrp_script chk_nginx {
    script "/etc/keepalived/nginx_check.sh"
    interval 2
    weight -20
}

vrrp_instance VI_1 {
    state MASTER
    interface ens33
    virtual_router_id 51
    priority 150
    advert_int 1
    authentication {
        auth_type PASS
        auth_pass 1111
    }
    track_script {
    chk_nginx
    }

    virtual_ipaddress {
        192.168.2.100
    }
}
Edit script
vi /etc/keepalived/nginx_check.sh
#!/bin/bash
A=`ps -C nginx --no-header |wc -l`
if [ $A -eq 0 ];then
killall -3 nginx
nginx
if [ `ps -C nginx --no-header |wc -l` -eq 0 ];then
/etc/init.d/keepalived stop
fi
fi
The function of the script is to detect the status of nginx, if it is closed, it will be reopened, and then checked again, if it fails, keepalived will be closed.