Article Directory
-
- Anaconda virtual environment
-
- 1. Create an environment
- 2. Check the environment
- 3. Activate the environment
- 4. Copy the old environment to the new environment
- 5. Delete an environment
- 6. Export and import environment (share)
- 7. View the package of the specified environment
- 8. Install the package for a specified environment
- 9. Add conda virtual environment as jupyter kernel
- 10. Activation environment in ubuntu
- PyCharm project environment configuration
Anaconda virtual environment
1. Create an environment
conda create --name your_env_name python=3.6
Or
conda create -n your_env_name python=3.7
create a new environment
2. Check the environment
Enter Anaconda Prompt, use to conda info -eview all environments and current environment
3. Activate the environment
Use to activate py36activate the virtual environment
4. Copy the old environment to the new environment
conda create --name new_env_name --clone old_env_name
5. Delete an environment
conda remove --name your_env_name --all
6. Export and import environment (share)
After switching to the environment to be exported, use the command
conda env export > environment.yml
to export the current environment
Use commands to
conda env create -f environment.yml
create (import) a new environment
7. View the package of the specified environment
conda list -n your_env_name
8. Install the package for a specified environment
conda install -n env_name package_name
9. Add conda virtual environment as jupyter kernel
conda install ipykernel
python -m ipykernel install --user --name 环境名称 --display-name 名称(不需要引号)
Note that this command must be performed in an environment where ipykernel is installed.
If something strange happens, restart jupyter notebook.
Reference: https://blog.csdn.net/menc15/article/details/71477949/
10. Activation environment in ubuntu
With commandsource activate env-name
Because of the recent use of opencv, version 4 has many incompatibility, so I installed a 3.4 version of the virtual environment.
Edit batch installation package
opencv-python==3.4.2.16
pip install opencv-contrib-python==3.4.2.16
numpy
- 1
- 2
- 3
Use the command to pip install -r requirements.txtinstall
PyCharm project environment configuration
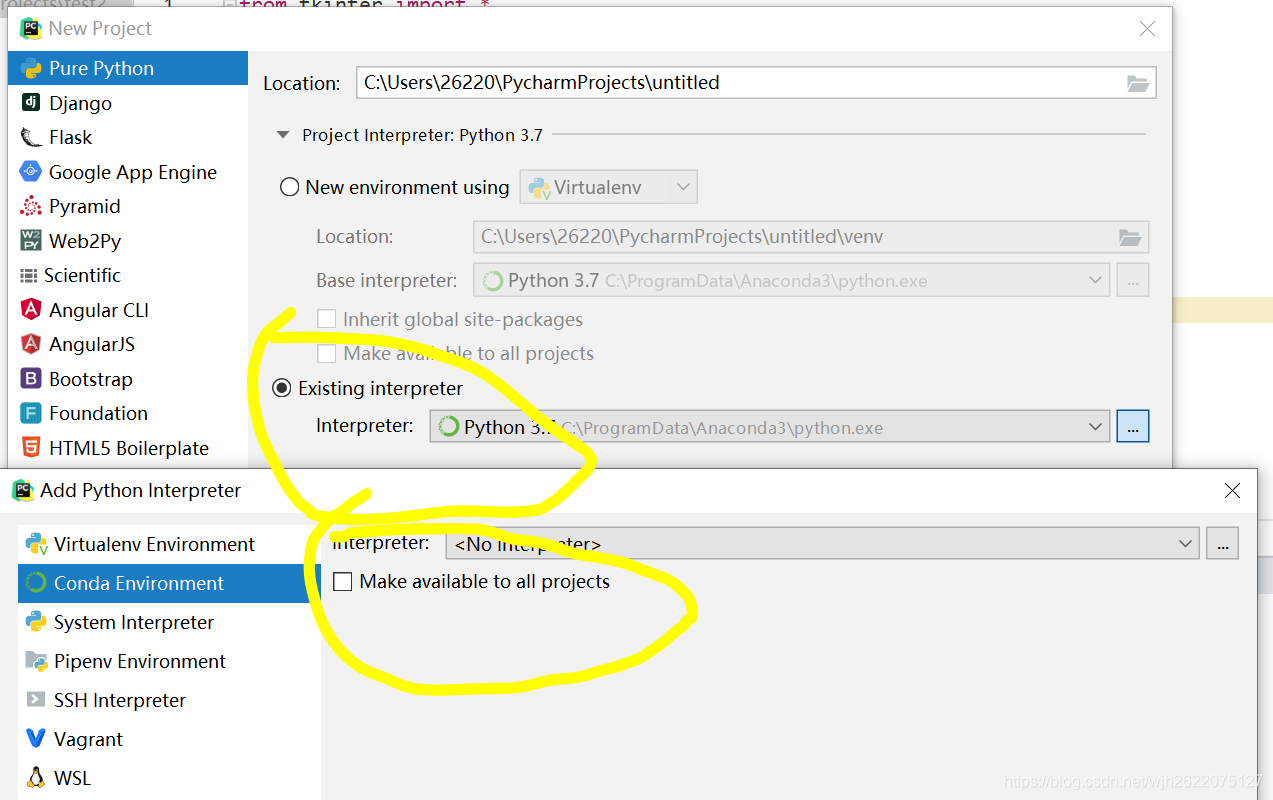
Every time I created a PyCharm project, the environment he gave me was a new virtual environment, so it was inconvenient and the project files were redundant, and the speed of opening the project was slow. So set the default local python environment.
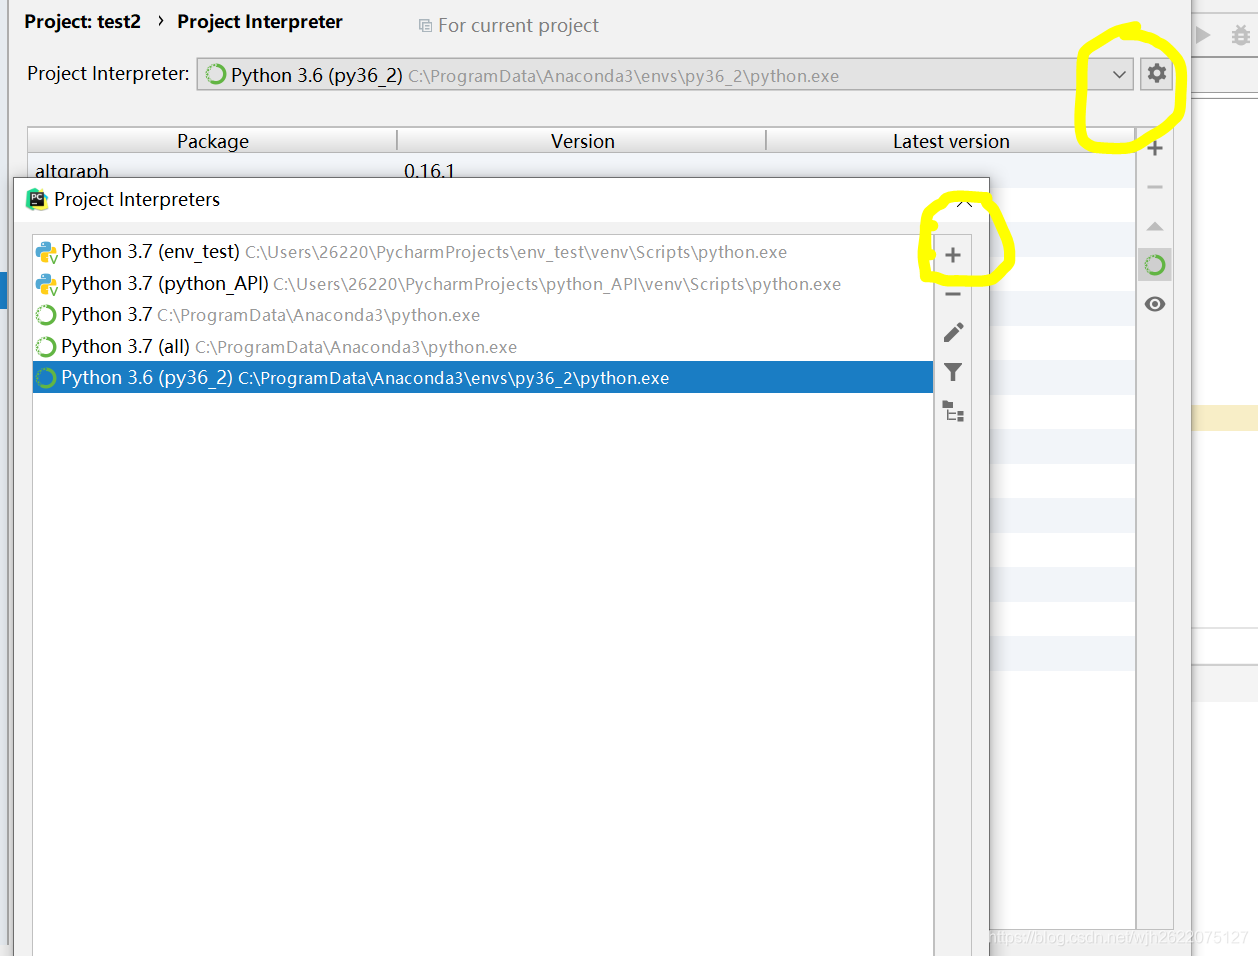
1. Found file->settings->project interpreter, there are many project interpreters in it. Click the settings on the right, and then click + to add a new environment. If he does not retrieve the python environment we are using, he needs to add it manually.
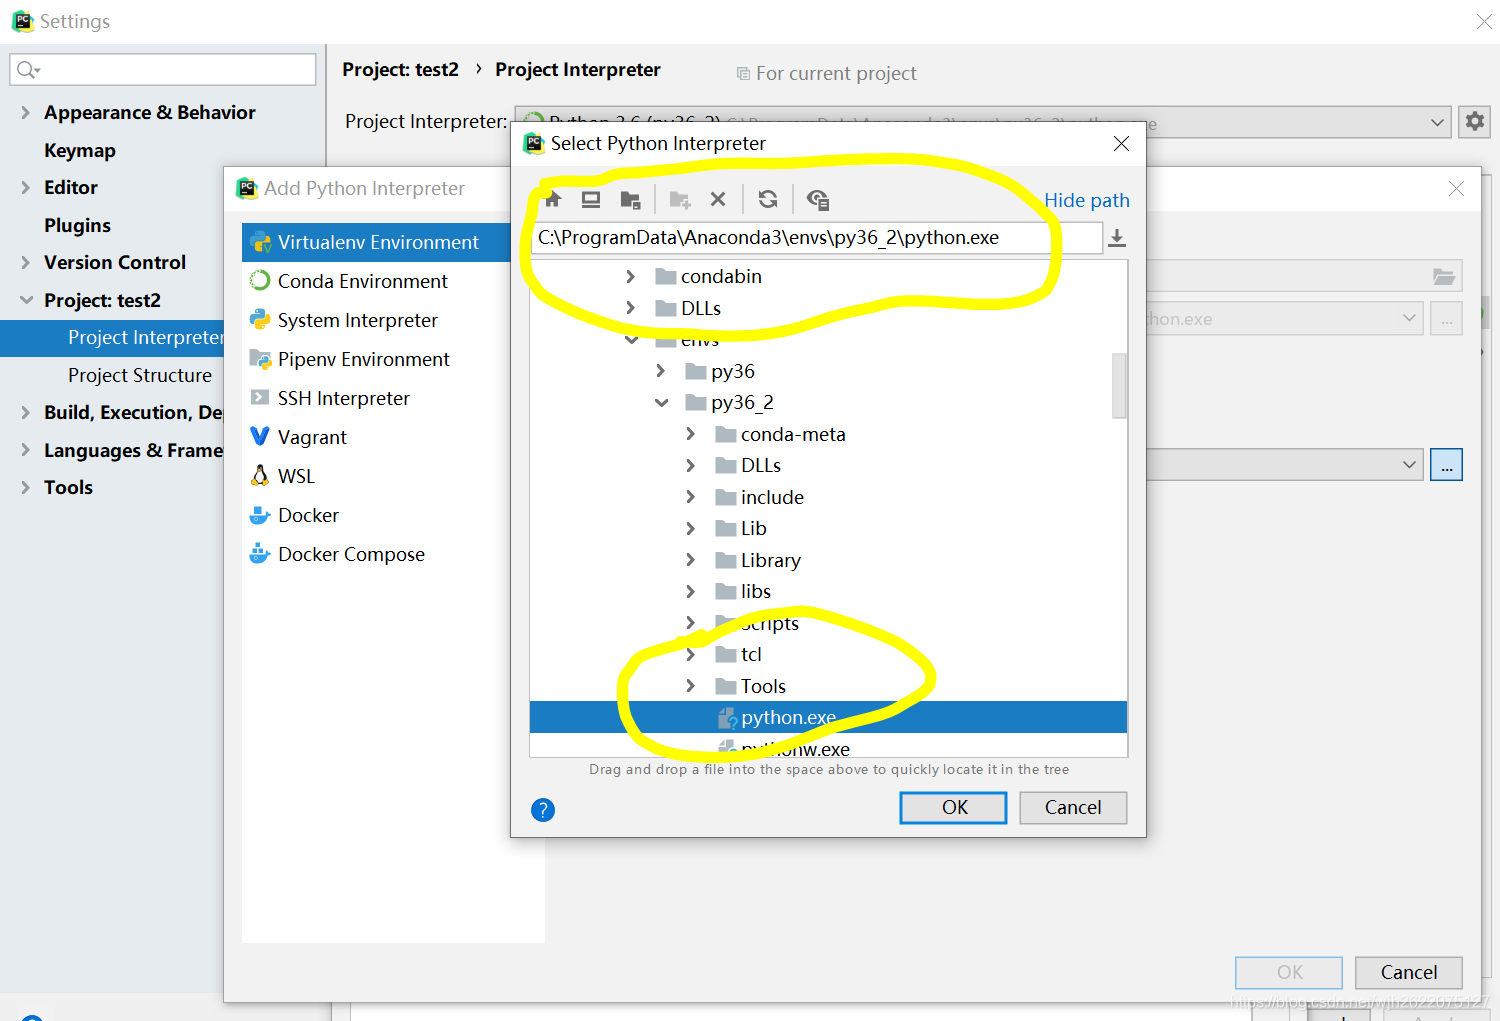
2. Select Existing environment and select the python environment you need to use from the catalog.
For example, the new virtual environment I added in anaconda is in the following directory, just find and python.exeadd it.
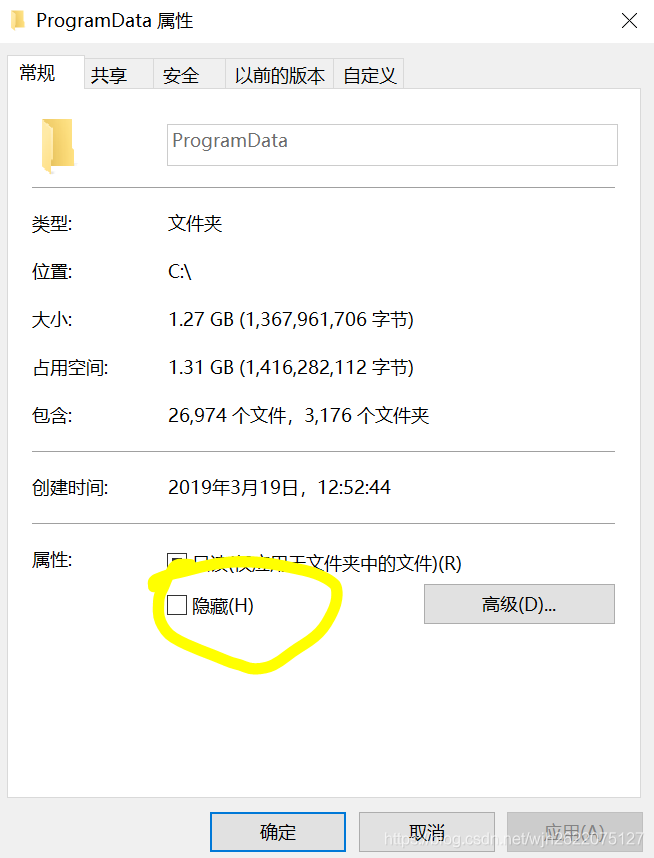
3. It should be noted that in my computer, C:\ProgramDatathis directory is hidden by default, so this directory cannot be found directly from pycharm. Just find this hidden folder and unhide it.
4. After selecting the environment, we can set the environment of the current project

5. When creating a new project, we can set the environment to an existing one, find this environment in the directory, and check it to take effect for all projects. So our default environment settings are done.