Article Directory
One, entry project creation
Before learning this tutorial, the contents that must be mastered are:
Experience in
using the Spring framework, using maven for project construction and dependency management,
proficient in IDEA or Eclipse
- 1. Create a maven project
Create a new project, then select maven, then select the correct jdk version, and click next.
Then fill in the relevant information and click OK.
Enable automatic import, that is, idea will pop up a dialog box, and then select auto change.
- 2. Import spring boot related dependencies
Add the following configuration in pom.xml:
<parent>
        <groupId>org.springframework.boot</groupId>
        <artifactId>spring-boot-starter-parent</artifactId>
        <version>1.5.9.RELEASE</version>
    </parent>
    <dependencies>
        <dependency>
            <groupId>org.springframework.boot</groupId>
            <artifactId>spring-boot-starter-web</artifactId>
        </dependency>
    </dependencies>
- 3. Write the main program
Used to start the spring boot application.
Create the package com.wang in the java directory, and then create the HelloWorld class under com.wang:
package com.wang;

import org.springframework.boot.SpringApplication;
import org.springframework.boot.autoconfigure.SpringBootApplication;

@SpringBootApplication //标注这是一个spring boot主程序类
public class HelloWorld {


    //启动应用
    public static void main(String[] args) {


        SpringApplication.run(HelloWorld.class,args);
    }
}
- 4. Write relevant business logic
Create a new package controller under com.wang, and then create a class HelloWorldController under the controller:
package com.wang.controller;

import org.springframework.stereotype.Controller;
import org.springframework.web.bind.annotation.RequestMapping;
import org.springframework.web.bind.annotation.ResponseBody;

@Controller
public class HelloWorldController {


    @ResponseBody
    @RequestMapping("/hello")
    public String hello(){


        return "hello world";
    }
}
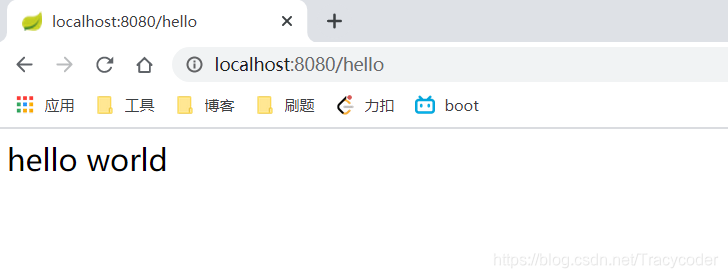
- 5. Run the application
Run the main method in the HelloWorld class, start the service, and then you can access it on the browser:
- 6. How to package the application into an executable jar package
First, configure in pom.xml:
<!--此插件,可以将应用打包成一个可执行的jar包-->
    <build>
        <plugins>
            <plugin>
                <groupId>org.springframework.boot</groupId>
                <artifactId>spring-boot-maven-plugin</artifactId>
            </plugin>
        </plugins>
    </build>
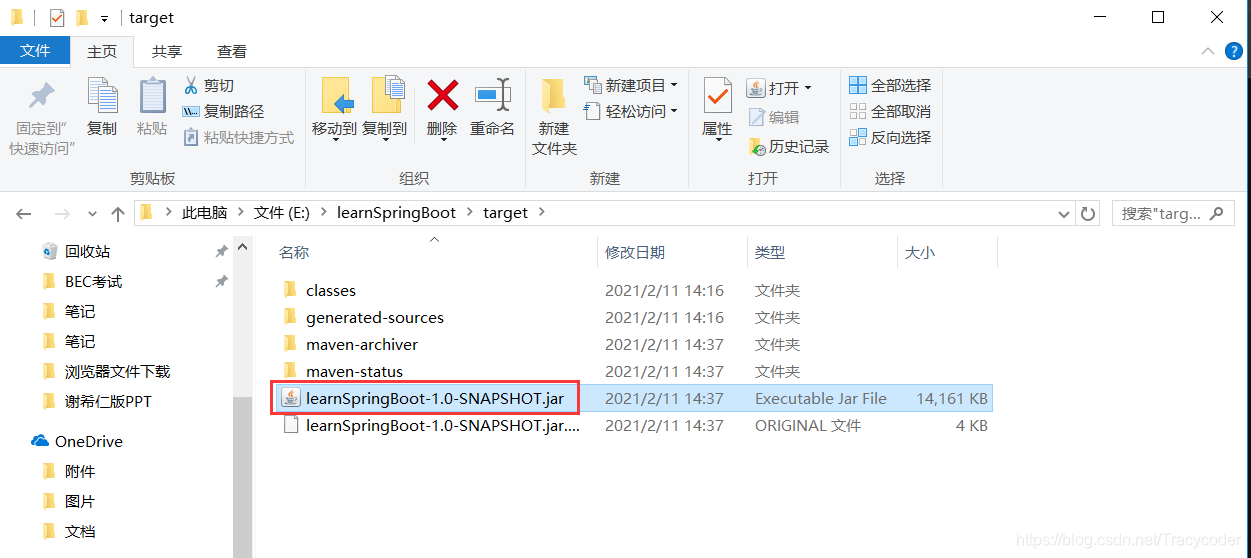
Then, click the maven menu bar on the right, and click package. Wait for a while, the packaging is complete:

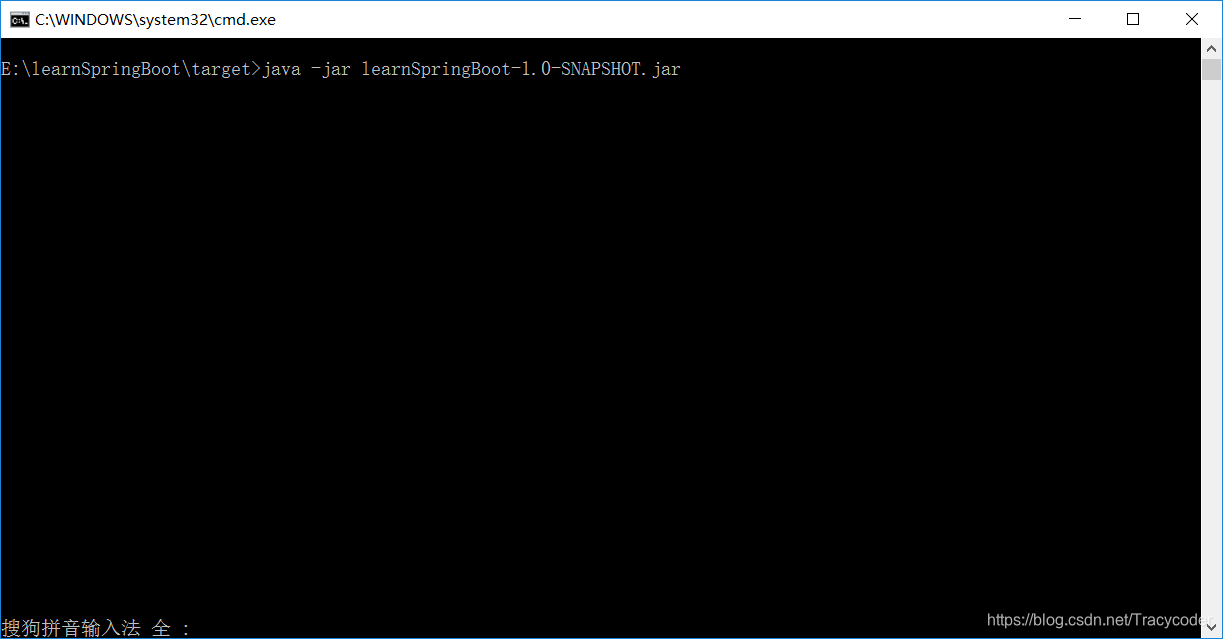
Now you can run the jar package, find the jar package directory, then run the command line window in the folder, enter the command, and press Enter:
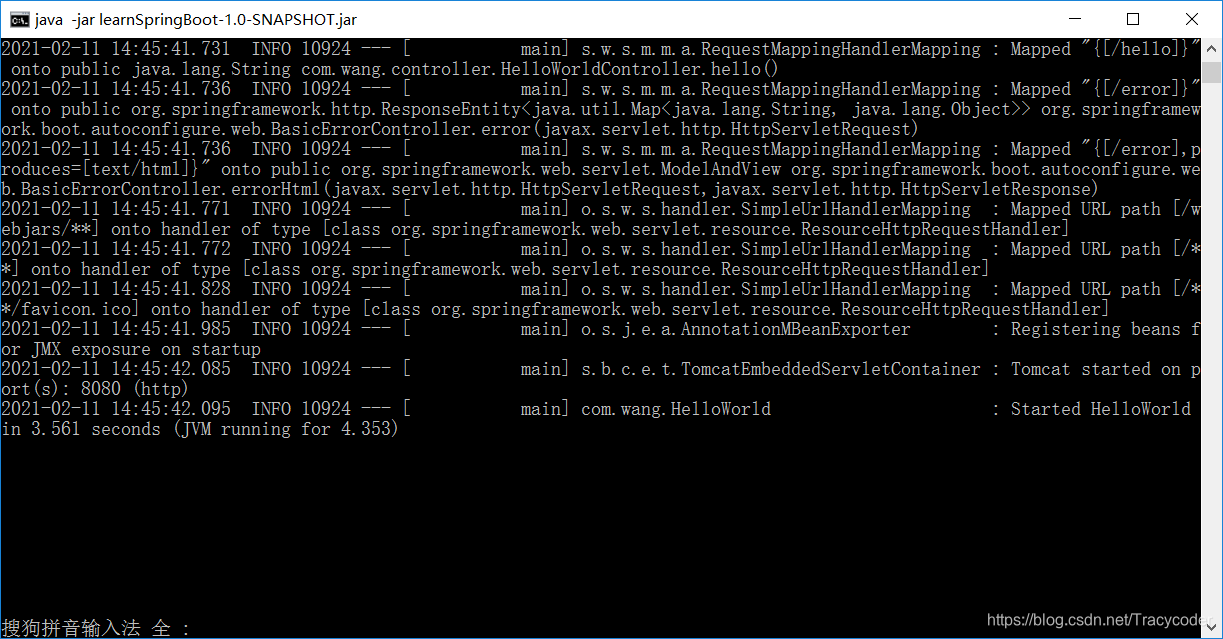
Start the service successfully, now you can go to the browser to access the service:
2. Detailed POM
- Parent project:
<parent>
        <groupId>org.springframework.boot</groupId>
        <artifactId>spring-boot-starter-parent</artifactId>
        <version>1.5.9.RELEASE</version>
    </parent>
Its parent project is:
<parent>
		<groupId>org.springframework.boot</groupId>
		<artifactId>spring-boot-dependencies</artifactId>
		<version>1.5.9.RELEASE</version>
		<relativePath>../../spring-boot-dependencies</relativePath>
	</parent>
It really manages all dependent versions in the spring boot application. As the version arbitration center of spring boot, we don't need to write version by default when we import dependencies in the future.
- Imported dependencies:
<dependencies>
        <dependency>
            <groupId>org.springframework.boot</groupId>
            <artifactId>spring-boot-starter-web</artifactId>
        </dependency>
    </dependencies>
spring-boot-starter is the spring boot scene starter, which helps us import the components that the web module depends on for normal operation. Spring boot extracts all the scene functions into one starters (starters), you only need to introduce these in the project, all the dependencies of the starter related scenes will be imported, and import the starters of the scenes for what functions are needed. .
Three, use the quick wizard to create a project
- Create a new project, select spring initializer on the page that pops up, select the correct jdk version, and click Next.
- Fill in the relevant information and click Next.
- Then select the required dependencies and click Next.
- Finally, fill in the storage path and click Finish.