As the saying goes, "A good memory is not as good as a bad pen". Here are the notes of the vue project. The following is the summary and feelings of the development of Qunar.com App homepage.
Article Directory
Introducing Sass into the Vue project
Now I am more accustomed to using scss, so to install the Sass dependency package, use the following command line:
npm install [email protected] --save
npm install node-sass --save
After execution, find the build folder and modify the following configuration in webpack.base.conf.js in the folder:
Add configuration in rules under module:

Finally, it’s the application step, just set lang="scss"

Create iconfont project
In the Alibaba icon official, create an iconfont project and add the required icons. Download to local.

Download to the local to generate a compressed package and unzip it.

Copy the corresponding file to the corresponding project and modify the path corresponding to the iconfont.css file.


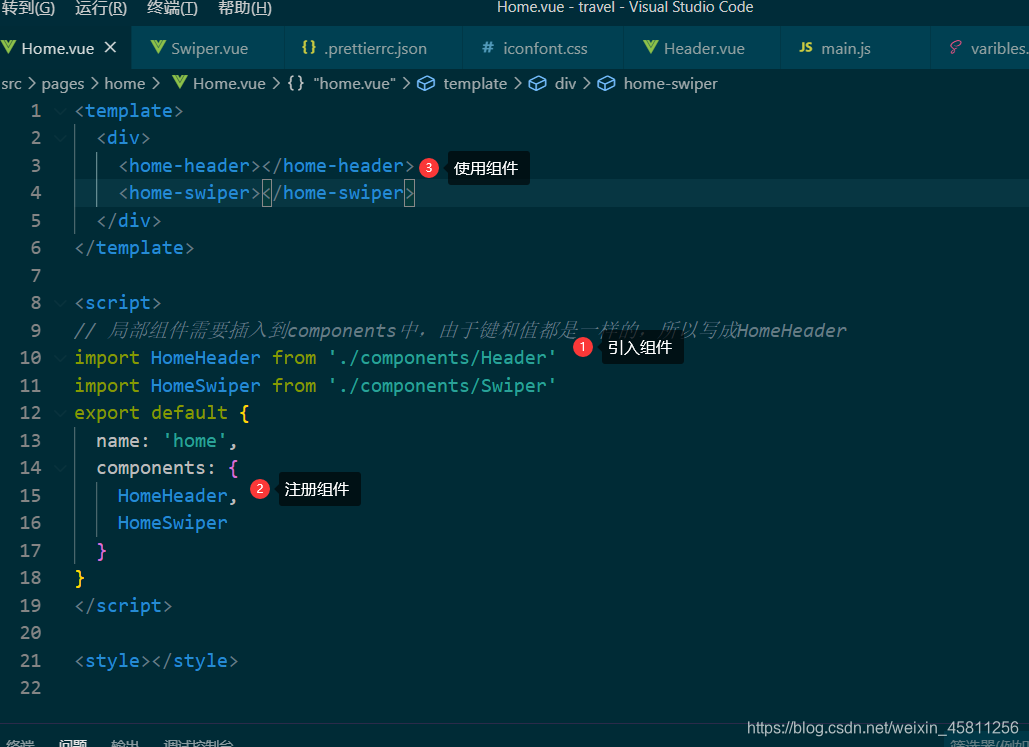
Home.vue
Use Header.vue component in Home.vue
<template>
  <div>
    <home-header></home-header>
  </div>
</template>

<script>
// 局部组件需要插入到components中,由于键和值都是一样的,所以写成HomeHeader
import HomeHeader from './components/Header'
export default {


  name: 'home',
  components: {


    HomeHeader,
  }
}
</script>

<style></style>
Header.vue
Header.vue is the homepage header component, and now the required icons are introduced.

For various mobile devices that need to be adapted, use rem development.
<template>
<div class="header">
<div class="header-left">
<div class="iconfont back-icon"></div>
</div>
<div class="header-input">
<span class="iconfont"></span>
输入城市/景点/游玩主题
</div>
<div class="header-right">
城市
<span class="iconfont arrow-icon"></span>
</div>
</div>
</template>
<script>
export default {
name: 'HomeHeader'
}
</script>
<style lang="scss" scoped>
.header {
display: flex;
line-height: 0.86rem;
background-color: $bgColor;
color: #fff;
.header-left {
width: 0.64rem;
float: left;
.back-icon {
font-size: 0.4rem;
text-align: center;
}
}
.header-input {
flex: 1;
background: #fff;
border-radius: 0.1rem;
padding-left: 0.2rem;
margin-top: 0.12rem;
margin-left: 0.2rem;
height: 0.64rem;
line-height: 0.64rem;
color: #666;
}
.header-right {
width: 1.24rem;
float: right;
text-align: center;
.arrow-icon {
margin-left: -0.04rem;
font-size: 0.24rem;
}
}
}
</style>
Use webpack to maintain the project
In the future, the theme style of the website needs to be changed. In order to improve efficiency, as long as the variables are changed, the overall situation will be changed, so that the maintainability of the website is improved.
How to define variables and use them in scss?
1. Create a new varibles.scss file under the src> assets> styles folder and define the variables
2. Then import @import'~styles/varibles.scss' in the style in Header.vue


Configure webpack to simplify the code
In the webpack.base.conf.jsconfiguration ’styles’: resolve(‘src/assets/styles’). As long as importit appears in styles, the representative is the src/assets/stylespath

The renderings are as follows:

