Build your own blog based on Hexo and GitHub
First, let me show you my finished product: https://wanghao221.github.io/

Building your own blog is divided into two categories, one is hosted on github, represented by hexo, and the other is to rent a server by yourself. Mainly use wordpress framework. The effect of not spending money is also very good, there is no need to buy a server by yourself, the following mainly introduces the use of hexo to build a personal blog.
Hexo supports Markdown and uses Markdown to write articles. (Recommend a Markdown editing tool typora, which can be downloaded from the official website or downloaded for free from the resources I uploaded: https://download.csdn.net/download/qq_44273429/14109665 ) What is generated is a static html page, which is published to the server and has a natural advantage in access efficiency.
First, you need to have a GitHub account, if you don’t have one, you can register: https://github.com/join
1. Download Git
Windows:
https://git-scm.com/download/win (download from the official website)
https://download.csdn.net/download/qq_44273429/14109903 (upload in CSDN for free download)
linux:
sudo apt-get install git
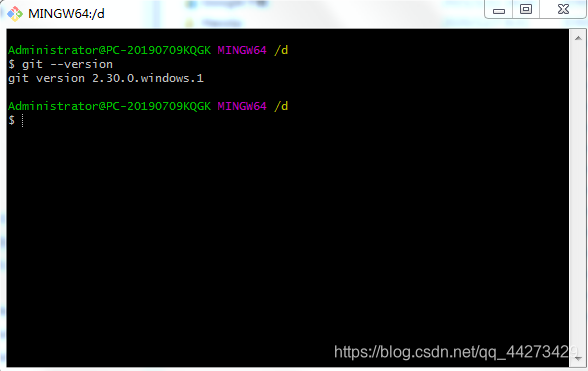
After installation, right click Git Bash Here git --versionto check the version
2. Install nodejs
Windows:
https://nodejs.org/en/ (download from the official website of windows8 and above )
https://download.csdn.net/download/qq_44273429/14110208 (windows8 and above which I uploaded on CSDN can be downloaded for free)
https://nodejs.org/download/release/v13.14.0/node-v13.14.0-x64.msi (windows7 version download)
https://download.csdn.net/download/qq_44273429/14110197 (windows7 version I upload Available for free download on CSDN)
linux:
sudo apt-get install nodejs
sudo apt-get install npm
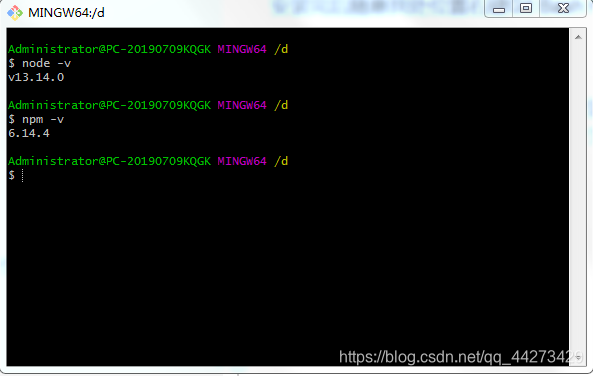
After installation, find any place and right click Git Bash Here, the version number is displayed, indicating that the installation is successful
3. Install hexo
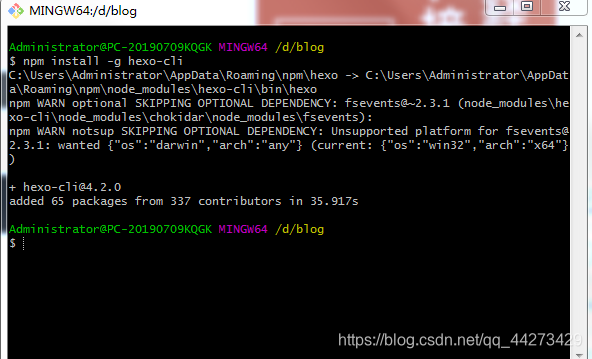
After the previous git and nodejs are installed, you can install hexo. You can create a folder blog first, and then cd to this folder (or right-click git bash under this folder to open it).
input the command
npm install -g hexo-cli
Don't panic when there is no response at the beginning, after a while, it will be like me, showing that it took 35 seconds to install successfully.
Then use to hexo -vcheck the version

. The software that needs to be installed here is all installed.
First initialize hexo
hexo init hexoblog
This hexoblog can be taken by yourself, and then
cd hexoblog //进入hexoblog文件夹
npm install

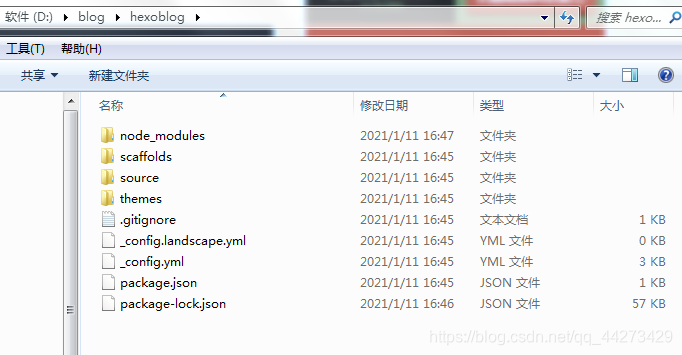
Open the folder and you will see the following directory
node_modules: dependency package
public: store the generated page
scaffolds: generate some templates
for the article source: store your articles
themes:
theme_config.yml: blog configuration file
hexo g
hexo server
Then enter http://localhost:4000 in the browser to display the following content.
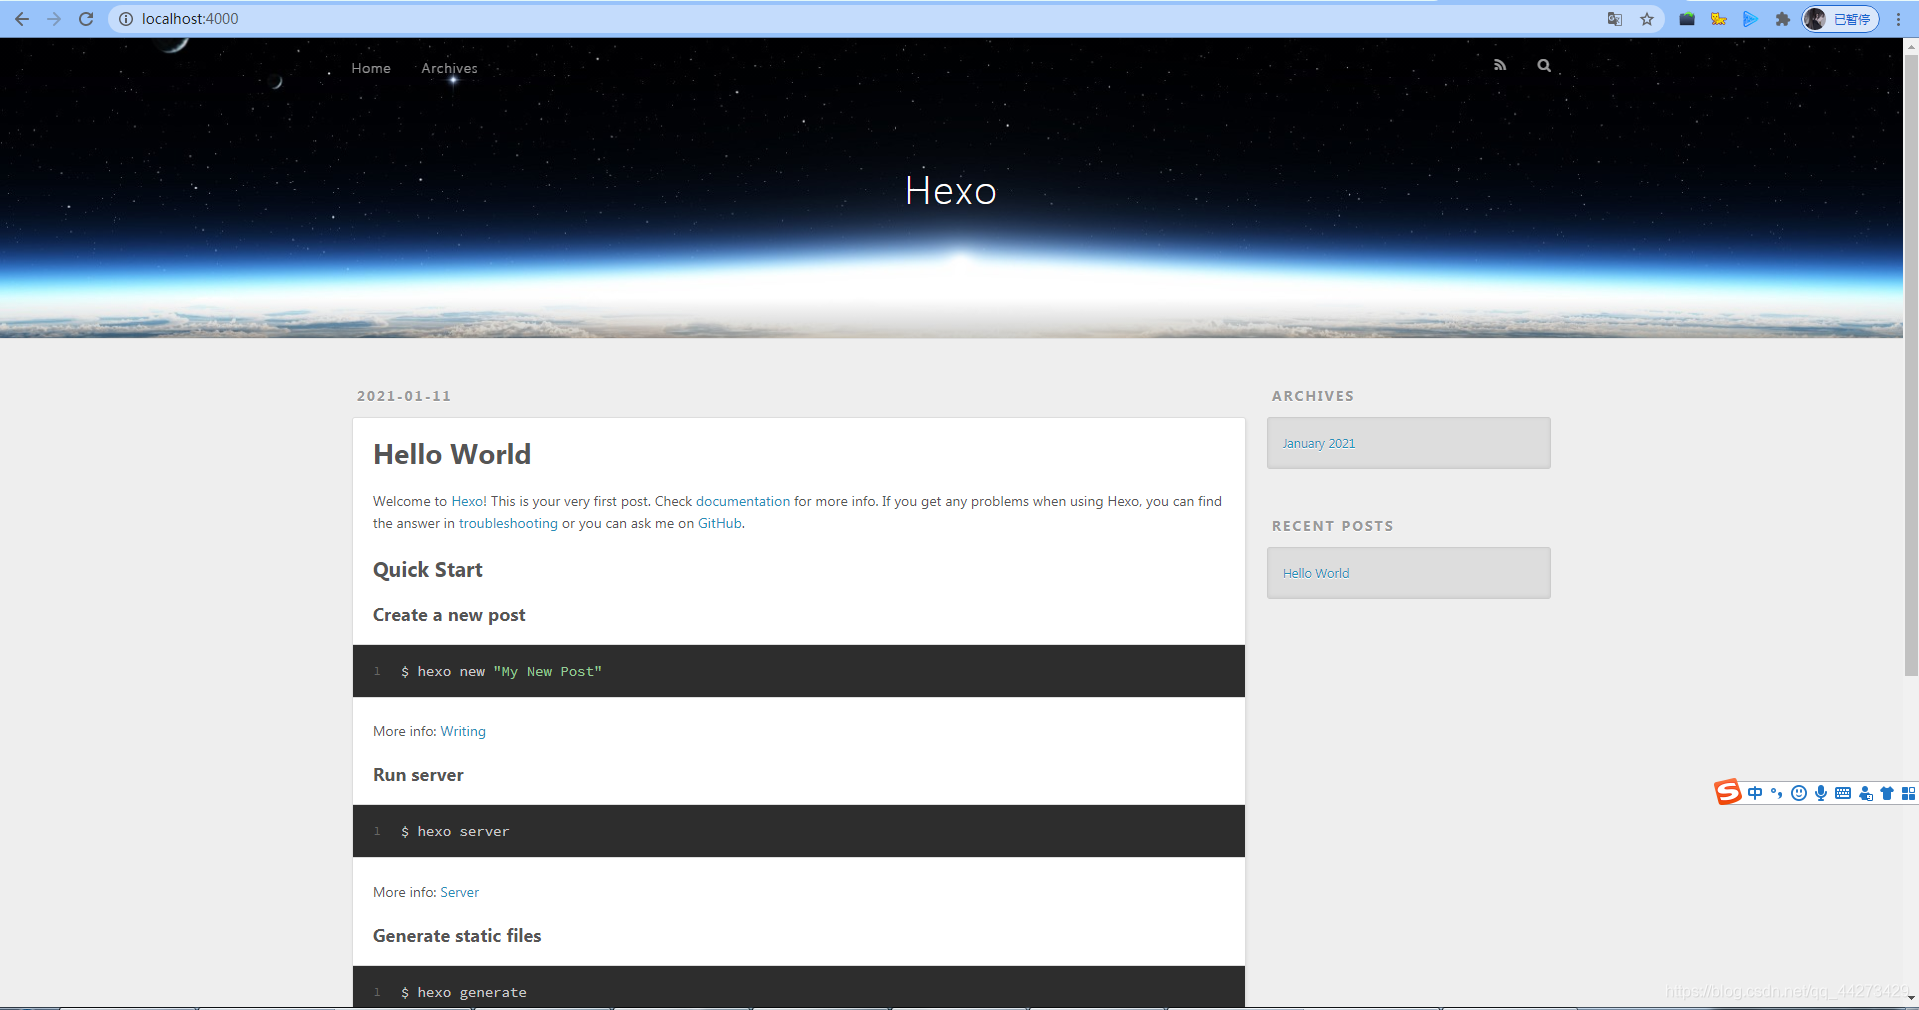
Use ctrl+c to turn off the service
4. GitHub creates a personal repository
See a New repository in GitHub.com.
Create a new repository and create a repository with the same username as yours. Add .github.io afterwards. Only in this way will it be recognized when it is deployed to the GitHub page in the future, which is xxxx. .github.io, where xxx is your username to register with GitHub. Here I created a new GitHub account called pai-daxing1 and

click create repository.

I forgot to add .github.io and I renamed it again, it’s not a big problem
5. Generate SSH and add it to GitHub
Go back to your git bash,
git config --global user.name "yourname"
git config --global user.email "youremail"
Here yourname enter your GitHub username, youremail enter your GitHub mailbox. This way GitHub can know if you correspond to its account. Here my username is pai-daxing1, and my email is [email protected], type it like me
git config --global user.name "pai-daxing1"
git config --global user.email "[email protected]"

Then create SSH and press Enter all the time.
ssh-keygen -t rsa -C "youremail"
youremailDon't forget to change to your own
ssh-keygen -t rsa -C "[email protected]"

At this time it will tell you that the .ssh folder has been created. Find this folder C:\Users\Administrator.ssh on your computer.
ssh, in simple terms, is a secret key. Among them, id_rsa is the private key of your computer and cannot be shown to others, and id_rsa.pub is the public key, which can be shown to others. Put this public key on GitHub, so that when you link to GitHub's own account, it will match your private key based on the public key. When it matches with each other, you can successfully upload your files to GitHub via git. .
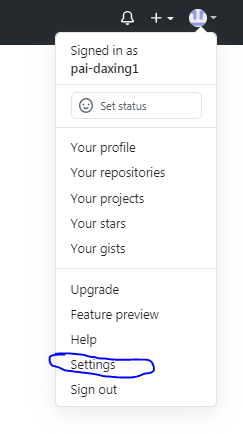
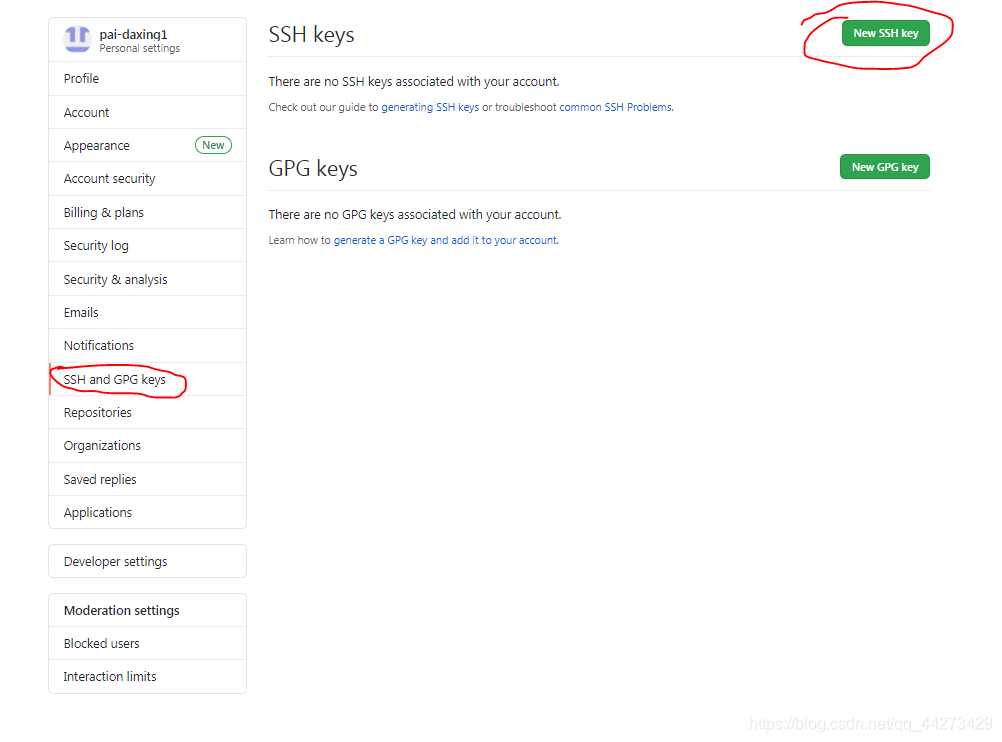
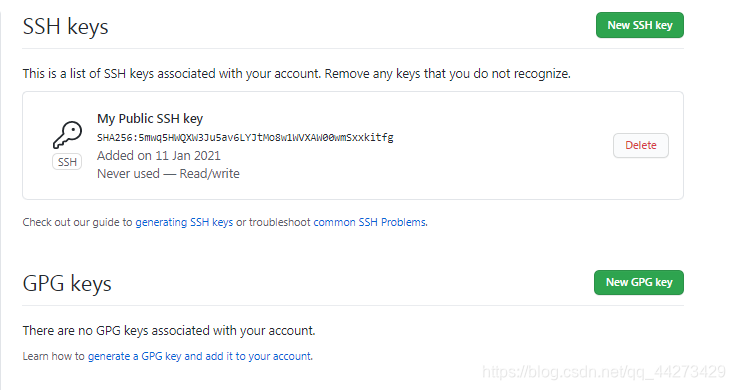
Then in the GitHub setting, find the setting option of SSH keys, and click New SSH key
Copy the information in your id_rsa.pub. (Right-click to open in Notepad)
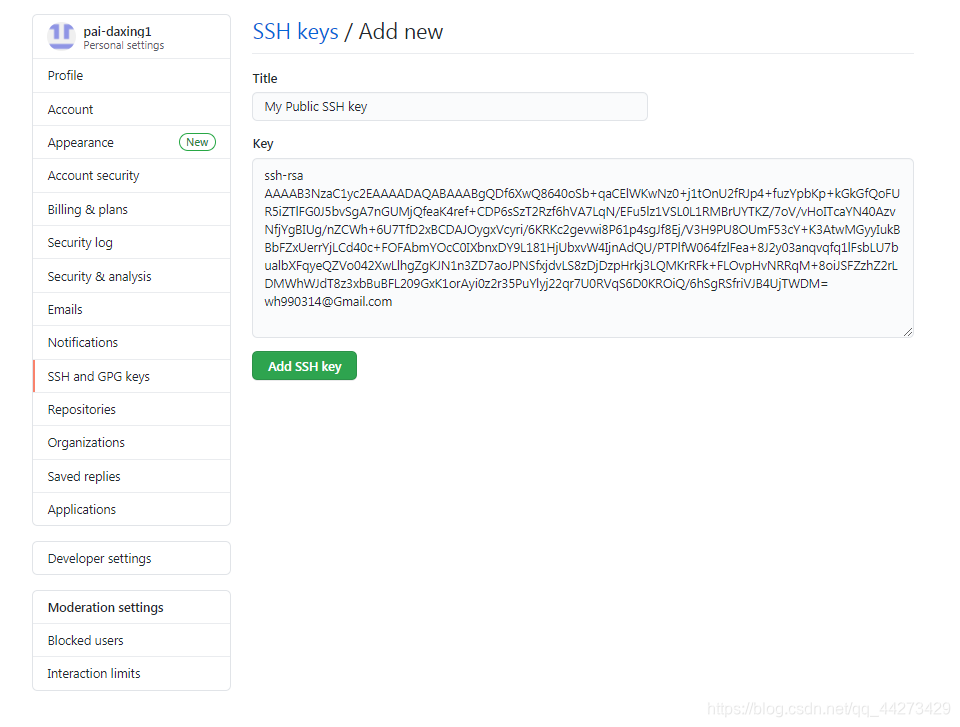
Click Add SSH key, and then you need to enter your GitHub login password. After that, it will display like this
In gitbash, check whether it is successful
ssh -T git@github.com
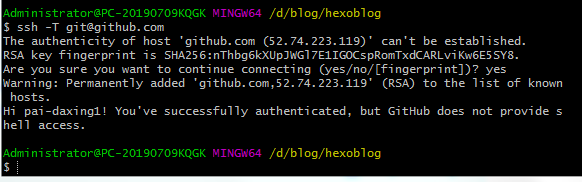
The middle asks whether you are sure, enter yes
6. Deploy hexo to GitHub
In this step, we can associate hexo with GitHub, that is, deploy the article generated by hexo to GitHub, open the site configuration file _config.yml, turn to the end, and modify it to
pai-daxing1, which is your GitHub account
deploy:
  type: git
  repo: https://github.com/pai-daxing1/pai-daxing1.github.io.git
  branch: master
note: There is a space between type: and gihub.
At this time, you need to install deploy-git first, which is the deployment command, so that you can deploy to GitHub with the command.
npm install hexo-deployer-git --save
then
hexo clean
hexo generate
hexo deploy
Among them, hexo clean removes the things you generated before, or you don’t need to add them.
hexo generate, as the name suggests, generates static articles, you can use hexo g abbreviation
hexo deploy to deploy articles, you can use hexo d abbreviation
Note that you may be required to enter your username and password when deploying.

My computer suddenly asked me to install this, so I installed it. I remember it didn't seem to have this step when I first built it.

The following figure shows that the deployment was successful, and you will see your blog on http://yourname.github.io in a while! !
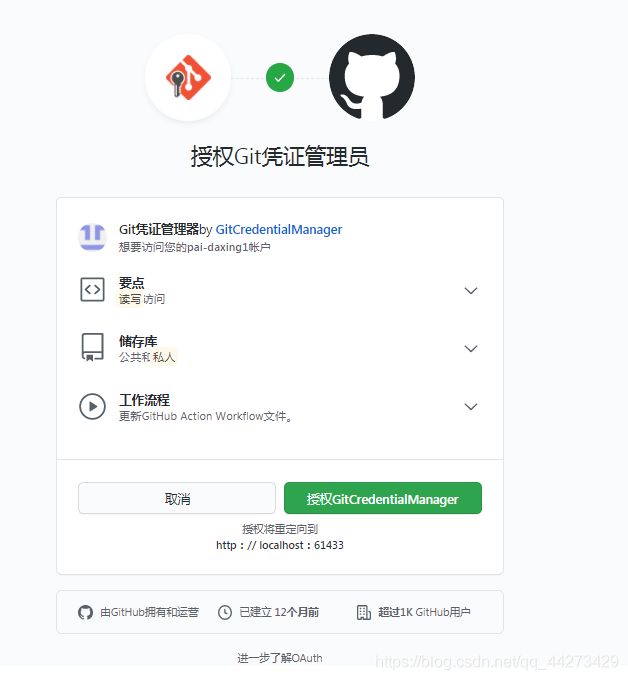
Click to authorize
This is how you open http://pai-daxing1.github.io . I’ll talk about how to optimize the beauty later. In fact, I don’t want to use it to blog, I just want to put some things on it, such as some HTML. Mini game, as a picture bed, or use it as my SEO layer chain, etc.
github address: https://github.com/pai-daxing1/pai-daxing1.github.io

more content
- Build your own blog based on Hexo and GitHub
- java gomoku game with free source code
- Free and easy-to-use GIF recording software LICEcap
Long press to identify the QR code and follow WeChat official account
