ElasticSearch-Logstash 6.0.0 installation and mysql data import into ES
Logstash installation (6.0.0)
- Download logstash to linux,
I will directly give you Baidu Cloud
Link: https://pan.baidu.com/s/13M3OdoG3wqcpdebUUSwoHQ
extraction code: 5aaq - Unzip it (unzip)
unzip logstash-6.0.0.zip
- Download the mysql jar package to be used later (you can also go to the official website to download)
link: https://pan.baidu.com/s/1TpFEWE9M81tNNn_uXkW-3Q
extraction code: cg2d
Import mysql data into ES
1. Add a custom configuration file (put it under logstash/config)
vi logstash-mysql.conf
Add the following content:
# Sample Logstash configuration for creating a simple
# Beats -> Logstash -> Elasticsearch pipeline.

input {


  jdbc{


    jdbc_connection_string => "jdbc:mysql://192.168.xxx.xxx:3306/test?useUnicode=true&characterEncoding=utf8&useSSL=false&serverTimezone=Asia/Shanghai&tinyInt1isBit=false"
    jdbc_user => "xxx"
    jdbc_password => "xxx"
    jdbc_driver_library => "/opt/local_software/logstash-6.0.0/config/mysql-connector-java-5.1.39.jar"
    jdbc_driver_class => "com.mysql.jdbc.Driver"
    jdbc_paging_enabled => "true"
    jdbc_page_size => "50000"
    jdbc_default_timezone =>"Asia/Shanghai"
    statement_filepath => "/opt/local_software/logstash-6.0.0/config/sql/face.sql"
    schedule => "* * * * *"
    # type => "mycat"
    # 是否记录上次执行结果, 如果为真,将会把上次执行到的 tracking_column 字段的值记录下来,保存到 last_run_metadata_path 指定的文件中
    record_last_run => true
    # 是否需要记录某个column 的值,如果record_last_run为真,可以自定义我们需要 track 的 column 名称,此时该参数就要为 true. 否则默认 track 的是 timestamp 的值.
    use_column_value => true
    # 如果 use_column_value 为真,需配置此参数. track 的数据库 column 名,该 column 必须是递增的. 一般是mysql主键
    tracking_column => "id"
    tracking_column_type => "numeric"
    last_run_metadata_path => "./face_last_id"
    lowercase_column_names => false
  }
}

filter {


  if [sex] == 1 {


     mutate {


       add_field => {

     "tags" => "男"}
     }
  }
  if [sex] == 2 {


     mutate {


       add_field => {

     "tags" => "女"}
     }
  }
  if [sex] == 0 {


     mutate {


       add_field => {

     "tags" => "未知"}
     }
  }
}

output {


  elasticsearch {


    hosts => ["http://192.168.135.237:9201"]
    #index => "%{[@metadata][beat]}-%{[@metadata][version]}-%{+YYYY.MM.dd}"
    index => "face_card"
    document_id => "%{id}"
    #user => "elastic"
    #password => "changeme"
  }
  stdout {


     codec => json_lines
  }
Note: The
main things you need to change are the following:
- jdbc:mysql://192.168.xxx.xxx:3306/test?
Change the ip, port and the name of the database behind the port (I am test here) - jdbc_user => "Database Username"
- jdbc_password => "Database Password"
- jdbc_driver_library: The location of the mysql jar package downloaded above
- statement_filepath => "/opt/local_software/logstash-6.0.0/config/sql/face.sql"
This is the sql script that needs to be executed, logstash will import data into mysql according to sql (sql still needs to be written, you can follow me be consistent) - In output: modify hosts => ["http://192.168.xxx.xxx:9201"] to your own ES ip+port
2. Create a directory under config
mkdir sql
3. Create sql file (under sql directory)
vi face.sql
Add the following content:
select * from face_card where id > :sql_last_value order by id limit 1000
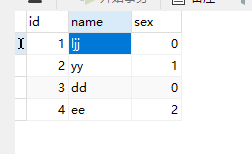
4. Create a table in the corresponding database (corresponding to the table name in the sql file)
CREATE TABLE `face_card` (
  `id` int(11) NOT NULL AUTO_INCREMENT,
  `name` varchar(255) DEFAULT NULL,
  `sex` int(11) DEFAULT NULL,
  PRIMARY KEY (`id`)
) ENGINE=InnoDB DEFAULT CHARSET=utf8mb4;
Add the following data (just simple)
5. Run the script:
execute the command in the logstash-6.0.0 directory:
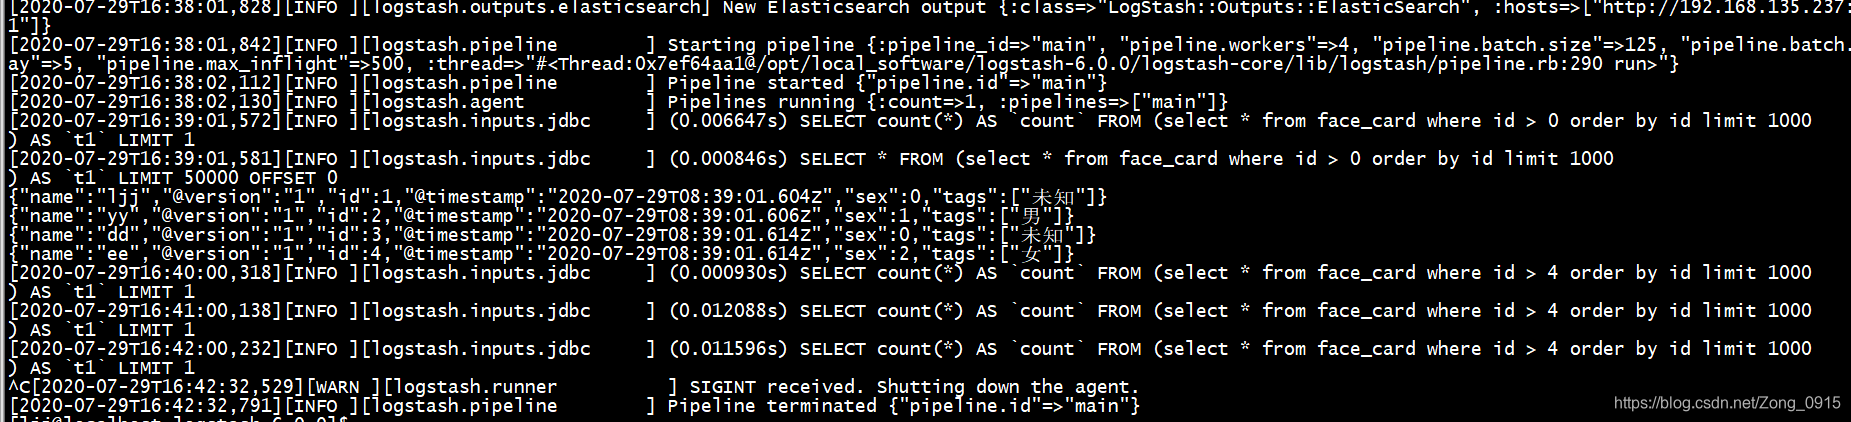
./bin/logstash -f ./config/face.conf
6. After waiting for a long time, it is found that the SQL import is successful, as shown in the figure:
Verify the data imported by mysql
You can use kibana (if kibana is configured), you can also use kibana
to verify with postman:
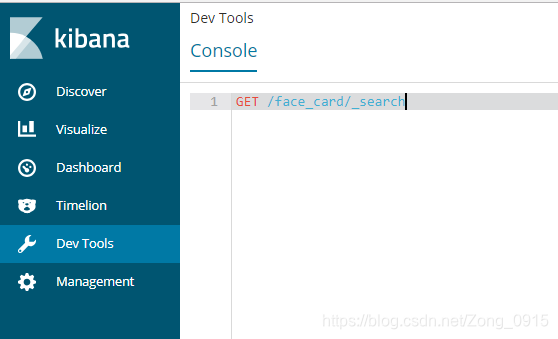
enter the command:
GET /face_card/_search
got the answer:
{
  "took": 3,
  "timed_out": false,
  "_shards": {
    "total": 5,
    "successful": 5,
    "skipped": 0,
    "failed": 0
  },
  "hits": {
    "total": 4,
    "max_score": 1,
    "hits": [
      {
        "_index": "face_card",
        "_type": "doc",
        "_id": "2",
        "_score": 1,
        "_source": {
          "name": "yy",
          "@version": "1",
          "id": 2,
          "@timestamp": "2020-07-29T08:39:01.606Z",
          "sex": 1,
          "tags": [
            "男"
          ]
        }
      },
      {
        "_index": "face_card",
        "_type": "doc",
        "_id": "4",
        "_score": 1,
        "_source": {
          "name": "ee",
          "@version": "1",
          "id": 4,
          "@timestamp": "2020-07-29T08:39:01.614Z",
          "sex": 2,
          "tags": [
            "女"
          ]
        }
      },
      {
        "_index": "face_card",
        "_type": "doc",
        "_id": "1",
        "_score": 1,
        "_source": {
          "name": "ljj",
          "@version": "1",
          "id": 1,
          "@timestamp": "2020-07-29T08:39:01.604Z",
          "sex": 0,
          "tags": [
            "未知"
          ]
        }
      },
      {
        "_index": "face_card",
        "_type": "doc",
        "_id": "3",
        "_score": 1,
        "_source": {
          "name": "dd",
          "@version": "1",
          "id": 3,
          "@timestamp": "2020-07-29T08:39:01.614Z",
          "sex": 0,
          "tags": [
            "未知"
          ]
        }
      }
    ]
  }
}
It can be seen that all 4 pieces of data in mysql are written in, that is, the data is imported successfully using Logstash