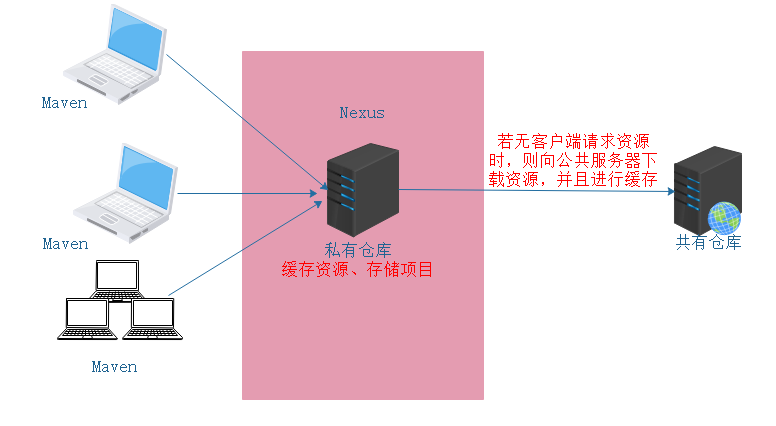
In order to enable the company's developers to package the java project faster, there is no need to download related jar packages on the public Internet every time.
Build a Nexus private warehouse, this component has two versions of paid and community, if there is a network problem when downloading, you can use this link to download the software package next week -------- http://www.liyuanshu.top:83/nexus -3.22.1-02-unix.tar.gz
The working principle is as follows:
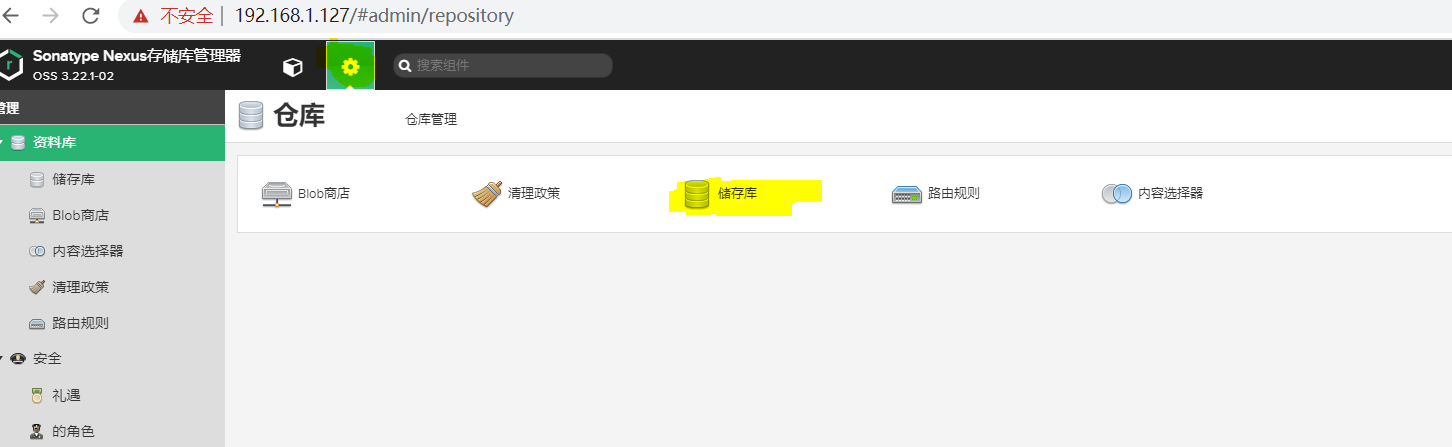
Operating procedures:
First, install the JDK environment
2. After downloading the Nexus installation package, directly decompress it and start it with the script
[root@localhost /usr/local/nexus-3.22.1-02/bin]# ./nexus run
Note: This time the nexus service is installed in Centos, and it has always been reported to be wrong when it is started during Ubuntu system installation. In addition, 2G of memory space is required, and the startup time is longer. . .
After successful startup, you can see the 8081 default port is activated.

You can access it after entering the server IP address and port. It has been modified to listen on port 80 -------- http: //192.168.1.127/, initial account: admin password: admin:
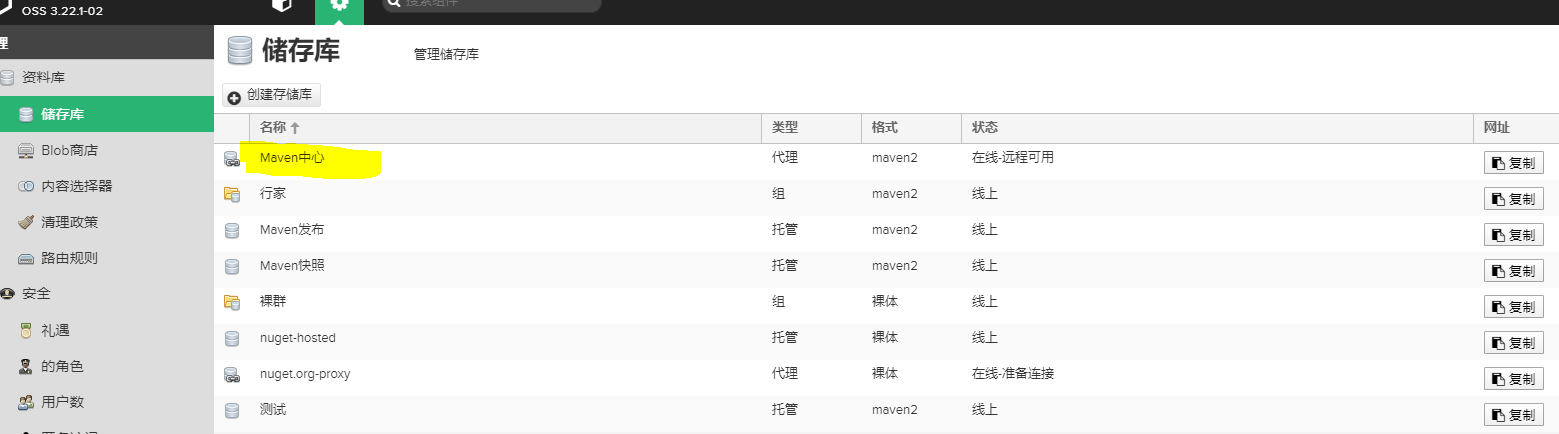
Modify the Nexus execution public warehouse to Alibaba Cloud warehouse, which is faster to download. http://maven.aliyun.com/nexus/content/groups/public/

Three, Maven deployment, this time deployed in the Linux environment, used for testing:
Official website download ----- https://mirrors.tuna.tsinghua.edu.cn/apache/maven/maven-3/3.6.3/binaries/apache-maven-3.6.3-bin.zip
Unzip and configure environment variables in / etc / profile:
export MAVEN_HOME=/usr/local/apache-maven-3.6.3
export PATH=${MAVEN_HOME}/bin:${PATH}
Able to execute the following command successfully:

Modify the Maven configuration file, add the following content in the corresponding location:
## Configure the login user to log in to Nexus and confirm that the user exists
<servers>
<server>
<id>nexus</id>
<username>admin</username>
<password>admin123</password>
</server>
</servers>
##配置打包Java项目时使用的仓库
<mirrors>
<mirror>
<id>nexus</id>
<mirrorOf>*</mirrorOf>
<url>http://192.168.1.127/repository/maven-public/</url>
</mirror>
<mirror>
<id>nexus</id>
<mirrorOf>*</mirrorOf>
<url>http://192.168.1.127/repository/maven-snapshots/</url>
</mirror>
</mirrors>
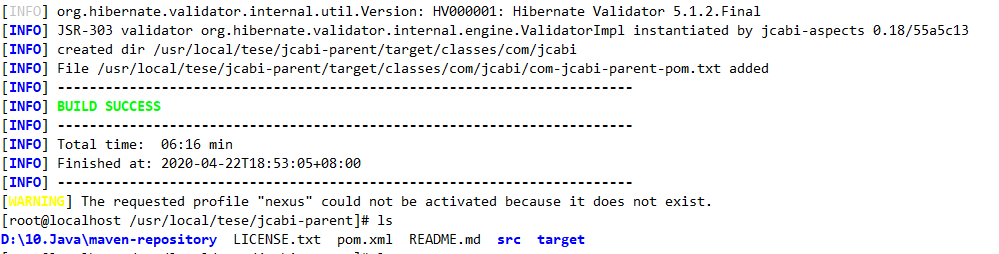
After completing the above configuration, go to github to pull a project for testing, you can get the successful results of the packaged project:
[root@localhost /usr/local/tese/jcabi-parent]# mvn package
If you want to upload the project to a private warehouse, you must also configure the pom.xml file in the project, generally add the following content:
<distributionManagement>
<repository>
<id>nexus</id>
<name>Nexus Release Repository</name>
<url>http://192.168.1.127/repository/maven-releases/</url>
</repository>
<snapshotRepository>
<id>nexus</id>
<name>Nexus Release Repository</name>
<url>http://192.168.1.127/repository/maven-snapshots/</url>
</snapshotRepository>
</distributionManagement>
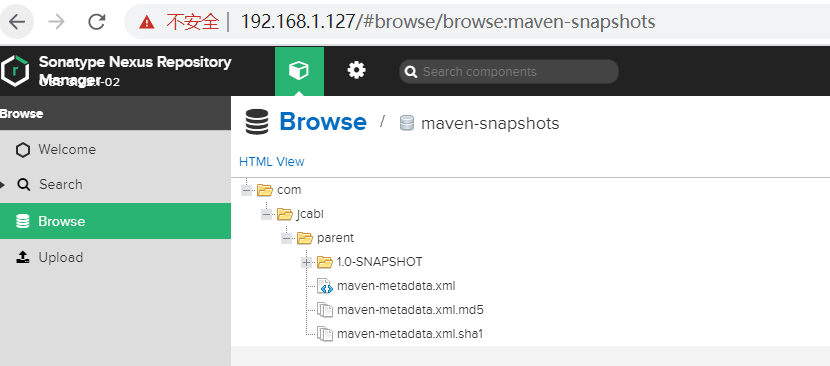
Run the following command to view the project on Nexus:
[root@localhost /usr/local/tese/jcabi-parent]# mvn deploy