MySQL installation and connection tools
1, download the MySQL archive, here I downloaded version is MySQL8.0

2, unzip to the directory you want to install

3, to find in the search cmd, and is an administrator run

4, in the command window into you just unzipped directory to the bin folder, enter the mysqld -install installation services. Note the middle of a space.

5, configure MySQL, enter mysqld --initialize-insecure, knock Enter twice, then your installation directory should be a data folder

inside the folder there is a "computer name .err" file, use Notepad to open, you can see the inside information, you are prompted for the password blank


6, the new installation directory in a "mysql.ini" file, which is written in
[mysqld]
default-Character-the SET utf8 =
[mysqld]
basedir = E: \ JavaLesson \ DataBase \ MySQL-8.0
datadir = E: \ JavaLesson \ DataBase \ MySQL-8.0 \ the Data
Port = 3306


7, start the MySQL service
in just the command window, type net start mysql, waiting for the service to start successfully

8, enter the login command mysql - u root -p, initial login and press enter to go directly before the password has been set, enter the password then enter into

9, after entering the password may be modified as abc123, enter the password = SET 'abc123';
-> User then enter the root @ localhost IDENTIFIED ALTER with mysql_native_password by 'abc123';
-> enter quit; exit MySQL
-> so it installed the


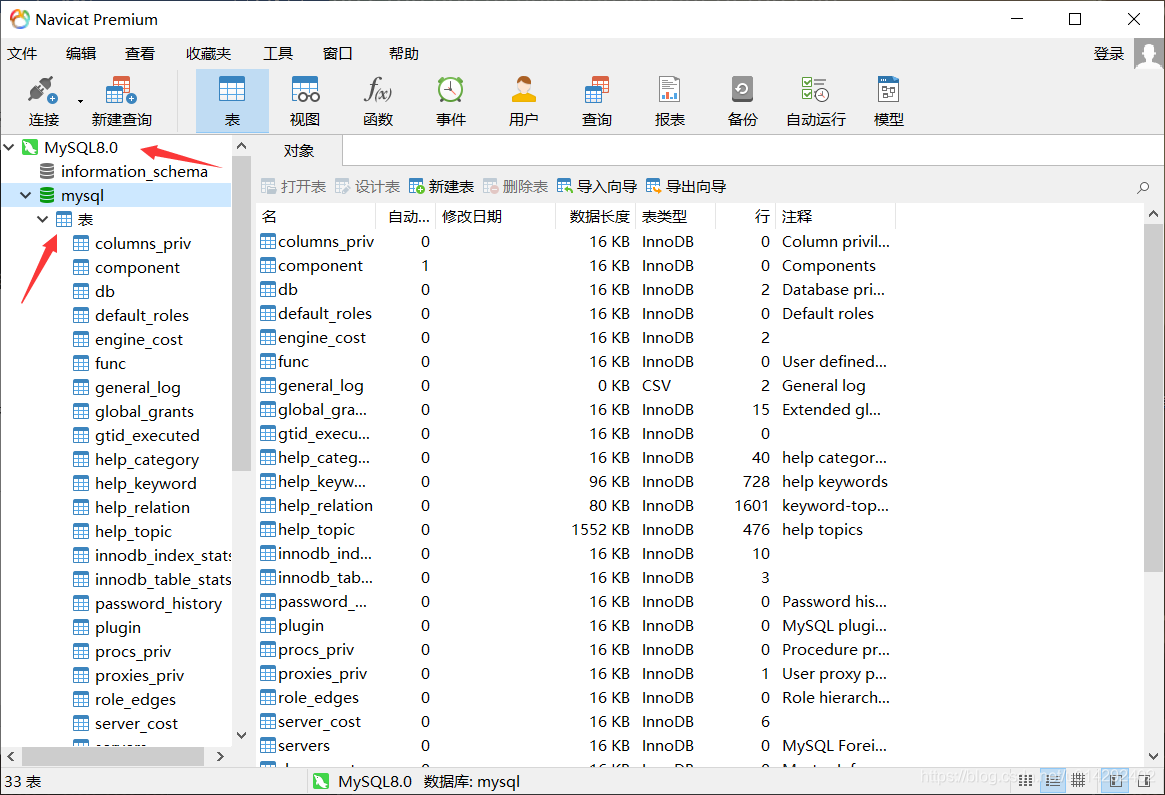
10, connected development tools
used to connect navicat12
-> open Navicat
-> click New connection
-> select MySQL

11, enter the name and password to connect just set, click OK

12, immediately to the left you can see the the database connection