Preface:
Before all seniors to build a platform for us to do the exercises, the time off so fast, I have now become seniors, in order to music.brothers can learn knowledge, I will make use of docker build ctfd, the way records about the process, after building so as not to forget again.
0x00: built environment
1.Centos 7 64位
2.Docker
3.python2.7
0x01: build process
Installation docker
Installation package needed
sudo yum install -y yum-utils device-mapper-persistent-data lvm2 bind-utils
Set yum source
sudo yum-config-manager --add-repo https://download.docker.com/linux/centos/docker-ce.repo
Installation docker
sudo yum install docker-ce
Start and join the boot
sudo systemctl start docker
sudo systemctl enable docker
Verify that the installation was successful
docker version

Follow the steps above to go step generally no problem, will not encounter any error of (pro-test), since docker installed, the next on the installation of docker-compose
Installation docker-compose
Install python-pip
yum -y install epel-release
yum -y install python-pip
Check whether the installation was successful
pip -V

To pip install upgrade
pip install --upgrade pip
Here it is usually an upgrade, but I encountered an error
ModuleNotFoundError: No module named 'pip._internal',
(myself to forget the screenshot, use the map chef's)

investigation to know there may be a conflict with the old version was a result of this error, I am using the first fix:
fix:
python -m ensurepip
python -m pip install --upgrade pip
ModuleNotFoundError: No module named 'pip._internal', pip can not download the software solution
After good repair, installation docker-compose
pip install docker-compose
If an error occurs
ReadTimeoutError: HTTPSConnectionPool(host='pypi.python.org', port=443): Read timed out
Use this command:
pip --default-timeout=200 install -U docker-compose
but. . . . I encountered this error is

a pip install Python library software when it came to "command 'gcc' failed with exit status 1"the wrong question, it seems the lack of gcc components, but does have performed before you install yum install gcc, but still have this problem, the reason is the lack of openssl-develsupport (PS: Although I get the error message does not appear gcc, but I carried out in accordance with this order, does no longer being given)
Solution:
yum install gcc libffi-devel python-devel openssl-devel -y
Solve "command 'gcc' failed with exit status 1" error problem
after finished, pip install docker-compose executed before the return to

successful installation, check the version

Note If docker-compose version is too low, you can not start H1ve-ctfd
Start ctfd
Since docker docker-compose and are ready, come to download it ctfd, before our team qwzf big brother recommended to me
H1ve--开源攻防训练平台
https://xz.aliyun.com/t/6889
Ctfd is based on open and more handsome, more cool, put Photo
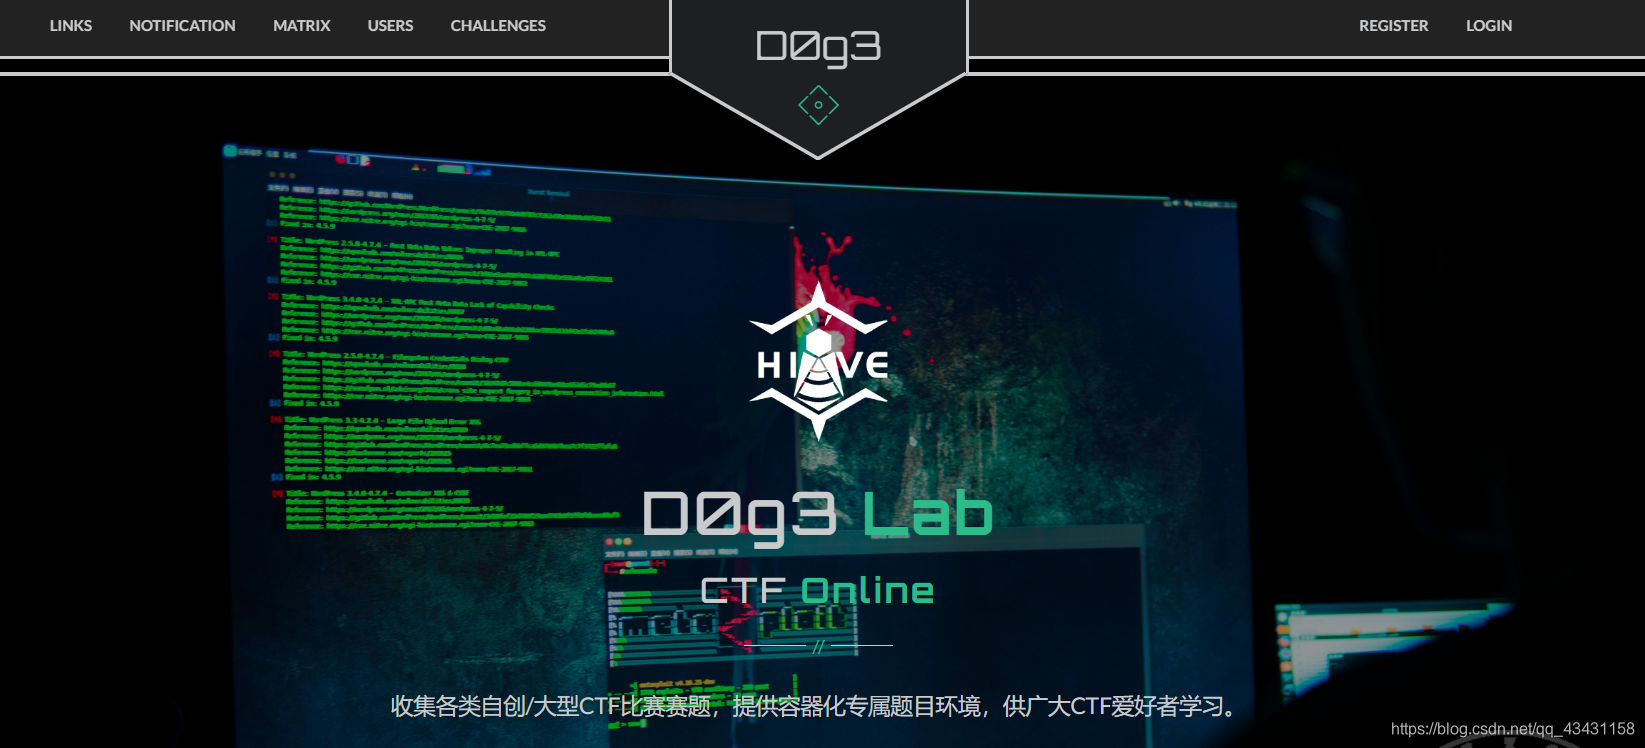
This look was attracted, so handsome, since it is based on ctfd open, then basically the same, so I built this platform:
Now open, thanks bigwigs developed a handsome site, you can download the server
git clone https://github.com/D0g3-Lab/H1ve.git
After downloading the good into the directory, go follow the tutorial on Github:
docker-compose -f single.yml up
but. . . . He has encountered a problem and continue to check:

Can be found in this issue is the docker: Error response from daemon: ... : net/http: TLS handshake timeout.emergence of this problem occurs because the default command from the docker pull mirroring remote mirroring warehouse, but due to the distal end of the warehouse servers are in foreign countries, our country and some users are not likely to visit, it will be error.
Workaround: Use the cloud Ali accelerator mirror
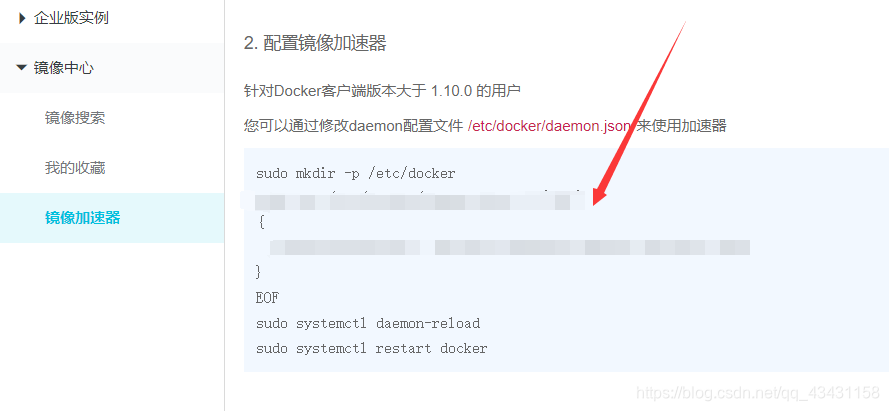
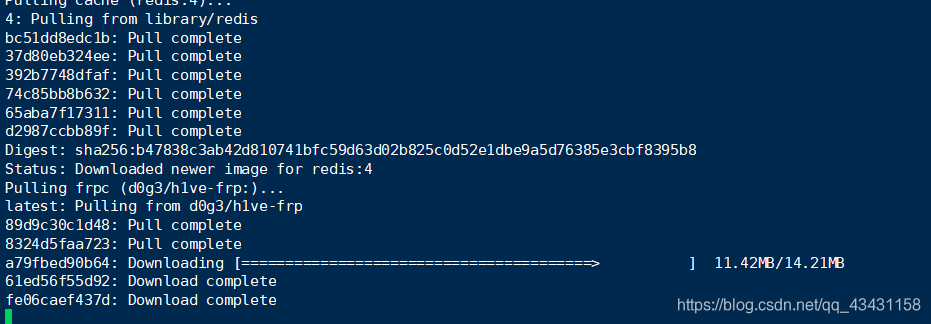
copy and paste method in accordance with the above configuration mirror accelerator, then quickly install it you can see the speed of the
emergence of this page to Eau the
 default port
 8000access at the server's IP address
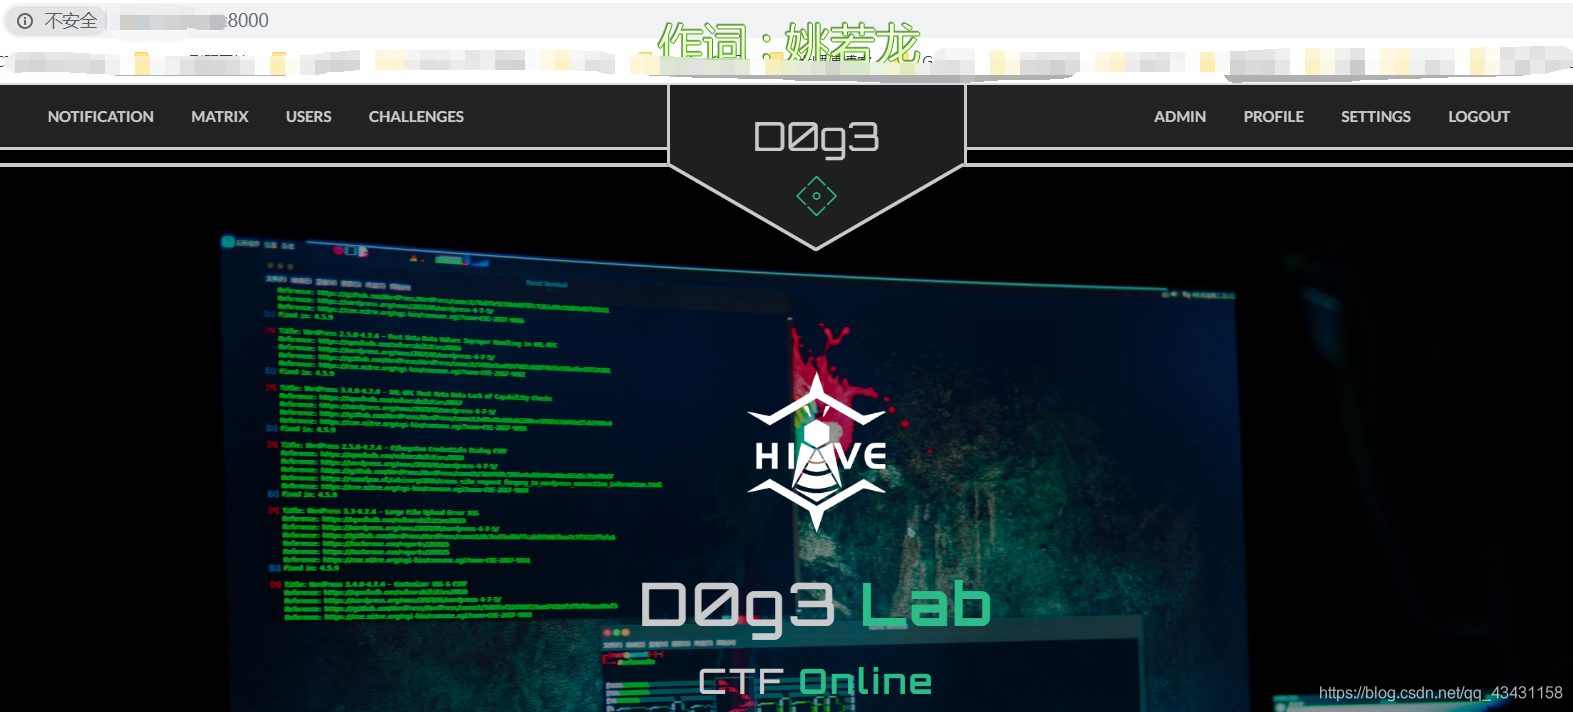
finally build a good, said many problems, but also learned a lot.
0x02: deployment title
(Tucao one, really want to vomit)
MISC and Crypto are good settings
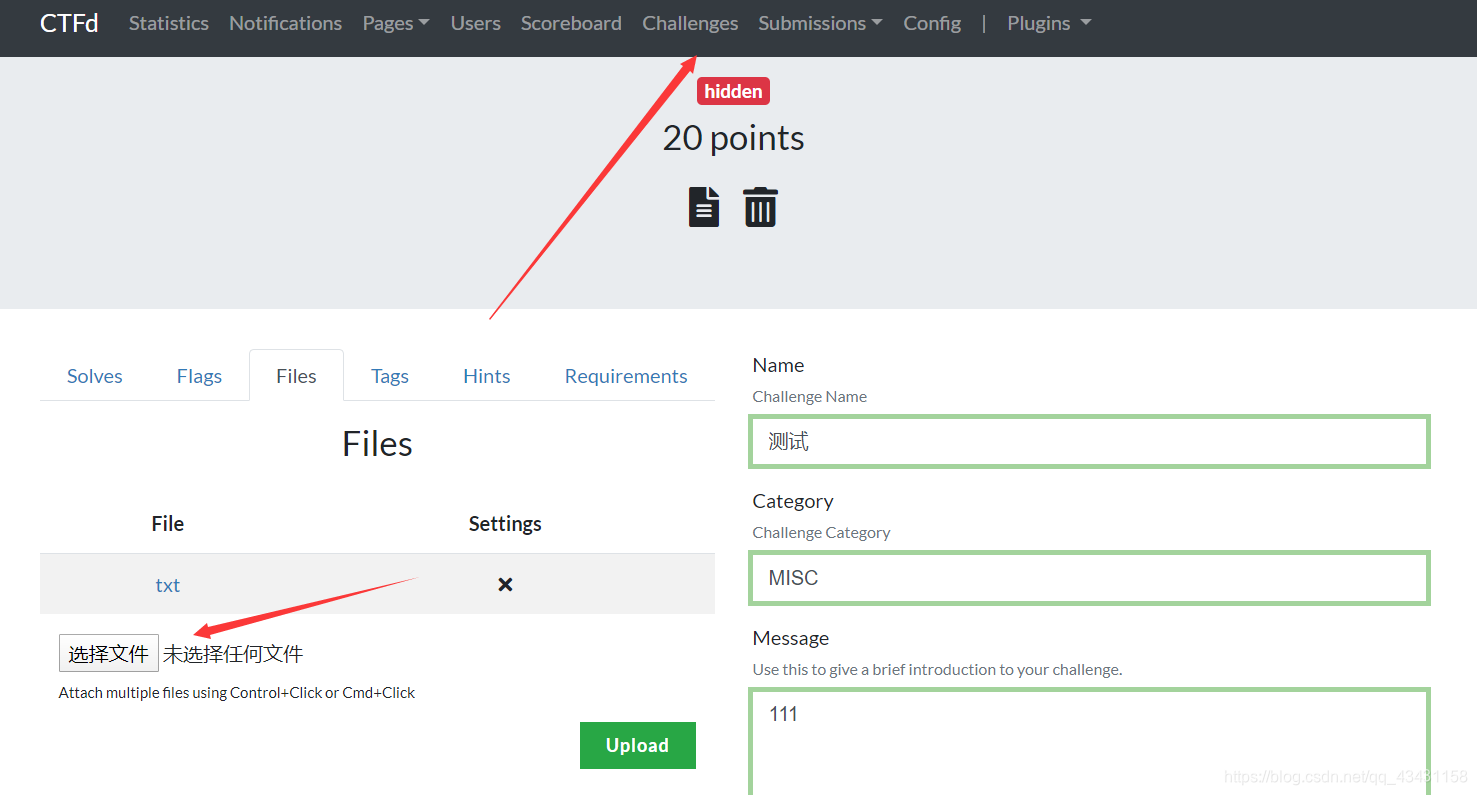
set up the title, upload attachments, add flagto
Alone web topic a bit of trouble, in fact, that the trouble is not too much trouble, that is a bit long-winded, originally intended to use to build web docker title, but looked at the configuration of the server or forget, it uses apache + MySQL + php to build, directly access var / www html files in the directory / on it
First to download MySQL:
Note: In the new version of CentOS7, the default database has been updated to Mariadb, rather than MySQL, so just execute the command yum install mysql database update Mariadb, and does not install MySQL
View Mariadb database version installed.
rpm -qa|grep -i mariadb
Uninstall Mariadb database installed
rpm -qa|grep mariadb|xargs rpm -e --nodeps
View Mariadb database version installed, make sure the uninstall is complete
rpm -qa|grep -i mariadb
Download the installation package file
wget http://repo.mysql.com/mysql-community-release-el7-5.noarch.rpm
Installation mysql-community-release-el7-5.noarch.rpm package
rpm -ivh mysql-community-release-el7-5.noarch.rpm
Install mysql
yum install mysql-server
Mysql check whether the installation was successful
rpm -qa | grep mysql
Start mysql service
systemctl start mysqld.service #启动 mysql
systemctl restart mysqld.service #重启 mysql
systemctl stop mysqld.service #停止 mysql
systemctl enable mysqld.service #设置 mysql 开机启动
set password
The default root password is empty, the need for timely use of mysql root user login
mysql -u root
mysql> use mysql;
mysql> update user set password=PASSWORD("这里输入root用户密码") where User='root';
mysql> flush privileges;
Use YUM to install the CentOS7 MySQL5.6
Setting remote login
This is very important, if you do not set it, even if you are on the php configuration file, but still not connected to the database, you must pay attention
mysql> use mysql
mysql> select host,user,password from user;
Modify the value of the host field, the modifications to the localhost ip address needs to connect the remote database, or to directly modify%. Modified% said that all hosts can access the database through the root user
mysql> update user set host = '%' where user = 'root';
mysql> FLUSH PRIVILEGES;
After modification, you can connect successfully

Host 'xxx' is not allowed to
connect to this MySQL server. After installing MySQL, you install apache, on CentOS and RHEL, Apache httpd packages and services are called
sudo yum install httpd
After installation, enable and start the Apache service:
sudo systemctl enable httpd
sudo systemctl start httpd
Download php, here I downloaded version 5.6, if after web problem related to the weakly typed, this version of php on it
yum install epel-release
rpm -ivh http://rpms.famillecollet.com/enterprise/remi-release-7.rpm
rpm --import http://rpms.famillecollet.com/RPM-GPG-KEY-remi
yum install --enablerepo=remi --enablerepo=remi-php56 php php-gd php-opcache php-devel php-mbstring php-mcrypt php-mysqlnd php-phpunit-PHPUnit php-pecl-xdebug php-pecl-xhprof
php -v
centOs7 yum install php5.6 (history of the most simple)
After the download is good, originally intended to install a phpmyadmin, but broke up the following error is not installed, anyway, is not particularly do not need to install

this point basically it, the your topic into / var / www / html directory under here also set about directory permissions
chmod 711 /var/html/www/web
#web是我自己放置题目的目录
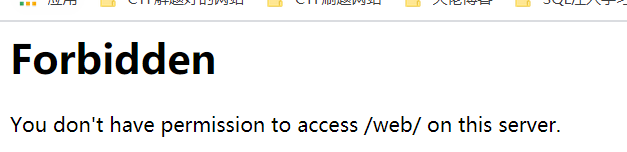
You can set up, anyway, someone directory traversal, start clicking Hive-ctfd
docker-compose -f single.yml up
Found error. . . .
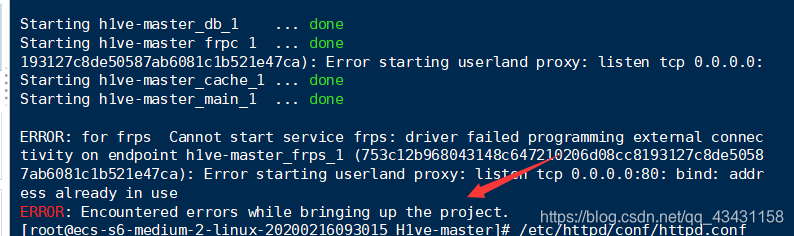
The reason is simple, because apache occupied port 80, so we need to change the default port to apache
打开  /etc/httpd/conf/httpd.conf  文件
把80改为你自己想要设置的端口,如下图我设置的是5555

Finally, add this:
How to import sql file in Linux
mysql -u 用户名 -p  数据库名 < 数据库名.sql
#这个只是其中的一种方法
- If your host configuration file, account number, password or something all right, but still can not connect, it must be you have not set up a remote connection when installing MySQL
- If you find that access subject, php source code directly appear, there is no resolution, the easiest way to restart apache service
sudo systemctl restart httpd
At this point, it is all set up is completed, and the time to write really feel difficult, but that is the first time set up, really have learned a lot


on the record here now!
