当用户登录成功之后,去添加玩具,扫码读取玩具信息,并完善绑定信息
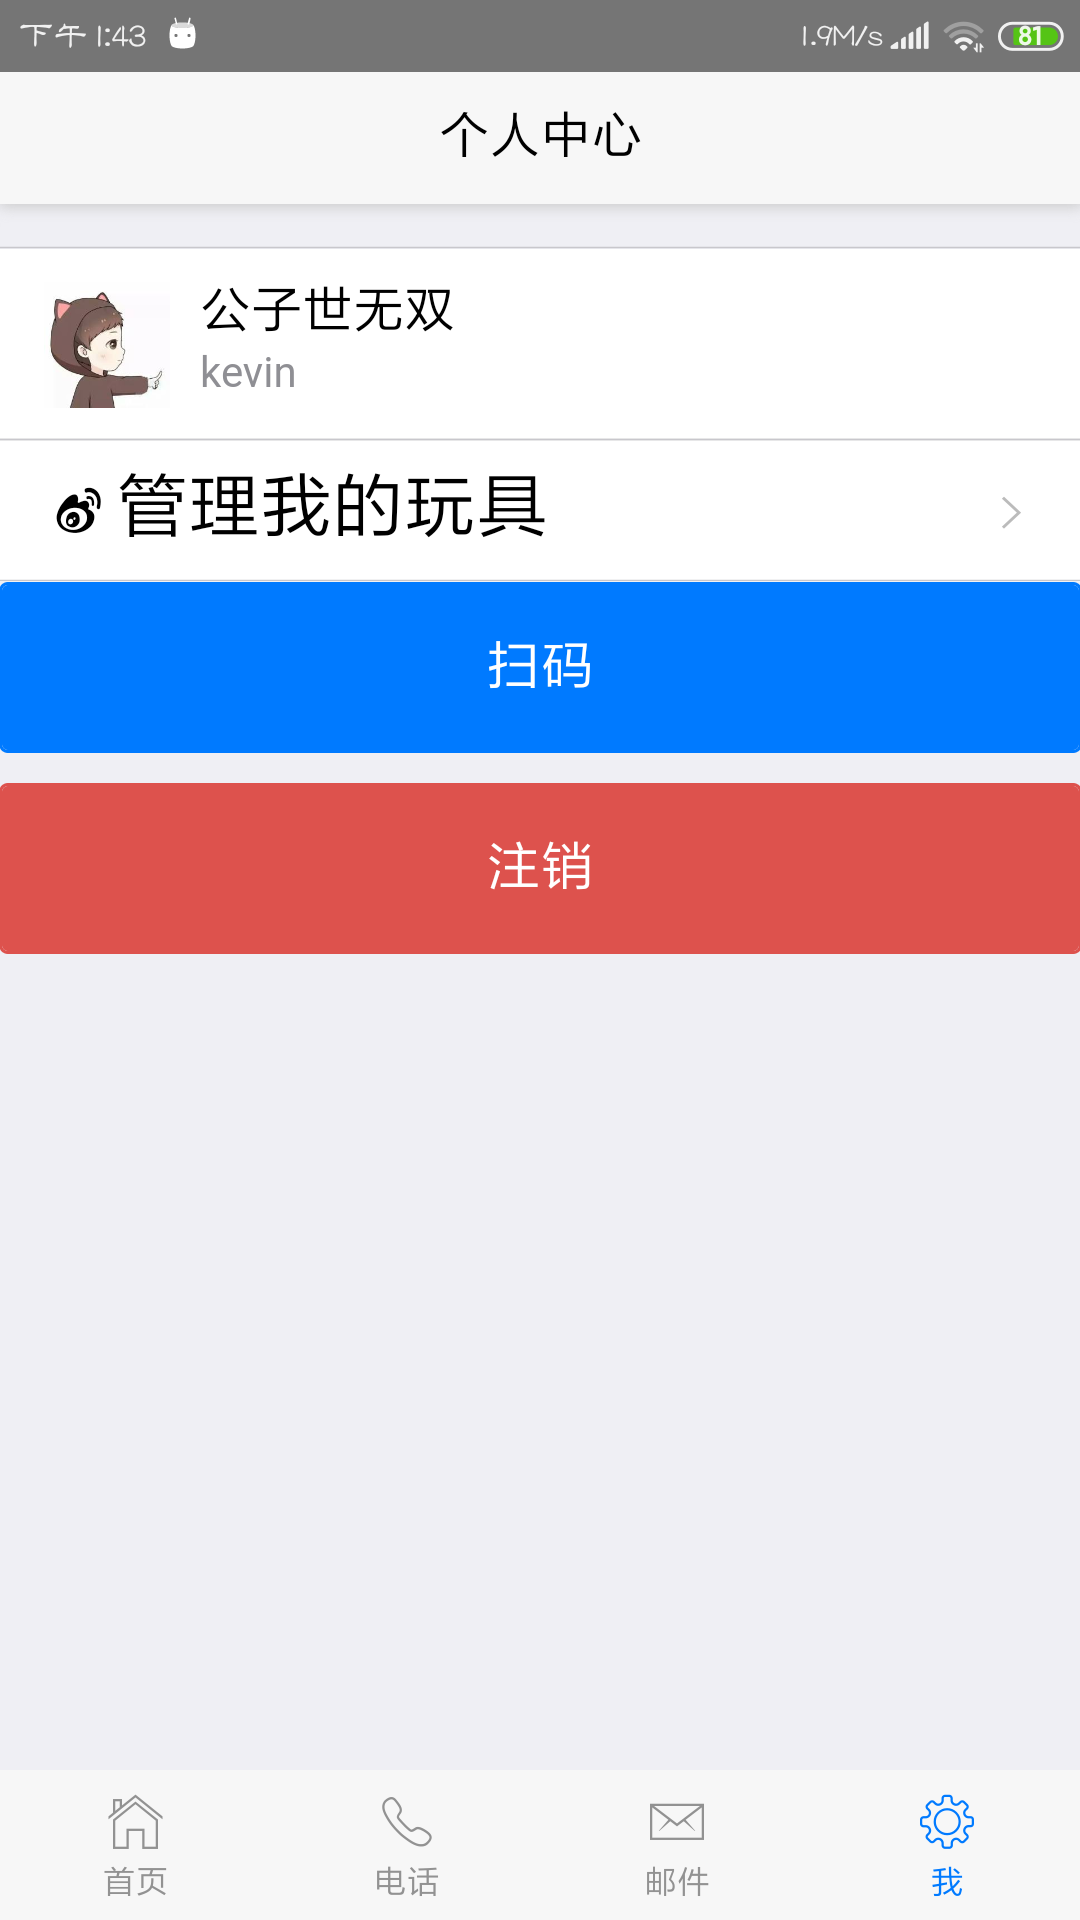
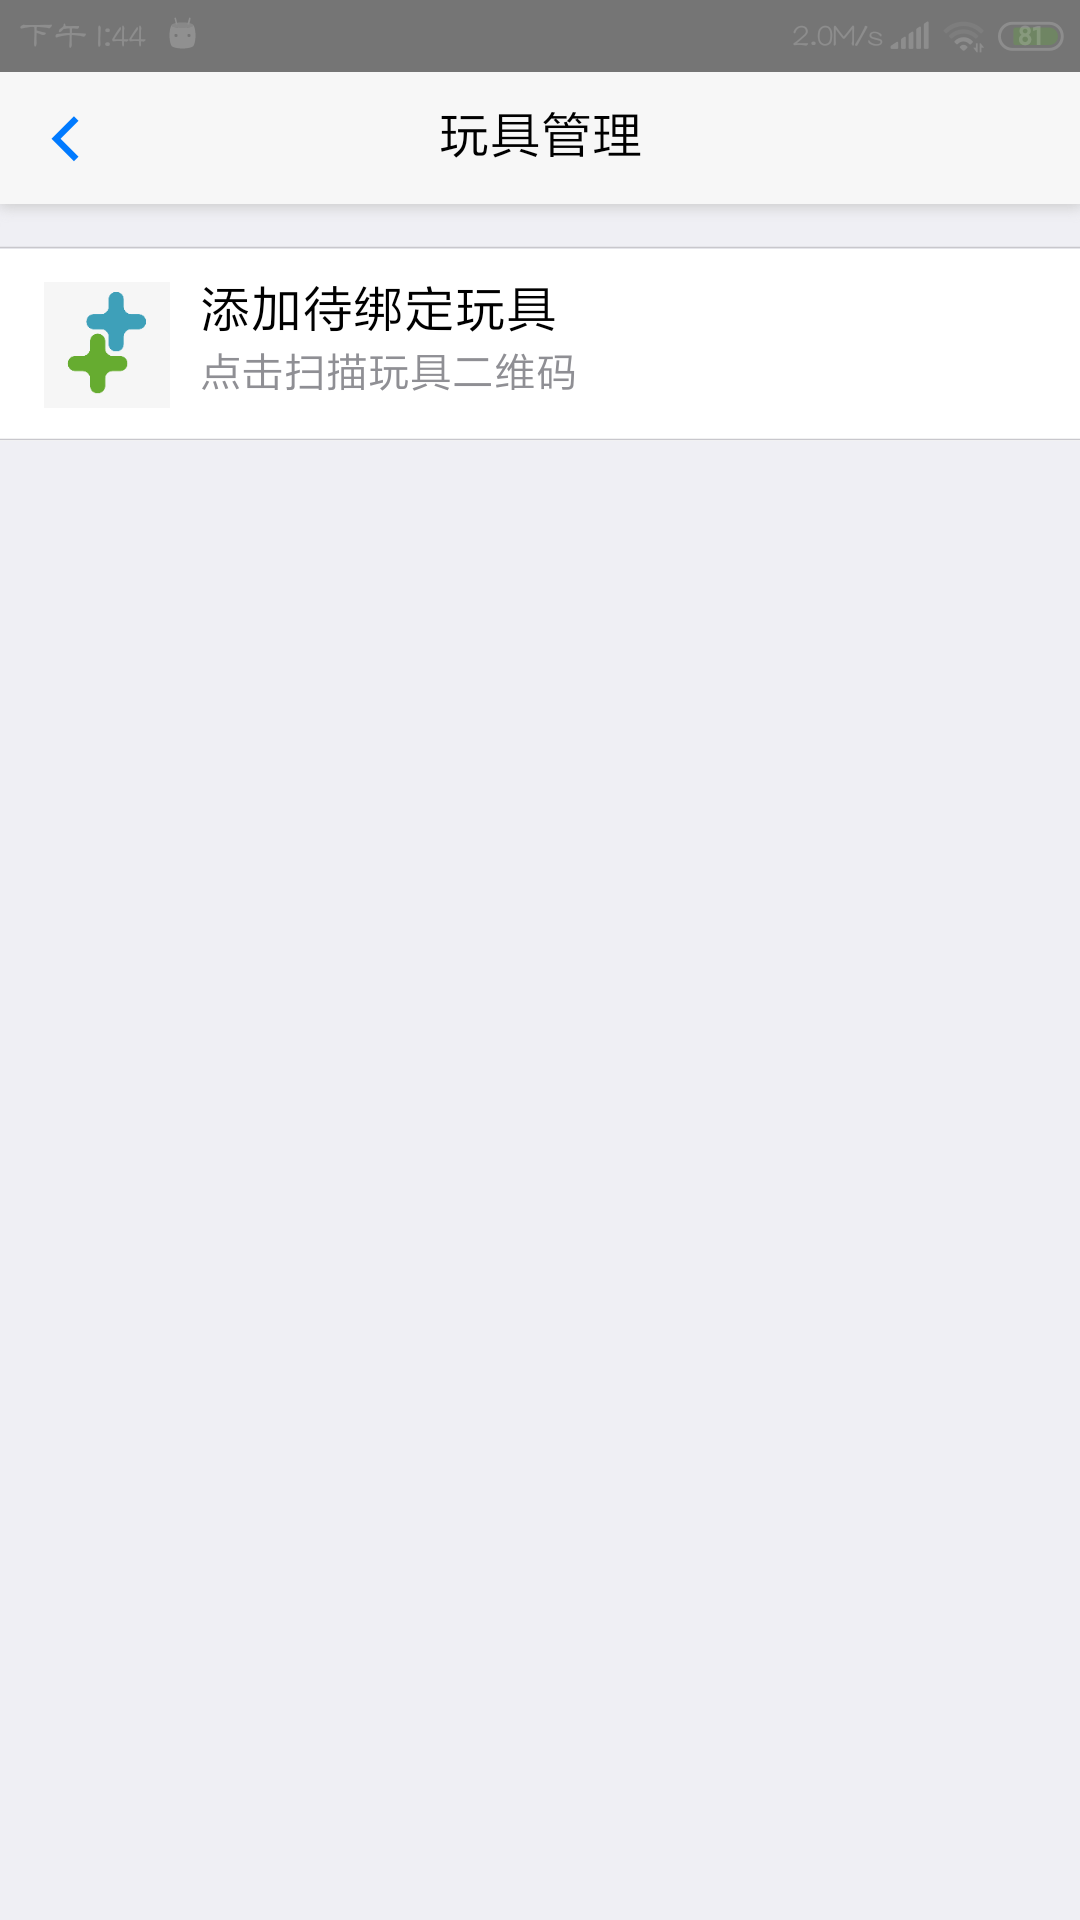
在个人中心页面去点击“管理我的玩具”会跳转到玩具管理页面,点击“添加绑定玩具”,会跳转至扫码页面,去识别玩具的信息。
<ul class="mui-table-view">
                <li class="mui-table-view-cell">
                    <a class="mui-navigate-right" id="toy_manage">
                        <span class="mui-icon mui-icon-weibo">管理我的玩具</span>
                    </a>
                </li>

            </ul>
监听触发事件:
document.getElementById('toy_manage').addEventListener('tap',function () {
                    mui.openWindow({
                                "url":"toy_manage.html",
                                "id":"toy_manage.html",
                                styles:{
                                    top:"0px",
                                    bottom:"0px"
                                },

                            })
            })
实现的效果图:
添加绑定玩具:
<li class="mui-table-view-cell mui-media">
                    <a href="javascript:;" id="add_toy">
                        <img class="mui-media-object mui-pull-left" src="image/add.jpg">
                        <div class="mui-media-body">
                            添加待绑定玩具
                            <p class="mui-ellipsis">点击扫描玩具二维码</p>
                        </div>
                    </a>
                </li>
监听触发事件:
document.getElementById('add_toy').addEventListener('tap',function () {
               mui.openWindow({
                           "url":"device.html",
                           "id":"device.html",
                           styles:{
                               top:"0px",
                               bottom:"0px"
                           },

                       })
            })
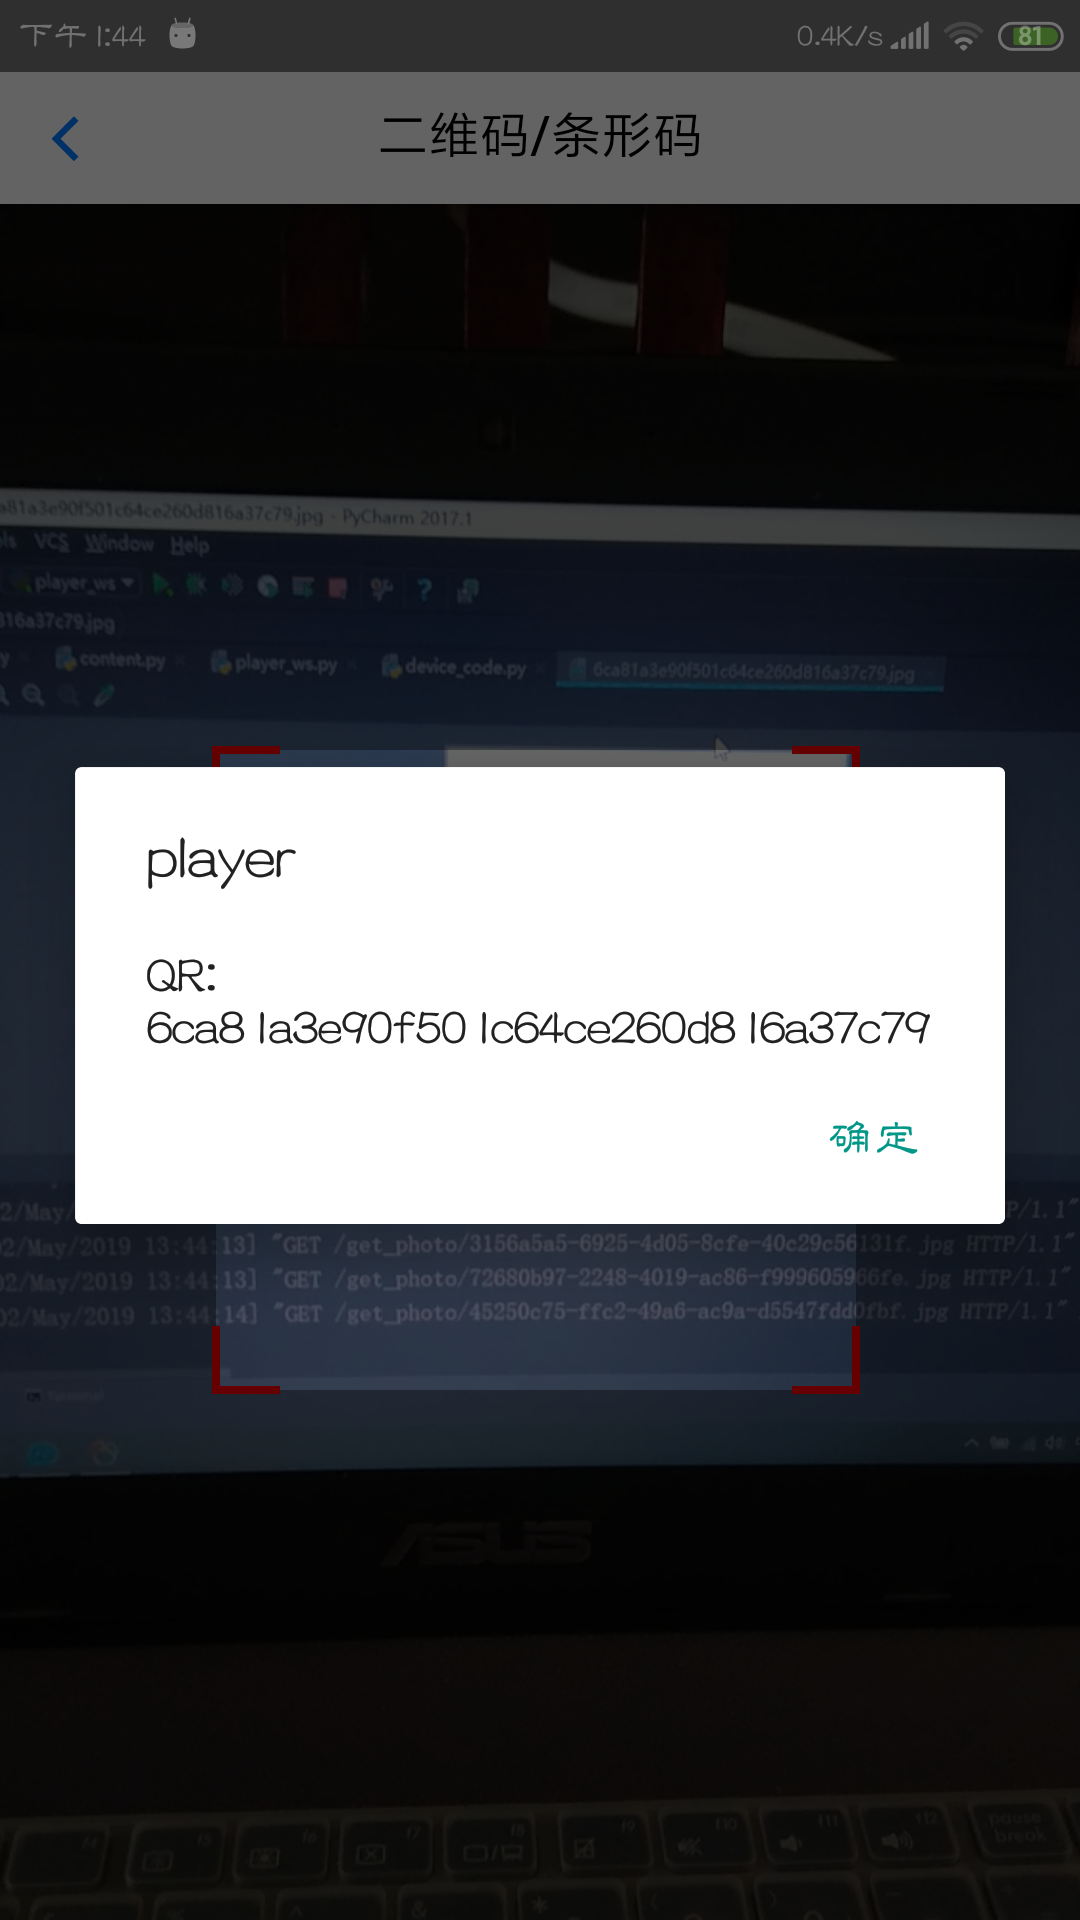
效果截图:
创建扫码对象,并识别二维码:


<!doctype html>
<html>

    <head>
        <meta charset="utf-8">
        <title></title>
        <meta name="viewport" content="width=device-width,initial-scale=1,minimum-scale=1,maximum-scale=1,user-scalable=no" />
        <link href="css/mui.css" rel="stylesheet" />
    </head>

    <body>
        <header class="mui-bar mui-bar-nav">
            <a class="mui-action-back mui-icon mui-icon-left-nav mui-pull-left"></a>
            <h1 class="mui-title">二维码/条形码</h1>
        </header>
        <div class="mui-content">
            <div id="bcid" style="width: 100%; height: 580px;"></div>
        </div>
        <script src="js/mui.min.js"></script>
        <script type="text/javascript">
            mui.init()

            function inmarked(type, result) {
                var text = "未知: ";
                switch (type) {
                    case plus.barcode.QR:
                        text = "QR: "
                        break;
                    case plus.barcode.EAN13:
                        text = 'EAN13: ';
                        break;
                    case plus.barcode.EAN8:
                        text = 'EAN8: ';
                        break;
                }
                alert(text+result);

                mui.post(window.serv_qr,{
                        "device_key":result
                    },function(data){

                        if (data.code==0) {
                            //打开绑定玩具流程 开始创建玩具
                            mui.openWindow({
                                        "url":"bind_toy.html",
                                        "id":"bind_toy.html",
                                        styles:{
                                            top:"0px",
                                            bottom:"0px"
                                        },
                                        extras:data.data,

                                    })
                        } else if(data.code==1){
                            //玩具已被绑定
                        }else if(data.code==2){
                            //未授权的设备
                        }
                        // mui.toast(data.msg)
                        console.log(JSON.stringify(data))
                    },'json'
                );
            }
            var scan = null;
            mui.plusReady(function() {
                scan = new plus.barcode.Barcode("bcid");
                scan.start();
                scan.onmarked = inmarked;
                // mui.back();
            })
        </script>
    </body>

</html>
如果识别的二维码返回的状态码为0,则表示设备合法,可以继续完成信息绑定,为1则表示设备已经绑定过了,为2表示设备未授权。
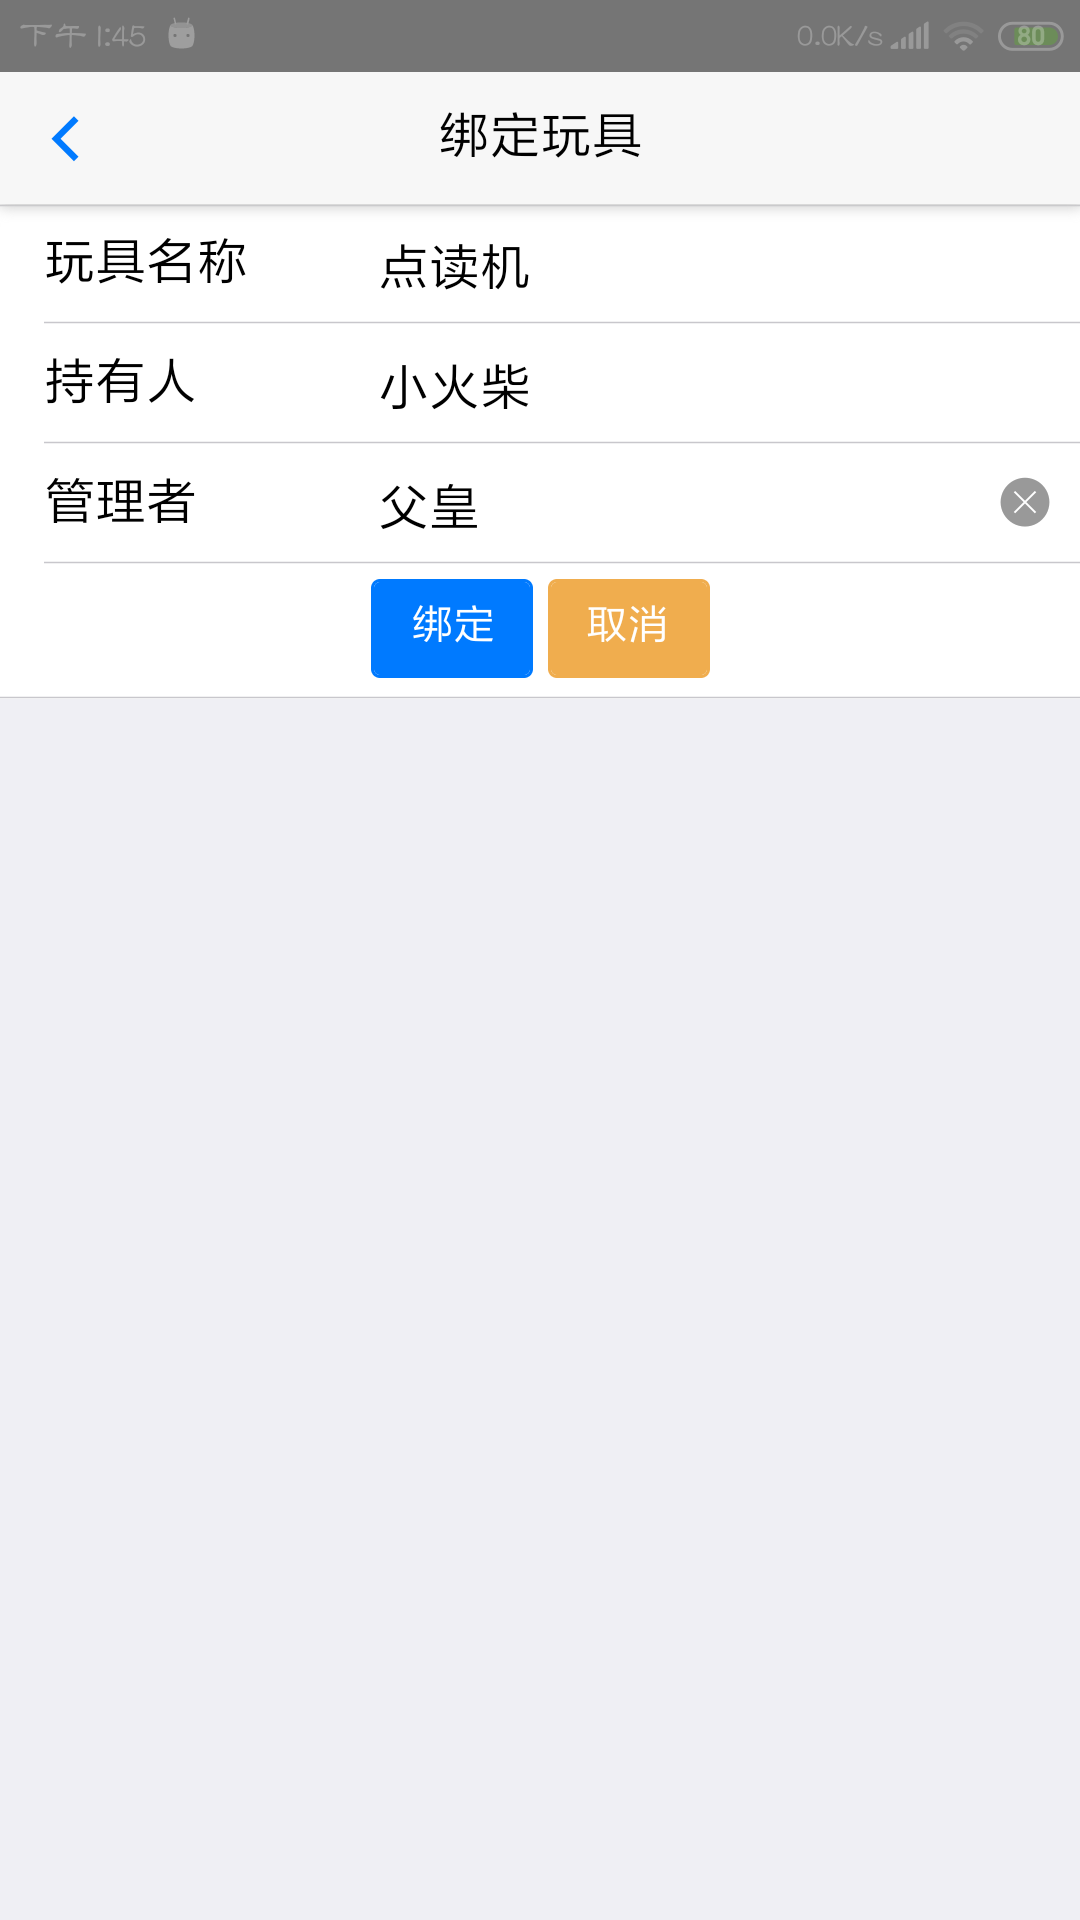
状态码为0,跳转至信息绑定页面,填写信息
if (data.code==0) {
                            //打开绑定玩具流程 开始创建玩具
                            mui.openWindow({
                                        "url":"bind_toy.html",
                                        "id":"bind_toy.html",
                                        styles:{
                                            top:"0px",
                                            bottom:"0px"
                                        },
                                        extras:data.data,

                                    })
                        } else if(data.code==1){
                            //玩具已被绑定
                        }else if(data.code==2){
                            //未授权的设备
                        }
在绑定玩具页面完成数据的采集:
<!doctype html>
<html>

    <head>
        <meta charset="utf-8">
        <title></title>
        <meta name="viewport" content="width=device-width,initial-scale=1,minimum-scale=1,maximum-scale=1,user-scalable=no" />
        <link href="css/mui.css" rel="stylesheet" />
    </head>

    <body>
        <header class="mui-bar mui-bar-nav">
            <a class="mui-action-back mui-icon mui-icon-left-nav mui-pull-left"></a>
            <h1 class="mui-title">绑定玩具</h1>
        </header>
        <div class="mui-content">
            <form class="mui-input-group">
                <div class="mui-input-row">
                    <label>玩具名称</label>
                    <input type="text" id="toy_name" class="mui-input-clear" placeholder="请输入玩具名">
                </div>
                <div class="mui-input-row">
                    <label>持有人</label>
                    <input type="text" id="baby_name" class="mui-input-clear" placeholder="请输入使用者名称">
                </div>
                <div class="mui-input-row">
                    <label>管理者</label>
                    <input type="text" id="manage" class="mui-input-clear" placeholder="请输入家长称呼">
                </div>
                <div class="mui-button-row">
                    <button type="button" id="bind" class="mui-btn mui-btn-primary">绑定</button>
                    <button type="button"  class="mui-btn-yellow mui-action-back">取消</button>
                </div>
            </form>
        </div>
        <script src="js/mui.js"></script>
        <script type="text/javascript">
            mui.init()
            var d_data=null;
            mui.plusReady(function () {
                d_data=plus.webview.currentWebview()
                console.log(JSON.stringify(d_data))
            })

            document.getElementById('bind').addEventListener('tap',function () {
                   var toy_name=document.getElementById("toy_name").value;
                   var baby_name=document.getElementById("baby_name").value;
                   var manage=document.getElementById("manage").value;
                    mui.post(window.serv_bind,{
                            "toy_name":toy_name,
                            "baby_name":baby_name,
                            "manage":manage,
                            "device_key":d_data.device_key,
                            user_id:window.localStorage.getItem("user")
                        },function(data){
                            console.log(JSON.stringify(data))
                        },'json'
                    );
            })
        </script>
    </body>

</html>
监听绑定数据事件:
document.getElementById('bind').addEventListener('tap',function () {
                   var toy_name=document.getElementById("toy_name").value;
                   var baby_name=document.getElementById("baby_name").value;
                   var manage=document.getElementById("manage").value;
                    mui.post(window.serv_bind,{
                            "toy_name":toy_name,
                            "baby_name":baby_name,
                            "manage":manage,
                            "device_key":d_data.device_key,
                            user_id:window.localStorage.getItem("user")
                        },function(data){
                            console.log(JSON.stringify(data))
                        },'json'
                    );
            })
实现效果图:
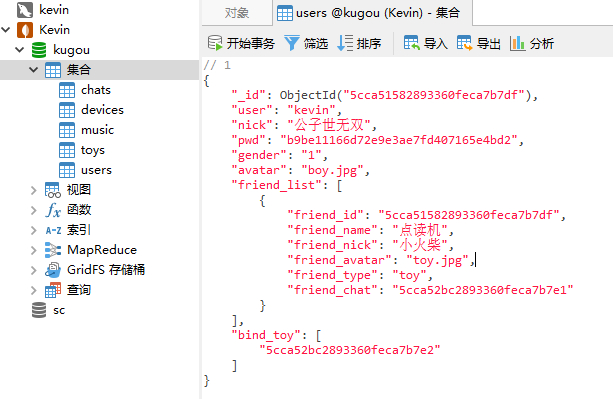
后端接收数据,进行逻辑处理:
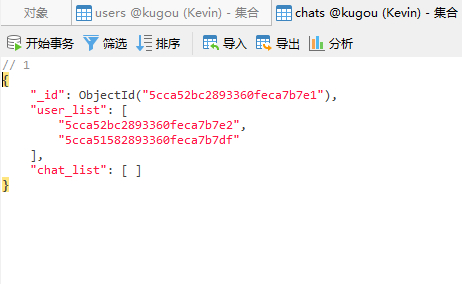
from flask import Blueprint,request,jsonify
from setting import mongoDB,RET
from bson.objectid import ObjectId

#用户绑定玩具信息
@device_code.route('/bind_toy',methods=["POST",])
def bind_toy():
    toy_info=request.form.to_dict()
    #{'toy_name': '球球', 'baby_name': '小火车', 'manage': '父皇', 'device_key': 'ec0891dff4ce7ccca4222dfc8667b8a5', 'user_id': '5cc6c0992893361a88b7018a'}

    chat_window=mongoDB.chats.insert_one({
        "user_list":[],             #存储当前聊天的两个对象
        "chat_list":[]              #聊天的记录
    })                              #创建一个空的聊天框表

    user_info = mongoDB.users.find_one({"_id": ObjectId(toy_info["user_id"])})  #获取当前用户的信息
    # {'_id': ObjectId('5cc6c0992893361a88b7018a'), 'user': 'lisa', 'nick': '情深缘浅', 'pwd': 'ec6a6536ca304edf844d1d248a4f08dc', 'gender': '2', 'avatar': 'girl.jpg', 'friend_list': [], 'bind_toy': []}

    toy_info["bind_user"]=toy_info.pop("user_id")  #将字典里的字段user_id替换为 bind_user
    toy_info["avatar"]="toy.jpg"                   #设置玩具的头像
    toy_info["friend_list"]=[                      #玩具的好友列表
        {
            "friend_id":toy_info["bind_user"],                 #好友id         5cc6c0992893361a88b7018a
            "friend_name":user_info.get("nick"),               #好友名字       情深缘浅
            "friend_nick":toy_info.pop("manage"),              #好友昵称       父皇
            "friend_avatar":user_info.get("avatar"),           #好友头像       girl.jpg
            "friend_type":"app",                               #好友类型  区分接收消息类型
            "friend_chat":str(chat_window.inserted_id)         #聊天对话框
        }
    ]
    #玩具的好友列表

    toy=mongoDB.toys.insert_one(toy_info)               #创建玩具

    user_info["bind_toy"].append(str(toy.inserted_id))  #用户信息中绑定玩具的ID

    user_add_toy={
        "friend_id": toy_info["bind_user"],          # 好友id         5cc6c0992893361a88b7018a
        "friend_name": toy_info.get("toy_name"),     # 好友名字       情深缘浅
        "friend_nick": toy_info.get("baby_name"),    # 好友昵称       父皇
        "friend_avatar": toy_info.get("avatar"),     # 好友头像       girl.jpg
        "friend_type": "toy",                        # 好友类型       区分接收消息类型
        "friend_chat": str(chat_window.inserted_id)  # 聊天对话框
    }


    user_info["friend_list"].append(user_add_toy)    #设置用户的好友列表

    mongoDB.users.update_one({"_id": ObjectId(toy_info["bind_user"])},{"$set":user_info})
    #更新用户表的信息

    mongoDB.chats.update_one({"_id":chat_window.inserted_id},{"$set":{"user_list":
        [str(toy.inserted_id),str(user_info.get("_id"))]
                                                                      }})
    print(user_info)

    RET["code"]=0
    RET["msg"]="玩具绑定完成"
    RET["data"]={}
    return jsonify(RET)
绑定完成,前端调试信息输出如下:

后台数据库同步实现数据记录的更新: