hadoop生态圈框架工具甚多,自己整合起来很是繁琐,特别是oozie以及hue结合来实现hive、mr、spark等定时依赖任务更是一步一个坑,为了减少踩坑,只好从apache hadoop,转向CDH。
两个各有利弊,CDH贵在整合方便。本次教程大部分来自http://www.cnblogs.com/fujiangong/p/5620050.html,稍作修改,记录踩下的坑。
JDK环境
JDK版本:jdk-8u121-linux-x64.rpm
CM包
CM版本:5.10.0 cloudera-manager-centos7-cm5.10.0_x86_64.tar.gz
下载地址:http://archive.cloudera.com/cm5/cm/5/cloudera-manager-centos7-cm5.10.0_x86_64.tar.gz
CDH包
CDH版本:5.10.0
CDH-5.10.0-1.cdh5.10.0.p0.41-el7.parcel CDH-5.10.0-1.cdh5.10.0.p0.41-el7.parcel.sha1 manifest.json
下载地址
http://archive.cloudera.com/cdh5/parcels/5.10.0/CDH-5.10.0-1.cdh5.10.0.p0.41-el7.parcel
http://archive.cloudera.com/cdh5/parcels/5.10.0/CDH-5.10.0-1.cdh5.10.0.p0.41-el7.parcel.sha1
http://archive.cloudera.com/cdh5/parcels/5.10.0/manifest.json
java-mysql连接jar包
下载地址:http://central.maven.org/maven2/mysql/mysql-connector-java/5.1.22/mysql-connector-java-5.1.22.jar
备注:mysql的jar包不要使用6.x版本,会有兼容问题,这里使用的是5.1.22
数据库
类型:MariaDB
节点
10.0.0.1 slave1
10.0.0.2 slave2
10.0.0.3 slave3
10.0.0.4 slave4
10.0.0.5 master
10.0.0.6 standby
二、底层环境准备
注:准备安装前需要把相关的包文件下载下来,并上传到服务器上
1、安装JDK
所有节点
1)安装系统原有java
|
|
2)卸载OpenJDK
cdh指定使用oracle jdk,所以卸载掉
openjdk-headless
openjdk
保留其它工具包
3)安装下载的java
|
|
2、更改主机名和hosts
所有节点
注意每个主机名对应的IP,按实际情况更改。
/etc/hostname
/etc/hosts
3、关闭防火墙
|
|
4、安装NTP服务
所有节点
|
|
配置略过
5、SSH无密码登陆
配置Cloudera Management Service所在节点无密码登陆到其他节点
本次在节点standby节点
|
|
6、安装数据库
service节点
|
|
初始化数据库
|
|
7、其他安装与配置
所有节点
|
|
三、开始安装CDH
1、传宝、解包
把下载好的一下相应包文件上传到service节点内
mysql-java连接包在所有节点上都要上传
|
|
2、创建数据库
|
|
3、创建用户
所有节点
|
|
4、制作本地源
service节点执行
|
|
5、拷贝jar包
所有节点
|
|
service节点
|
|
6、更改配置
|
|
7、启动服务
service节点
|
|
所有节点
|
|
8、浏览页面开始安装
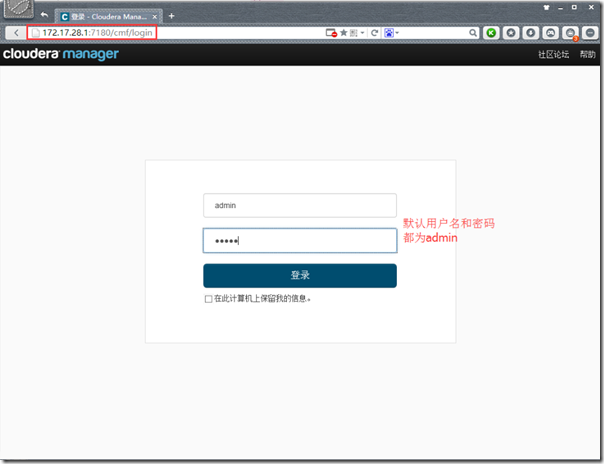
1)登陆
打开浏览器,访问service节点的7180端口
输入用户名和密码admin、admin
安装的时候没有截图,图就用网上的教程里的了,CDH5都差不多,小版本改动不大
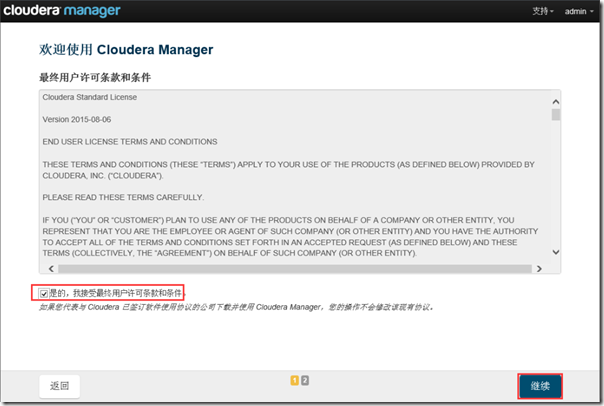
2)接受协议
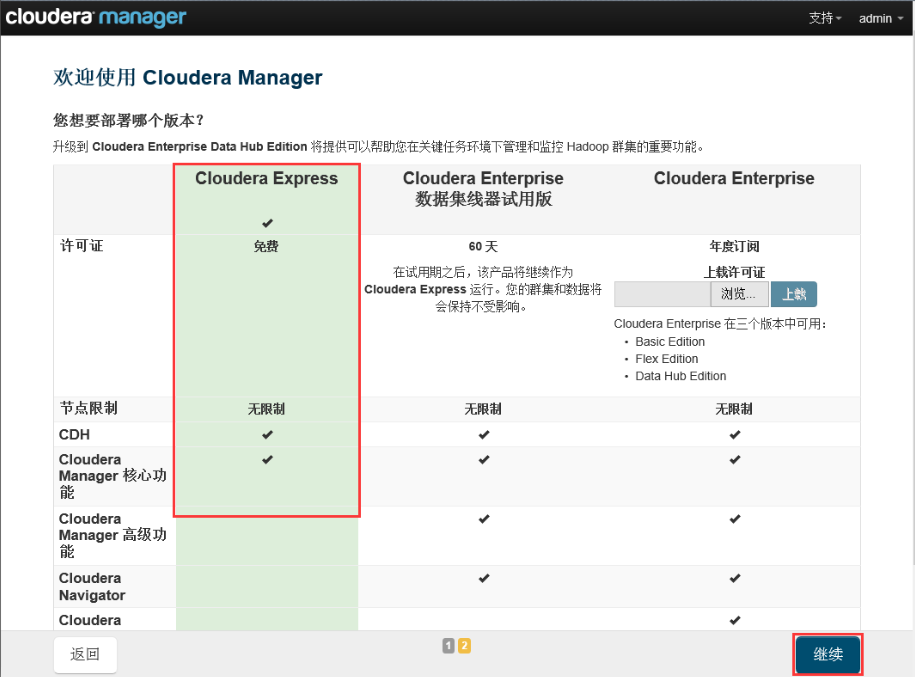
3)选择版本
本文档选择Cloudera Express免费开源版本
4)指定主机

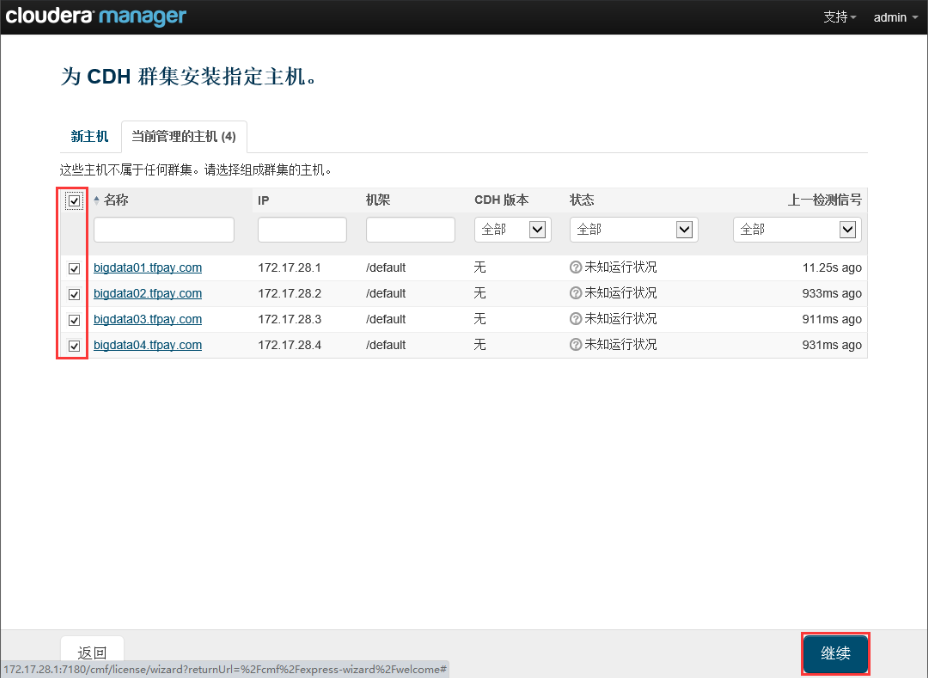
5)选择CDH版本
注:选择在制作本地源时选择的版本,如果选择别的版本的话会去官网下载那样安装速度会很慢
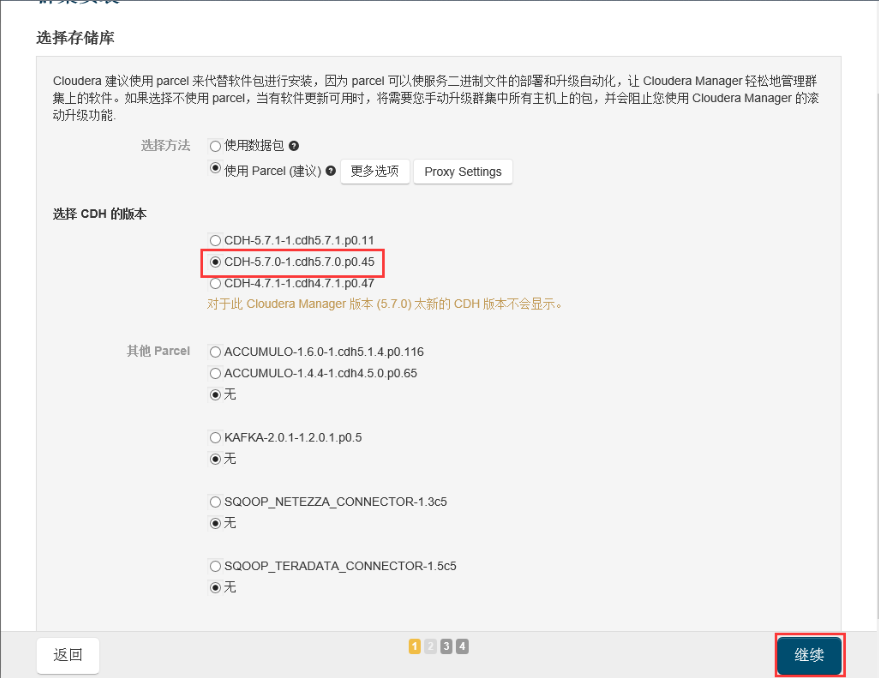
上图里我们选5.10.0

6)检查主机正确性
确保全部验证通过

7)选择安装的服务
本文选择的是安装所有服务

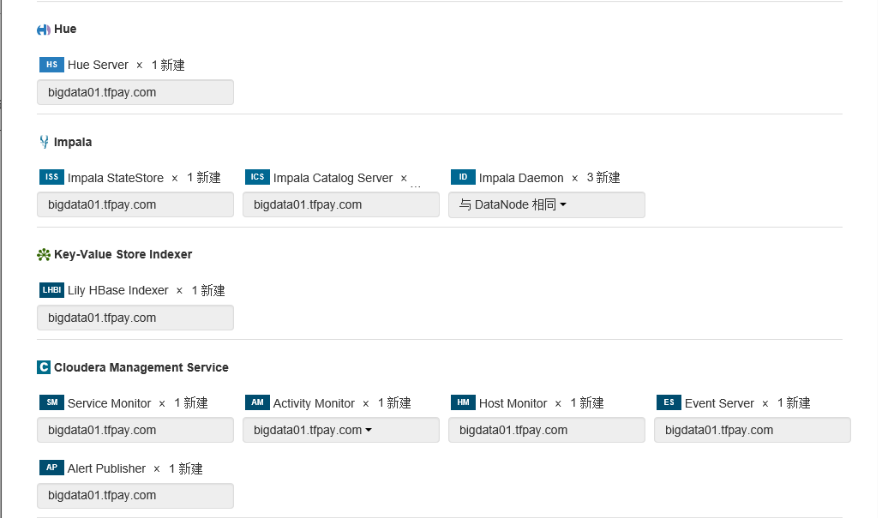
8)角色分配
这里应该根据自己的实际需求和服务器的硬件参数自己选择


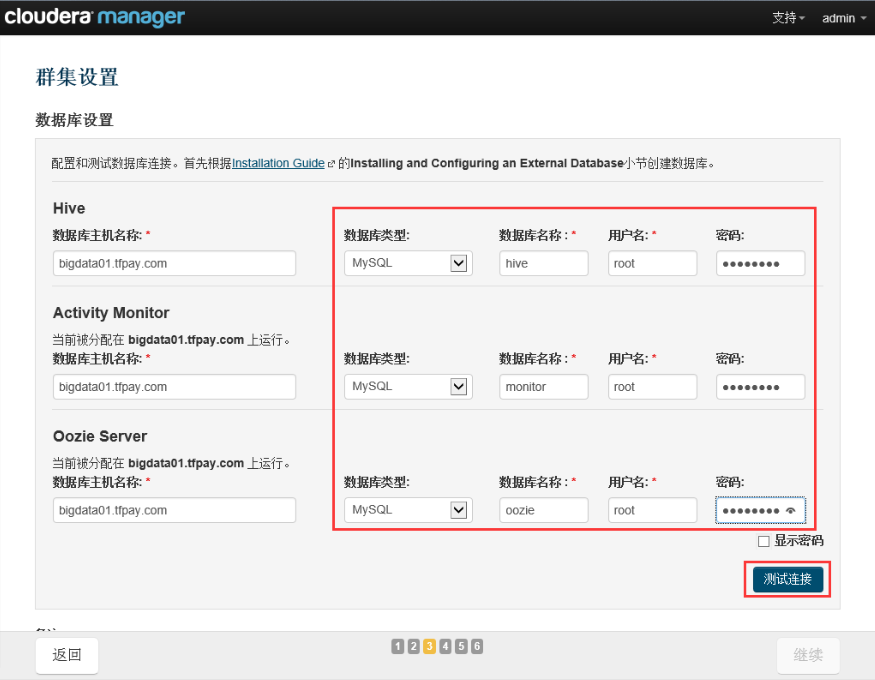
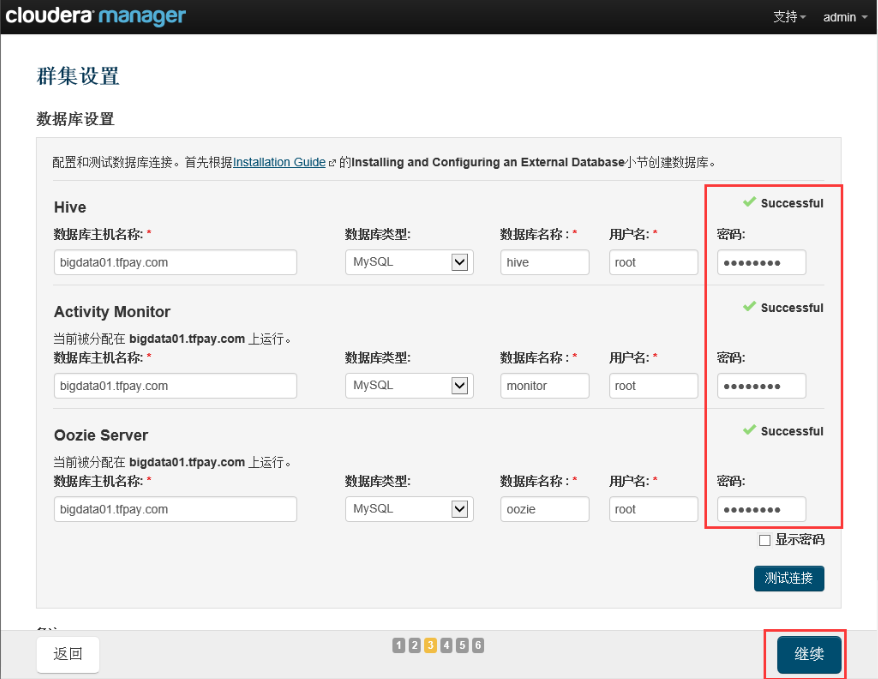
9)数据库设置
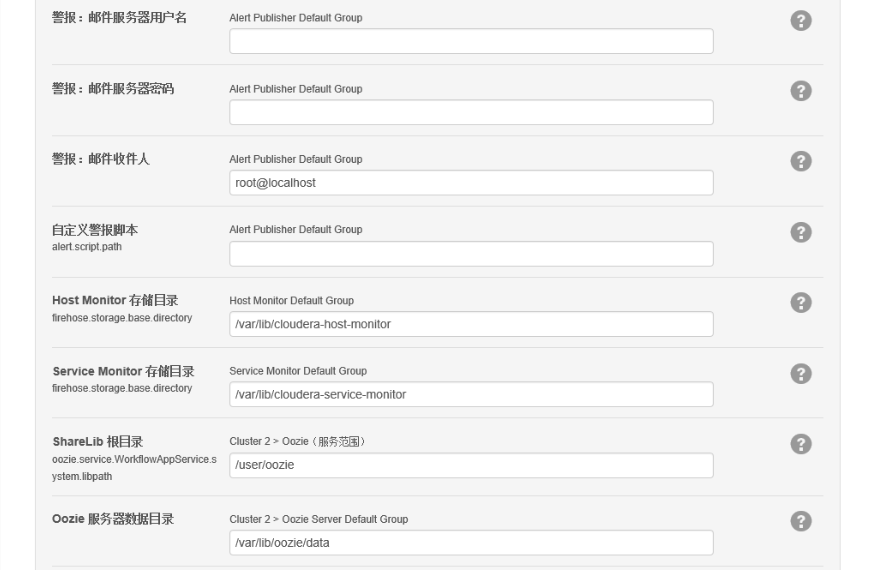
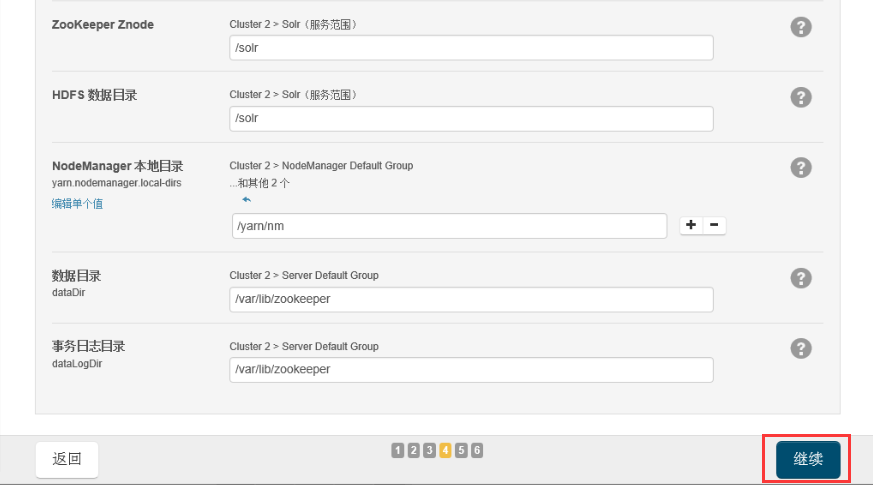
10)群集设置
可以根据自己的实际情况更改设置,本文采用默认配置。这些配置可以在集群安装完成以后后续更改


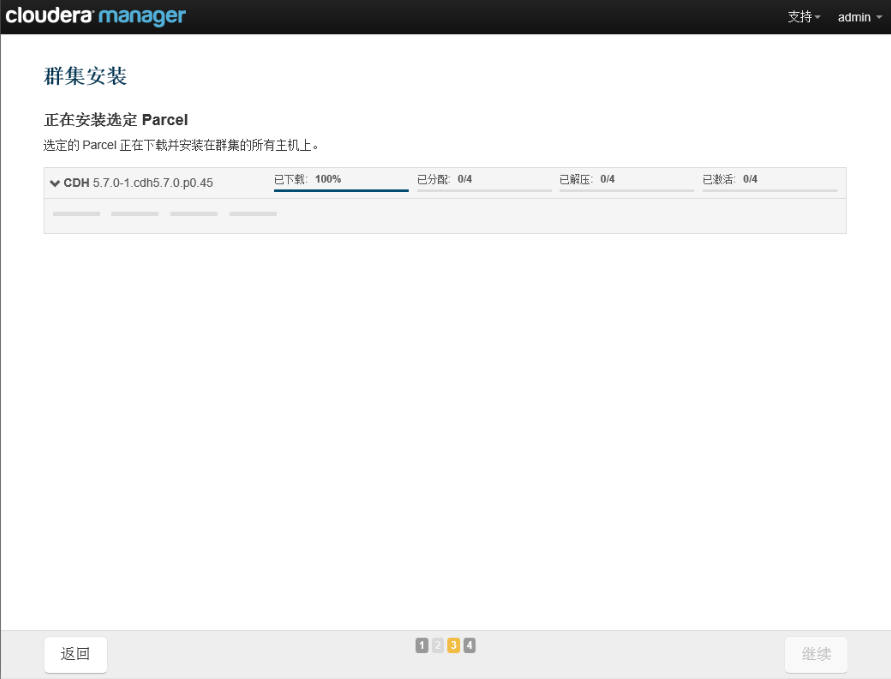
11)开始安装
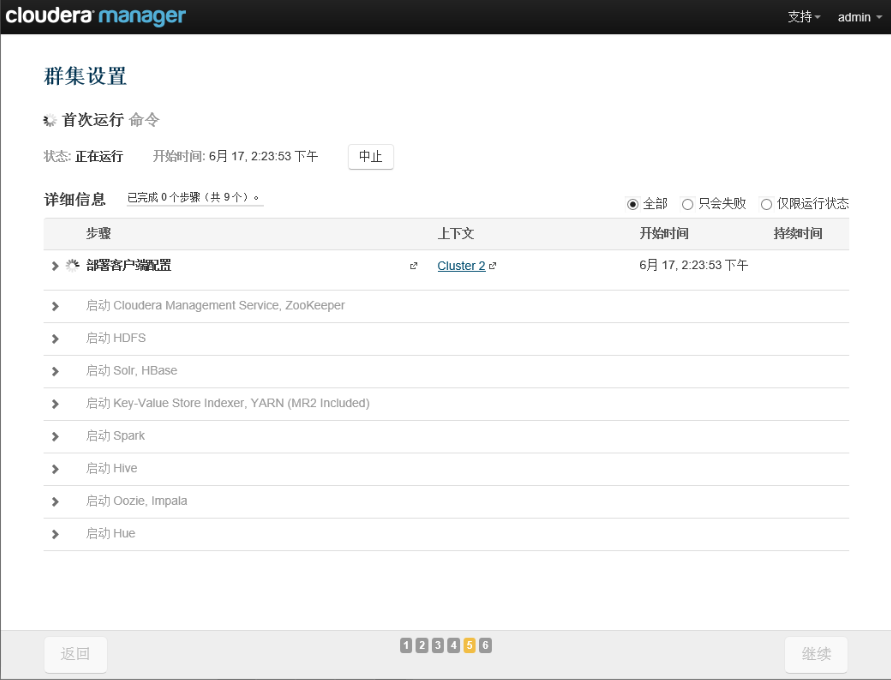

无错误信息全部通过
12)安装完成
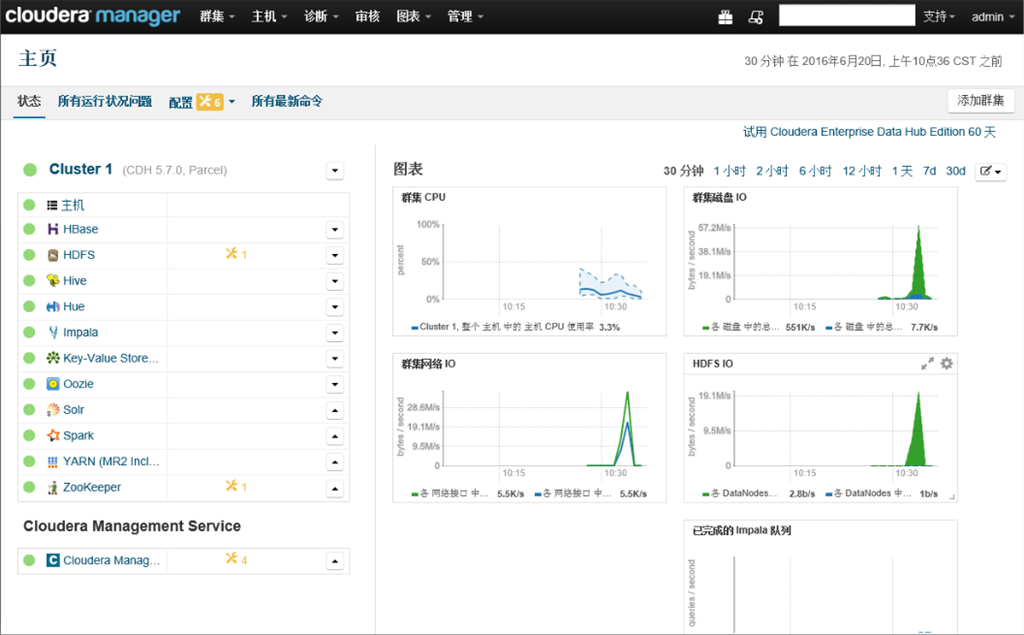
第一次安装完成后,会出现一些配置的警告信息。这些可以根据提示信息更改。