pom.xml 每次修改后都必须更行这个maven项目才行
右键-->maven -->update project 或者快捷建 alt+F5
//==================================================================
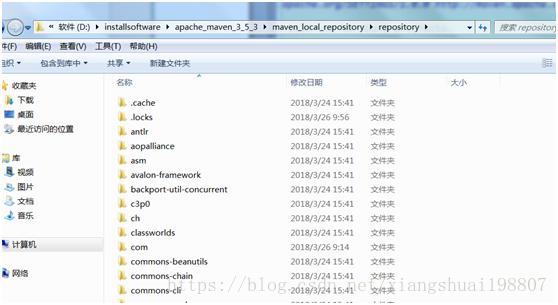
修改默认本地maven仓库改为自定义maven仓库
//==================================================================
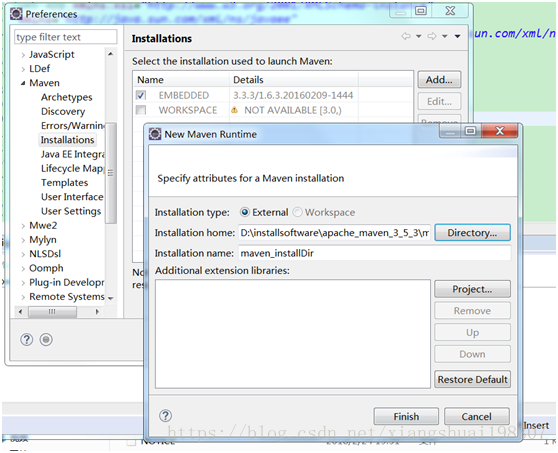
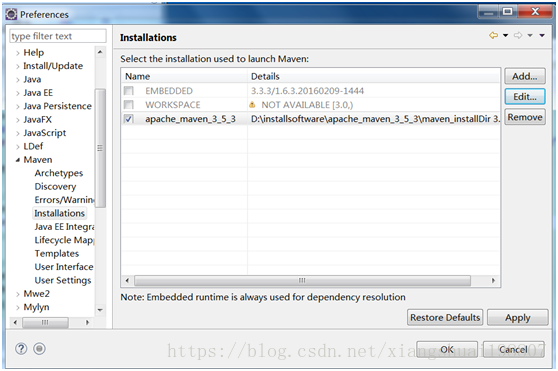
1.windos-- > preferences ->maven
installations->add
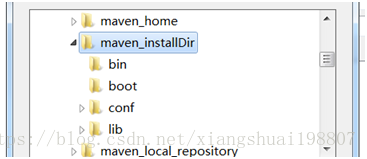
选择bin文件的父目录
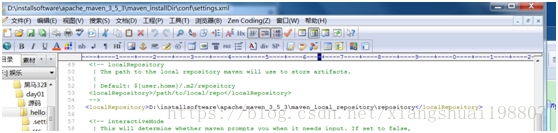
2.在自己的maven setting.xml中指定仓库地址
<localRepository>D:\installsoftware\apache_maven_3_5_3\maven_local_repository\repository</localRepository>
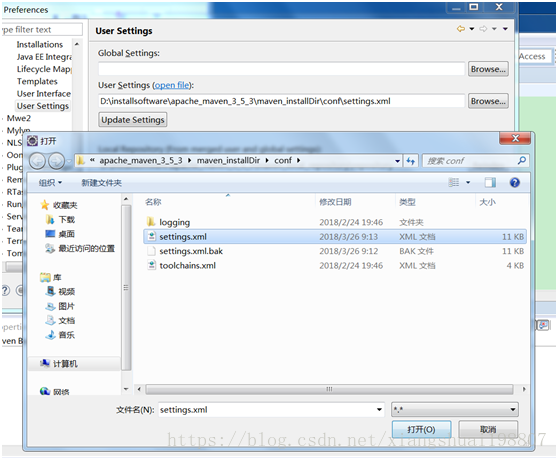
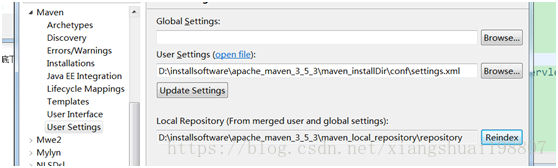
3.改变maven默认配置文件指向setting.xml
点user Settings 选择自己的maven的settings.xml替换默认的settings.xml
//==================================================================
将编译的JDK改成自己的JDK进行编译
//==================================================================
在maven的settings.xml中
在</settings>标签下加子标签
<!--已改标签 这里的${JAVA8_HOME}这个变量为了在exlipse中的pom文件compiler能够使用我们自己安装的JDK进行编译 -->
<profile>
<id>custom-compiler</id>
<properties>
<JAVA8_HOME>D:\installsoftware\java8\jdk8</JAVA8_HOME>
</properties>
</profile>
<!--激活id custom-compiler 使<profile>生效,这样在pom.xml中plugin标签中的JKD8就可以使用了-->
<activeProfiles>
<activeProfile>custom-compiler</activeProfile>
</activeProfiles>
在pom.xml中使用
ugins>
<plugin>
<groupId>org.apache.maven.plugins</groupId>
<artifactId>maven-compiler-plugin</artifactId>
<version>3.1</version>
<configuration>
<source>1.8</source>
<target>1.8</target>
<verbose>true</verbose>
<fork>true</fork>
<executable>${JAVA8_HOME}/bin/javac</executable>
<encoding>UTF-8</encoding>
</configuration>
</plugin>
//==================================================================
正式开始创建maven项目 war包,web项目
//==================================================================
1.右键 --->new
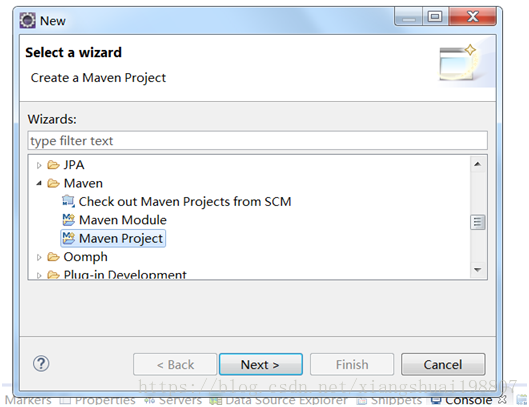
跳过骨架
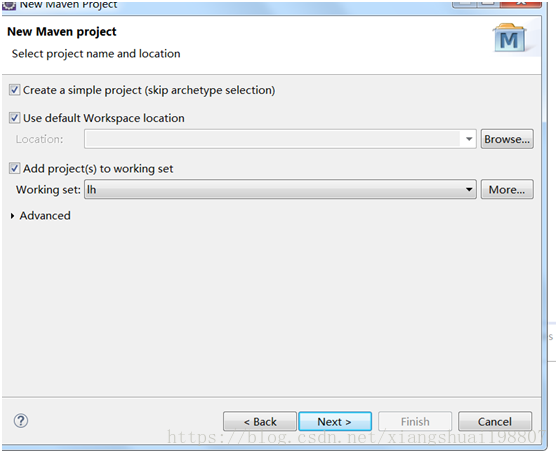
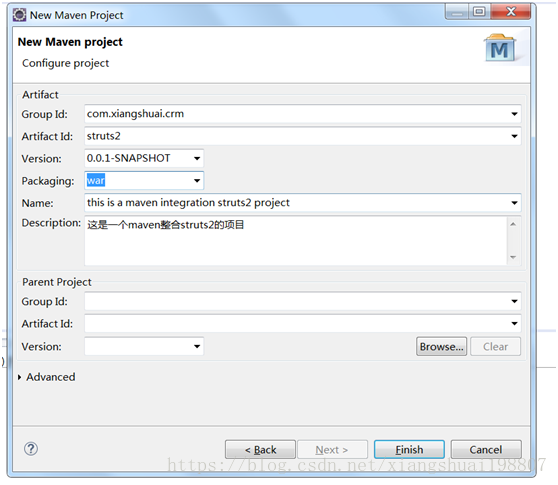
1、 填写坐标信息,选择打成war包(在 maveninstall后会此war包打包到本项目的target下)
group id:项目组名,一般为公司域名
artifact id:模块id,一般为本项目名后者上面group id 下的一个模块名
name:这个项目的说明
description:对这个项目的说明
Parent Project:父项目的坐标
这个是因为war包是web项目,缺少web.xml文件,在
src-->main-->webapp 下新建一个WEB-INF目录,在WEB-INF下复制粘贴一个web.xml文件即可:
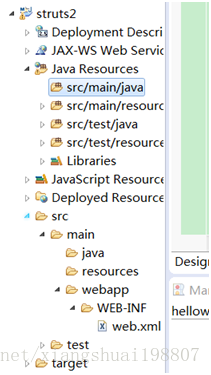
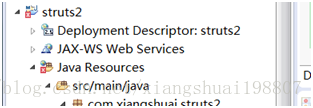
2.source fold文件src/main/java下创建servlet
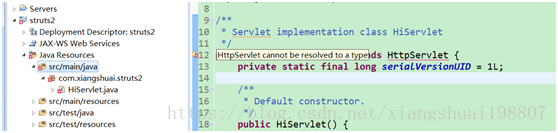
然后看不能解析,这是缺少JAR包,那么在pom.xml中将JAR包的坐标弄进去,将JAR包下载到本地仓库
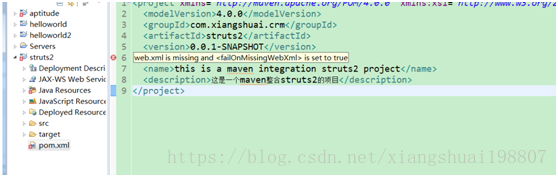
pom.xml:
<project xmlns="http://maven.apache.org/POM/4.0.0"xmlns:xsi="http://www.w3.org/2001/XMLSchema-instance"xsi:schemaLocation="http://maven.apache.org/POM/4.0.0http://maven.apache.org/xsd/maven-4.0.0.xsd">
<modelVersion>4.0.0</modelVersion>
<groupId>com.xiangshuai.crm</groupId>
<artifactId>struts2</artifactId>
<version>0.0.1-SNAPSHOT</version>
<packaging>war</packaging>
<name>this is a maven integration struts2project</name>
<description>这是一个maven整合struts2的项目</description>
<!-- 添加servlet-api,jsp-api -->
<dependencies>
<dependency>
<groupId>junit</groupId>
<artifactId>junit</artifactId>
<version>4.9</version>
<scope>test</scope>
</dependency>
<dependency>
<groupId>javax.servlet</groupId>
<artifactId>servlet-api</artifactId>
<version>2.5</version>
<scope>provided</scope>
</dependency>
<dependency>
<groupId>javax.servlet</groupId>
<artifactId>jsp-api</artifactId>
<version>2.0</version>
<scope>provided</scope>
</dependency>
</dependencies>
<build>
<!-- 配置了很多插件 -->
<plugins>
<plugin>
<groupId>org.apache.maven.plugins</groupId>
<artifactId>maven-compiler-plugin</artifactId>
<version>3.1</version>
<configuration>
<source>1.8</source>
<target>1.8</target>
<verbose>true</verbose>
<fork>true</fork>
<executable>${JAVA8_HOME}/bin/javac</executable>
<encoding>UTF-8</encoding>
</configuration>
</plugin>
</plugins>
</build>
</project>
然后看到这个项目除了项目名上是有错误,其他地方都没有错误,这是因为每次改了pom.xml必须更行这个maven项目才行
右键-->maven -->update project 或者快捷建 alt+F5
3.项目右键 -->run as --> maven clean mavent install
4. run as --> maven build Goals:tomcat:run一键构建
后者在自己的service -->add 这个项目运行tomcat

然后访问下即可