首先需要说明本次博客我是用的电脑是mac,并且在下没有使用科学上网,额,对使用window的同学不太友好,日后再来一篇window配置Flutter环境的博客
1.环境配置
关于环境配置,我是根据范玉刚大神的博客做的 (https://blog.csdn.net/singwhatiwanna/article/details/79571364),我自己在进行一些补充
在我们执行flutter doctor时,可能会说我们那些东西没安装,而你如果安装,但是他却不知道,可能你环境没有配置,需要在mac配置路径,比如设置Android SDK环境变量,请参考如下博客,亲测有效
https://blog.csdn.net/free_co/article/details/77115920
还有就是记得Android Studio的版本一定要在3.0以上,要不然Flutter插件安装后运行有问题,并且如果你搜索不到Flutter插件,那就百度
2.创建工程
在我们执行完flutter doctor命令并且在Android Studio里安装Flutter插件后,我们 File->new ->new Flutter project
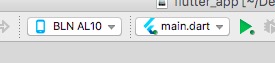
然后我们选择手机或者模拟器,并且工程选择main.dart(只有一个),点击三角形安装app到手机上。可能会运行失败,因为一些依赖包可能会获取失败,这个我就是当前试了一次没成功,第二天早上一试成功了
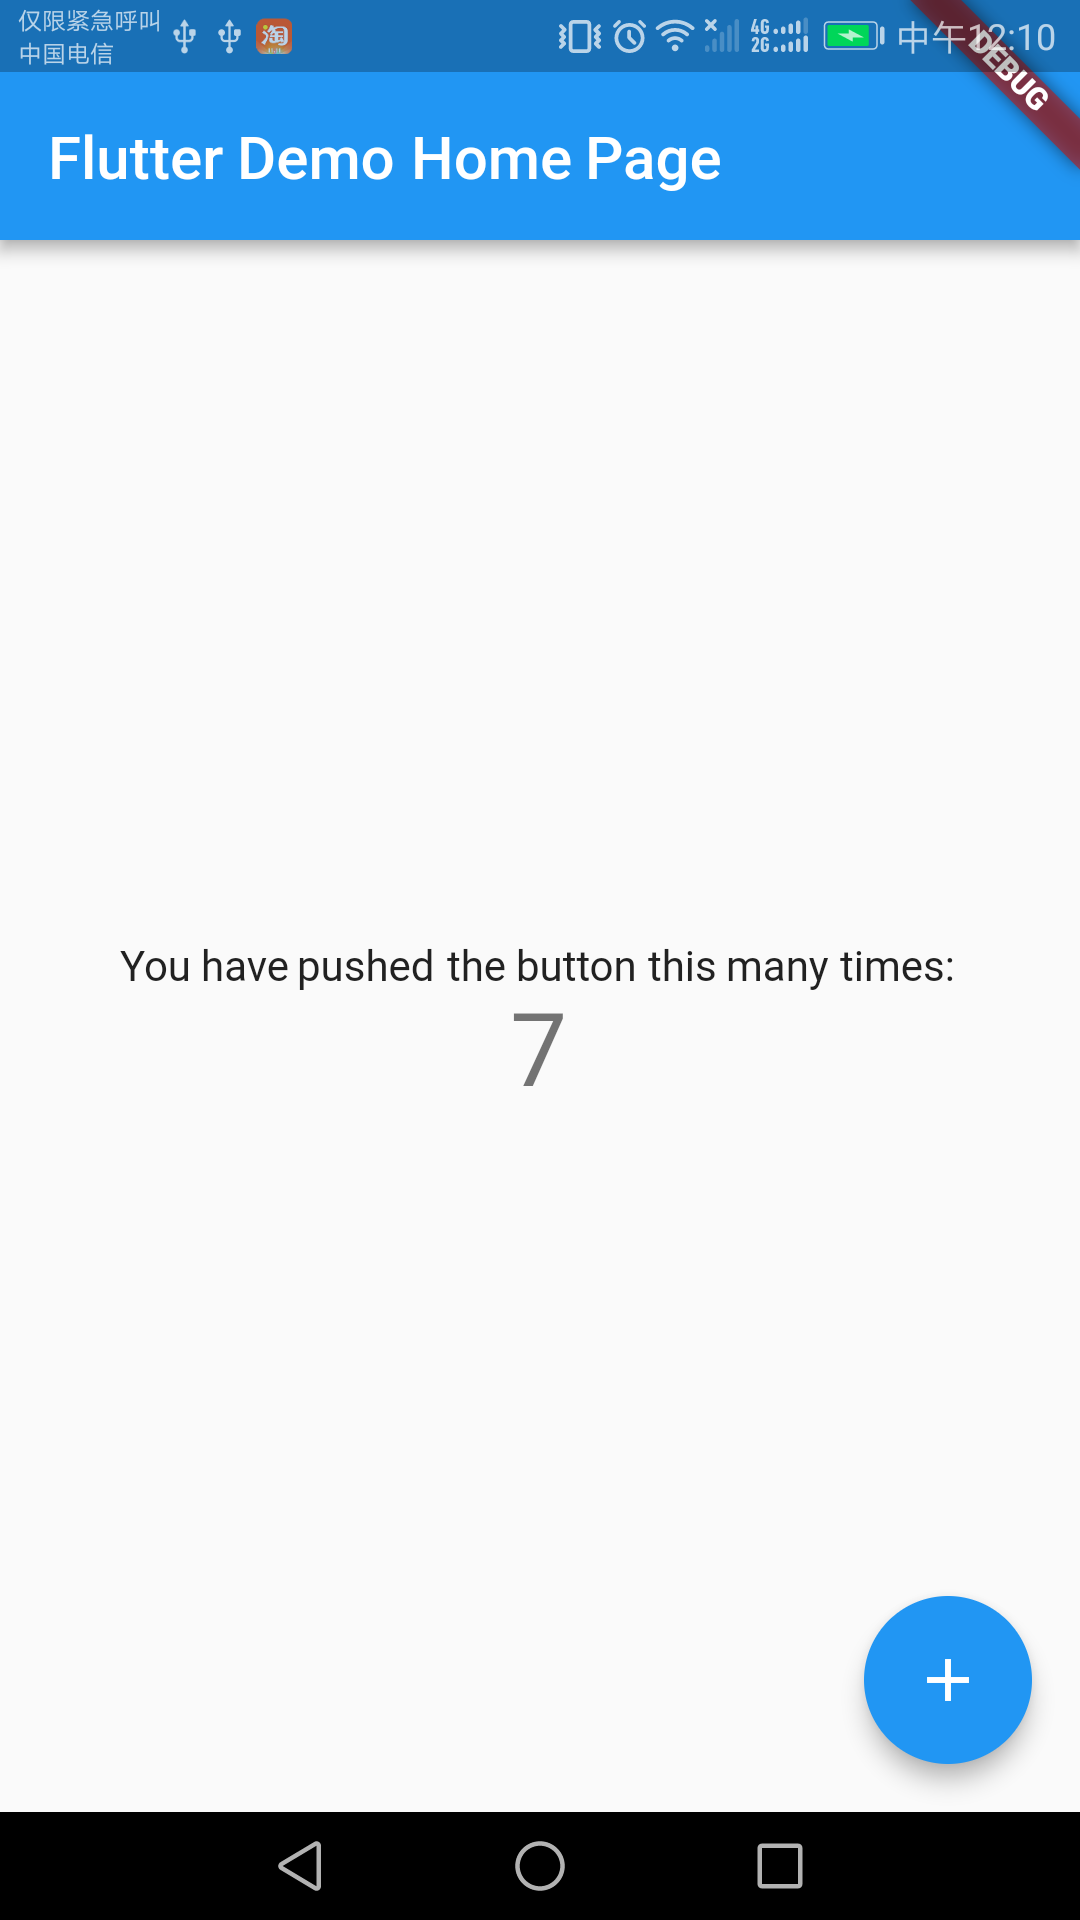
我们创建的默认Flutter工程是一个能够计算我们点击按钮并且显示点击次数的程序
3.分析工程文件和代码(假装自己看得懂)
我们看看这个默认Flutter工程的文件夹和代码

首先看看android和ios文件夹的内容
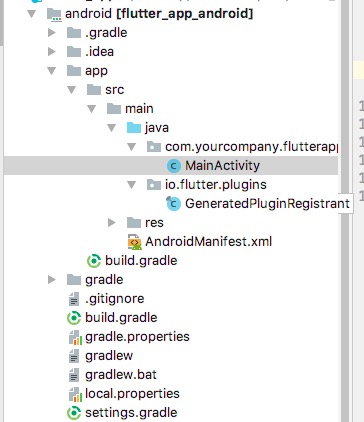
android文件夹里一个很规范的Android Studio所创建的Android app工程,但是里面的MainActivity的代码和平常的不同
public class MainActivity extends FlutterActivity {
  @Override
  protected void onCreate(Bundle savedInstanceState) {
    super.onCreate(savedInstanceState);
    GeneratedPluginRegistrant.registerWith(this);
  }
}我们再来看看GeneratedPluginRegistrant这个类,它在注释里说他是一个自动生成的文件,不要编辑他,
/**
* Generated file. Do not edit.
*/
public final class GeneratedPluginRegistrant {
public static void registerWith(PluginRegistry registry) {
if (alreadyRegisteredWith(registry)) {
return;
}
}
private static boolean alreadyRegisteredWith(PluginRegistry registry) {
final String key = GeneratedPluginRegistrant.class.getCanonicalName();
if (registry.hasPlugin(key)) {
return true;
}
registry.registrarFor(key);
return false;
}
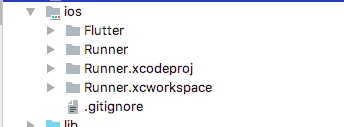
}我们再来看看ios,也是一个中轨中轨的ios工程
在Runner里的AppDelegate.h的代码也是使用的GeneratedPluginRegistrant,默认生成的类,同样的,GeneratedPluginRegistrant在注释里说是自动生成,不要改动
@implementation AppDelegate

- (BOOL)application:(UIApplication *)application didFinishLaunchingWithOptions:(NSDictionary *)launchOptions {
  [GeneratedPluginRegistrant registerWithRegistry:self];
  // Override point for customization after application launch.
  return [super application:application didFinishLaunchingWithOptions:launchOptions];
}

@end
最后我们可以确定一个件事那就是这个app真正的实现的地方是lib文件夹的main.dart
这是布局代码
      appBar: new AppBar(

        title: new Text(widget.title),
      ),
      body: new Center(
          mainAxisAlignment: MainAxisAlignment.center,
          children: <Widget>[
            new Text(
              'You have pushed the button this many times:',
            ),
            new Text(
              '$_counter',
              style: Theme.of(context).textTheme.display1,
            ),
          ],
        ),
      ),
      floatingActionButton: new FloatingActionButton(
        onPressed: _incrementCounter,
        tooltip: 'Increment',
        child: new Icon(Icons.add),
      ),
可以看得出来这语言类似Kotlin,然后在floatingActionButton里可以看得到绑定了一个_incrementCounter函数为点击事件触发的函数,对于setState我认为是类似在其内部代码块执行完后,重新生成界面的触发函数
  void _incrementCounter() {
    setState(() {
      _counter++;
    });
  }
这篇博客算是写完了,后期会继续写Flutter的博客