一、下载包
pip install pillow二、代码
这是一个函数,无输入,返回两个值。一个值是图片,一个值是图片中的数字及字母。
需要注意:font_file='Monaco.ttf' 是一个验证码字体文件,如有需要,可三连私信。
import random
from PIL import ImageFilter, ImageDraw, Image, ImageFont
def check_code(width=120, height=30, char_length=5, font_file='Monaco.ttf', font_size=28):
code = []
img = Image.new(mode='RGB', size=(width, height), color=(255, 255, 255))
draw = ImageDraw.Draw(img, mode='RGB')
def rndChar():
"""
生成随机字母
:return:
"""
return chr(random.randint(65, 90))
def rndColor():
"""
生成随机颜色
:return:
"""
return (random.randint(0, 255), random.randint(10, 255), random.randint(64, 255))
# 写文字
font = ImageFont.truetype(font_file, font_size)
for i in range(char_length):
char = rndChar()
code.append(char)
h = random.randint(0, 4)
draw.text([i * width / char_length, h], char, font=font, fill=rndColor())
# 写干扰点
for i in range(40):
draw.point([random.randint(0, width), random.randint(0, height)], fill=rndColor())
# 写干扰圆圈
for i in range(40):
draw.point([random.randint(0, width), random.randint(0, height)], fill=rndColor())
x = random.randint(0, width)
y = random.randint(0, height)
draw.arc((x, y, x + 4, y + 4), 0, 90, fill=rndColor())
# 画干扰线
for i in range(5):
x1 = random.randint(0, width)
y1 = random.randint(0, height)
x2 = random.randint(0, width)
y2 = random.randint(0, height)
draw.line((x1, y1, x2, y2), fill=rndColor())
img = img.filter(ImageFilter.EDGE_ENHANCE_MORE)
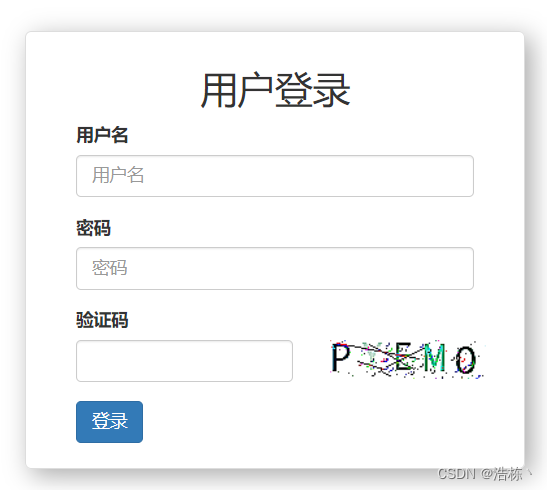
return img, ''.join(code)三、在view.py中调用函数即可。
前端:
<img id="image_code" src="/image_code/" style="width: 125px">后端:
"""用户界面的动态验证码"""
from io import BytesIO
def image_code(requesr):
    # 调用poillow函数,生成图片
    img, code_string = check_code()
    print(code_string)
    # 创建内存中的文件
    stream = BytesIO()
    img.save(stream, 'png')
    return HttpResponse(stream.getvalue())
四、效果图