SSM框架下集成thymeleaf主要分为三步:
第一步:引入thymeleaf
本项目利用maven搭建,所以是用的maven的方式引入的thymeleaf
<dependency>
  <groupId>org.thymeleaf</groupId>
  <artifactId>thymeleaf-spring4</artifactId>
  <version>${thymeleaf.version}</version>
</dependency>
<dependency>
  <groupId>org.thymeleaf</groupId>
  <artifactId>thymeleaf</artifactId>
  <version>${thymeleaf.version}</version>
</dependency>
里面的版本号可以自己配置,这里用的是
<!--thymeleaf版本号-->
<thymeleaf.version>2.1.2.RELEASE</thymeleaf.version>
第二步:springmvc的xml文件中进行配置
在引入thymeleaf成功之后需要在springmvc的xml文件中对其进行配置,配置的话以前的视图解析器就没用要,需要注释掉,然后进行thymeleaf的配置
<!-- 使用thymeleaf解析 -->
<bean id="templateResolver"
      class="org.thymeleaf.spring4.templateresolver.SpringResourceTemplateResolver">
    <property name="prefix" value="/WEB-INF/views/" />
    <property name="suffix" value="" />
    <property name="templateMode" value="HTML5" />
    <property name="cacheable" value="false" />
    <property name="characterEncoding" value="UTF-8"/><!--不加会乱码-->
</bean>

<bean id="templateEngine"
      class="org.thymeleaf.spring4.SpringTemplateEngine">
    <property name="templateResolver" ref="templateResolver" />
</bean>

<bean class="org.thymeleaf.spring4.view.ThymeleafViewResolver">
    <property name="templateEngine" ref="templateEngine" />
    <!--解决中文乱码-->
    <property name="characterEncoding" value="UTF-8"/>
</bean>
第三步:html页面引入thymeleaf
在以上两步完成之后需要在html中引入thymeleaf
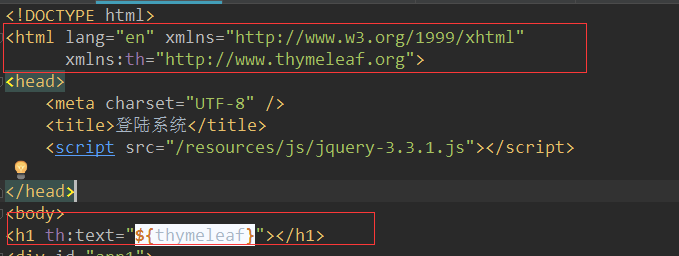
<html lang="en" xmlns="http://www.w3.org/1999/xhtml"
      xmlns:th="http://www.thymeleaf.org">