Lodash是一个一致性,模块化,高性能的JavaScript实用工具库。
Lodash遵循MIT开源协议发布,并且支持最新的运行环境。查看各个构件版本
的区别并选择一个适合你的版本。
一.安装
浏览器环境:
<script src="lodash.js"></script>通过npm
npm  i -g npm
npm  i --save  lodash
// Load the full build.
var _ = require('lodash');
// Load the core build.
var _ = require('lodash/core');
// Load the FP build for immutable auto-curried iteratee-first data-last methods.
var fp = require('lodash/fp');
// Load method categories.
var array = require('lodash/array');
var object = require('lodash/fp/object');
// Cherry-pick methods for smaller browserify/rollup/webpack bundles.
var at = require('lodash/at');
var curryN = require('lodash/fp/curryN')二.为什么选择Lodash
Lodash通过降低array,number,objects,string等等的使用难度从而让JavaScript变得更简单。Lodash的模块化方法非常适用于:
(1)遍历array,object和string
(2)对值进行操作和检测
(3) 创建符合功能的函数
三.数组api的使用
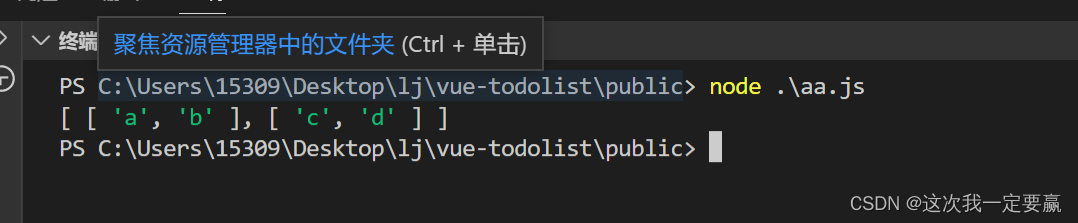
(1)chunk
作用:将一个数组拆分变成二维数组
代码:
_.chunk(['a', 'b', 'c', 'd'], 2);
// => [['a', 'b'], ['c', 'd']]

_.chunk(['a', 'b', 'c', 'd'], 3);
// => [['a', 'b', 'c'], ['d']]
返回的结果:
(2)compact
创建一个新数组,包含原数组中所有的非假值元素,例如false,null,0,"",underfined和NaN被认为是“假值”。
代码:
var _ = require('lodash');
let a1=_.compact([0, 1, false, 2, '', 3]);
console.log(a1);

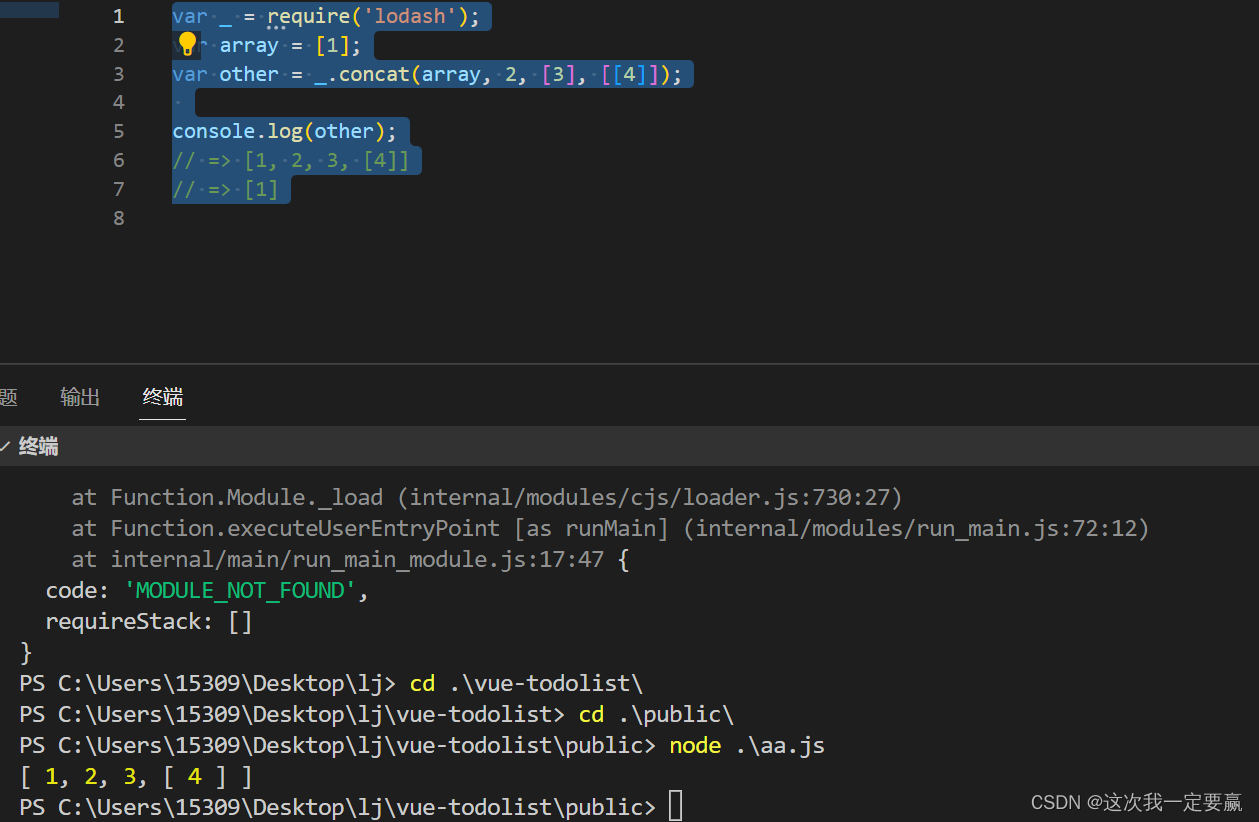
(3)concat
作用:
创建一个新数组,将array与任何数组或值连接在一起。
代码:
var _ = require('lodash');
var array = [1];
var other = _.concat(array, 2, [3], [[4]]);

console.log(other);
// => [1, 2, 3, [4]]
// => [1]
(4)drop
创建一个切片数组,去除array前面的n个元素。(n默认值为1。)
参数
array(Array): 要查询的数组。[n=1](number): 要去除的元素个数。
例子:
var _ = require('lodash');
let a1=_.drop([1, 2, 3]);
// => [2, 3]
console.log(a1);
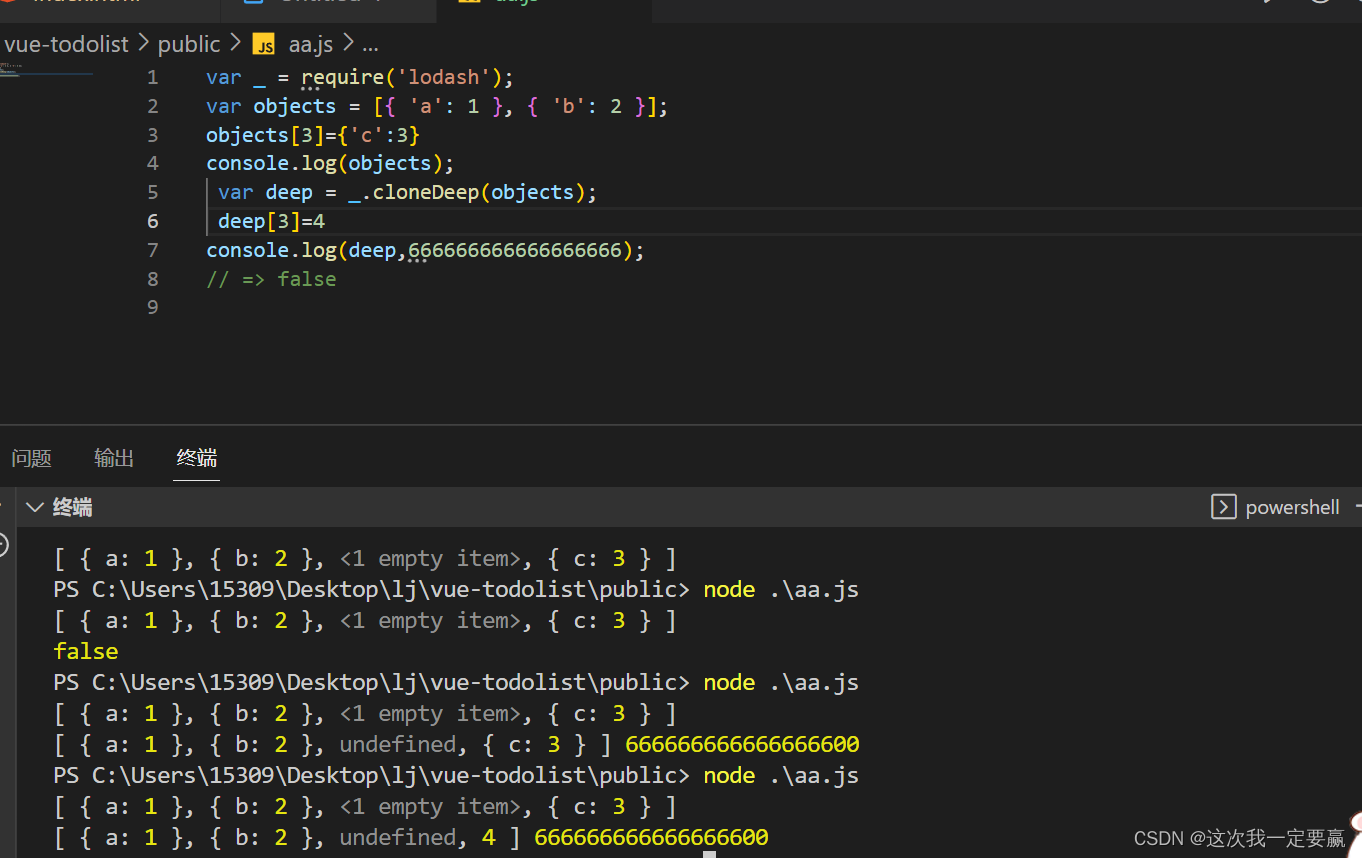
四.实现一个深拷贝
var objects = [{ 'a': 1 }, { 'b': 2 }];

var deep = _.cloneDeep(objects);
console.log(deep[0] === objects[0]);
// => false

五.sample
返回一个随机元素
var _ = require('lodash');

let a1=_.sample([1, 2, 3, 4]);

console.log(a1);
六.merge
代码:
var object = {
  'a': [{ 'b': 2 }, { 'd': 4 }]
};

var other = {
  'a': [{ 'c': 3 }, { 'e': 5 }]
};

_.merge(object, other);
// => { 'a': [{ 'b': 2, 'c': 3 }, { 'd': 4, 'e': 5 }] }
七.利用Lodash处理防抖和节流
防抖:
持续触发不执行,一段时间不触发后在去执行
自己手写代码:
<!DOCTYPE html>
<html lang="en">

<head>
  <meta charset="UTF-8">
  <meta http-equiv="X-UA-Compatible" content="IE=edge">
  <meta name="viewport" content="width=device-width, initial-scale=1.0">
  <title>Document</title>
</head>

<body>
  <button>点击</button>
</body>
<script>
  let btn = document.querySelector('button')

  function fn() {
    console.log(123);
  }

  function fn1(fnc, delay) {
    let timer
    return function () {
      let context = this
      let args = arguments
      clearTimeout(timer);
      timer = setTimeout(() => {
        fnc.call(context, arguments)
      }, delay);
    }
  }

  btn.addEventListener('click', fn1(fn, 1000))
</script>

</html>
为什么要这样写,为了延长的回调,通过return出去一个函数来执行函数的一个回调为了不立即让它立马去执行。
第二个
let timer 要定义在外面写在里面收到块级作用域的影响。
通过lodash来实现。
鲁大师的实现:
下载:
npm i --save lodash<template>
<div class="">
<button @click="textChange">点击触发</button>
</div>
</template>
<script>
import debounce from 'lodash.debounce'
export default {
name: '',
methods: {
textChange:debounce(function() {
console.log(123);
}, 1000)
}
}
</script>
<style scoped>
</style>
全部引入的使用;
下载:
npm i --save lodash在main.js中进入导入并挂载;
// 导入lodash
import _ from 'lodash'
Vue.prototype._ = _
实现的代码:
<template>
  <div class="">
    <button @click="fn">点击触发</button>
  </div>
</template>

<script>
export default {
  name: '',
  methods: {
   fn(){
   console.log(this._.debounce);
   this._.debounce(function(){
      console.log(123);
     },1000)
     }

  }
}
</script>

<style scoped>

</style>
可以看出全局挂载的方式是没有结果的,不推荐使用。
节流:
持续触发执行,但是触发的频率会进行减少
下载:
npm i --save lodash使用:
<template>
  <div class="">
    <button @click="textChange">点击触发</button>
  </div>
</template>

<script>
import {throttle} from 'lodash'
export default {
  name: '',
  methods: {
  textChange:throttle(function() {
  console.log(123);
  }, 1000)
  }
}
</script>

<style scoped>

</style>